

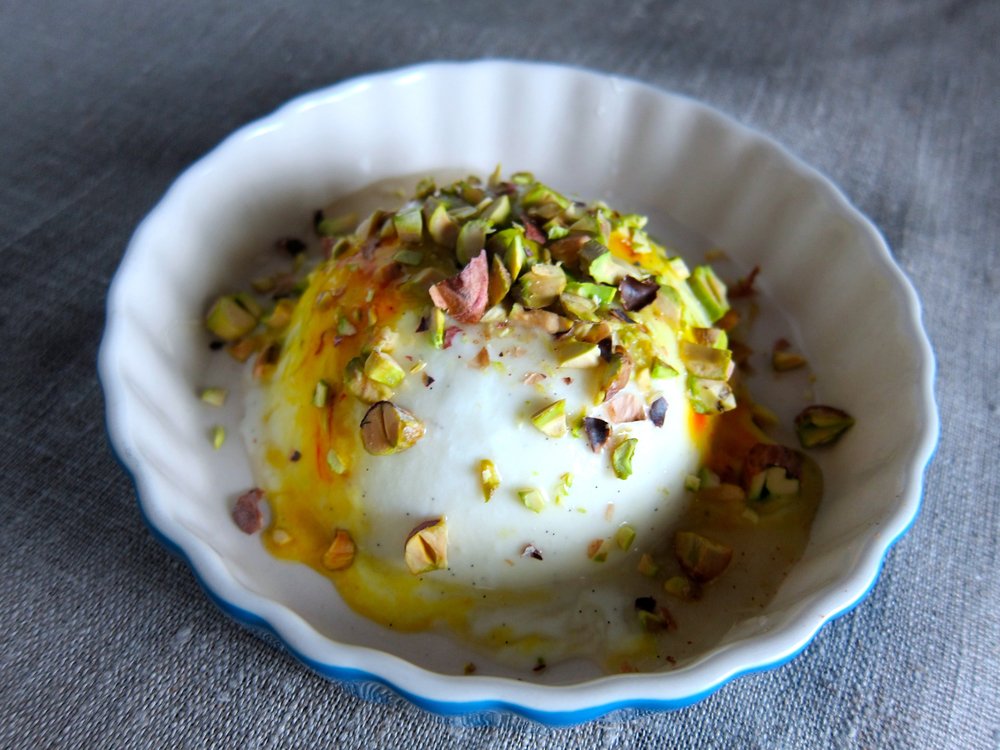
Yogurt Panna Cotta with Saffron & Pistachio
For those of you who have not made panna cotta, you might be intimidated by the idea. I was. After all, the results are impressive and seemingly skill-requiring - Italian grandmother slaving away all day skill-requiring. On top of that, panna cotta uses gelatin, something that isn't found in most present-day pantries and comes animal by-product. Yes, traditional panna cotta is not vegetarian.
What if I were to tell you that panna cotta is incredibly easy to make and not only that, it's also very forgiving? By forgiving, I mean that you can adjust the milk to cream ratio, incorporate yogurt or buttermilk, or even play around with dairy-free milks or vegan gelatin and still create a luscious and beautifully wobbly gel. The other great thing about panna cotta is that it's the perfect canvas for a variety of flavor combinations from saffron pistachio to berry compote and nutmeg to dusted dark chocolate or bay nuts.
There's nothing wrong with serving panna cotta in its container with a spoon, but it doesn't require much more work to remove the gel from it's container and put it on a plate and doing this elevates the dessert to very classy level. Recipe below is adapted from a Smitten Kitchen recipe and makes 4 individual servings.
Grapeseed oil, to crease ramekins or other containers used to hold panna cotta
A few saffron threads per panna cotta
1-1/2 teaspoons (or 4 grams) unflavored gelatin
1 cup plain whole-milk yogurt
1/2 cup heavy cream
1/2 cup whole milk
1/4 cup granulated sugar
2 teaspoons lemon juice
1/2 vanilla bean
1/4 cup toasted pistachios, chopped
Honey, to drizzle
Lightly grease containers for panna cotta with grapeseed oil and add a few saffron threads to each container. Ramekins or small cups or bowls work well. Taller/more narrow containers such as jars also work, but make it harder to remove the panna cotta once it has cooled.
Place 2 tablespoons of water in a small bowl. Stir in gelatin and allow to soften, about 10-15 minutes.
In a large bowl, whisk together yogurt with 1/4 cup cream and 1/4 cup milk. Add remaining cream and milk to a saucepan, stir in granulated sugar, and bring to a simmer. Stir in gelatin mixture to dissolve, remove from heat, then whisk into dairy mixture. Scrape the inside of the vanilla bean into mixture along with lemon juice and whisk. Pour into cups, stir once with a fork or chopstick to mix around saffron, and chill in the refrigerator for at least 2 hours. This can be done the night before.
To unmold the cups, fill a saucepan with about 3/4-inch of water and bring to a simmer. Turn off heat and a dip panna cotta cup into the water for 5 seconds, then invert it onto a flat plate. Repeat with remaining cups.
Right before serving, drizzle with honey and top with 1 tablespoon of chopped toasted pistachio. See below for inspiration for other panna cotta variations.

Panna cotta variation with blueberry compote and thyme.

Panna cotta variation with dusted foraged bay nuts and olive oil.
Plum-Rosemary Jam and Spiced Chutney
One neighbor's discarded plums are another's treasure.

Preserves are a great way to preserve!
There are times that I especially appreciate how fortunate I am to live in California. Plum season is one of those times. During the months of June, July, and sometimes August, many neighborhoods in the Bay Area are literally dripping with plums. These plums are often there for anyone willing to put in the effort, as many plum tree owners can't seem to keep up with the production. While the small and tart wild plums that you can find in many parks and urban environments are lovely (especially for California wild plum umeboshi, recipe coming soon!), the Santa Rosa plums that are much-loved cultivated variety in the area are pretty ethereal. They are sweeter, but not cloyingly so, with beautiful flesh and an almost rose-like scent. When my neighbors told me that they had more of these plums than they could handle and told me to take as many as I could I knew I hit the plum jackpot. Low hanging fruit for sure!
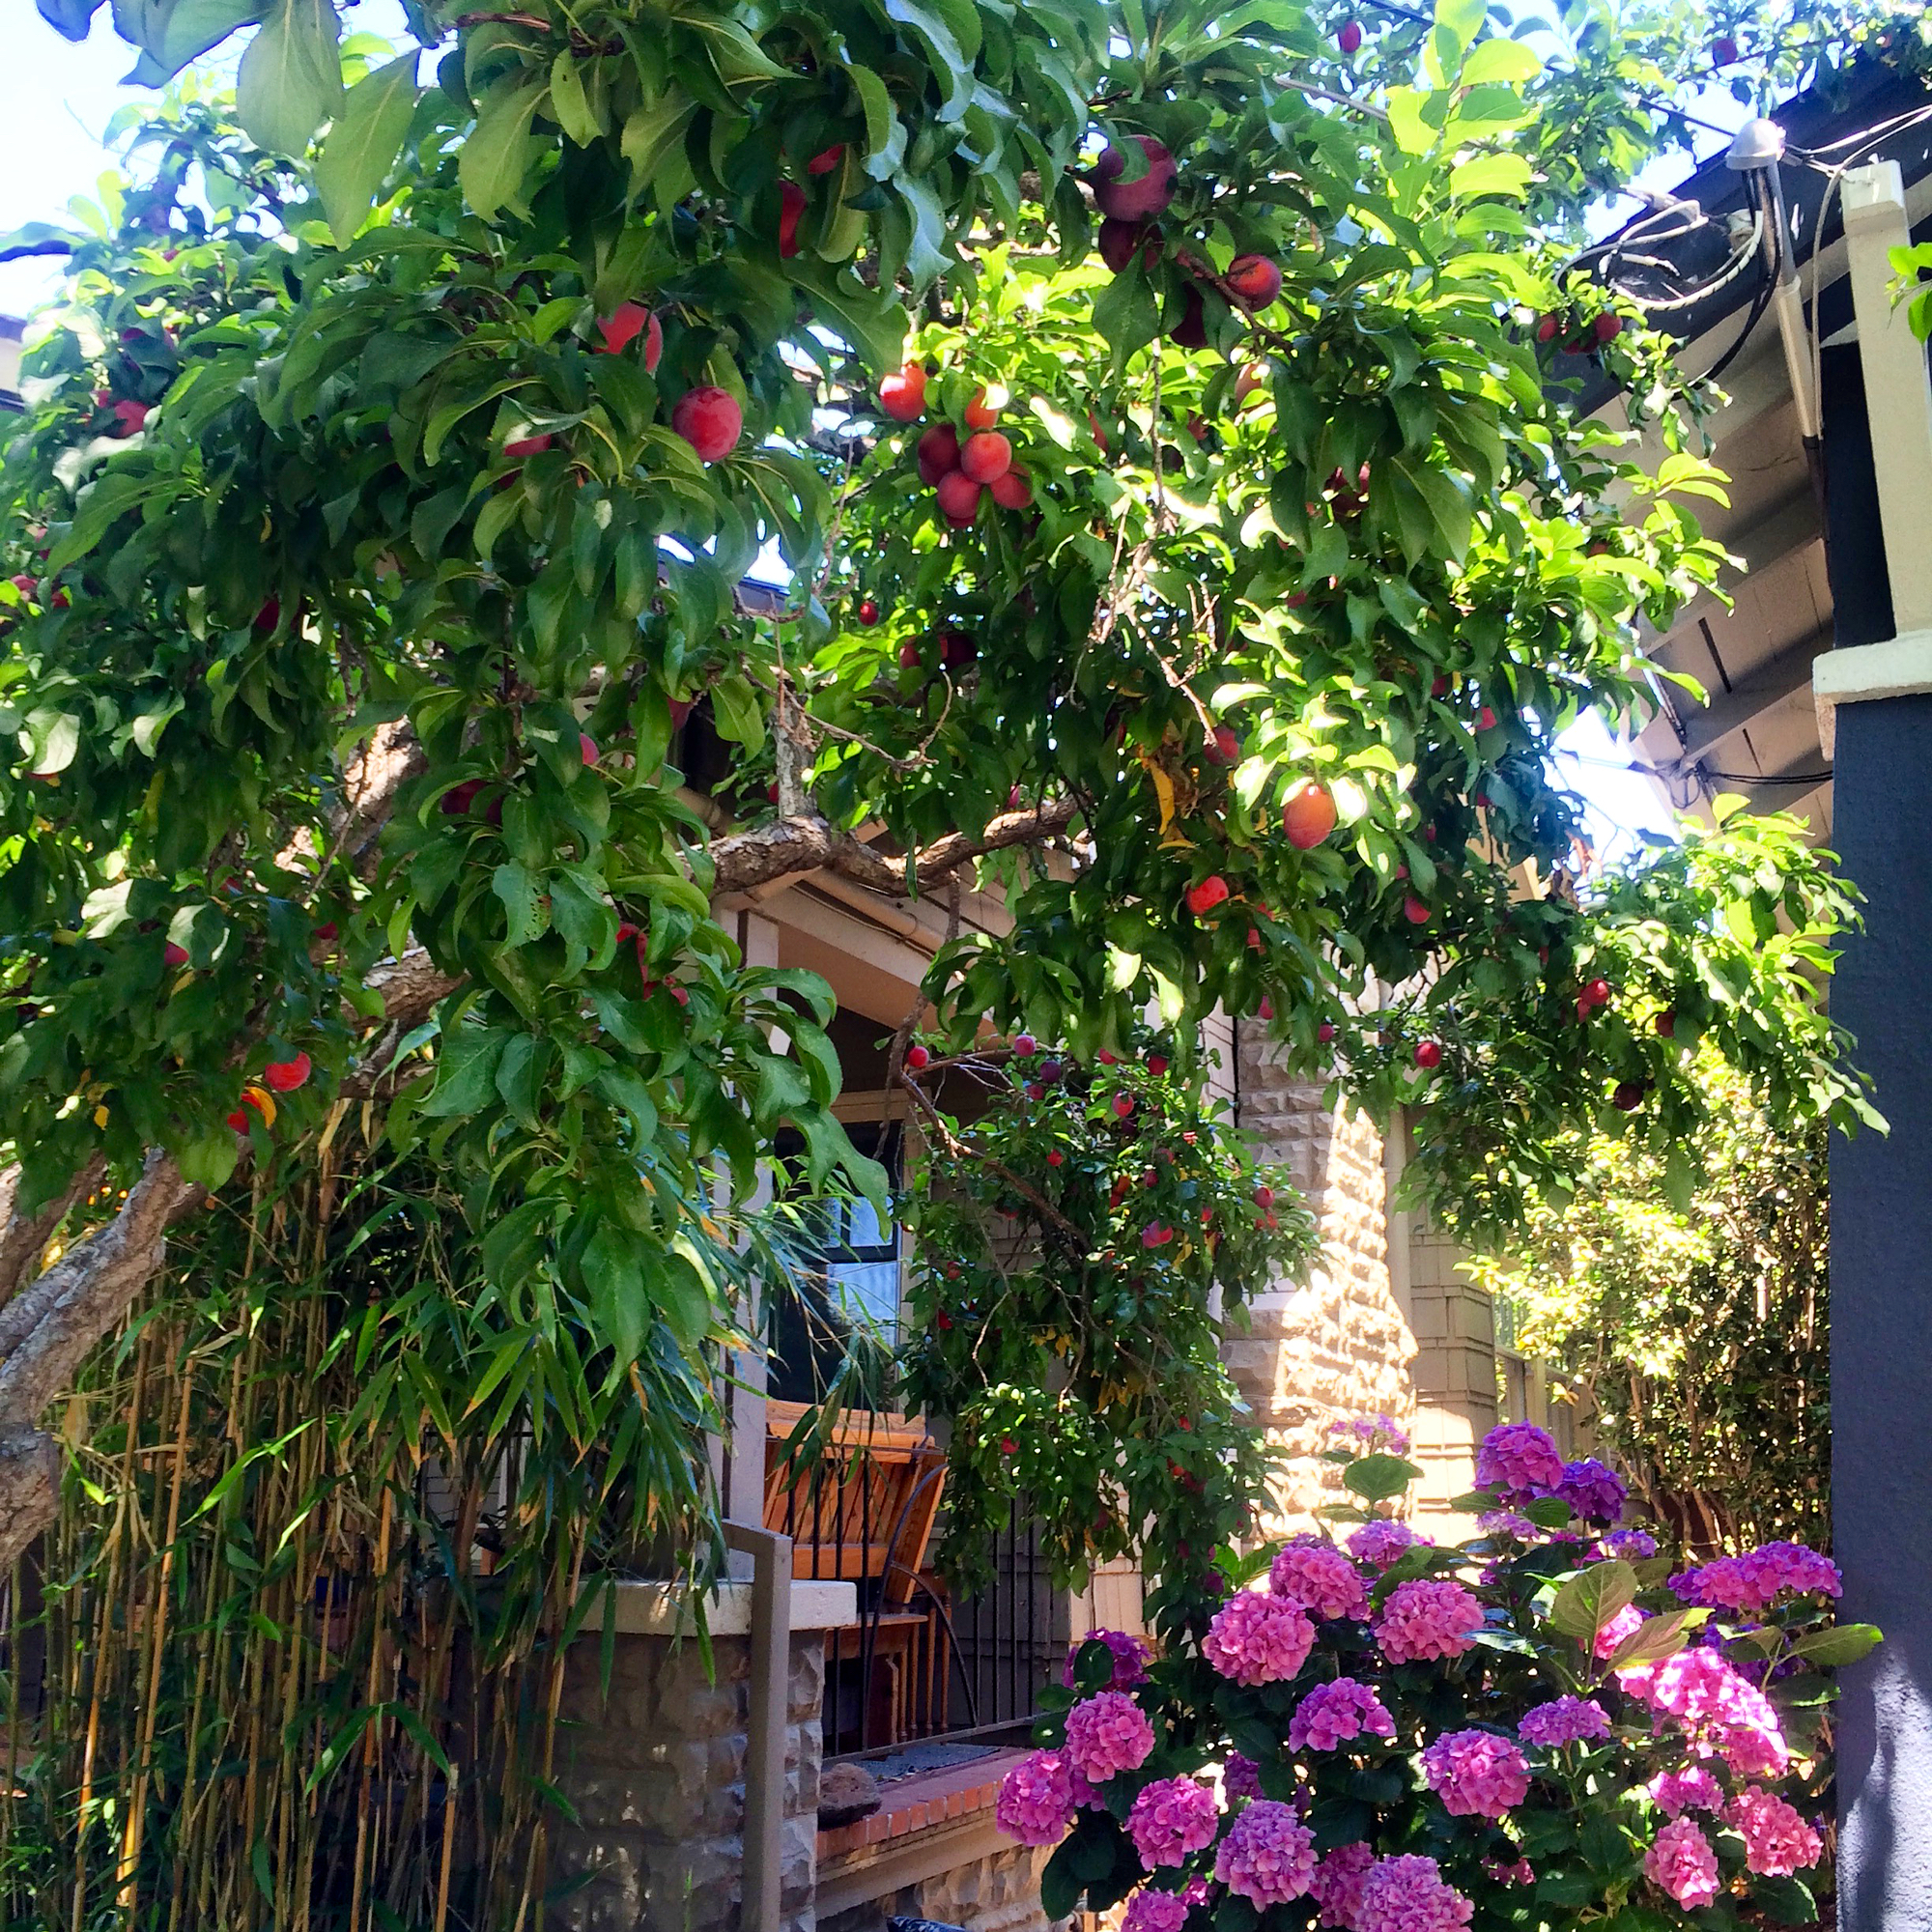
I gotta lotta neighbors with a lotta unused plums.
There are many ways to enjoy plums like use them in place of apricots in this ginger almond galette or simply eat them fresh and let the juices run down your chin, but if you're in need of putting up (isn't that a great phrase?) a lot of them for later use, preserves (hence the name) are a classic way to go. When I have a bunch of fruit, I like to make both jams and chutneys because it's nice to have a classic jam for topping toasts and yogurt, filling pastries, and making cocktails, but chutney is great to have around for savory applications. Serve it with blistered green beans or roast chicken eh, voilà! All of a sudden that ho-hum dish is exciting. The jam uses store-bought pectin - I used to only make my own pectin from citrus pith, but (although fun) it can be quite time consuming and the Pomona pectin is a faster way to success. The quantities and spices in both the jam and the chutney are adaptable to availability and preferences!
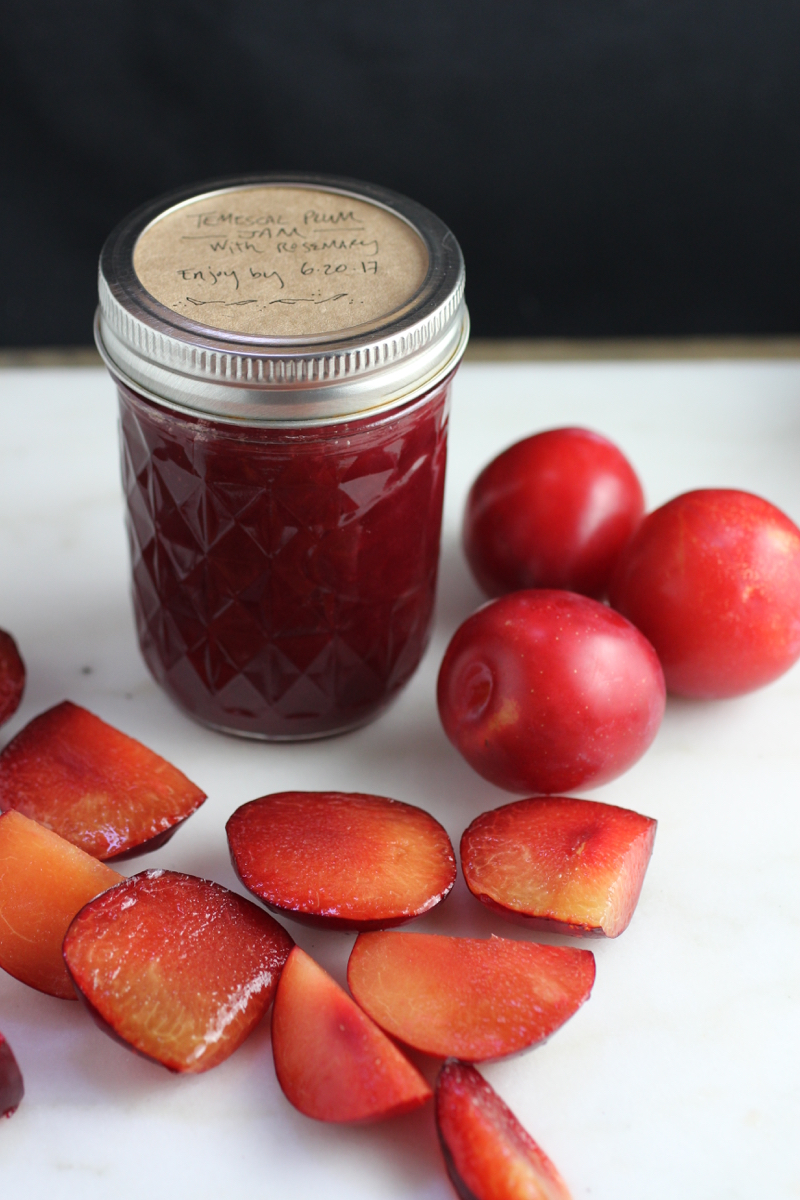
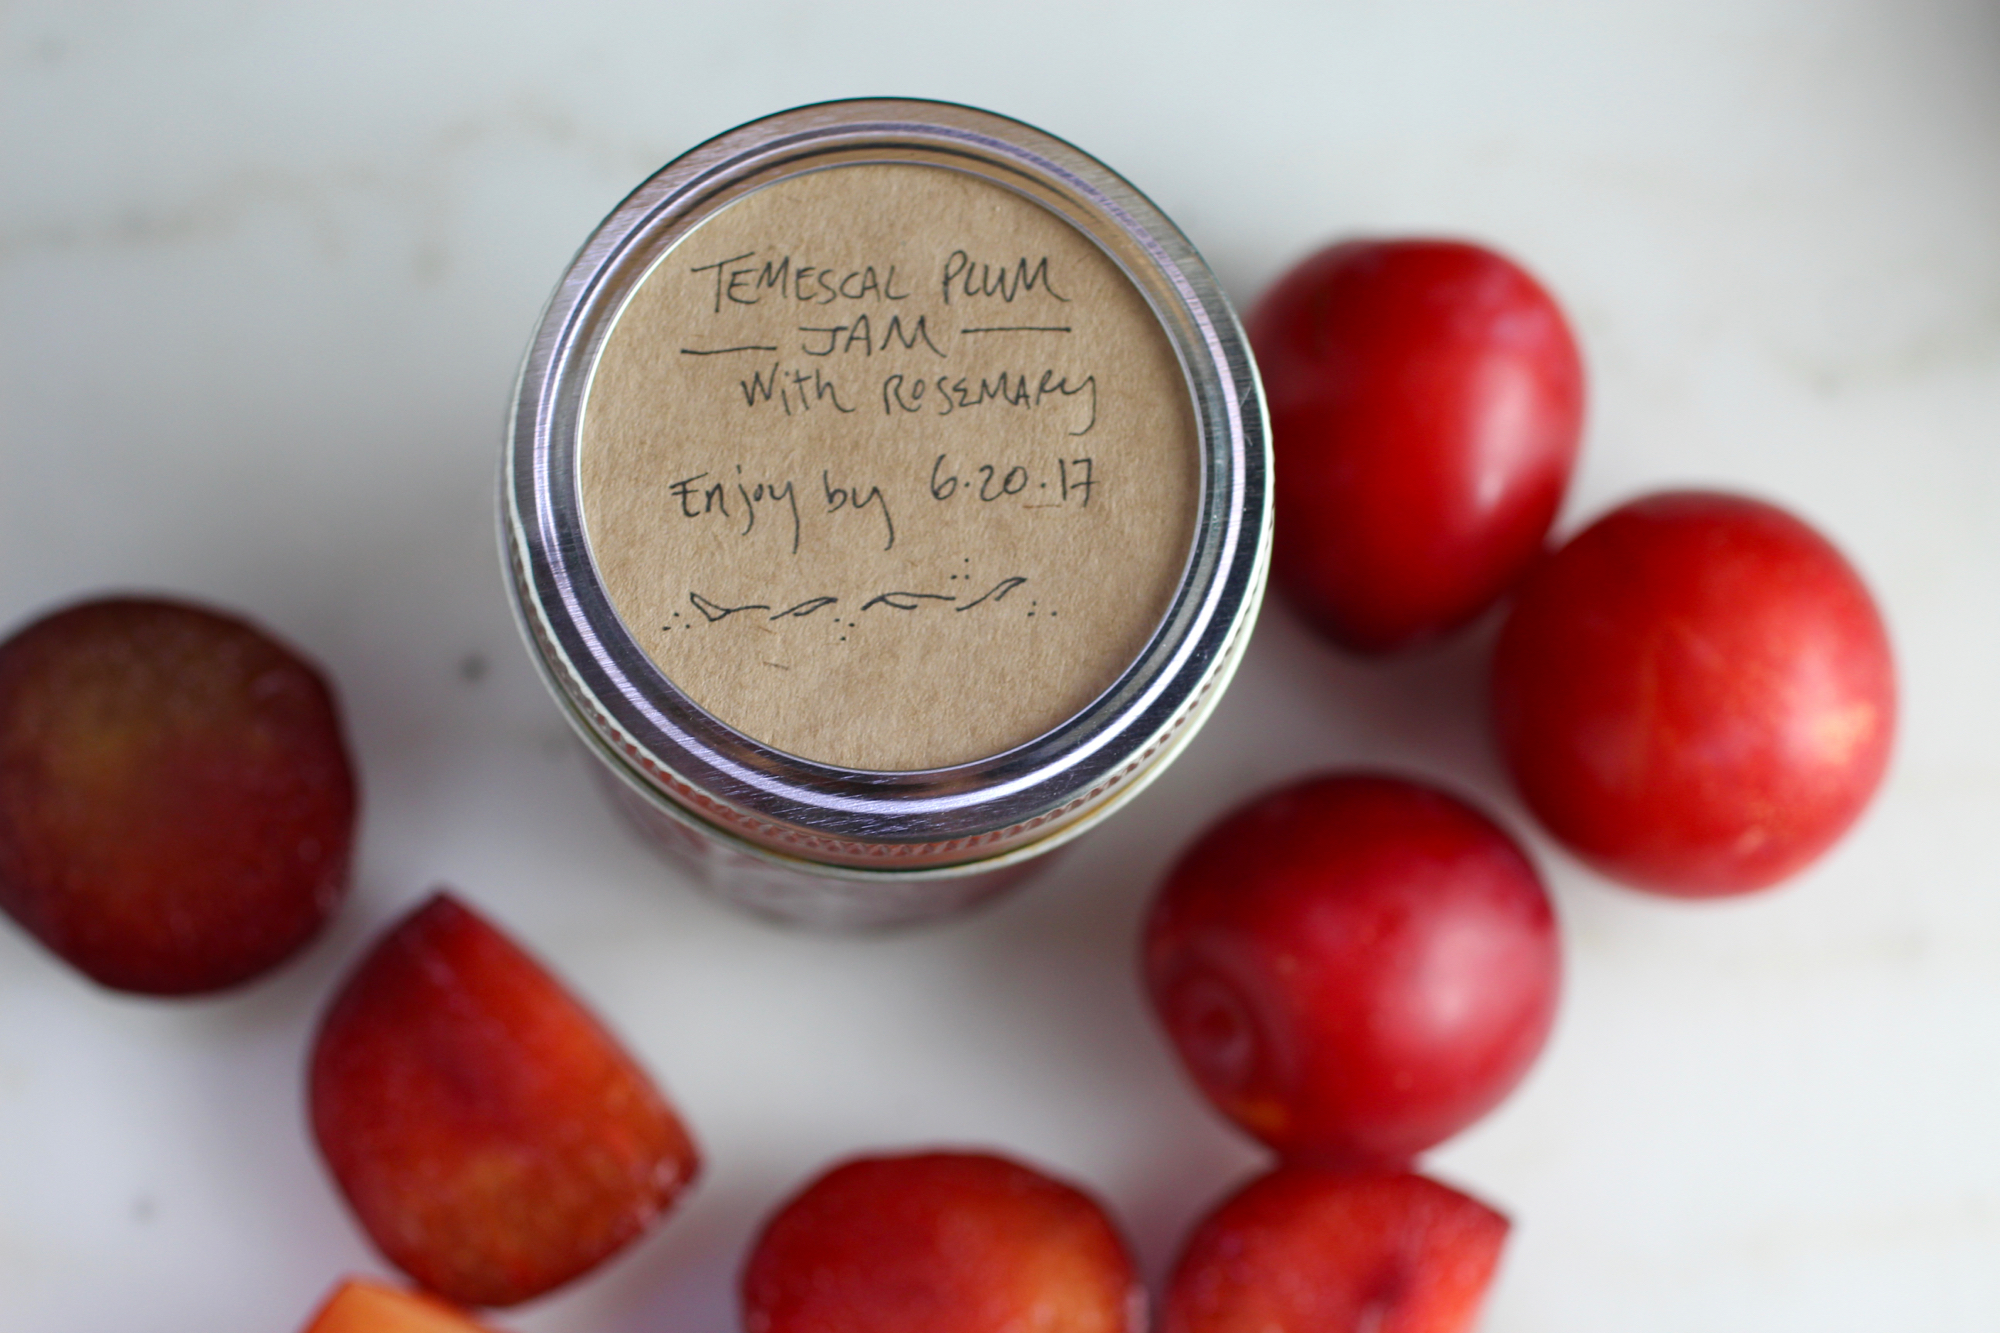
Plum-Rosemary Jam
Makes about twelve, 8-ounce jars. Recipe adapted from Serious Eats.
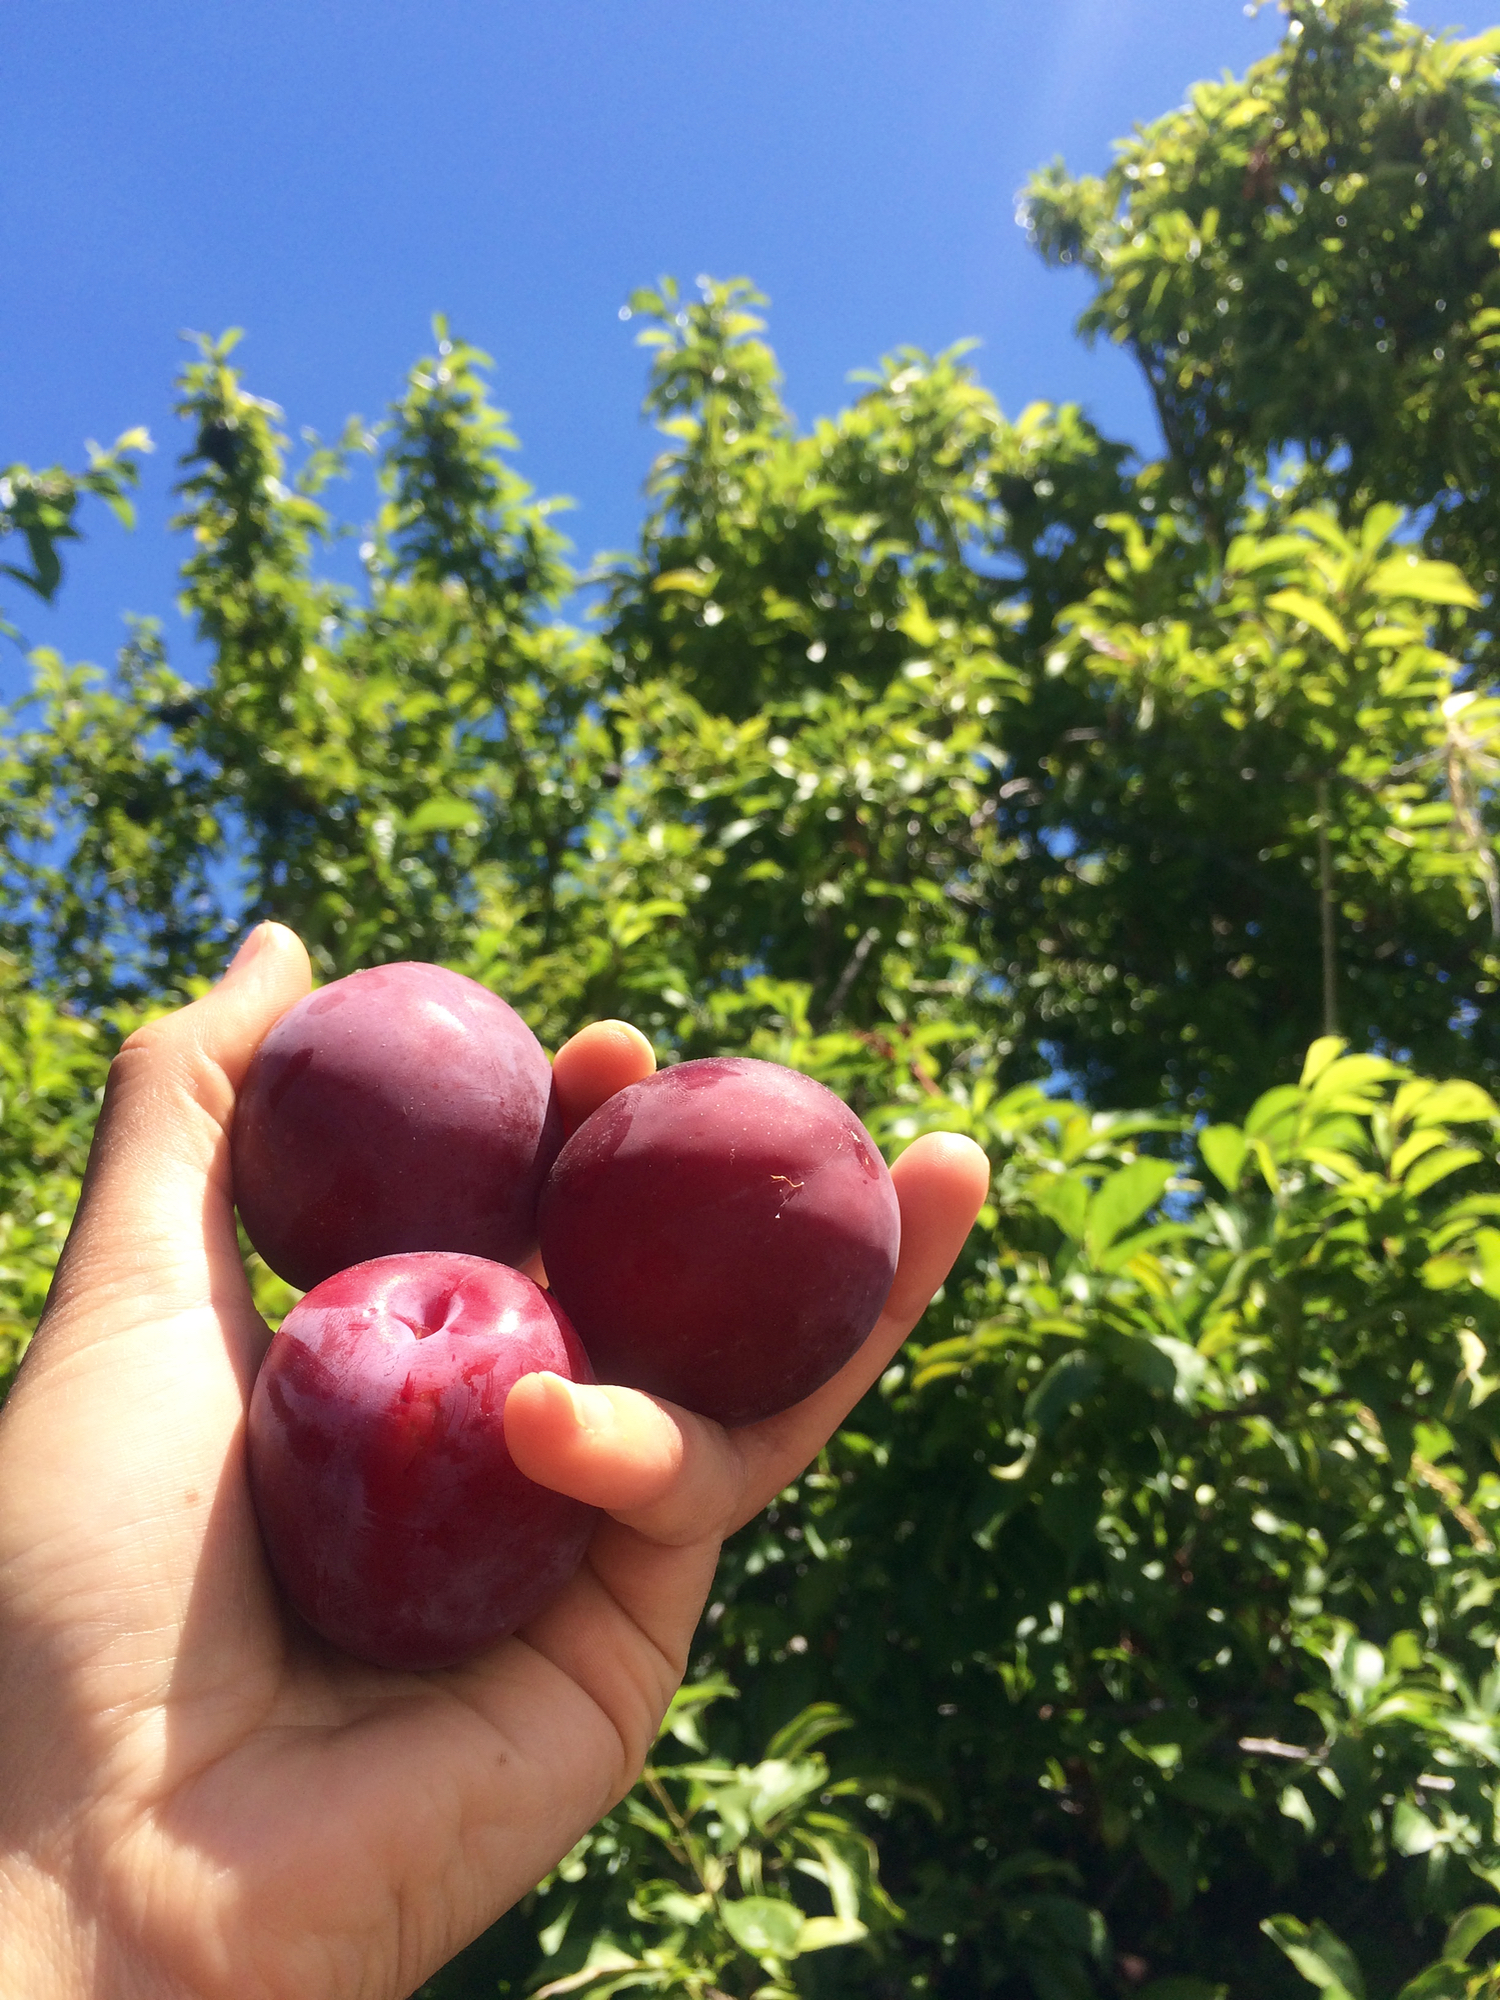
Glorious Santa Rosa plums.
6 pounds plums, pitted and chopped
2.25 pounds granulated sugar
1.5 Tbs Pomona's Universal pectin or other low-sugar pectin
2 Tbs calcium water (comes in pectin package)
2.25 ounces lemon juice (about 2 lemons)
3 sprigs rosemary
Toss plums with sugar and pectin in large bowl. Cover, refrigerate overnight (optional - this may be helpful if you don't have time to make jam after picking fruit and want to save it until the next day).
Put two spoons in the freezer.
Heat in large pot on medium with calcium water, lemon juice, and rosemary sprigs, stirring frequently. Cook for 30 min - 1 hour, skimming off foam* and smashing to desired texture. An immersion blender can also be used to break down fruit, but rosemary sprigs should be removed before blending.
Check for doneness by putting jam on spoon and putting back in freezer for 2 minutes. When you run your finger through the jam on the spoon, it should leave a track and jam should cling to the spoon (rather than running off). The jam in the pot will also be a lot glossier/smooth.
While jam is cooking, wash and sterilize jars and rings by submerging under water and boiling for 10 minutes. Throw in the lids once they’ve boiled for 10min and turn off water.
Remove rosemary sprigs and fill jars, leaving 1/2 -inch headspace. Screw on rings loosely, submerge again in water for another 10 minutes to seal.
Store at room temperature. Jam is good for up to 1 year.
*The foam is tasty and has a cool texture, kind of like meringue! Next time I do this, I want to blend into egg white foam and see if it will set up into a cookie, but is great and fun on desserts regardless.
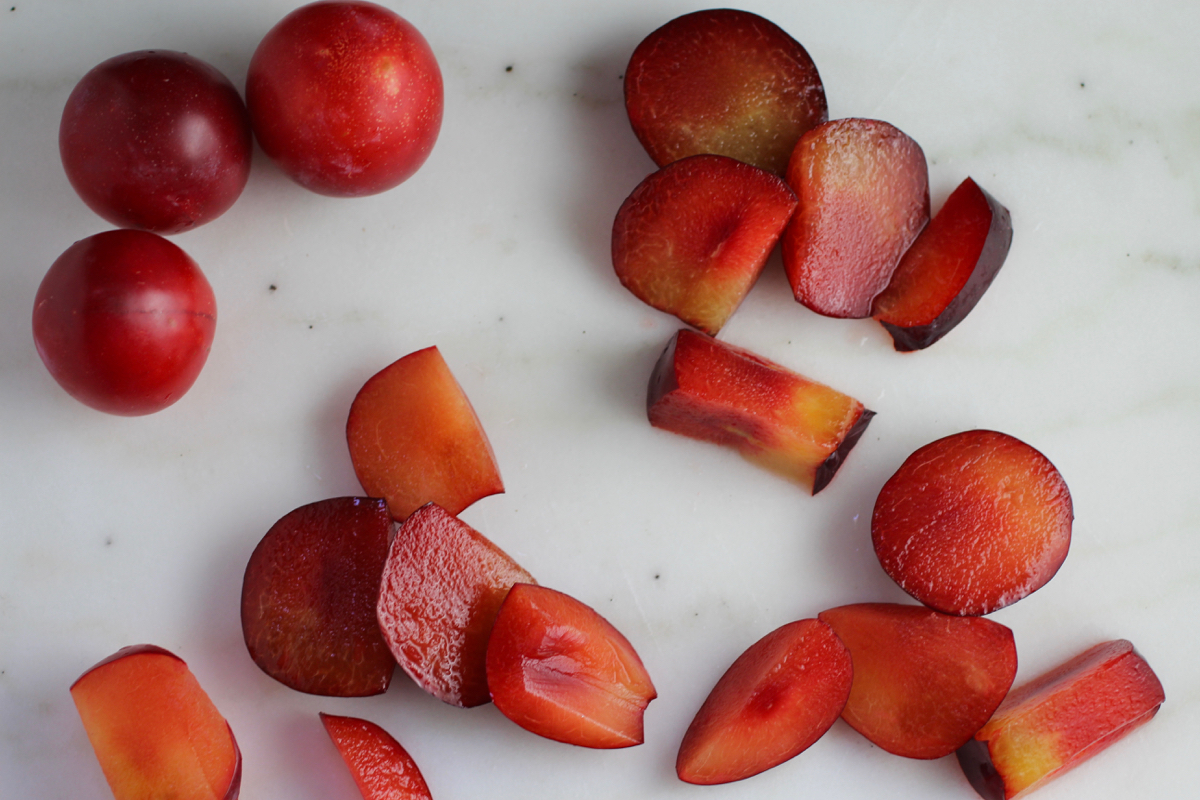
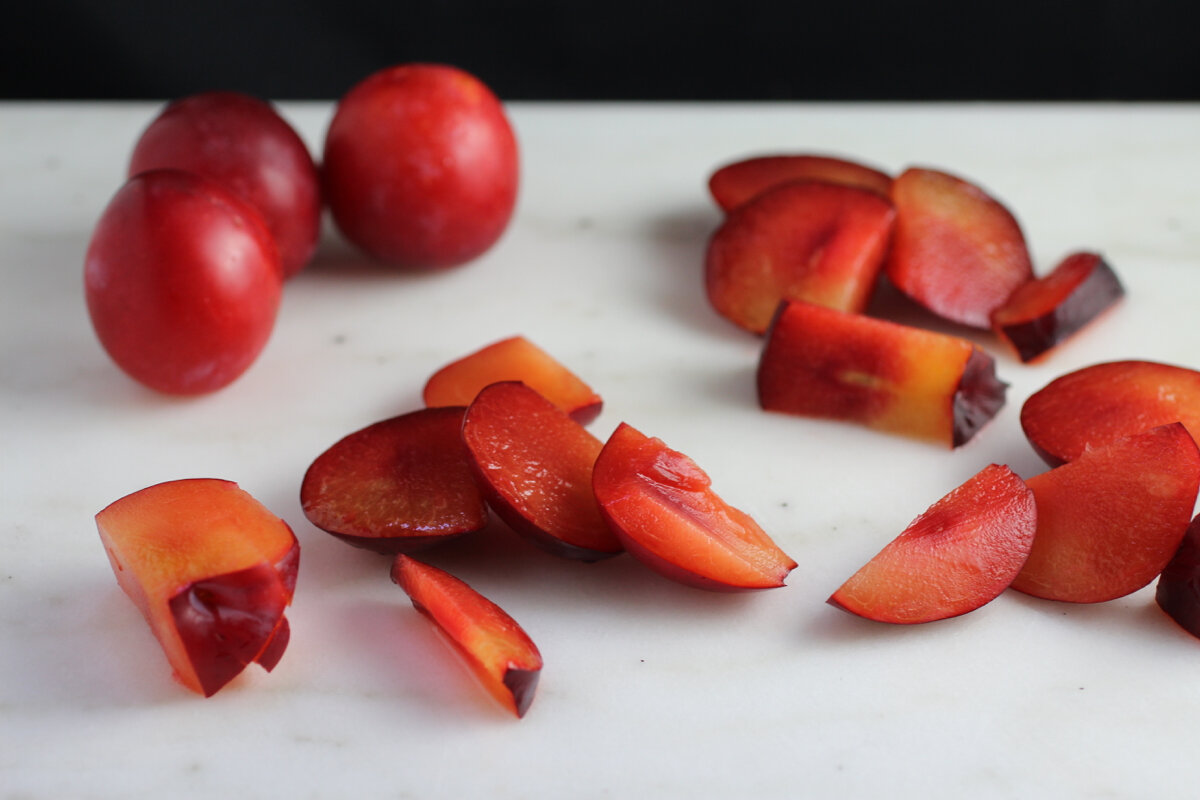
The flesh is yellow in color and the taste tart-sweet. Cut around the pit, as it does not fall out willingly.
Spiced Plum Chutney
Makes about four, 8-ounce jars. Recipe adapted from Jamie Oliver (with a lot more kick added!)
2.2 pounds plums, pitted and chopped
4 shallots, thinly sliced
1 tablespoon neutral oil (grapeseed or vegetable)
3 fresh bay leaves
7 cloves
9 allspice seeds
1 tablespoon black or yellow mustard seeds
1 tablespoon coriander seeds
2 teaspoons red pepper flakes (optional - this amount is pretty spicy)
1-3/4 cups brown sugar
3 tablespoons grated ginger
Zest from 1 large orange
Juice from 1 large orange
300ml cider vinegar or 200ml red wine + 100ml water
1/2-1 teaspoon salt
Cook shallots in oil on low until golden.
Add bay leaves and all spices except for ginger and sauté for 1 minute.
Stir in plums. Add sugar, ginger, and orange zest. Squeeze juice from orange into measuring cup, top off with cider vinegar or vinegar/water combination until it reaches 450ml. Add this to plums and bring to a boil. Simmer until thick about 30 minutes - 1 hour. Salt to taste.
While chutney is cooking, wash and sterilize jars and rings by submerging under water and boiling for 10 minutes. Throw in the lids once they’ve boiled for 10min and turn off water.
Remove bay leaves and as many allspice seeds as you can and fill jars, leaving 1/2 -inch headspace. Screw on rings loosely, submerge again in water for another 10 minutes to seal.
Store at room temperature. Chutney is good for up to 1 year.
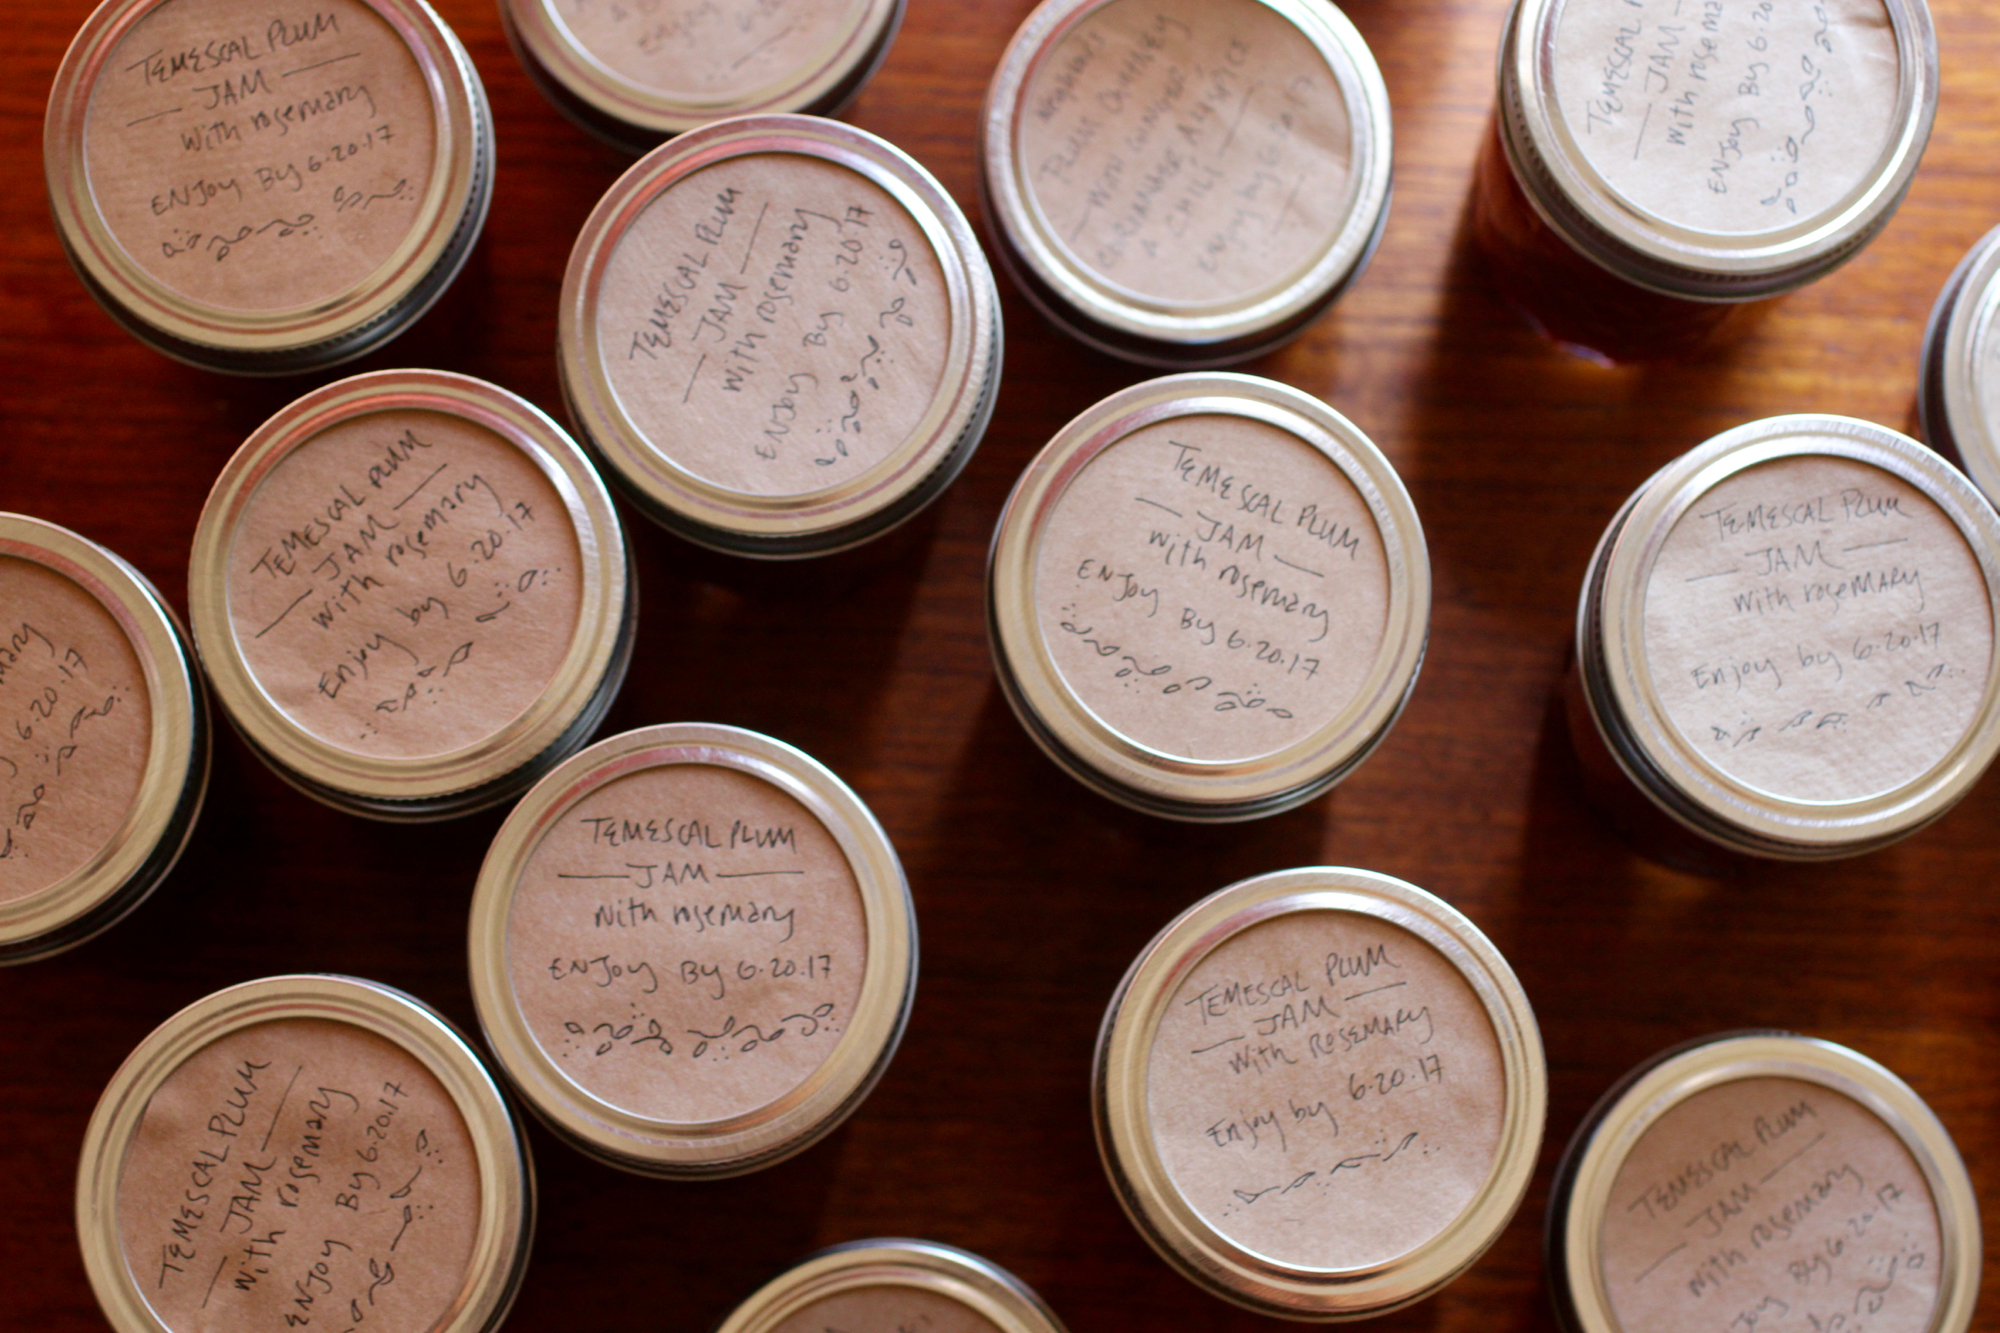
To label jam, I use old paper grocery bags - just trace the outside of a ring, cut out a circle slightly smaller than the outer edge, and then screw on top of the lid.
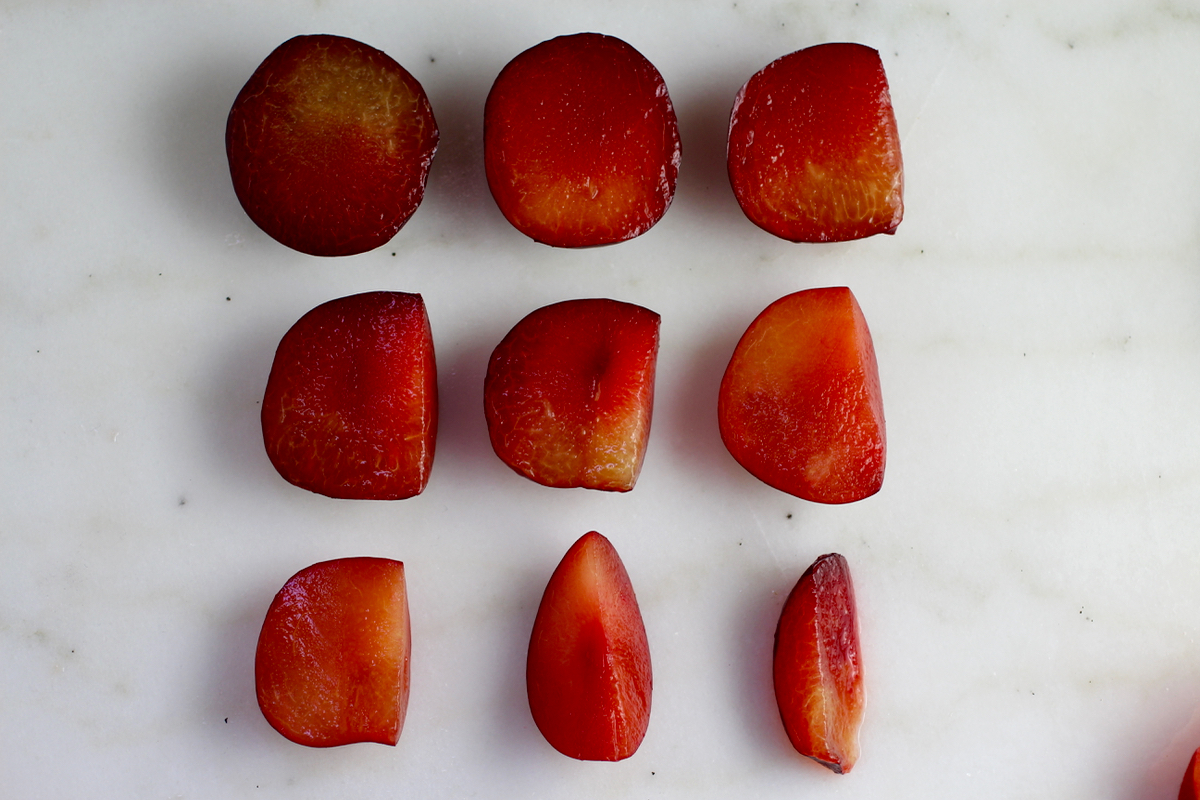
Phases of plum.
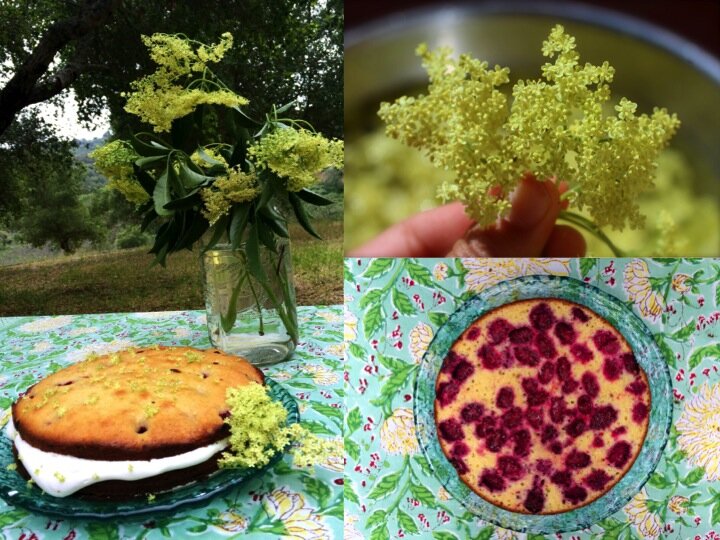
Classic Elderflower Cordial & Elderflower berry birthday cake
Bring the spring to any beverage or dessert.

Any search for the culinary uses of elderflower will pull up elderflower cordial. By cooking the flower head in what is essentially a diluted simple syrup, you can pretty easily preserve its fragrance for future use. Which is great, because elderflower is an amazing, special plant that deserves to be savored. The most common way to enjoy elderflower cordial is by using it in cocktails (gin, elderflower, and lemon, is a tasty simple classic) or adding a bit to sparkling wine or even sparkling water for a nice kid-friendly afternoon refreshment. I also love drizzling elderflower cordial over any dessert for a quick and easy way to make that dessert oh-so-special (such as for my huckleberry-elderflower birthday cake below).
Elderflower cordial: Makes about 1 liter.
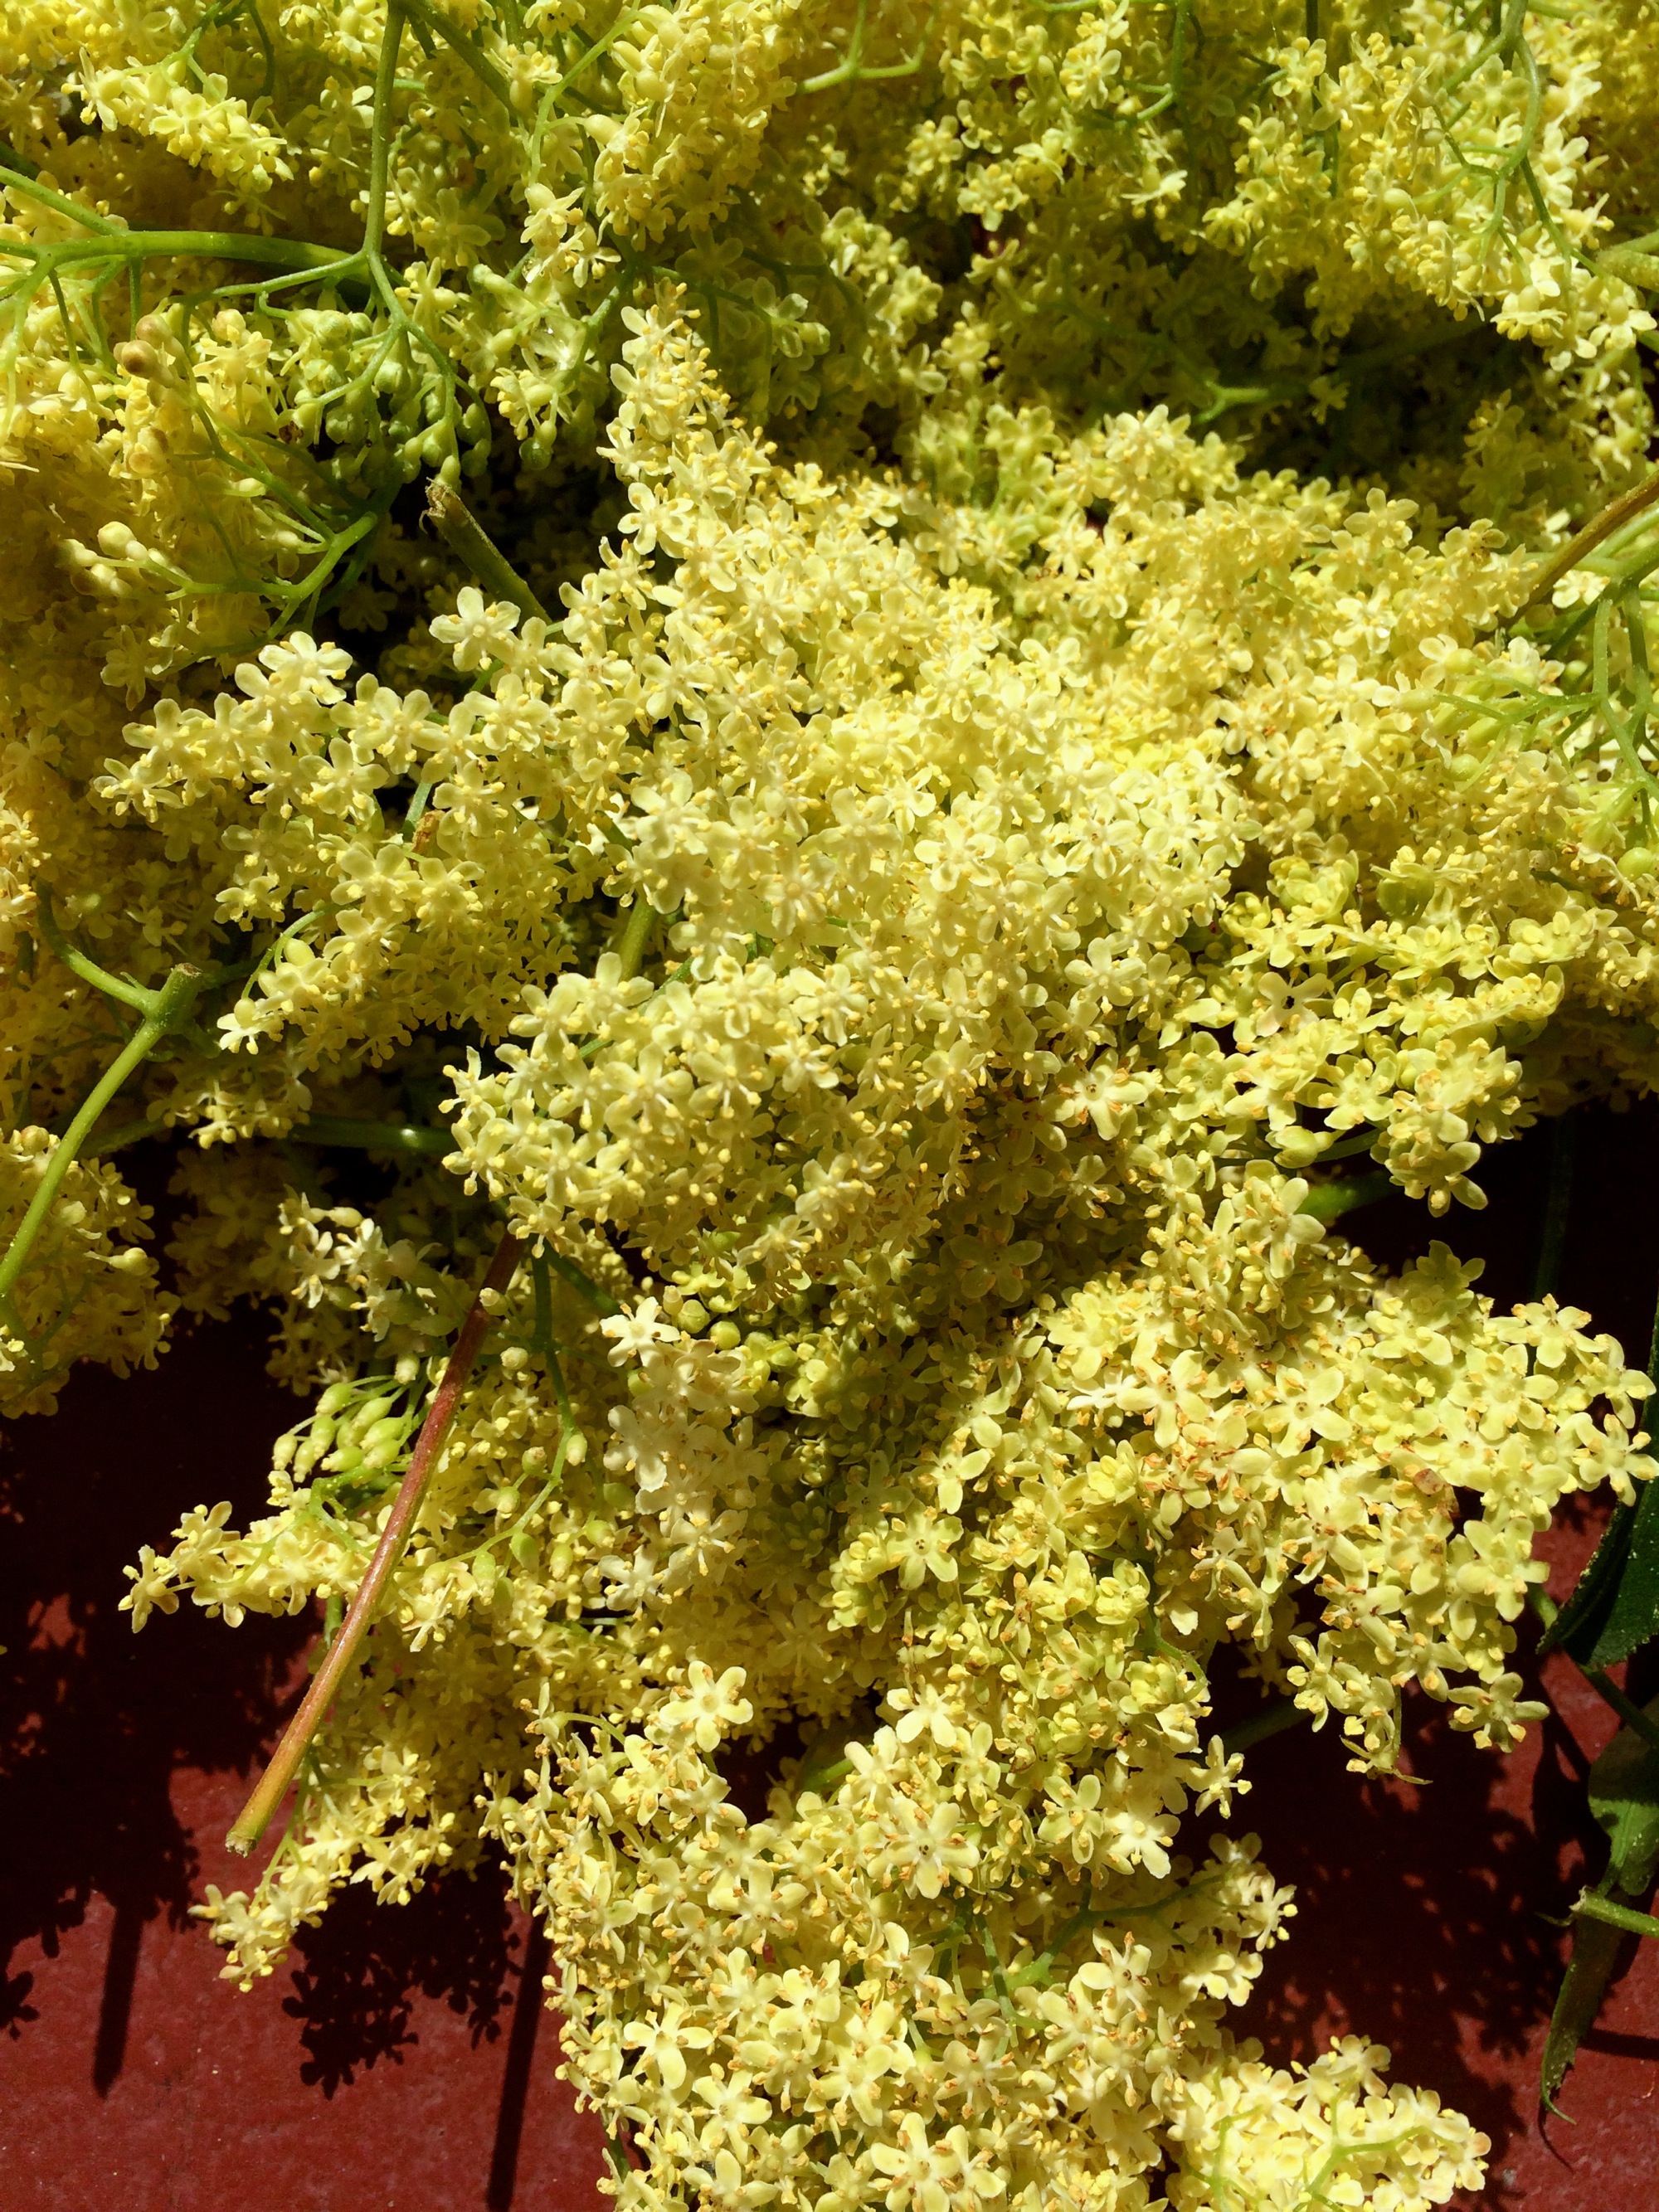
20 medium elderflower heads (about 2-3'' across)
Grated zest of 2 lemons
Juice of 2 lemons
4 cups water
3.5 cups sugar
Note: Some recipes call for citric acid (about 1 teaspoon for this batch), which helps the cordial keep for longer.
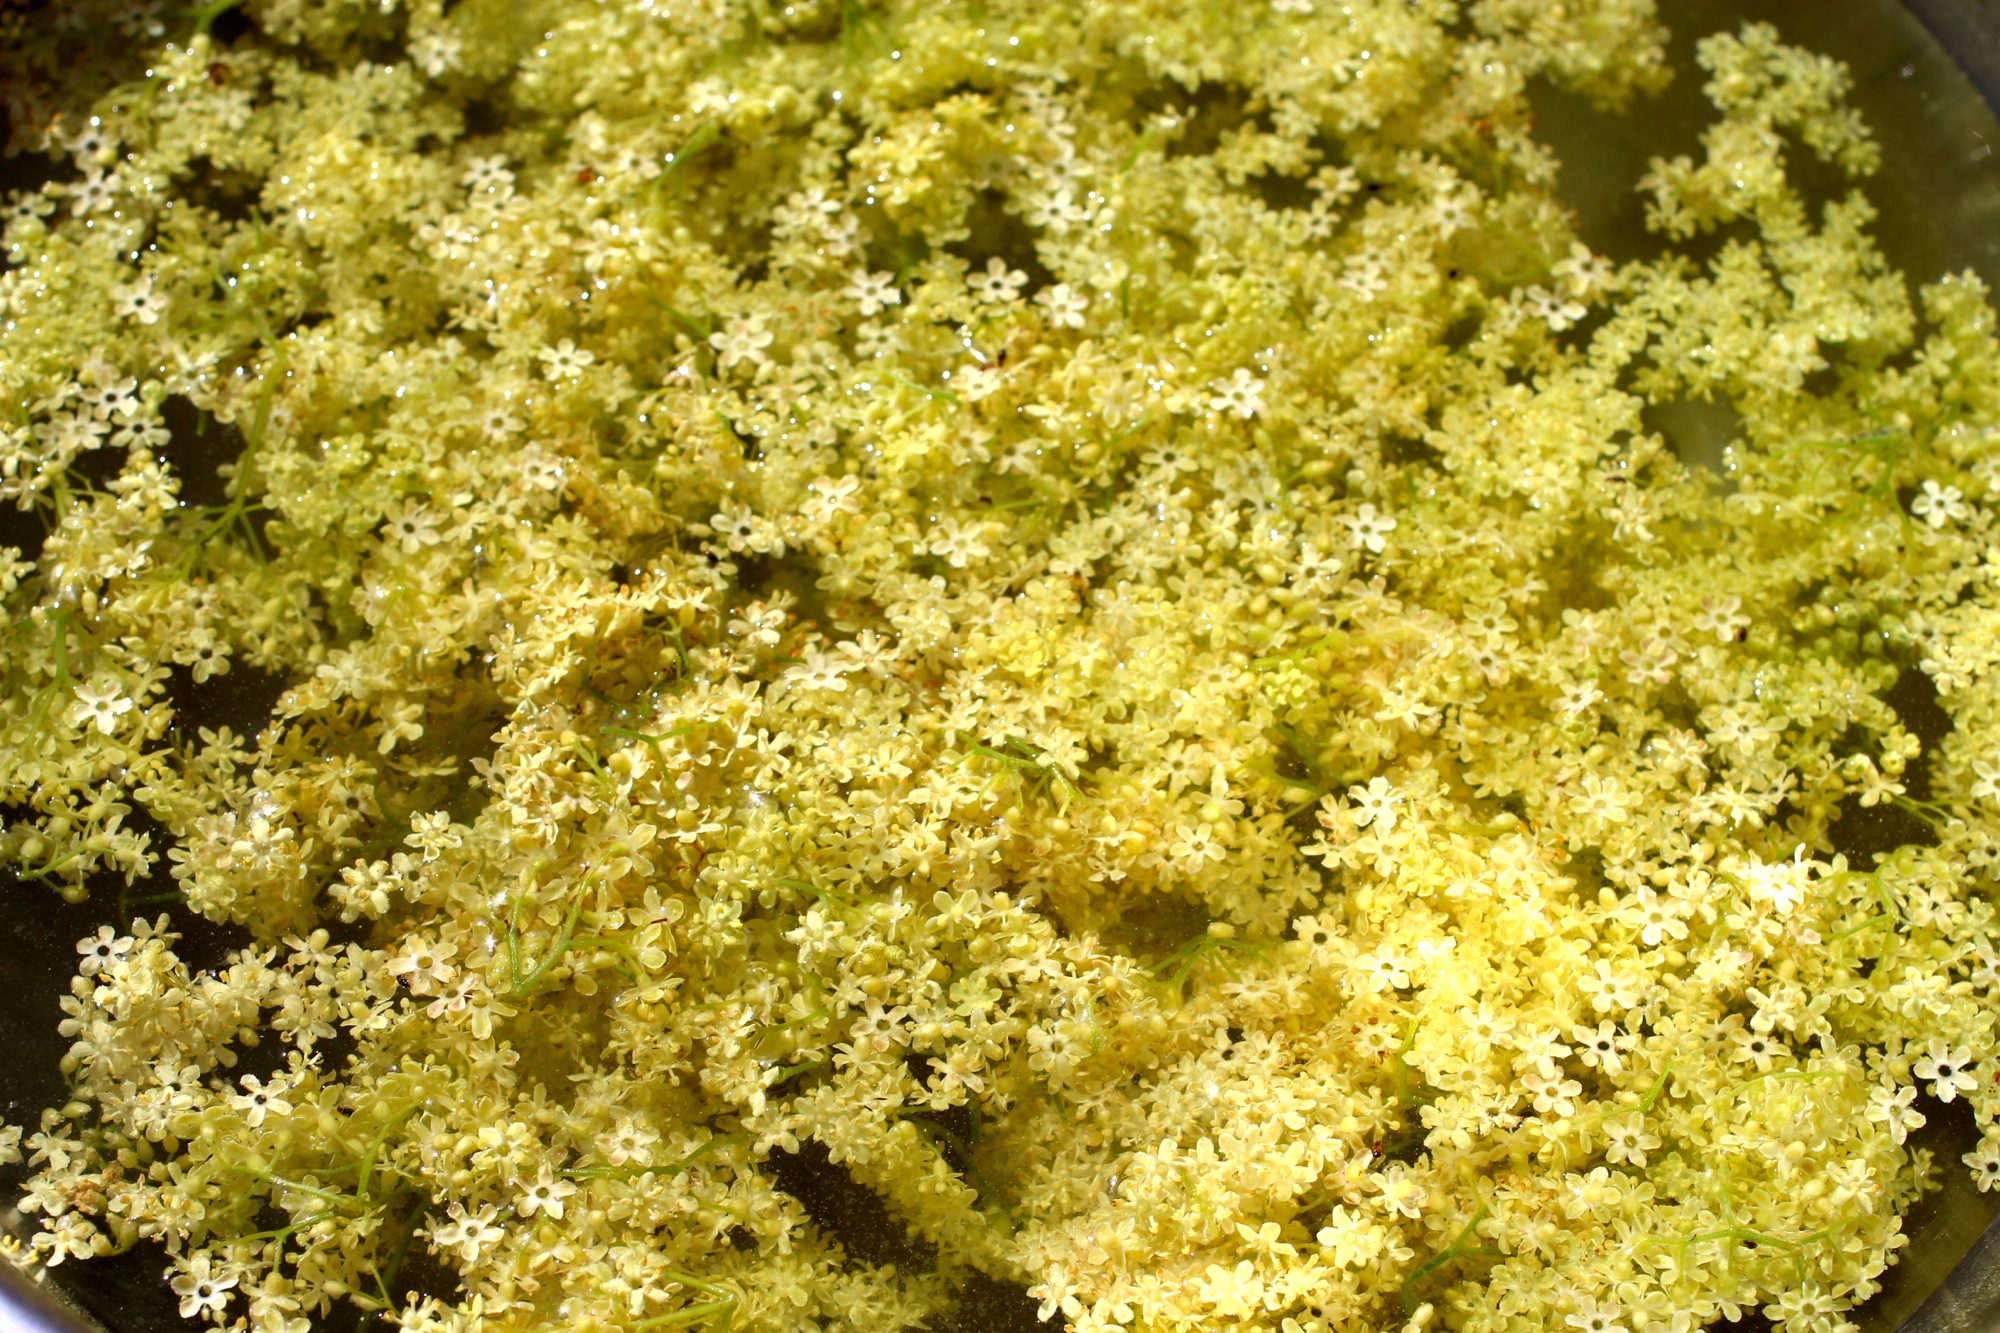
Infusing water with elderflower essence.
Inspect the elderflower heads carefully and remove any insects. Remove flowers from most of stems (especially the large ones), wash by quickly submerging in cold water, and drain. Place the flower heads in a large bowl together with the lemon zest.
Bring water to the boil and pour over the elderflowers and citrus zest. Cover and leave overnight to infuse.
Strain the liquid through cheesecloth and pour into a saucepan. Add the sugar and the lemon juice. Heat gently to dissolve the sugar, then bring to a simmer and cook for 2-3 minutes.
Use a funnel to pour the hot syrup into sterilized bottles and seal with a sterilized cap or cork. Bottles can be sterilized by washing with soapy water then plunging into boiling water for 5 minutes and allowing to air dry.
Allow to cool then store in the refrigerator or freezer. Cordial will keep in the fridge for 2 weeks and in the freezer for 1 year. I like to freeze the cordial in smaller batches so I can use it as needed.
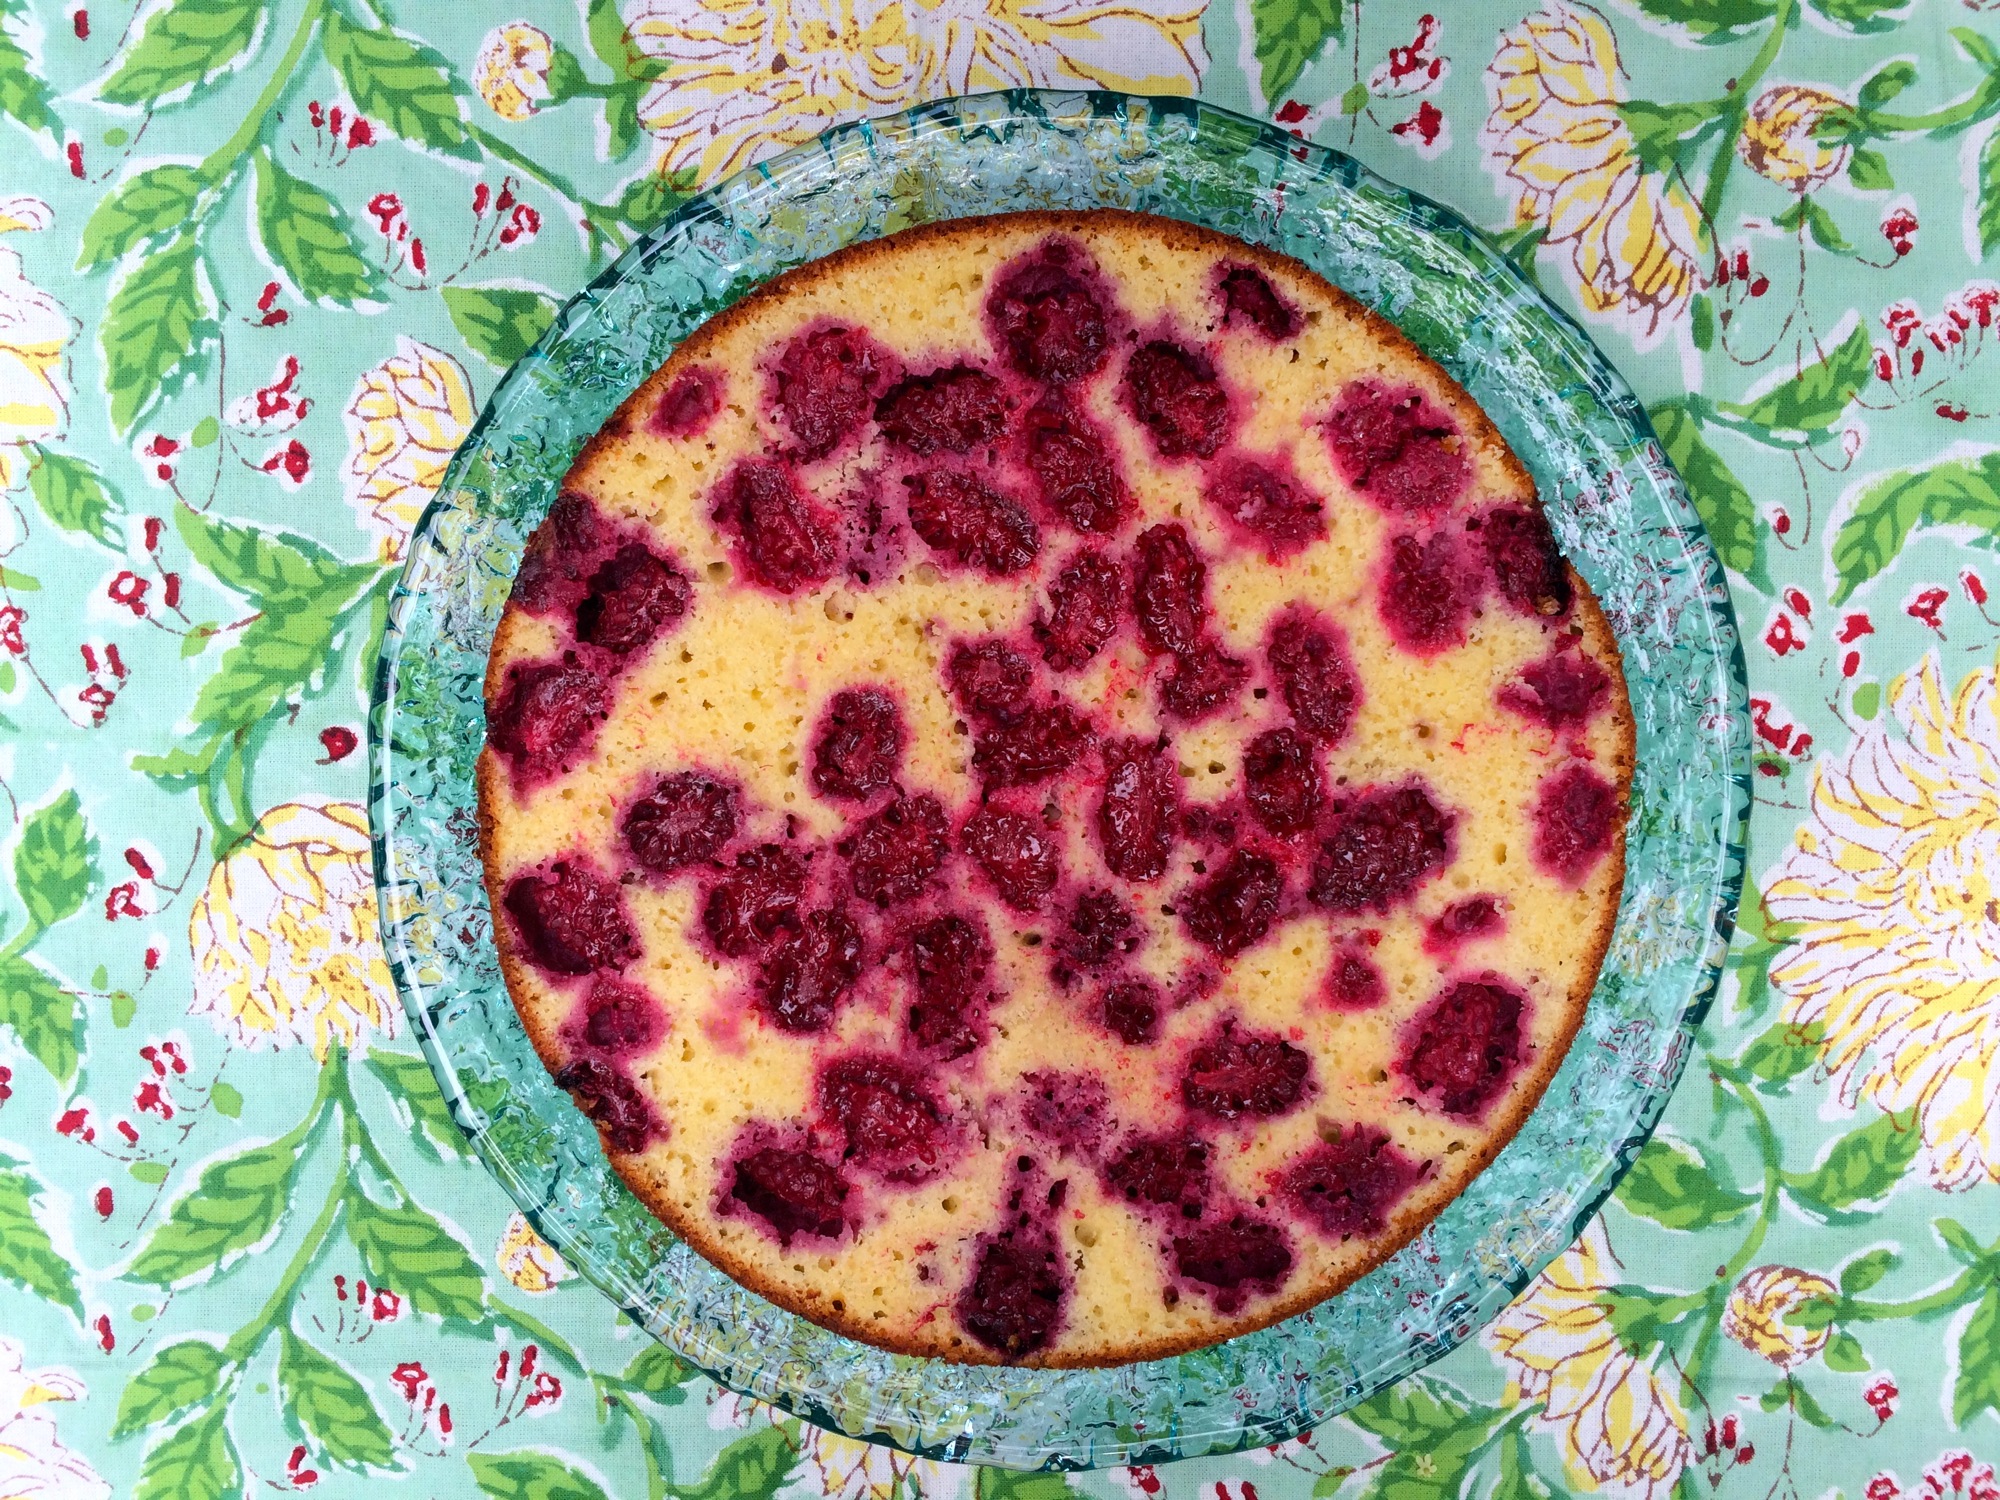
Elderflower-Mulberry Birthday Cake: Serves 12.
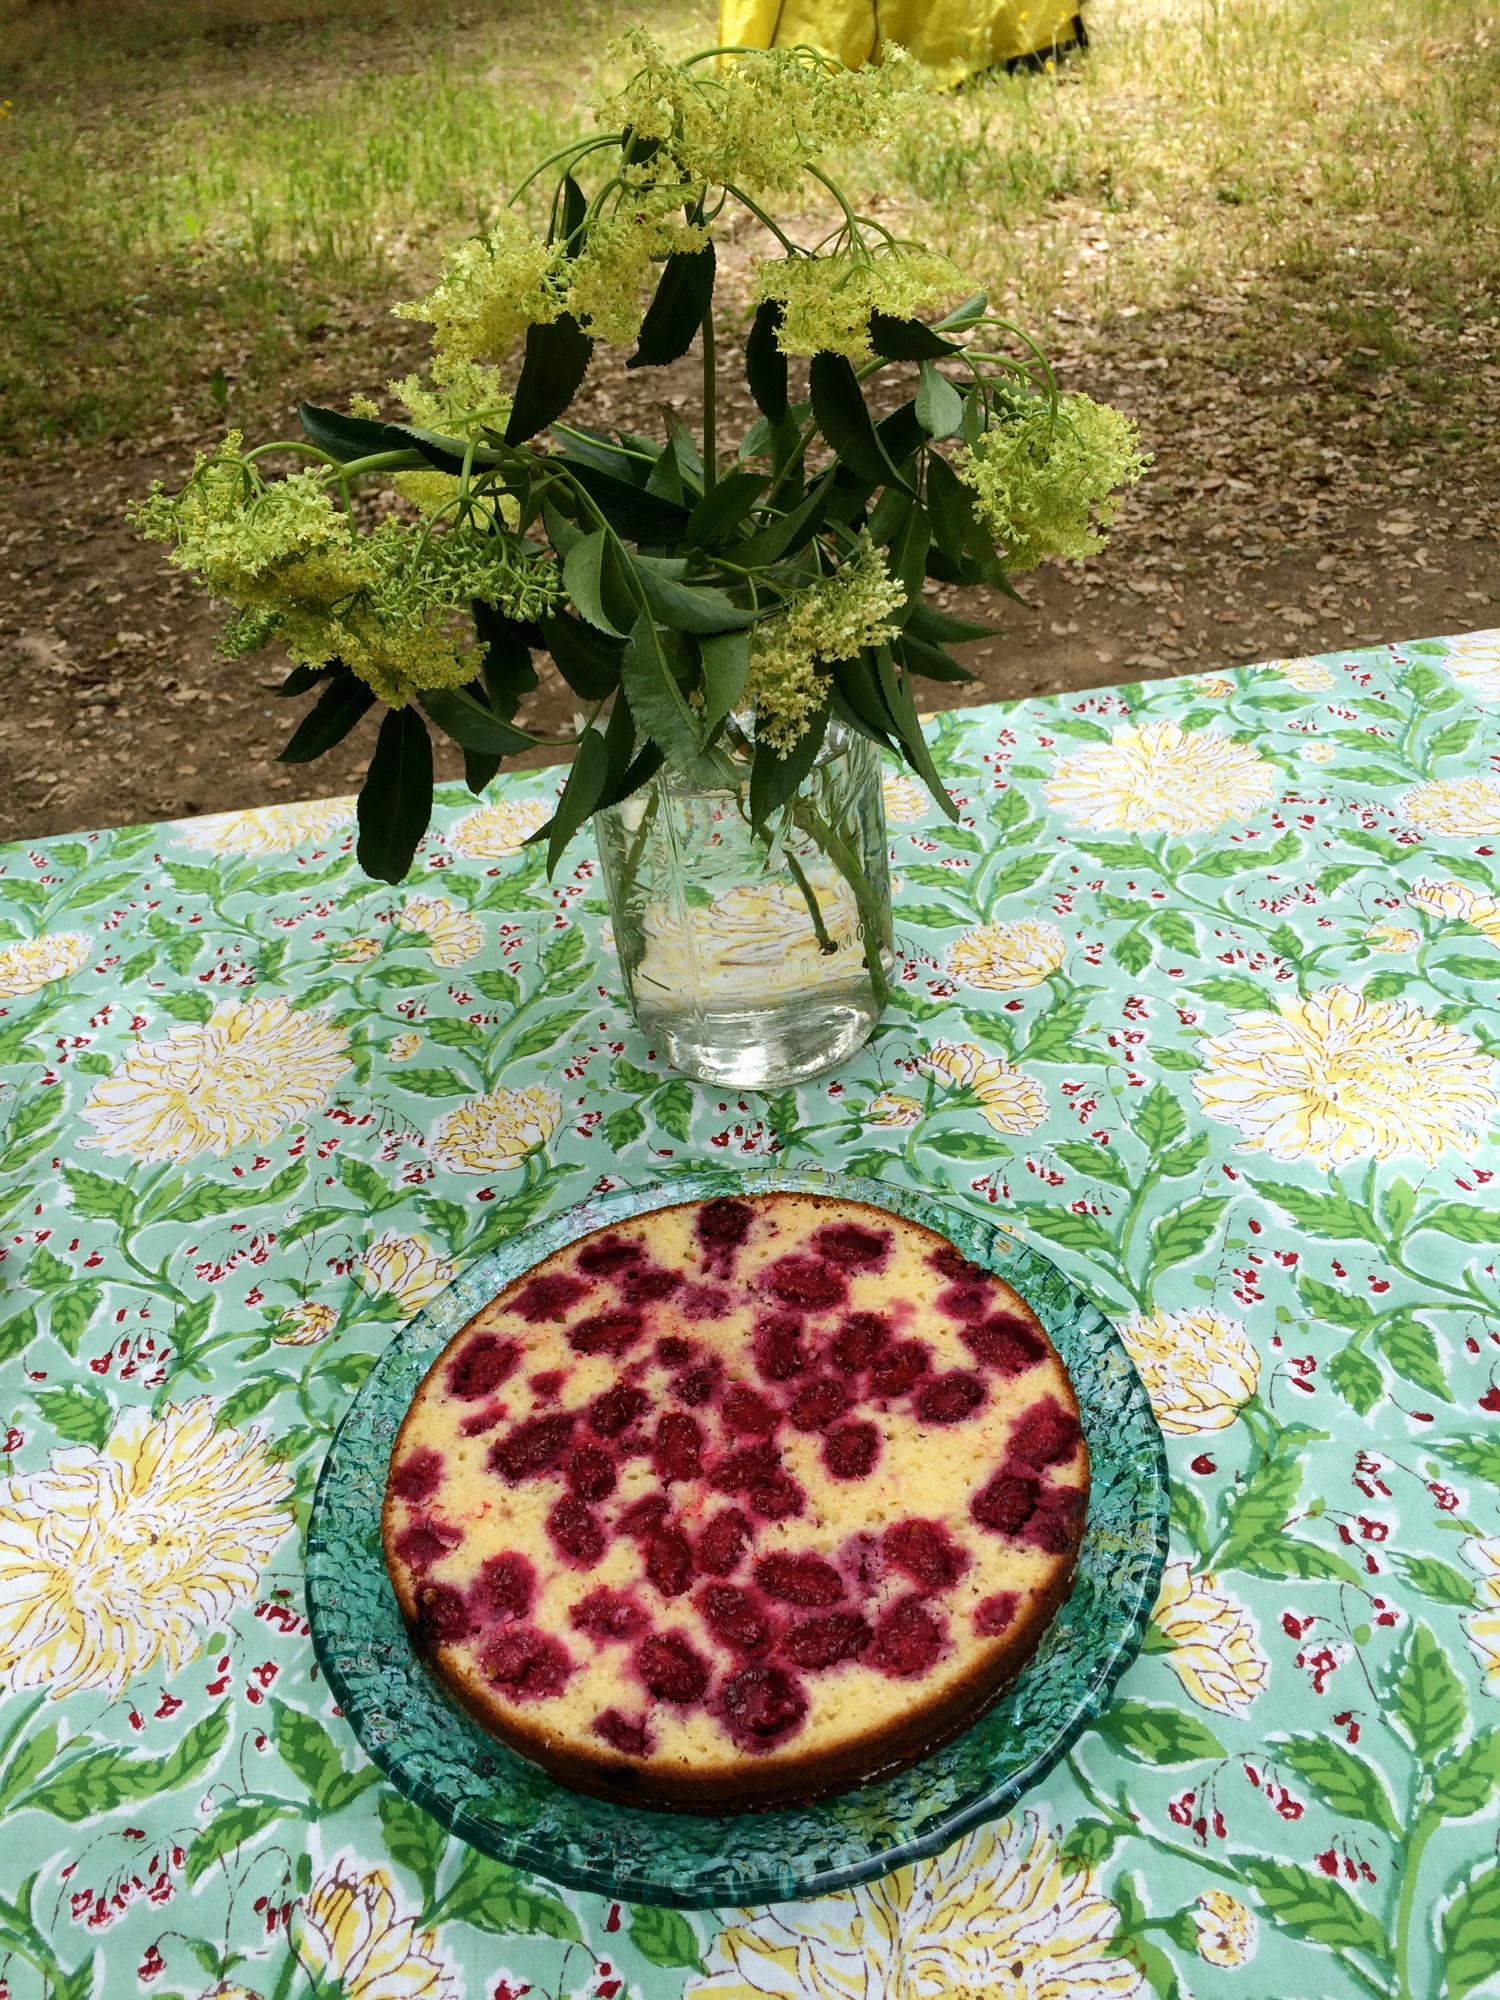
Bottom half of the cake has been drizzled with cordial and is about to be spread with tart whipped cream.
For my birthday last weekend, I had an inkling to make a cake infused with elderflower cordial, but had a hard time deciding exactly what else to include - apricots and almonds? loquats and honey? lemon and poppyseed? Spring is a fun time to daydream about desserts! While walking through my surprisingly abundant neighborhood however, I was lucky enough to stumble upon some mulberries, which helped to complete my vision. My birthday party was a campout and the cake held up nicely for several hours, even though I was impatient and made the tart whipped cream earlier than necessary:) My photos do not show the final spread of whipped cream on the top, as it was too dark for photos when I added this piece.
1/2 cup plus 5 tablespoons unsalted butter, room temperature
3/4 cup plus 2 tablespoons granulated sugar
4 eggs
2 tablespoons yogurt
3 tablespoons plus up to 3/4 cup elderflower cordial
1 cup all-purpose flour
1/2 cup almond meal
2 teaspoons baking powder
3/4 teaspoons salt
2 cups fresh mulberries, washed and dried
3/4 cup whipping cream
1/2 cup crème fraîche
1/2 teaspoon vanilla extract
Grease a 9-inch springform pan and preheat the oven to 350 degrees F.
Cream the butter and 3/4 cup sugar in a mixer until they’re light and fluffy. Beat in the eggs one at a time then incorporate the yogurt and 3 tablespoons of the elderflower cordial.
In a separate bowl, mix together the flour, almond meal, baking powder, and salt and slowly whisk this into the wet mixture in 3 batches. Once its fully incorporated, pour half of the batter into the greased springform pan, then spread mulberries evenly over the top, followed by remaining batter and bake for 1 hour. Cake is done when a toothpick comes out clean. Remove from oven and allow to cool.
While cake is baking, beat whipping cream until almost stiff, continue beating as you add in 2 tablespoons sugar and vanilla and then lightly whisk in crème fraîche.
The gorgeous mulberry layer is revealed!
Once cake has cooled, cut in half to make two layers using a large serrated knife. You should be cutting right through the berry layer and at this point, you will be able to see all of the beautiful mulberries hiding inside.
Drizzle up to 1/4 cup of elderflower over the bottom layer and top with half of the tart whipped cream, followed by the other half of the cake. Drizzle up to another 1/4 cup of elderflower (for both of these, it depends on how sweet/moist/elderflowery you want the cake) and spread the other half of the whipped cream over the top. Top with a sprinkling of fresh elderflowers if you have them and drizzle each piece of cake with a little more elderflower cordial before eating.

This version is before the addition of the final tart whipped cream layer.