Savory Corn and Chard Porridge
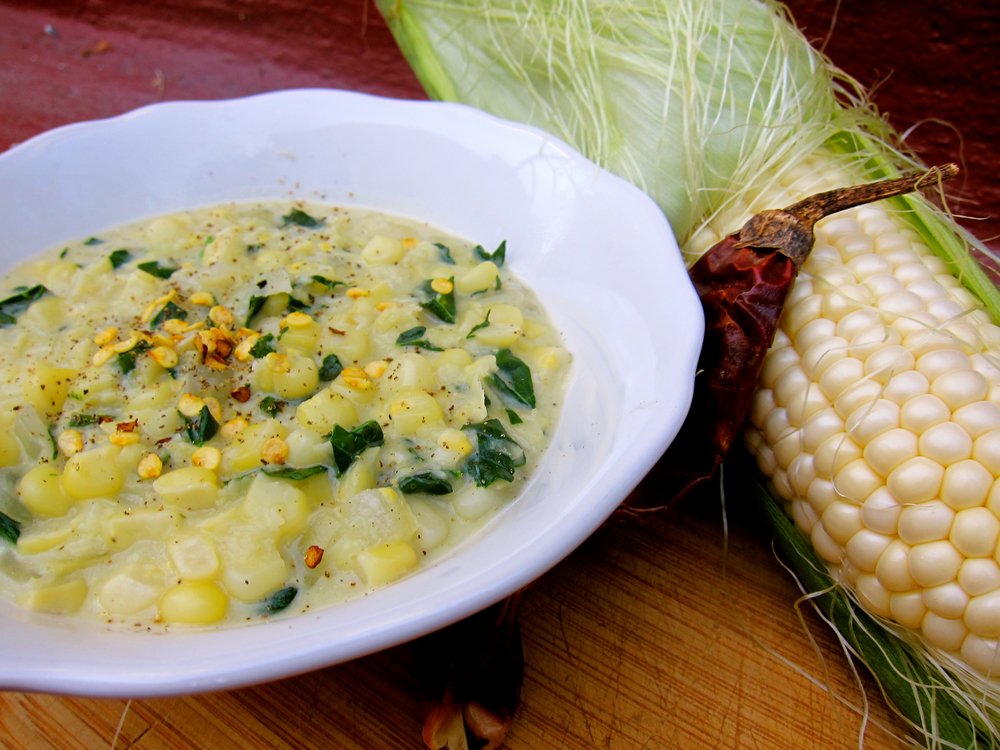
Try this flavorful dish for a unique way to sneak vegetables into your breakfast. Use mustard greens or spinach if chard is not available where you live. Serves 4.
4 large ears of corn
1 tablespoon olive oil
1 medium yellow onion, diced
1/2 cup water
1/2 cup whole or reduced fat milk
1-1/2 cups chard, chopped
1/4 teaspoon salt
1/4 teaspoon ground white pepper
1/2 teaspoon red pepper flakes
1/4 teaspoon coarse ground black pepper
To Prepare:
Using a cheese grater, coarsely grate the kernels off of 2 ears of corn into a large bowl to create a pulp. Using a knife, remove the kernels off of the other 2 ears and add to the bowl with grated corn.
In a large pot, sauté onion in oil on medium-low heat until soft, about 5 minutes.
Add the corn mixture and water to the pot and cook 5 minutes, stirring occasionally. Add milk, chard, salt, and white pepper, and cook until thickened, about 2-3 minutes.
Serve hot, topped with red pepper flakes and black pepper.
Umeboshi with Wild Plums
Umeboshi wish California wild plums.
Wild plums and red shiso make for impressive color.
As it turns out, you can't find ume plums (Prunus mume) easily on the West Coast to make a truly traditional umeboshi, or Japanese salt-pickled plum. Fortunately, wild plums are small and tart enough to work in much the same way. Ume plums are actually more closely related to an apricot, so if you eat them raw the texture will (theoretically, I have never eaten them myself) be very different than a wild plum from the West Coast, but when pickled the different is very subtle.
By preserving wild plums in salt, you keep the harmful bacteria out and, over time, create many amazing complicated flavors. The resulting wild plum umeboshi can be chopped and used as a condiment to bring bright, tart, pungent, savory/sweet flavor to a wide variety of dishes. Traditionally, it's eaten with rice, but I've tried it sautéed with sweet corn and in a nectarine compote that topped seared pork and I'm definitely looking forward to more experimentation! The salty-tart juice leftover from the umeboshi can be used for quick-pickling radishes or as an interesting addition to sauces and dressings.
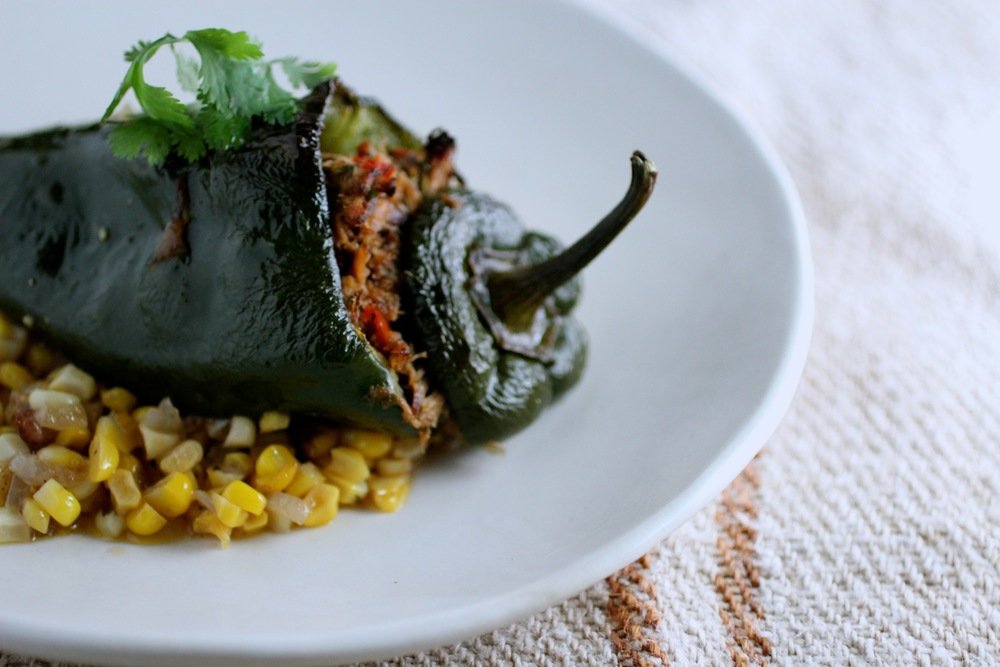
One of my favorite discoveries - sautéed sweet corn with umeboshi and butter.
The below recipe is adapted from from here, which is supposedly the most popular umeboshi recipe translated into English and can be adjusted as needed for amount of plums that you have. We made a few batches with shiso (purple shiso from our garden) and a few without and although the shiso is nice, it's pretty subtle and both versions are great. Be careful handle the plums VERY gently - any bruising and cutting can lead to mold.
1 pound (metric example = 1 kilogram) small wild plums, about the size of cherries or slightly larger and still firm (we picked up red ones from Tilden Park - yellow can be used, but the color will not be as characteristic)
2 cups (metric example = 1 liter) vodka or other distilled alcohol (such as shochu), for rinsing plums
1.6 ounces (metric example = 100 grams) red shiso leaves (about 10% by weight of plums)
1.6 ounces (metric example = 100 grams) coarse sea salt or Kosher salt (10% salt solution)*
Step 1: Sterilized the plums and process the shiso
Remove stems from plums. Wash plums in water twice then soak in a bowl of cold water and allow to soak overnight. This removes some of the bitterness in the plums (wild plums are less bitter than ume plums, but I went ahead and did this to be safe).
Drain plums, dunk in a bowl of vodka, and set out on a clean towel to dry. The alcohol helps to ensure any mold spores that might still be on the outside of the plum are removed/rendered safe.
Wash shiso leaves, remove tough stems, sprinkle with salt and massage leaves with fingers until they are limp.
Step 2: Get your plums nice and salty so they ferment
Clean a large, wide-mouthed container (such as a gallon-sized jar) that can hold all of your plums. Spray with vodka to disinfect it, then allow to air dry.
Fill your pickling container with salt and plums by starting with a layer of salt, then a layer of plums, followed by a portion of shiso. Repeat until all ingredients are used and weigh down with a plastic bag filled with water or another smaller jar filled with rocks and water (make sure these are clean). Once the container is full and weighed down, cover the top with cheesecloth and secure with a rubber band. You might have to wrap cheesecloth around the weight then secure with a rubber band. As long as the top is covered with cheesecloth, all is well. It doesn't have to be pretty!
Salt, shiso, and plums weighted down and covered with cheesecloth.
Leave fermenting plums in a cool, dark area until the plums are soft and completely immersed in a reddish liquid (about 1-2 weeks). This liquid is extracted from the plums by the salt. If liquid is not completely covering plums, try increasing the weight. Liquid should be about 1 inch above the top of the plums. Leave the plums in the liquid until you are ready to dry them, about 2-3 weeks.
Step 3: Hoshi/boshi ("to dry") your plums
Wild plums (or ume plums in Japan) are harvested in June and drying traditionally occurs on a specific date after the rainy season is over. Be sure to dry your plums at a time when the weather is dry and at least 2 weeks after plums have been submerged in liquid.
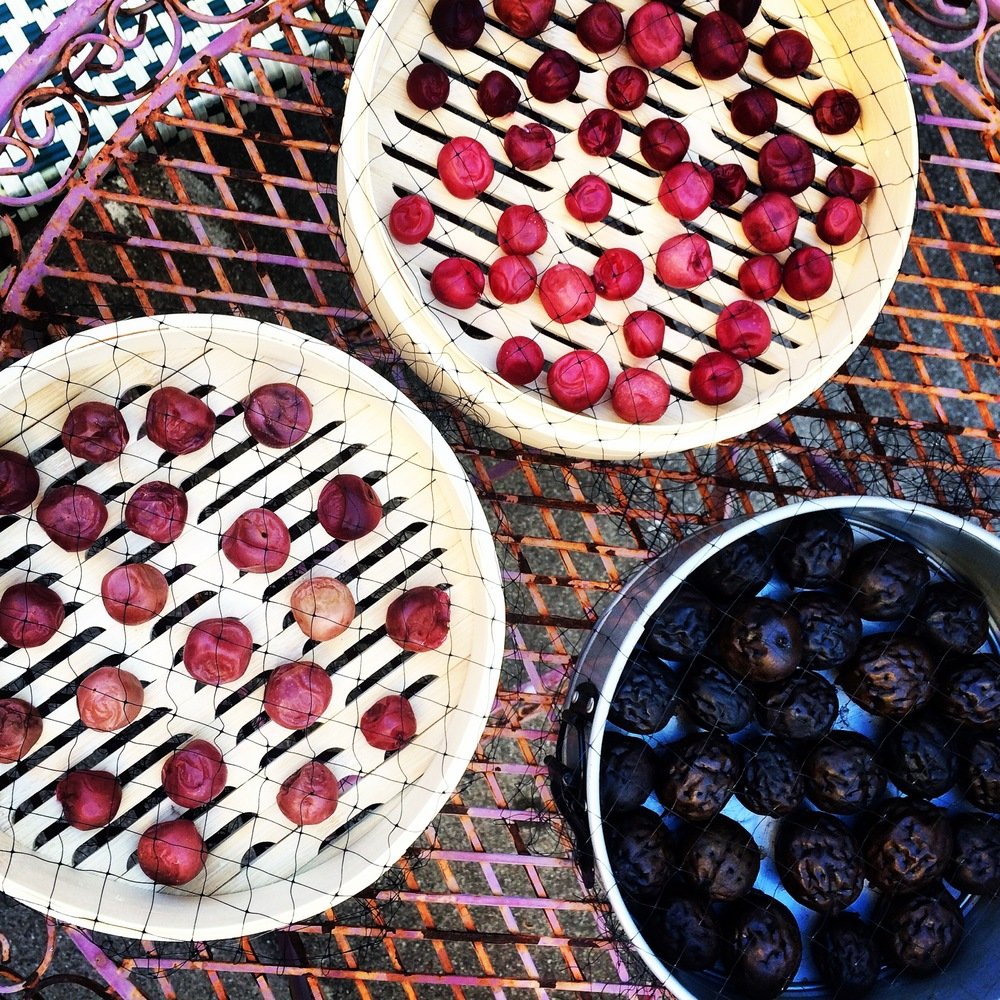
Put the plums in a single layer and the shiso leaves in spread-out clumps separately on flat baskets - we used a bamboo steamer - . Leave the baskets outside in a sunny place with good ventilation for about 3 days, turning them at least every 24 hours. If it rains, be sure to take them inside before they get wet. At the end of the drying process, they should look wrinkly.
Umeboshi drying on bamboo steamer liners. Also in the photo are green walnuts in the process of pickling (but have nothing to do with the umeboshi, don't be confused!)
Step 4: Store and enjoy
Store plums in jars, pouring back in some of the ume liquid if you prefer softer plums (we did not do this, as we like them firmer). As I mentioned earlier, this ume liquid can be used for other things, such as quick pickles. The shiso leaves can be layered in with the plums, but we keep the shiso out for other uses, as they didn't have the best texture and we wanted to keep our umeboshi "clean". The umeboshi is now ready to eat - they can be eaten for up to 10 years (!) and grow in complexity over time, but I doubt we'll still have ours after even 1 year!
*Other salt solutions can be used, from 8% - 20%. The higher the salt percentage, the saltier the umeboshi will be (obviously). The lower the salt percentage, the more likely they are to mold. It is recommended that beginners use at least 10%.
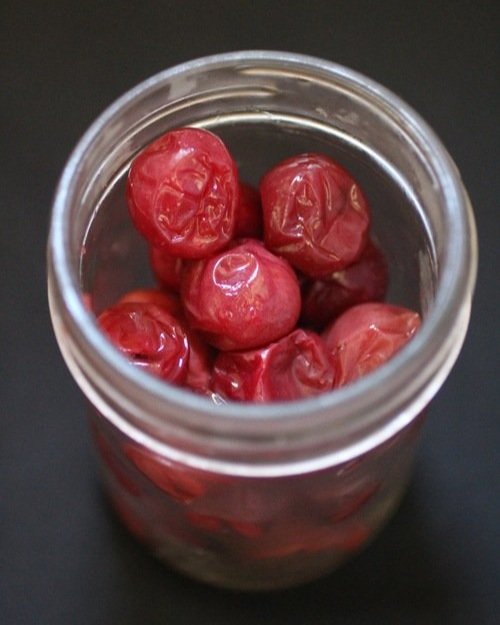
Finished umeboshi straight from the jar.
Exploring Elderberry
Bright, bittersweet, alluring berry taste for a variety of uses.
Note: The below is also published in the Fall 2016 edition of Edible East Bay.

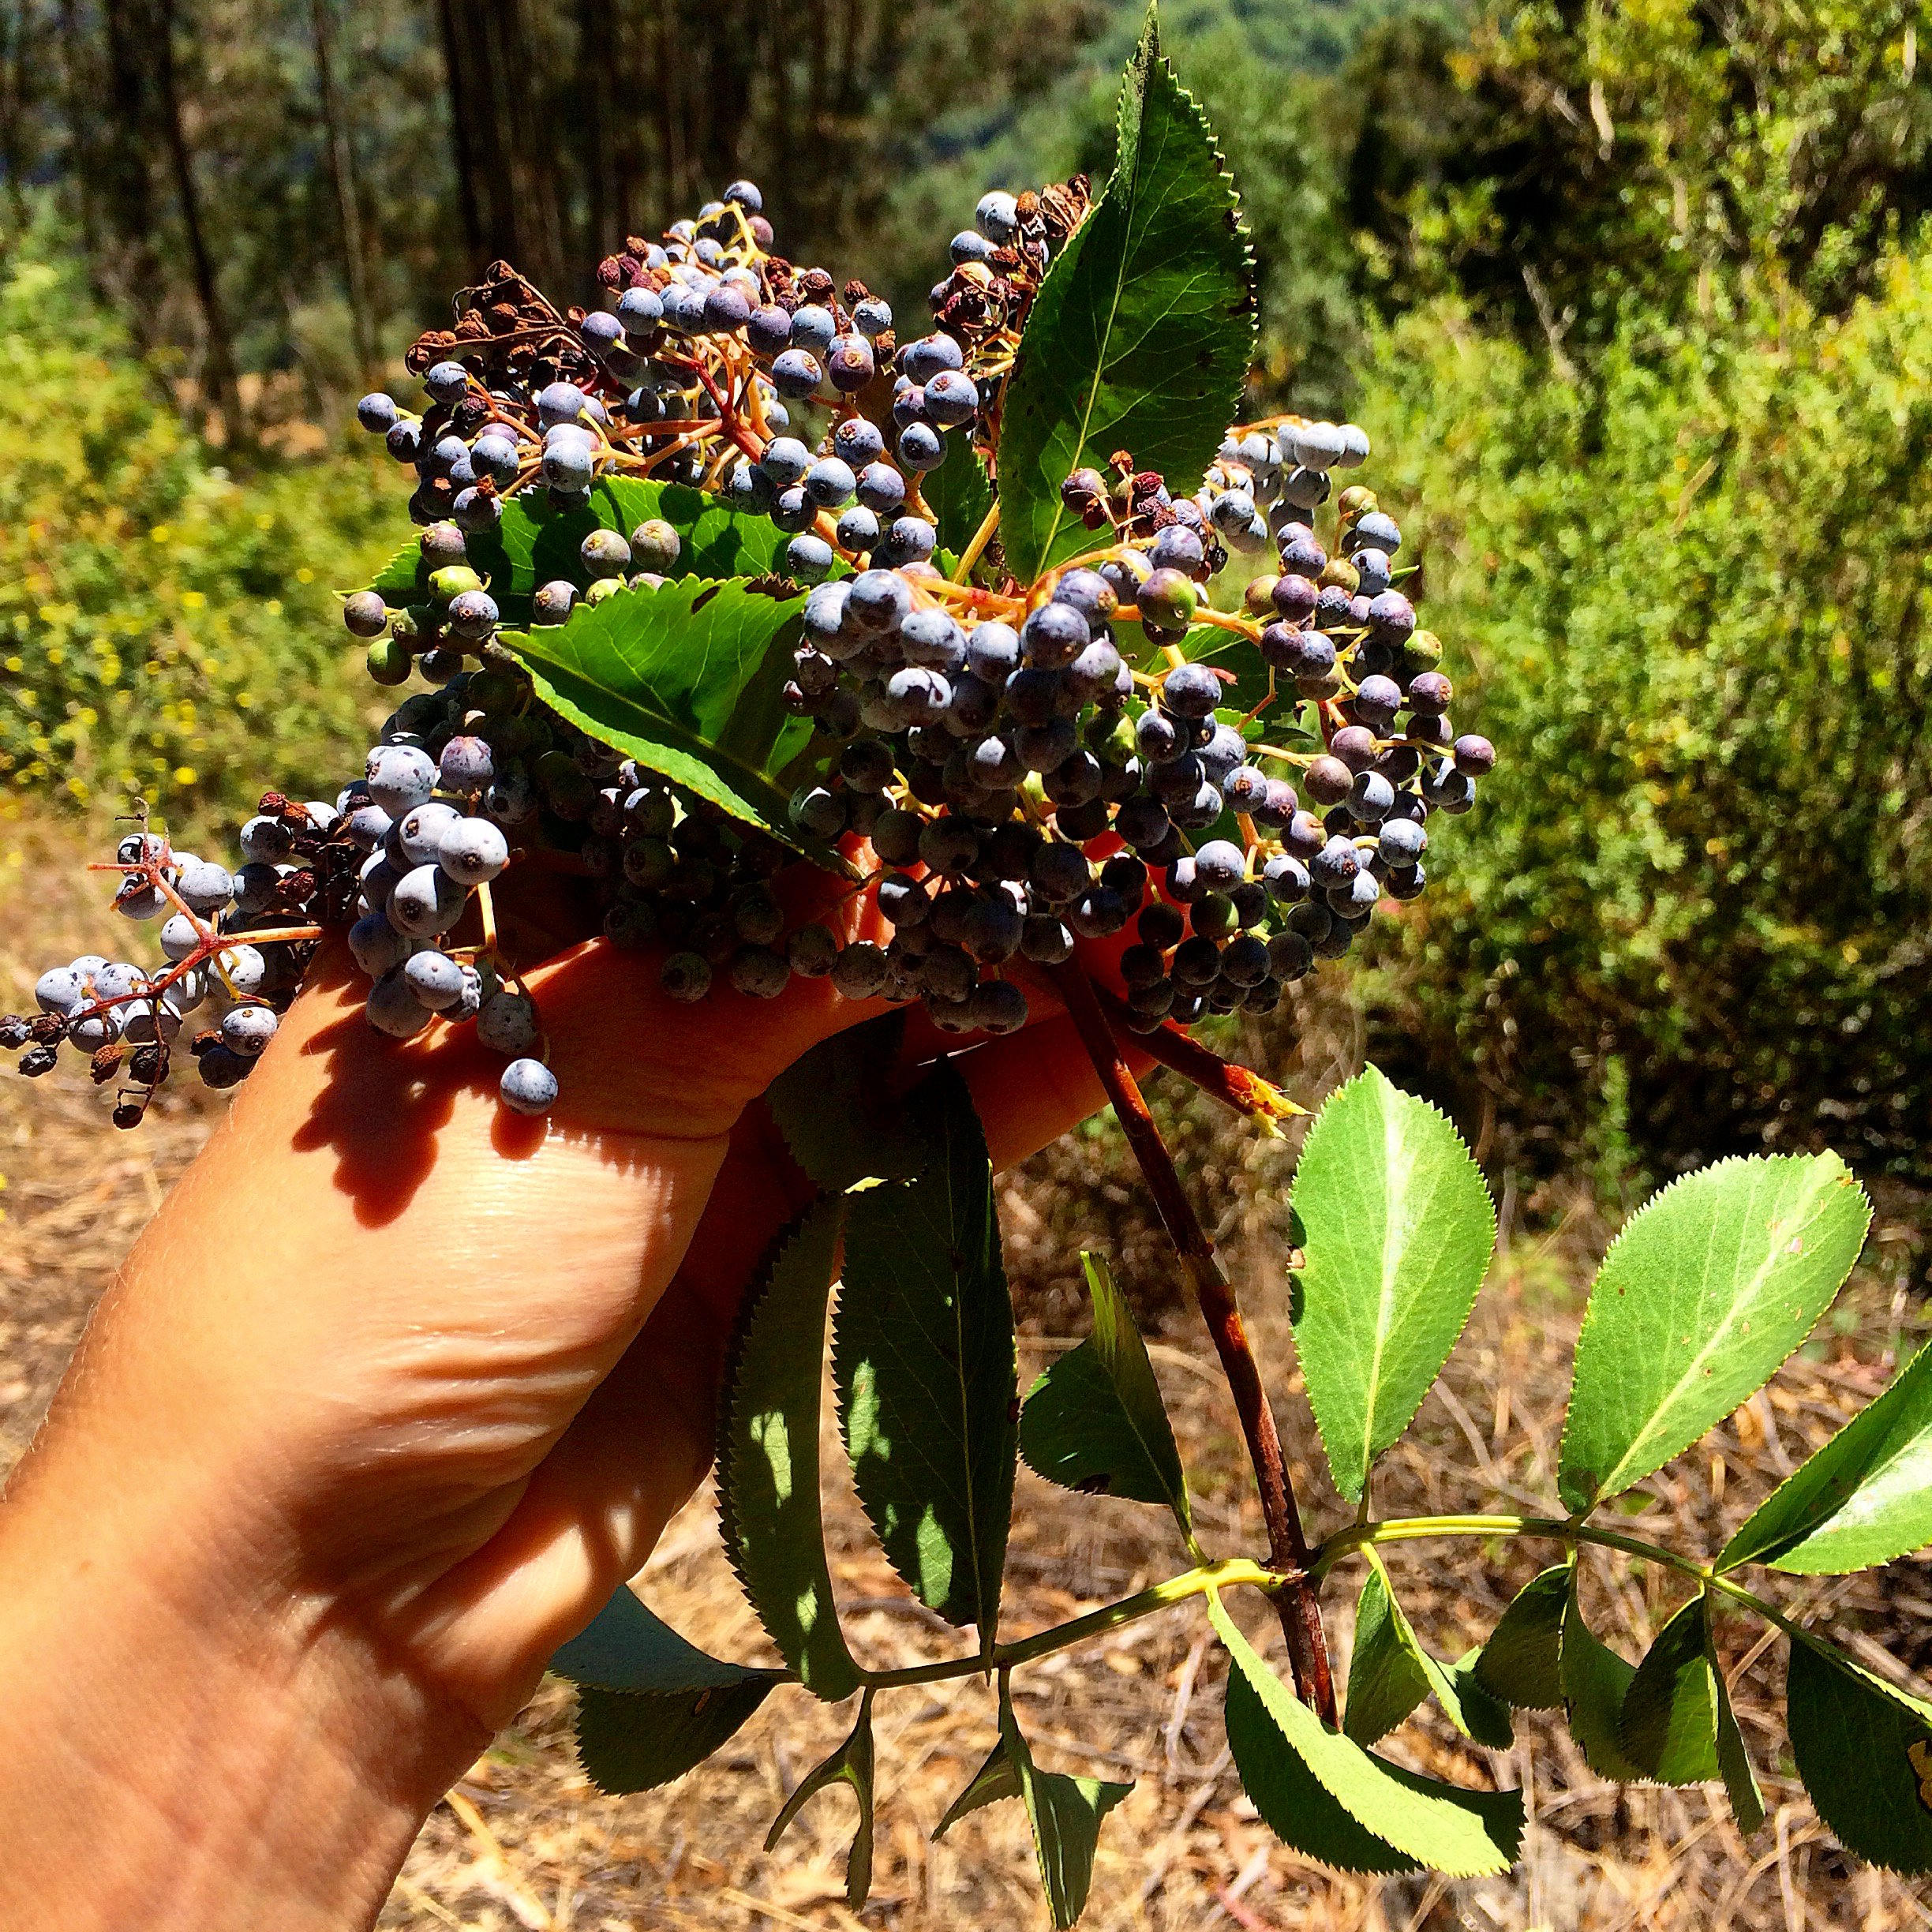
Harvesting elderberries.
The culinary and medical applications of both elderflowers and berries are many, which has led to the plant’s frequent appearance in world mythologies. Among pagan traditions, the elder tree is attributed with powers from protection and healing to vivid dreams and removal of negative spells. It is fun to use both harvests from the tree (flowers and berries) in a dish, such as elder almond pound cake. See previous post, the Regal Elderflower or Exploring Elderberry for more information about processing elderflower and the plant's uses in general.
Autumn’s elderberries—the dark and pungent counterpart to the sweetly fragrant blossoms—offer flavor that varies from tree to tree. At its best, the berry is juicy and bittersweet, similar to a blueberry, but smaller and more acerbic. At its worst, the bitter flavor shines through and the texture can be coarse and dry.
Processing the berries by cooking or drying will render them safe and improve the flavor. Elderberries are often cooked down into a cordial syrup, made into elderberry jam or wine, baked into pies and cakes, or dried and used as you would use dried currants. Dried berries can also be rehydrated by simmering with water and sugar for a more “stewed” flavor.
On Foraging: The elder plant found in Northern California (and most of the Western United States) is Sambucus cerulea, also known as blue elder for it's dark-blue berries. This shrub, which can grow to 30 feet high, has reddish bark and pinnate leaves that grow opposite each other. Like elder plants everywhere, it prefers warm, damp environments, so look near flowing water inland from the foggy coast. If you noted where you found elderflowers in early summer—you can return now through September (in our region) for the berries.
Some examples of using elderberries: Elderberry cordial, jam, elderberry buckwheat tart.

Dark blue elderberries with whitish bloom.


Lebna bil Kusa (summery squash & cumin spread)
Think outside the hummus.

Hummus is the "king (or queen) of spreads", but lebna bil kusa makes a great princess!
I love me some hummus and it has been heartening to know that I am not alone in my enthusiasm - when you see a Super Bowl ad featuring a food, you know that it has truly been adopted by America. This love affair with hummus in the U.S. is so passionate that I even use it as a case study for examining the biocultural factors contributing to cuisine in one of the courses I teach at UC Berkeley. Hummus adheres to many current food trends - among other things, it's plant-based, Mediterranean, healthy, and snackable and, as this Wall Street Journal article discusses, demand has grown to the point that you'd be unlikely to attend any kind of potluck without finding some sort of hummus on the table. Many of the store-bought hummuses you'll find at a potluck however, are made from dried and powdered garbanzo beans, which are incredibly subpar in my opinion (though powdered hummus is great for backpacking). But, I digress - this post is supposed to be about another spread and I promise I'm getting there!
Typically, I'm a hummus purest. Give me a blend of chickpeas, tahini, olive oil, lemon, and salt and I am happy (please don't put garlic in my hummus). I worked for many years off-and-on at an "eclectic Mediterranean" restaurant in Berkeley that is now, sadly, closed. The owners are a husband and wife team, good friends of mine, and most of my Mediterranean cooking skillz I credit to the Iraqi husband. In addition to teaching me to not put garlic in hummus, he showed me that although hummus is still the king of spreads, there are some other contenders that give it a run for its money.
Lebna bill kusa (in Arabic, lebna means "yogurt" and kusa means "squash") is one of those contenders. As it's made with yellow squash, which is only available in summer months, one of the great things about LbK is that it is always a seasonal treat. As a side note, did you know that the straight yellow summer squash is also called "gold bar squash"? Pretty cool and appropriate. The yogurt in LbK nixes it from the list of dishes you can share with your vegan homies, but by upping the tahini/olive oil and adding some lemon juice you can make a vegan version that's almost - but not quite - as good. The recipe specifies a range of quantities because whenever I make it I just kind of mix and match until the consistency and flavor is to my liking. Feel free to add other herbs and spices as desired or make it as thick/thin as you like it! Zucchini would also work, but the color would not be as appealing. Makes about 2 cups.

Yellow summer squash (aka "gold bar squash" shown here) gives lebna bil kusa its bright hue.

1.5 pounds summer squash (about 3 medium "gold bar" squash or 4-6 pattypan or crookneck), chopped
1-2 tablespoons olive oil, divided
1-2 tablespoons tahini
1-2 tablespoons plain yogurt
1-2 teaspoons ground cumin
Salt, to taste

Rustic bread or crackers from whole grains or crisp raw vegetables are a great way to dip up this spread.
Preheat oven to 400 degrees F.
On a baking sheet, toss diced squash with 1/2 tablespoon olive oil and spread out in a single layer. Roast for 12-15 minutes or until soft and golden brown, tossing halfway through.
Using either a food processor or potato masher (food processor if you like your spreads to be smoother, potato masher for chunkier), blend squash with 1/2 tablespoon olive oil, 1 tablespoon tahini, and 1 tablespoon yogurt. Continue adding more of these wet ingredients in small amounts in addition to cumin and salt until you have reached the desired texture and taste.
Serve immediately with crackers, bread, or raw vegetables or store in refrigerator for up to one week. Garnish with paprika, herbs, and drizzled olive oil if desired.
Plum-Rosemary Jam and Spiced Chutney
One neighbor's discarded plums are another's treasure.

Preserves are a great way to preserve!
There are times that I especially appreciate how fortunate I am to live in California. Plum season is one of those times. During the months of June, July, and sometimes August, many neighborhoods in the Bay Area are literally dripping with plums. These plums are often there for anyone willing to put in the effort, as many plum tree owners can't seem to keep up with the production. While the small and tart wild plums that you can find in many parks and urban environments are lovely (especially for California wild plum umeboshi, recipe coming soon!), the Santa Rosa plums that are much-loved cultivated variety in the area are pretty ethereal. They are sweeter, but not cloyingly so, with beautiful flesh and an almost rose-like scent. When my neighbors told me that they had more of these plums than they could handle and told me to take as many as I could I knew I hit the plum jackpot. Low hanging fruit for sure!

I gotta lotta neighbors with a lotta unused plums.
There are many ways to enjoy plums like use them in place of apricots in this ginger almond galette or simply eat them fresh and let the juices run down your chin, but if you're in need of putting up (isn't that a great phrase?) a lot of them for later use, preserves (hence the name) are a classic way to go. When I have a bunch of fruit, I like to make both jams and chutneys because it's nice to have a classic jam for topping toasts and yogurt, filling pastries, and making cocktails, but chutney is great to have around for savory applications. Serve it with blistered green beans or roast chicken eh, voilà! All of a sudden that ho-hum dish is exciting. The jam uses store-bought pectin - I used to only make my own pectin from citrus pith, but (although fun) it can be quite time consuming and the Pomona pectin is a faster way to success. The quantities and spices in both the jam and the chutney are adaptable to availability and preferences!
Plum-Rosemary Jam
Makes about twelve, 8-ounce jars. Recipe adapted from Serious Eats.

Glorious Santa Rosa plums.
6 pounds plums, pitted and chopped
2.25 pounds granulated sugar
1.5 Tbs Pomona's Universal pectin or other low-sugar pectin
2 Tbs calcium water (comes in pectin package)
2.25 ounces lemon juice (about 2 lemons)
3 sprigs rosemary
Toss plums with sugar and pectin in large bowl. Cover, refrigerate overnight (optional - this may be helpful if you don't have time to make jam after picking fruit and want to save it until the next day).
Put two spoons in the freezer.
Heat in large pot on medium with calcium water, lemon juice, and rosemary sprigs, stirring frequently. Cook for 30 min - 1 hour, skimming off foam* and smashing to desired texture. An immersion blender can also be used to break down fruit, but rosemary sprigs should be removed before blending.
Check for doneness by putting jam on spoon and putting back in freezer for 2 minutes. When you run your finger through the jam on the spoon, it should leave a track and jam should cling to the spoon (rather than running off). The jam in the pot will also be a lot glossier/smooth.
While jam is cooking, wash and sterilize jars and rings by submerging under water and boiling for 10 minutes. Throw in the lids once they’ve boiled for 10min and turn off water.
Remove rosemary sprigs and fill jars, leaving 1/2 -inch headspace. Screw on rings loosely, submerge again in water for another 10 minutes to seal.
Store at room temperature. Jam is good for up to 1 year.
*The foam is tasty and has a cool texture, kind of like meringue! Next time I do this, I want to blend into egg white foam and see if it will set up into a cookie, but is great and fun on desserts regardless.

The flesh is yellow in color and the taste tart-sweet. Cut around the pit, as it does not fall out willingly.
Spiced Plum Chutney
Makes about four, 8-ounce jars. Recipe adapted from Jamie Oliver (with a lot more kick added!)
2.2 pounds plums, pitted and chopped
4 shallots, thinly sliced
1 tablespoon neutral oil (grapeseed or vegetable)
3 fresh bay leaves
7 cloves
9 allspice seeds
1 tablespoon black or yellow mustard seeds
1 tablespoon coriander seeds
2 teaspoons red pepper flakes (optional - this amount is pretty spicy)
1-3/4 cups brown sugar
3 tablespoons grated ginger
Zest from 1 large orange
Juice from 1 large orange
300ml cider vinegar or 200ml red wine + 100ml water
1/2-1 teaspoon salt

Cook shallots in oil on low until golden.
Add bay leaves and all spices except for ginger and sauté for 1 minute.
Stir in plums. Add sugar, ginger, and orange zest. Squeeze juice from orange into measuring cup, top off with cider vinegar or vinegar/water combination until it reaches 450ml. Add this to plums and bring to a boil. Simmer until thick about 30 minutes - 1 hour. Salt to taste.
While chutney is cooking, wash and sterilize jars and rings by submerging under water and boiling for 10 minutes. Throw in the lids once they’ve boiled for 10min and turn off water.
Remove bay leaves and as many allspice seeds as you can and fill jars, leaving 1/2 -inch headspace. Screw on rings loosely, submerge again in water for another 10 minutes to seal.
Store at room temperature. Chutney is good for up to 1 year.

To label jam, I use old paper grocery bags - just trace the outside of a ring, cut out a circle slightly smaller than the outer edge, and then screw on top of the lid.

Phases of plum.
Shaved Zucchini Salad With Parmesan and Toasted Pine Nuts
I never appreciated raw zucchini until I tried this salad. It was 2008 in Italy at the Terra Madre conference where I was fortunate enough to attend as a delegate. Before that fortuitous encounter, I believe undercooked zucchini to be a missed opportunity relegated to steam tables at low-budget buffets alongside poorly done chicken parmesan. However, slicing zucchini squash into delicate slivers, tossing with a fresh lemon-olive oil dressing, and pairing with toasted pine nuts and parmesan (as is done in this salad) totally transforms the texture and flavor to be something purely delightful. The other great thing about this salad? It's incredibly quick to make, requires ingredients you are likely to already have around, and is the perfect addition to a summer dinner washed down with rose. Below recipe serves 4, but can easily be adapted to more or less people.
2 large zucchini (or summer squash)
Juice from 1/2 lemon
2 tablespoons olive oil
Salt and black pepper to taste
1 ounce pine nuts
1 ounce parmesan
2 tablespoons chopped fresh parsley
Using a mandolin, shave zucchini into thin rounds or thing long slices*.
Whisk lemon juice, olive oil, and a few pinches of salt and pepper. Toss zucchini in dressing and add more salt/pepper to taste.
Toast pine nuts in a cast iron pan on medium high for about 2 minutes, tossing frequently, until golden brown.
Top zucchini with pine nuts, grated parmesan, and parsley.
Serve at room temperature.

Delicate rings of raw zucchini to eat by the forkful.
Chilled Cucumber and Avocado Soup with Grape Salsa
Richly refreshing.

If you're not familiar with cold soups, this recipe is a great place to get started, as it's incredibly easy and contains crowd-pleasing ingredients. Also, most of us are used to eating cucumber and avocado cold, so it's not too out there to have them in soup form (as opposed to say, vichyssoise, a cold potato soup). The avocado brings a delicious silkiness that's balanced by the cucumber and grape salsa, leaving you satisfied and refreshed on a hot day. Serves 4.
“Soup can be made up to 24 hours in advance - a great way to compliment a dinner party without having to prepare everything last minute. ”
3 medium cucumbers, peeled
1 cup seedless grapes, halved
1 small yellow onion, finely diced
1/4 cup diced parsley
1/4 teaspoon black pepper
2 tablespoons white wine vinegar
1 medium avocado, diced
2 cloves garlic, minced
1/2 cup plain yogurt
1 jalapeño chili, seeded and diced
3/4 teaspoon salt
2 teaspoons olive oil
Remove seeds and pulp from one cucumber. Dice all three cucumbers and set aside.
Toss grapes with onion, parsley, black pepper, and vinegar and refrigerate.
Blend cucumbers, avocado, garlic, yogurt, jalapeño, and salt in food processor or blender until smooth. Chill for at least 20 minutes before serving in chilled bowls topped with a spoonful of grape mixture and drizzle of olive oil. Serve cold.
Suggested pairings: Lamb meatballs and polenta squares, panzanella and grilled salmon
The Makings of a Good Picnic
Complexity is not necessary.

A picnic can take on many forms. It doesn’t require anything complex to make a good picnic, but it does necessitate good food. Here are some of my picnic favorites along with a recipe for pistachio pesto - this is something you can make a batch of, take some for a picnic, and freeze the rest for later. It’s a very refreshing and light pesto recipe (if that’s possible), as there’s no cheese or garlic and is great with radishes as pictured, spread on a sandwich or crostini with goat cheese, topping grilled chicken, tossed into pasta or chopped tomato and fresh corn kernels…there are many possibilities to explore (as always when it comes to food).
Some necessities of a good picnic options (feel free to mix-n-match, throw together into a sandwich, etc.):

Baguette
Cheese(s)
Dried sausage, prosciutto, or smoked salmon
Pickles
Crudité: Radishes, cucumber, carrot, etc.
Dip for crudité such as pistachio pesto or hummus
Deconstructed caprese salad (bring tomato, mozzarella, olive oil/vinegar, basil and put together when you arrive)
Fresh fruit
Potato salad
Curried chicken salad (the curry-ing is not necessary, but it’s my favorite way to have it)
Rose wine, white wine, or beer
Cutting board
Knife
Mason jars for wine
A few napkins or paper towels
Forks if needed
Picnic blanket
A pleasant environment (doesn’t have to be perfect, just pleasant)
Pistachio Pesto (unintentionally vegan)

1 cup raw pistachios, chopped
1 bunch basil, chopped (I’ve also made it with sage and it turned out well)
1/3 cup olive oil
Juice from 1/2 lemon
1 teaspoon salt
To Prepare:
In a food processor, blend the pistachio with basil until coarsely ground. Add olive oil until a paste is formed, then blend in lemon juice and salt. Water, olive oil, or lemon juice (depending on which direction you want to take the flavor) may be added until your desired texture is reached.
House Brandied Cherries
What life can be like.

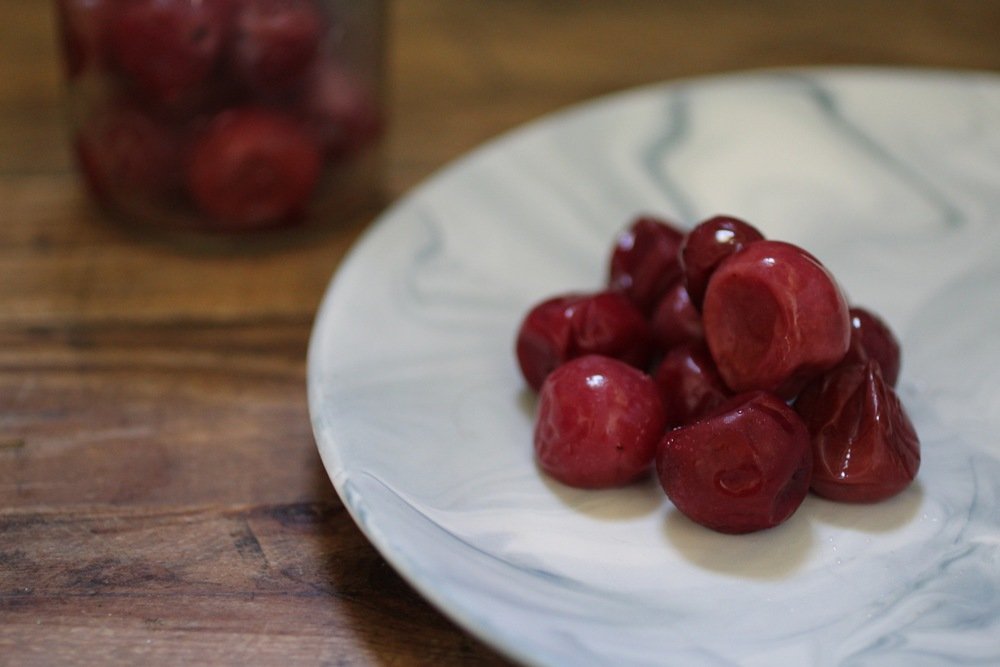
Brandied Cherries - If life is a bowl of cherries, I hope I have the opportunity to brandy some of mine. Every year around June or July, I can't help but make a jar or two of these preserved morsels. Although fresh cherries are hard to pass up, it's worth it a few months later when you have a rich taste of summer for your cocktails.
Once brandied, the cherries are good for 6 months in the refrigerator, but don't expect them to last that long. After all, there’s always a manhattan to make for someone or ice cream that needs a unique and boozy topping. Below recipe makes about 2 pint jars.
About 1lb fresh cherries, washed, stems removed (you can also remove pits, but I find they have better texture/flavor with pits intact)
1/2 cup water
1/2 cup sugar
2 tsp fresh lemon juice
1/2 vanilla bean pod
1 to 1-1/2 cups brandy
Peppercorn or other spices (optional)

Heat water, sugar, lemon juice and vanilla bean (scrapings and pod) until simmering. Add cherries and simmer 3 minutes.
Remove from heat, add 1 cup brandy and allow to cool for 5 minutes.
Transfer to clean jars, top with remaining brandy to cover cherries (if needed), and place in refrigerator uncovered until completely cool. Once cool, top with jar lids. Cherries may be eaten after 24 hours and will keep about 4-6 months refrigerated.
Homemade Nocino
Italian green walnut liqueur.
Nocino is an Italian liqueur made from fresh green walnuts that are cured in a sugar and alcohol solution. I first discovered this "black gold" while dining at Flour + Water in San Francisco and have been making it each season for the past three years since. The amazing think about nocino is by adding incredibly tannic walnuts, clear sugary alcohol is magically transformed into a thick, luscious, nearly black liqueur.
Making nocino requires a few steps and a lot of patience, but the results are worth it! I love it on it's own after dinner, but have also used it in in cocktails and to top ice cream (with crushed toasted walnuts as well, of course).

The green walnuts you're looking for are only available in May/June (traditionally harvested on June 24th, the day of St.John the Baptist, by virgins) and quite hard to come by. The first time that I made nocino I was able to find some through the Capay Valley Farms CSA I started up at work, but the last two years I went ahead and foraged them.
The most recent batch that we made was using walnuts picked in September, which is much later than desired (oops - too many food projects!) The walnuts were very hard to cut through because the shell had begun to harden and we're not sure how this is going to affect the flavor of the nocino, but we went ahead and made it anyway. We'll see in 6 months - if it's anything like the last couple of batches, it will be more than drinkable! As the recipe is written it makes about 2 liters of nocino, but the recipe can be multiplied as necessary for the amount of walnuts that you have on hand. Remember that green walnuts stain - if you're concerned with having inky looking fingers for a week, be sure to wear gloves.
“Walnut trees grow in hot, dry climates. Look for them if you’re camping in the South Bay - that’s where we found them, but we’re not going to reveal our source!”
“I like to keep my nocino pure, in order to be able to taste the walnutty goodness, but have tried vanilla bean and it was a nice addition, especially if you’re planning on using nocino for ice cream topping.”
4-1/4 cups granulate sugar
1.75 liters of Everclear (Vodka also works, but not as well)
50 green walnuts
Other ingredients- citrus peel, cinnamon sticks, pepper, vanilla bean, etc.
Wash 4 half-gallon mason jars well with hot soapy water, rinse, and air dry.
While jars are drying, quarter walnuts then divide into jars with 1/4 each of the Everclear and sugar. Screw the lids tightly onto jars and shake vigorously. Over time the nocino liquid will darken. It happens quite fast and it's pretty impressive! Allow jars to sit for 6 weeks in a cool dark place, shaking occasionally to dissolve sugar.
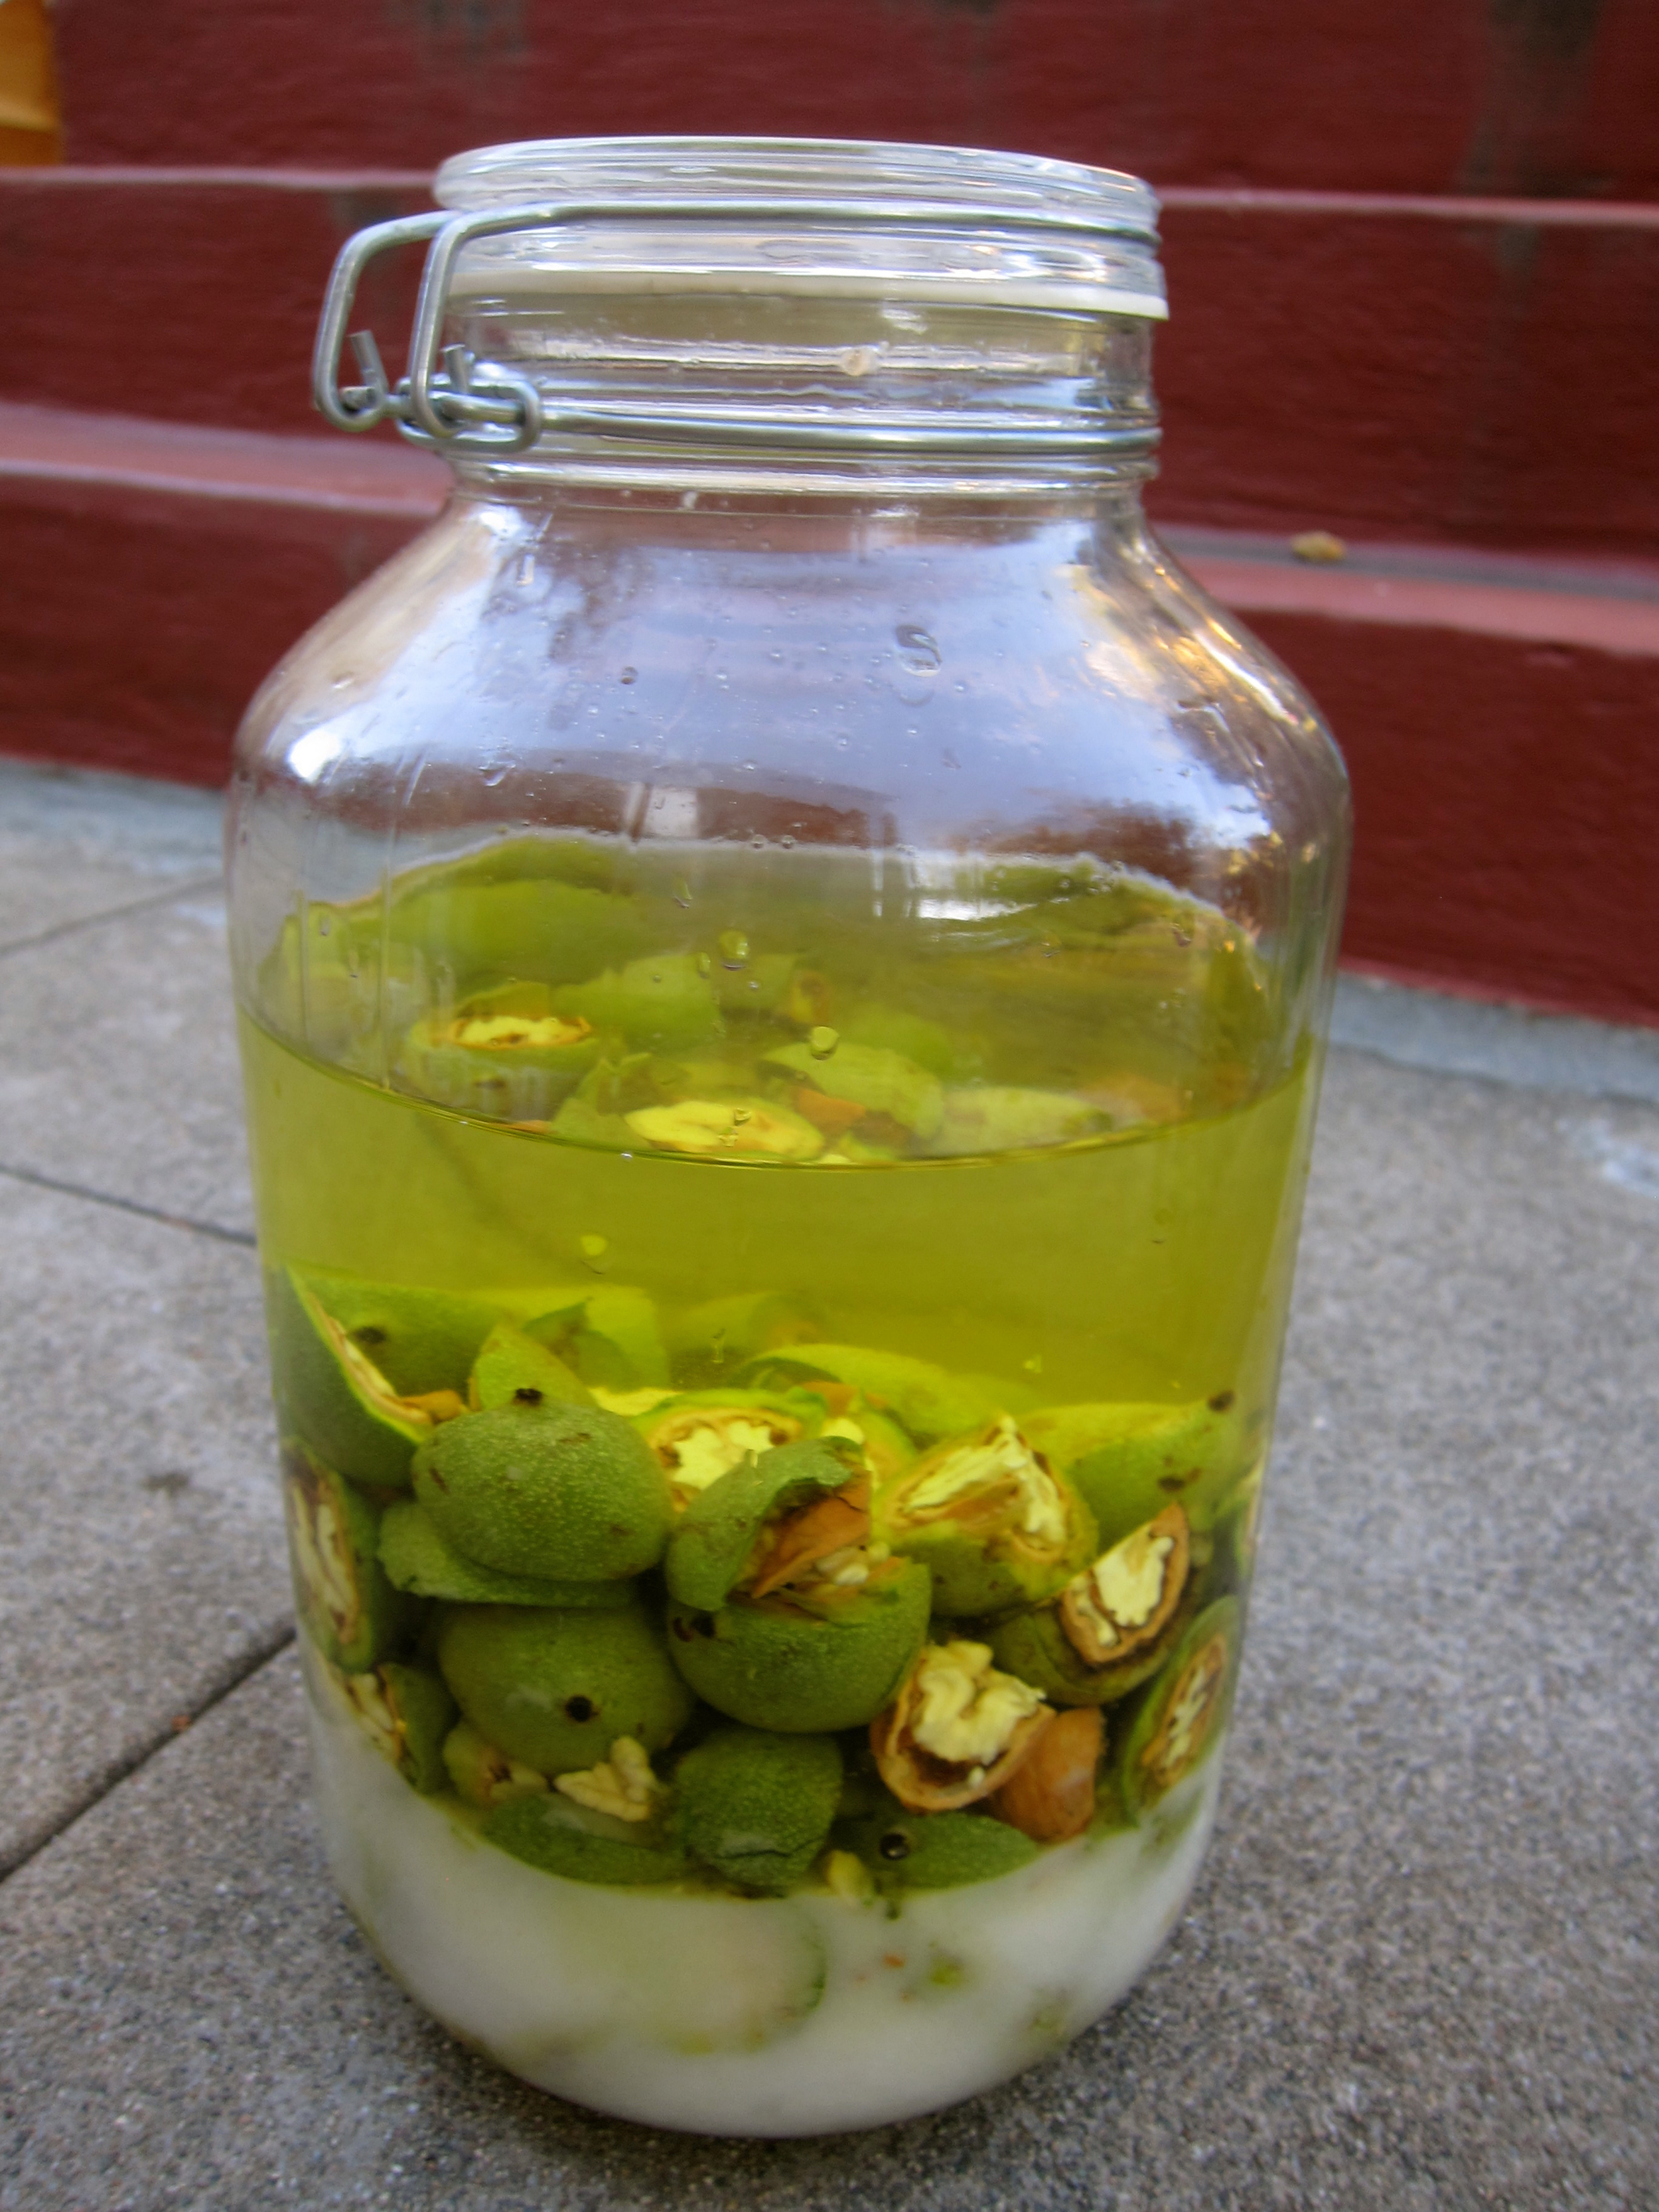
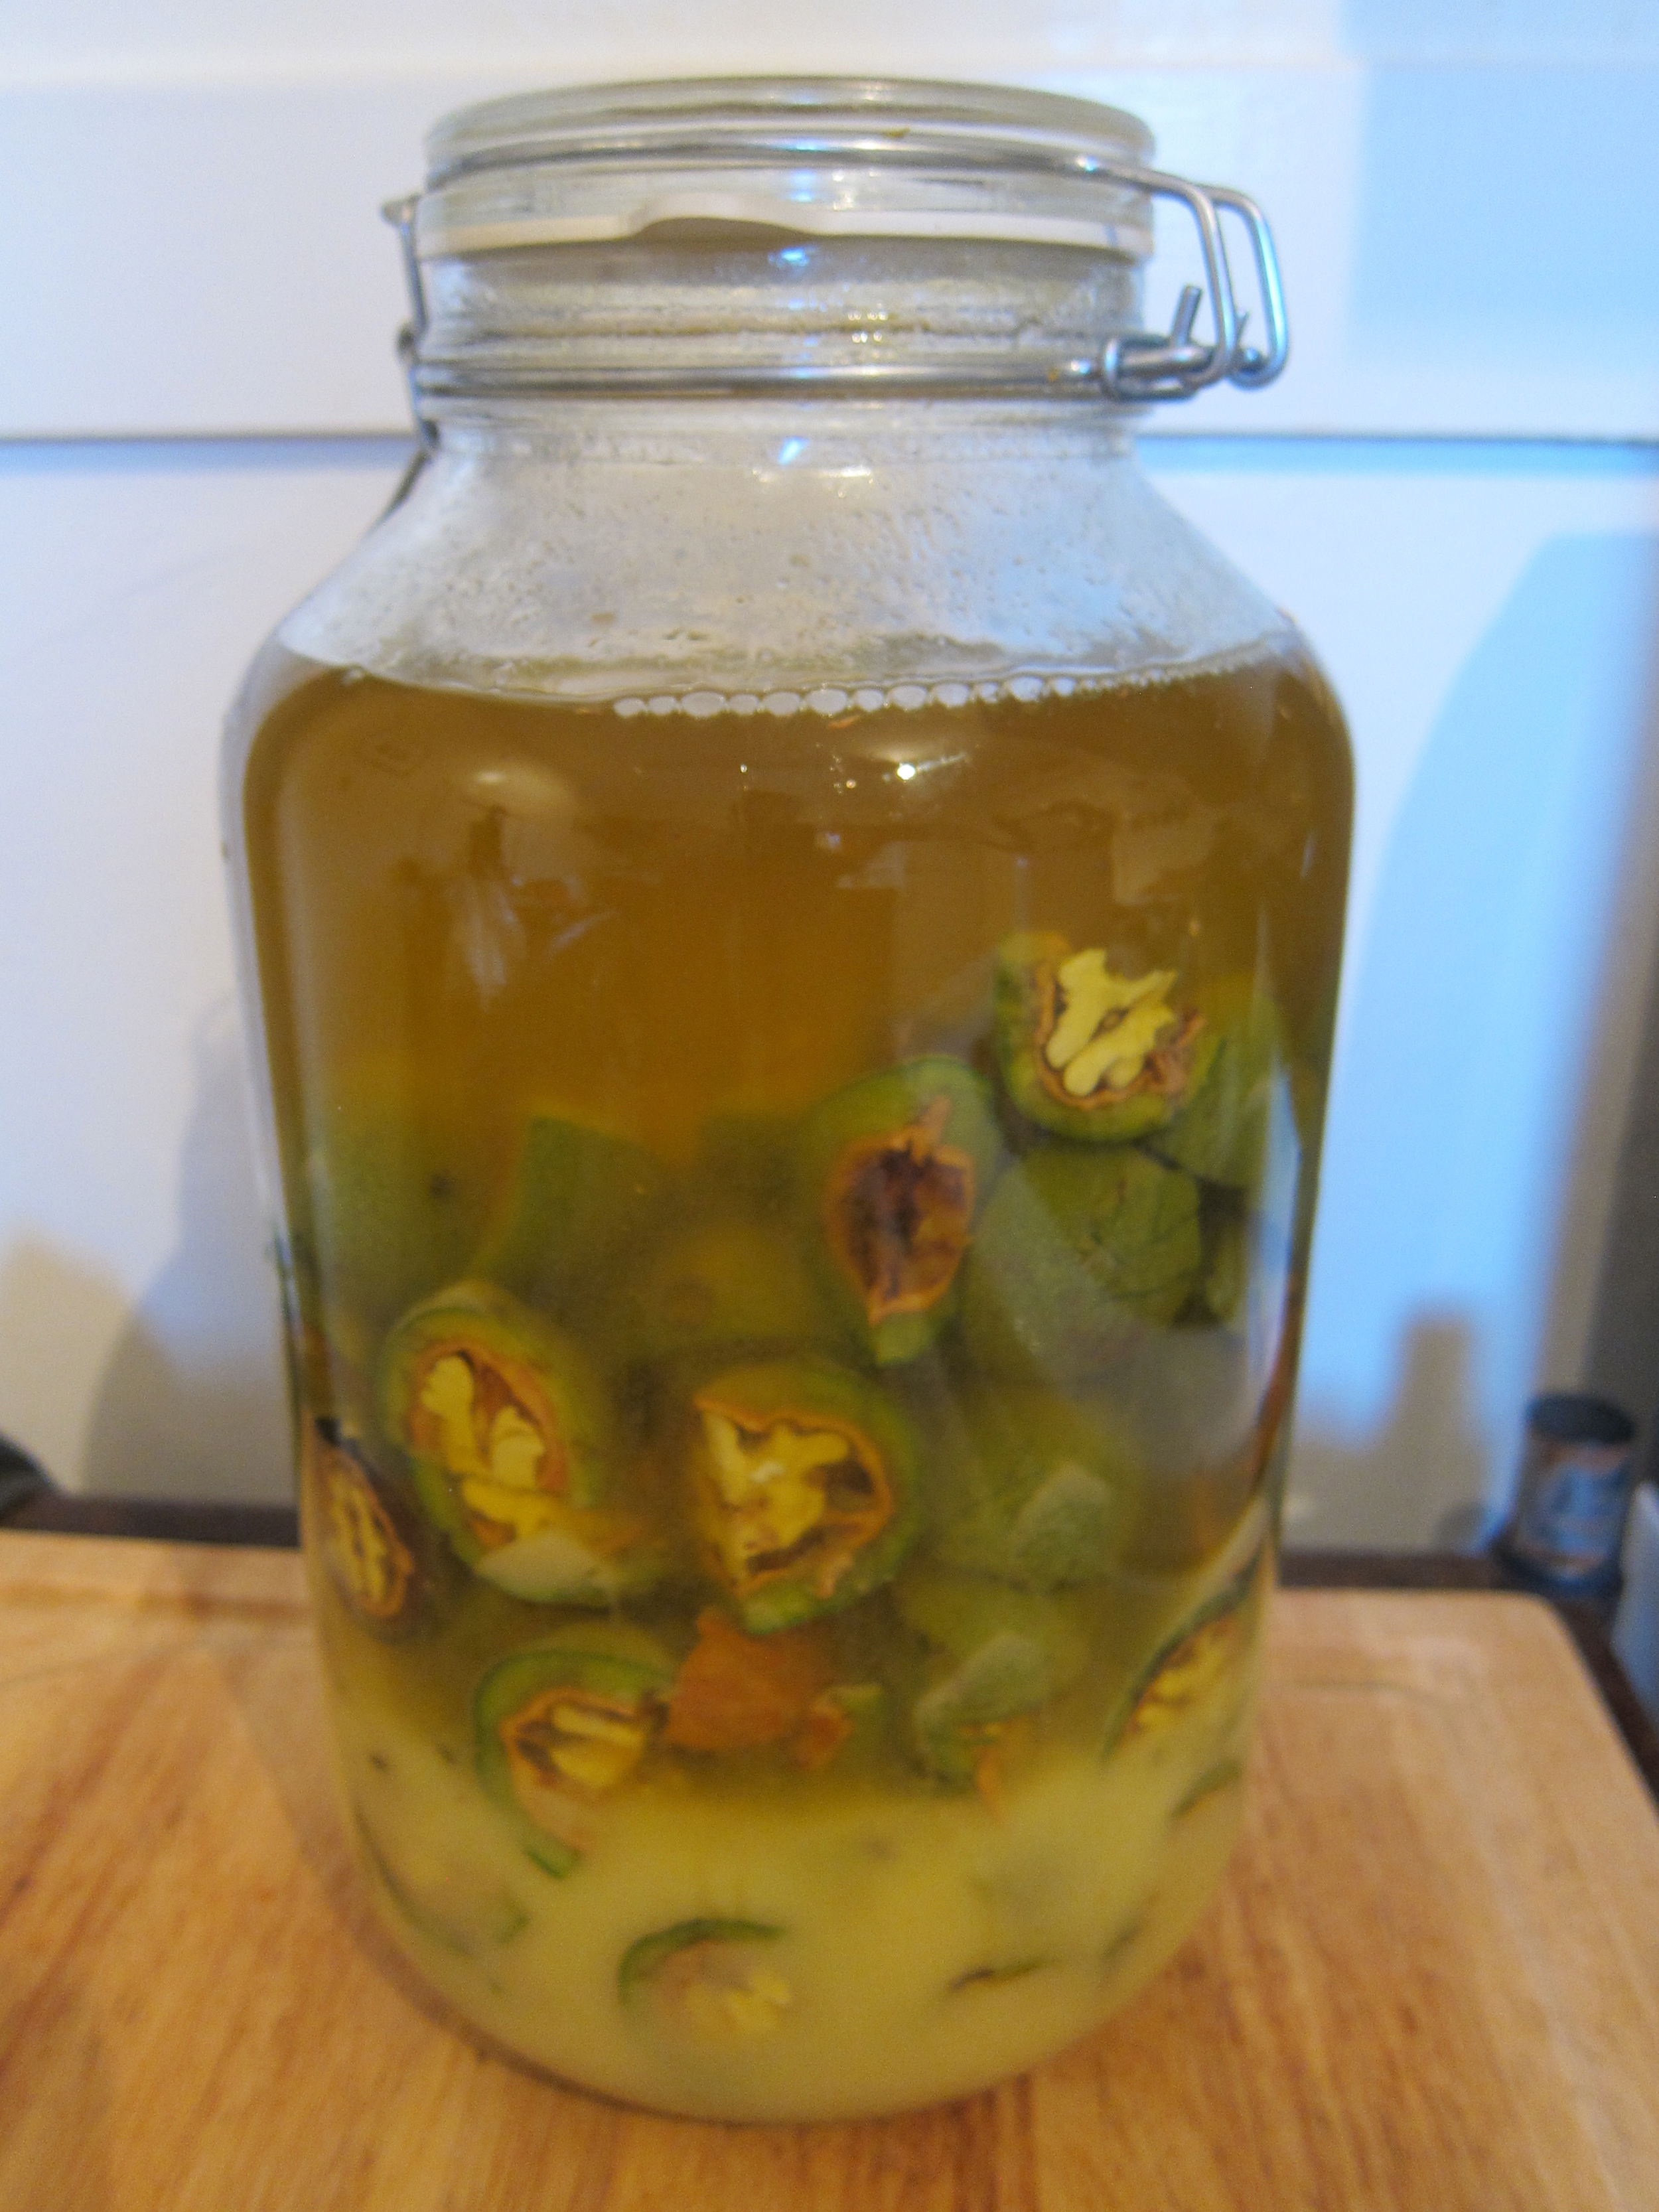
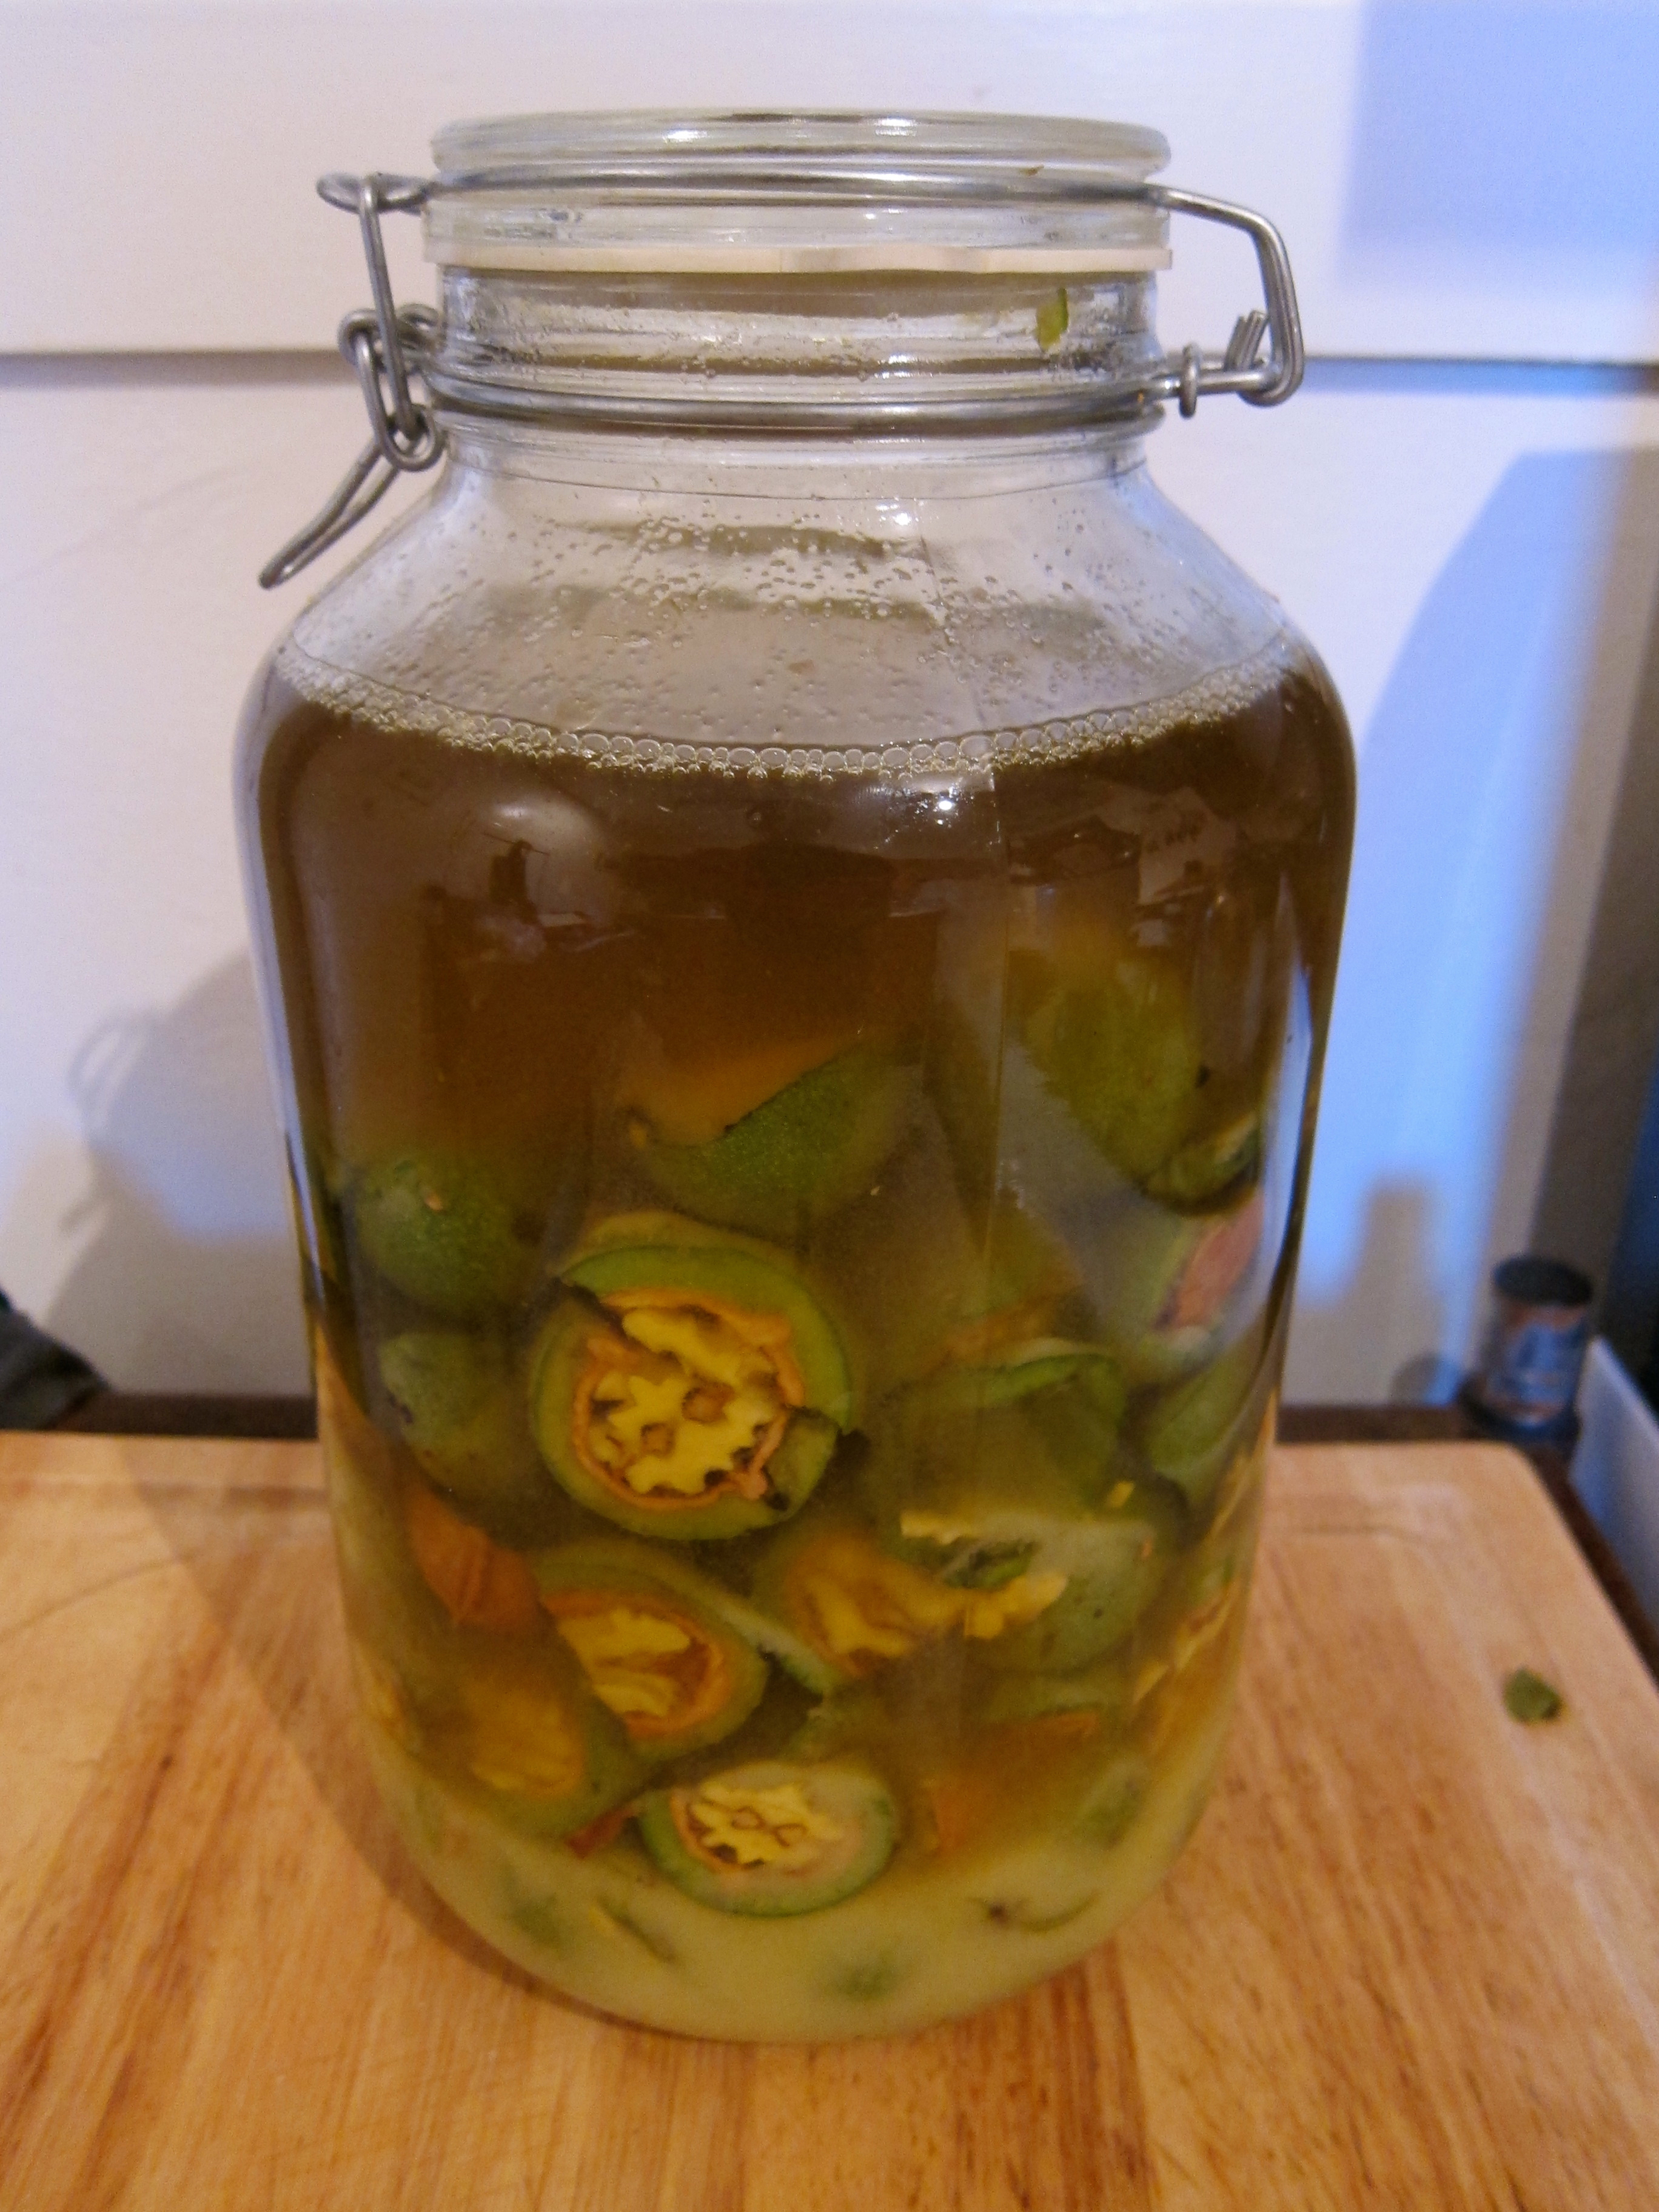
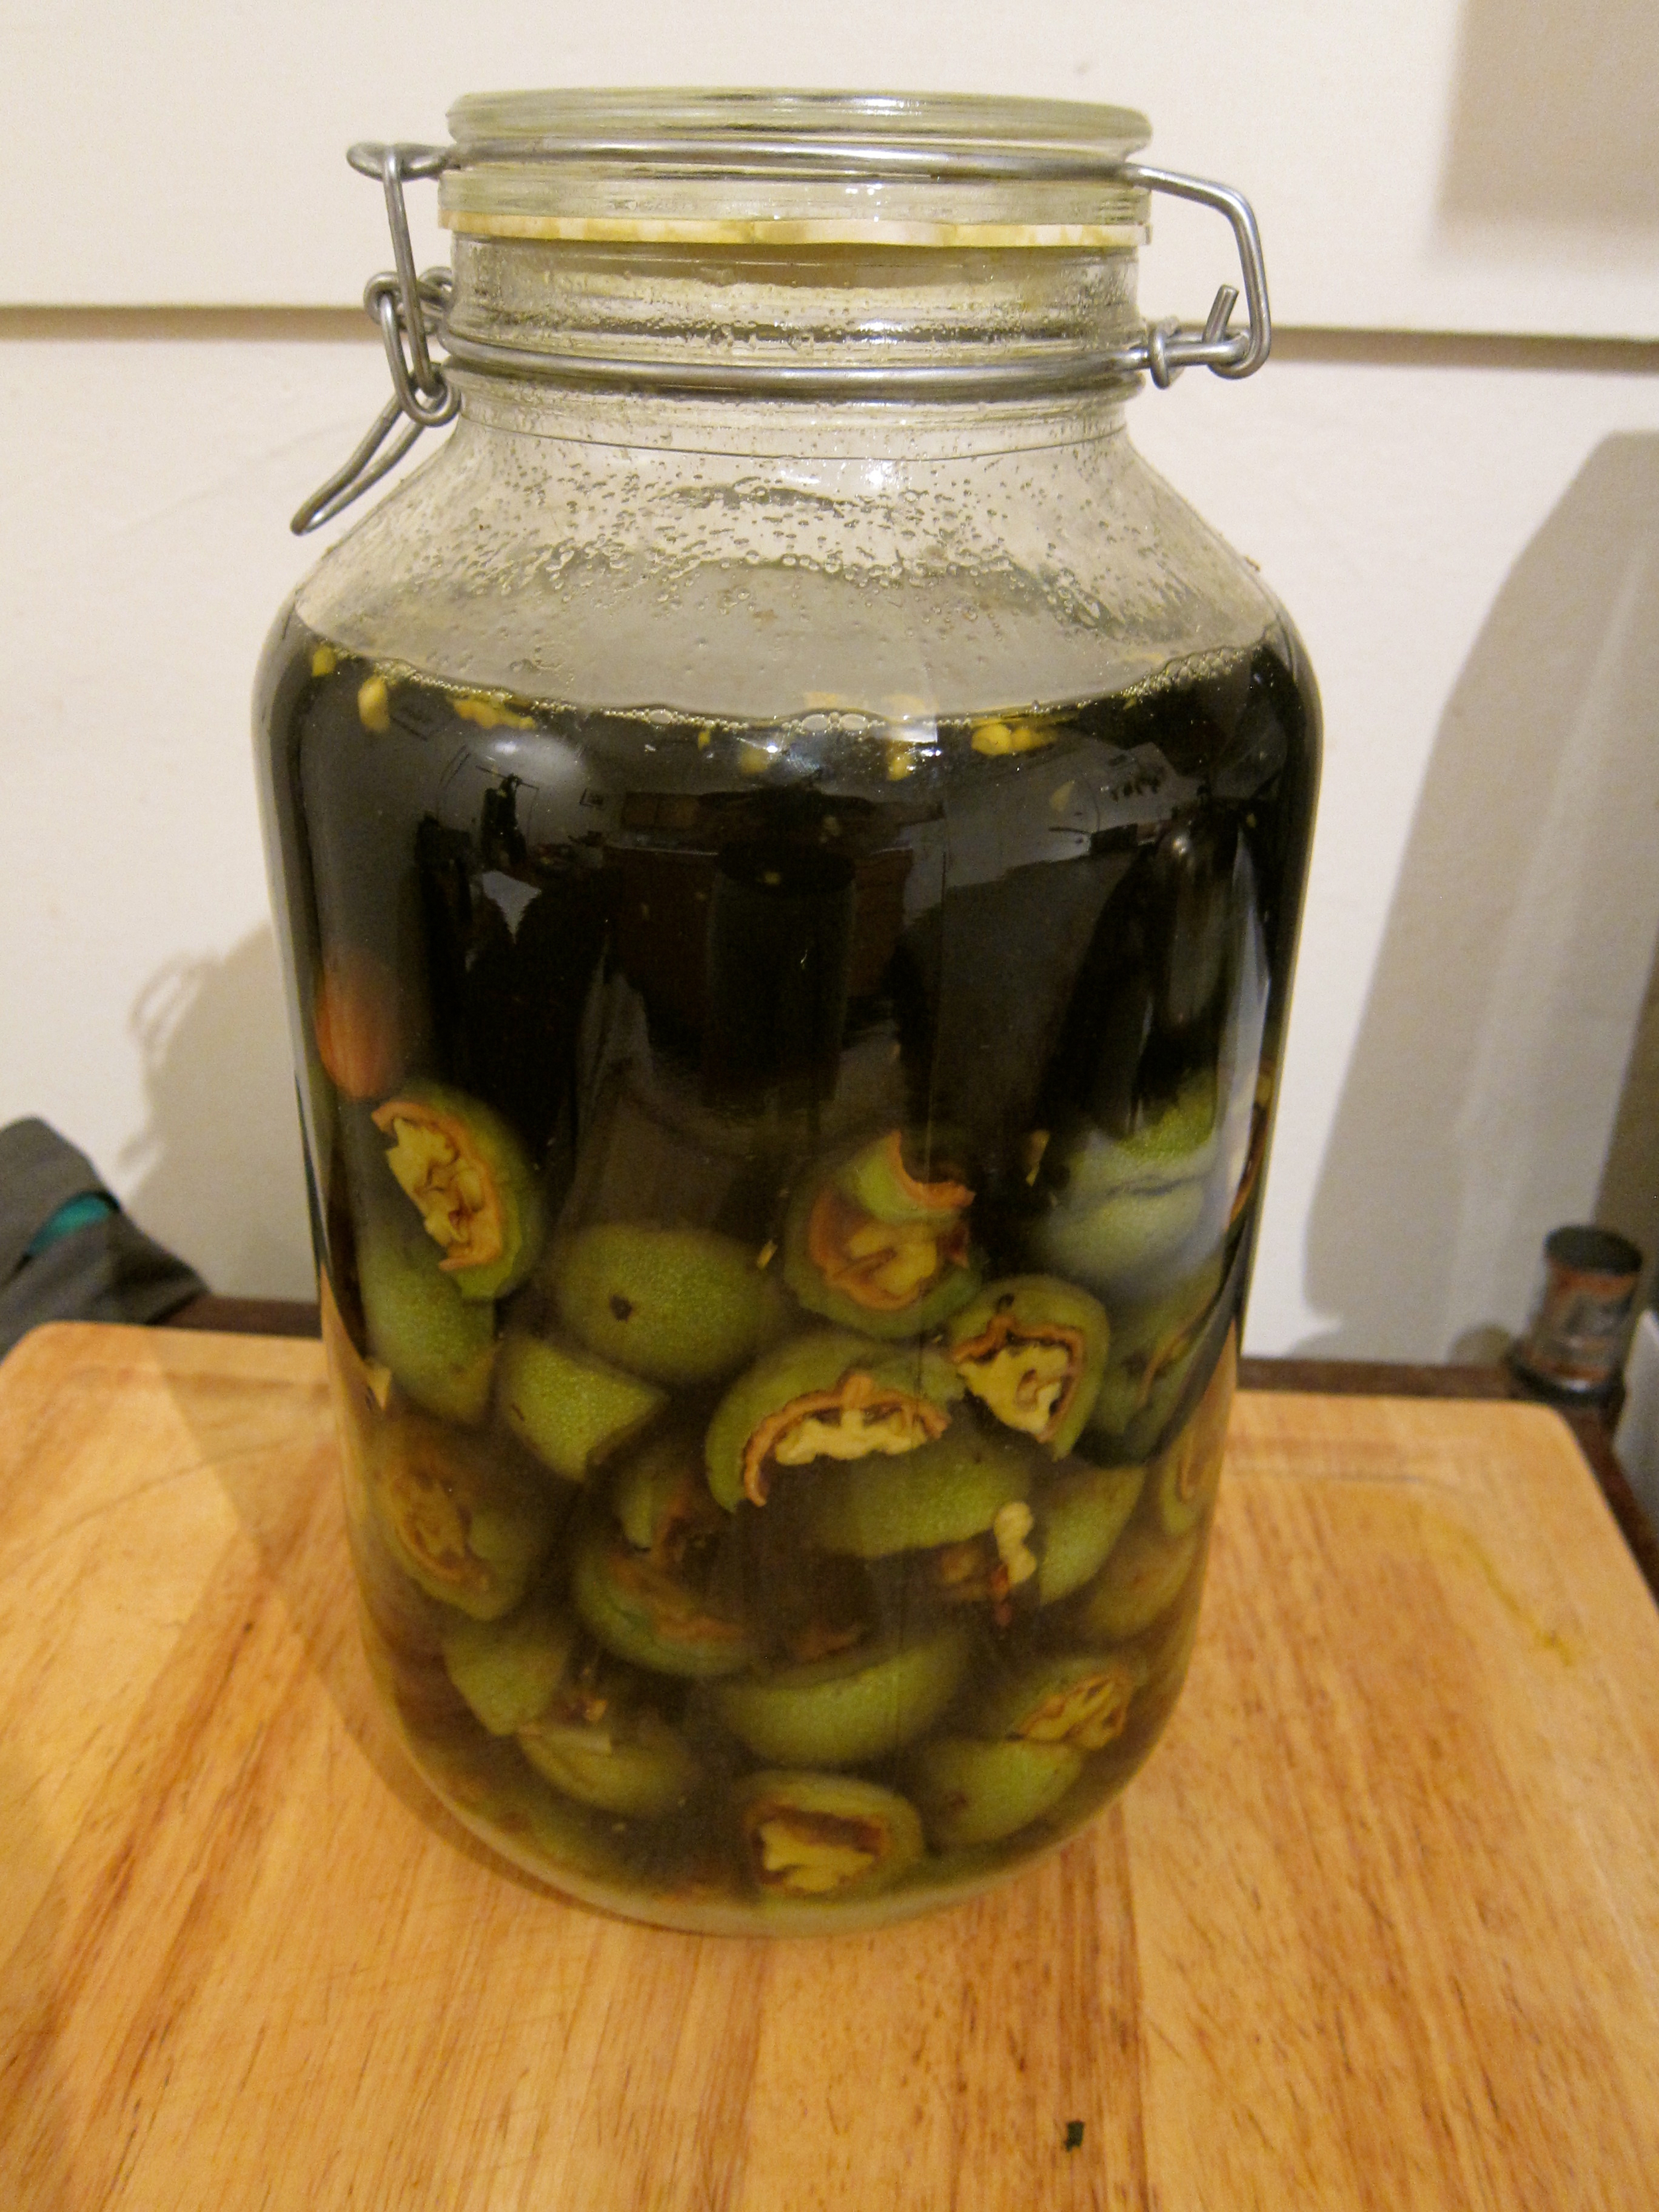
Using a cheesecloth or fine mesh strainer, strain the liquid and discard the walnuts. Add any other ingredients of your choosing (vanilla bean, orange peel, etc.) and pour nocino from the jars into smaller bottles. Close bottles and let the liqueur marinate for another 6 months to 1 year. You can taste the nocino as it rests to learn about the flavor changes and begin drinking once it's to your liking.

If walnuts are harvested too late in the season, the shells will have started to harden.
The Danish Summer cocktail
Not just for old Scandinavian men - but they'll drink it too.

Yes - Denmark does have a summer. It's similar to June in the Bay Area, but with about 4 hours of darkness and even more revelry on a warm, sunny day. This cocktail was created during my time at the Nordic Food Lab for a staff get-together (complete with amazing food, of course, including fire roasted mussels and pan au tomaquet with ample garlic) and was well-received. Most importantly, I received major cred from the native Danes of the house for using "old man alcohol", aquavit. Who knew? Guess it just runs in my blood!
“Rosa Rugosa, or beach roses, can be found on most coastlines. They have a vibrant pink color and a beautiful floral aroma.”
2 parts aquavit (I had Aalborg)
1 part cranberry juice (good quality, but the kind with added sugar, as this cocktail does require some sweetness)
1 part cold water
Cracked black pepper (okay, maybe that part's not Scandinavian)
Foraged beach rose (or other edible flower garnish)
Stir or shake aquavit, cranberry, and water and pour over ice. Grate black pepper over each drink and garnish with beach rose.


