

Umeboshi with Wild Plums
Umeboshi wish California wild plums.
Wild plums and red shiso make for impressive color.
As it turns out, you can't find ume plums (Prunus mume) easily on the West Coast to make a truly traditional umeboshi, or Japanese salt-pickled plum. Fortunately, wild plums are small and tart enough to work in much the same way. Ume plums are actually more closely related to an apricot, so if you eat them raw the texture will (theoretically, I have never eaten them myself) be very different than a wild plum from the West Coast, but when pickled the different is very subtle.
By preserving wild plums in salt, you keep the harmful bacteria out and, over time, create many amazing complicated flavors. The resulting wild plum umeboshi can be chopped and used as a condiment to bring bright, tart, pungent, savory/sweet flavor to a wide variety of dishes. Traditionally, it's eaten with rice, but I've tried it sautéed with sweet corn and in a nectarine compote that topped seared pork and I'm definitely looking forward to more experimentation! The salty-tart juice leftover from the umeboshi can be used for quick-pickling radishes or as an interesting addition to sauces and dressings.
One of my favorite discoveries - sautéed sweet corn with umeboshi and butter.
The below recipe is adapted from from here, which is supposedly the most popular umeboshi recipe translated into English and can be adjusted as needed for amount of plums that you have. We made a few batches with shiso (purple shiso from our garden) and a few without and although the shiso is nice, it's pretty subtle and both versions are great. Be careful handle the plums VERY gently - any bruising and cutting can lead to mold.
1 pound (metric example = 1 kilogram) small wild plums, about the size of cherries or slightly larger and still firm (we picked up red ones from Tilden Park - yellow can be used, but the color will not be as characteristic)
2 cups (metric example = 1 liter) vodka or other distilled alcohol (such as shochu), for rinsing plums
1.6 ounces (metric example = 100 grams) red shiso leaves (about 10% by weight of plums)
1.6 ounces (metric example = 100 grams) coarse sea salt or Kosher salt (10% salt solution)*
Step 1: Sterilized the plums and process the shiso
Remove stems from plums. Wash plums in water twice then soak in a bowl of cold water and allow to soak overnight. This removes some of the bitterness in the plums (wild plums are less bitter than ume plums, but I went ahead and did this to be safe).
Drain plums, dunk in a bowl of vodka, and set out on a clean towel to dry. The alcohol helps to ensure any mold spores that might still be on the outside of the plum are removed/rendered safe.
Wash shiso leaves, remove tough stems, sprinkle with salt and massage leaves with fingers until they are limp.
Step 2: Get your plums nice and salty so they ferment
Clean a large, wide-mouthed container (such as a gallon-sized jar) that can hold all of your plums. Spray with vodka to disinfect it, then allow to air dry.
Fill your pickling container with salt and plums by starting with a layer of salt, then a layer of plums, followed by a portion of shiso. Repeat until all ingredients are used and weigh down with a plastic bag filled with water or another smaller jar filled with rocks and water (make sure these are clean). Once the container is full and weighed down, cover the top with cheesecloth and secure with a rubber band. You might have to wrap cheesecloth around the weight then secure with a rubber band. As long as the top is covered with cheesecloth, all is well. It doesn't have to be pretty!

Salt, shiso, and plums weighted down and covered with cheesecloth.
Leave fermenting plums in a cool, dark area until the plums are soft and completely immersed in a reddish liquid (about 1-2 weeks). This liquid is extracted from the plums by the salt. If liquid is not completely covering plums, try increasing the weight. Liquid should be about 1 inch above the top of the plums. Leave the plums in the liquid until you are ready to dry them, about 2-3 weeks.
Step 3: Hoshi/boshi ("to dry") your plums
Wild plums (or ume plums in Japan) are harvested in June and drying traditionally occurs on a specific date after the rainy season is over. Be sure to dry your plums at a time when the weather is dry and at least 2 weeks after plums have been submerged in liquid.
Put the plums in a single layer and the shiso leaves in spread-out clumps separately on flat baskets - we used a bamboo steamer - . Leave the baskets outside in a sunny place with good ventilation for about 3 days, turning them at least every 24 hours. If it rains, be sure to take them inside before they get wet. At the end of the drying process, they should look wrinkly.
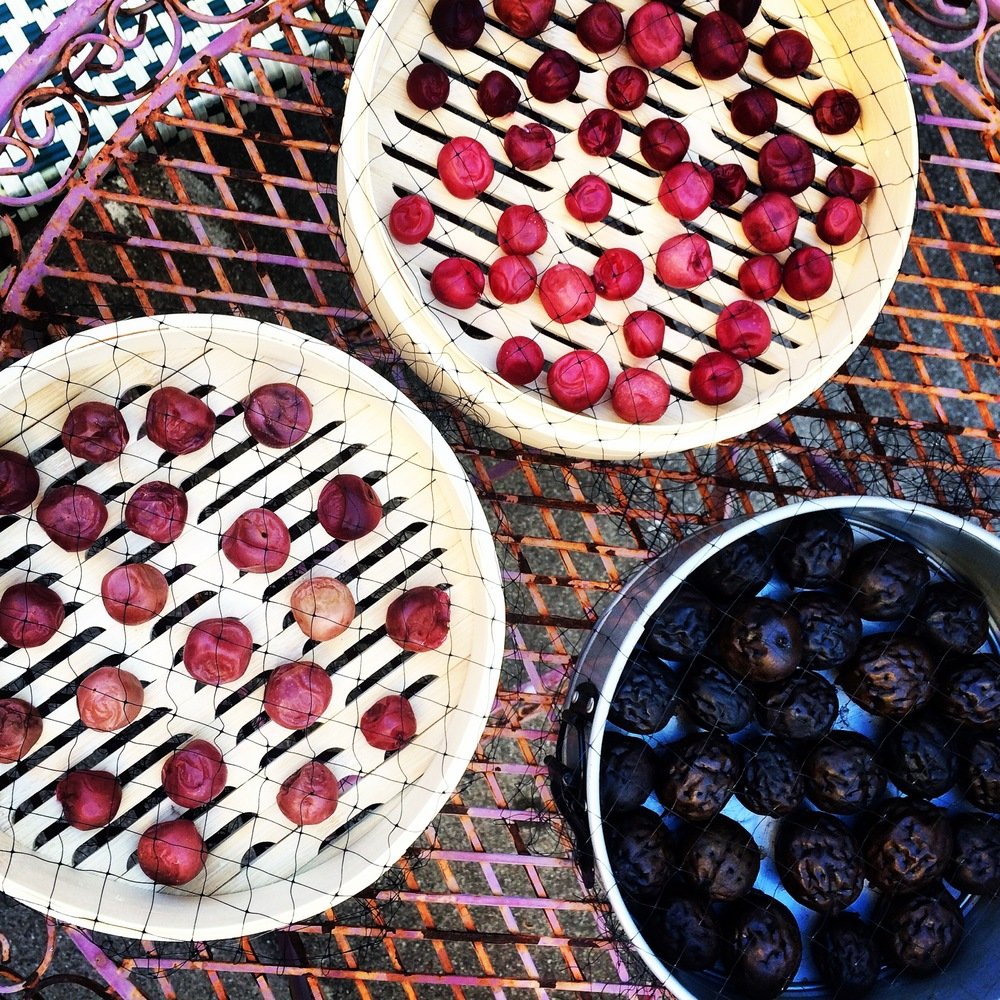
Umeboshi drying on bamboo steamer liners. Also in the photo are green walnuts in the process of pickling (but have nothing to do with the umeboshi, don't be confused!)
Step 4: Store and enjoy
Store plums in jars, pouring back in some of the ume liquid if you prefer softer plums (we did not do this, as we like them firmer). As I mentioned earlier, this ume liquid can be used for other things, such as quick pickles. The shiso leaves can be layered in with the plums, but we keep the shiso out for other uses, as they didn't have the best texture and we wanted to keep our umeboshi "clean". The umeboshi is now ready to eat - they can be eaten for up to 10 years (!) and grow in complexity over time, but I doubt we'll still have ours after even 1 year!
*Other salt solutions can be used, from 8% - 20%. The higher the salt percentage, the saltier the umeboshi will be (obviously). The lower the salt percentage, the more likely they are to mold. It is recommended that beginners use at least 10%.
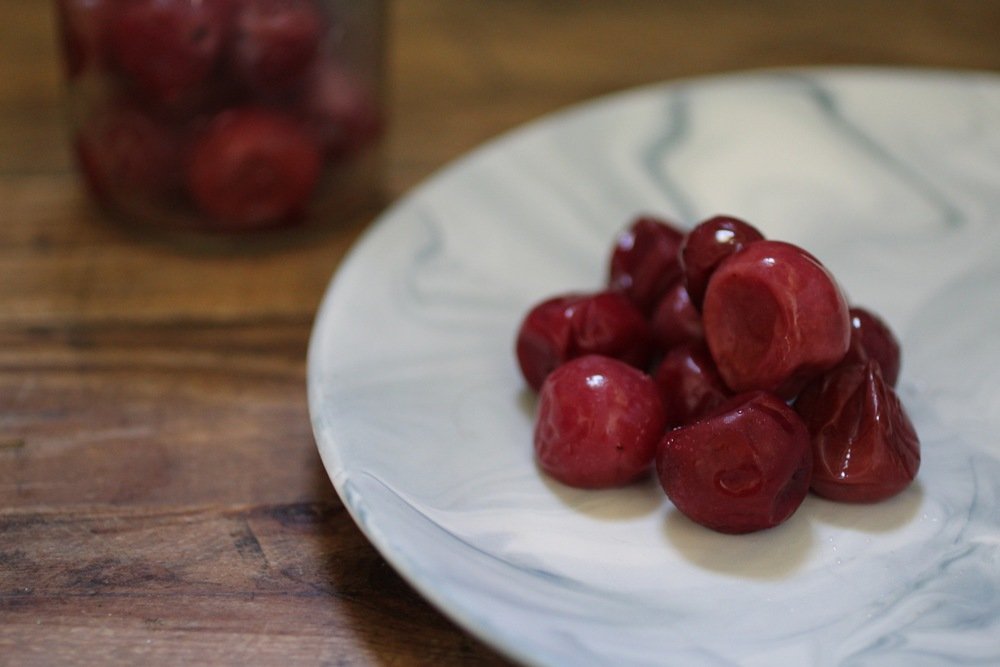
Finished umeboshi straight from the jar.
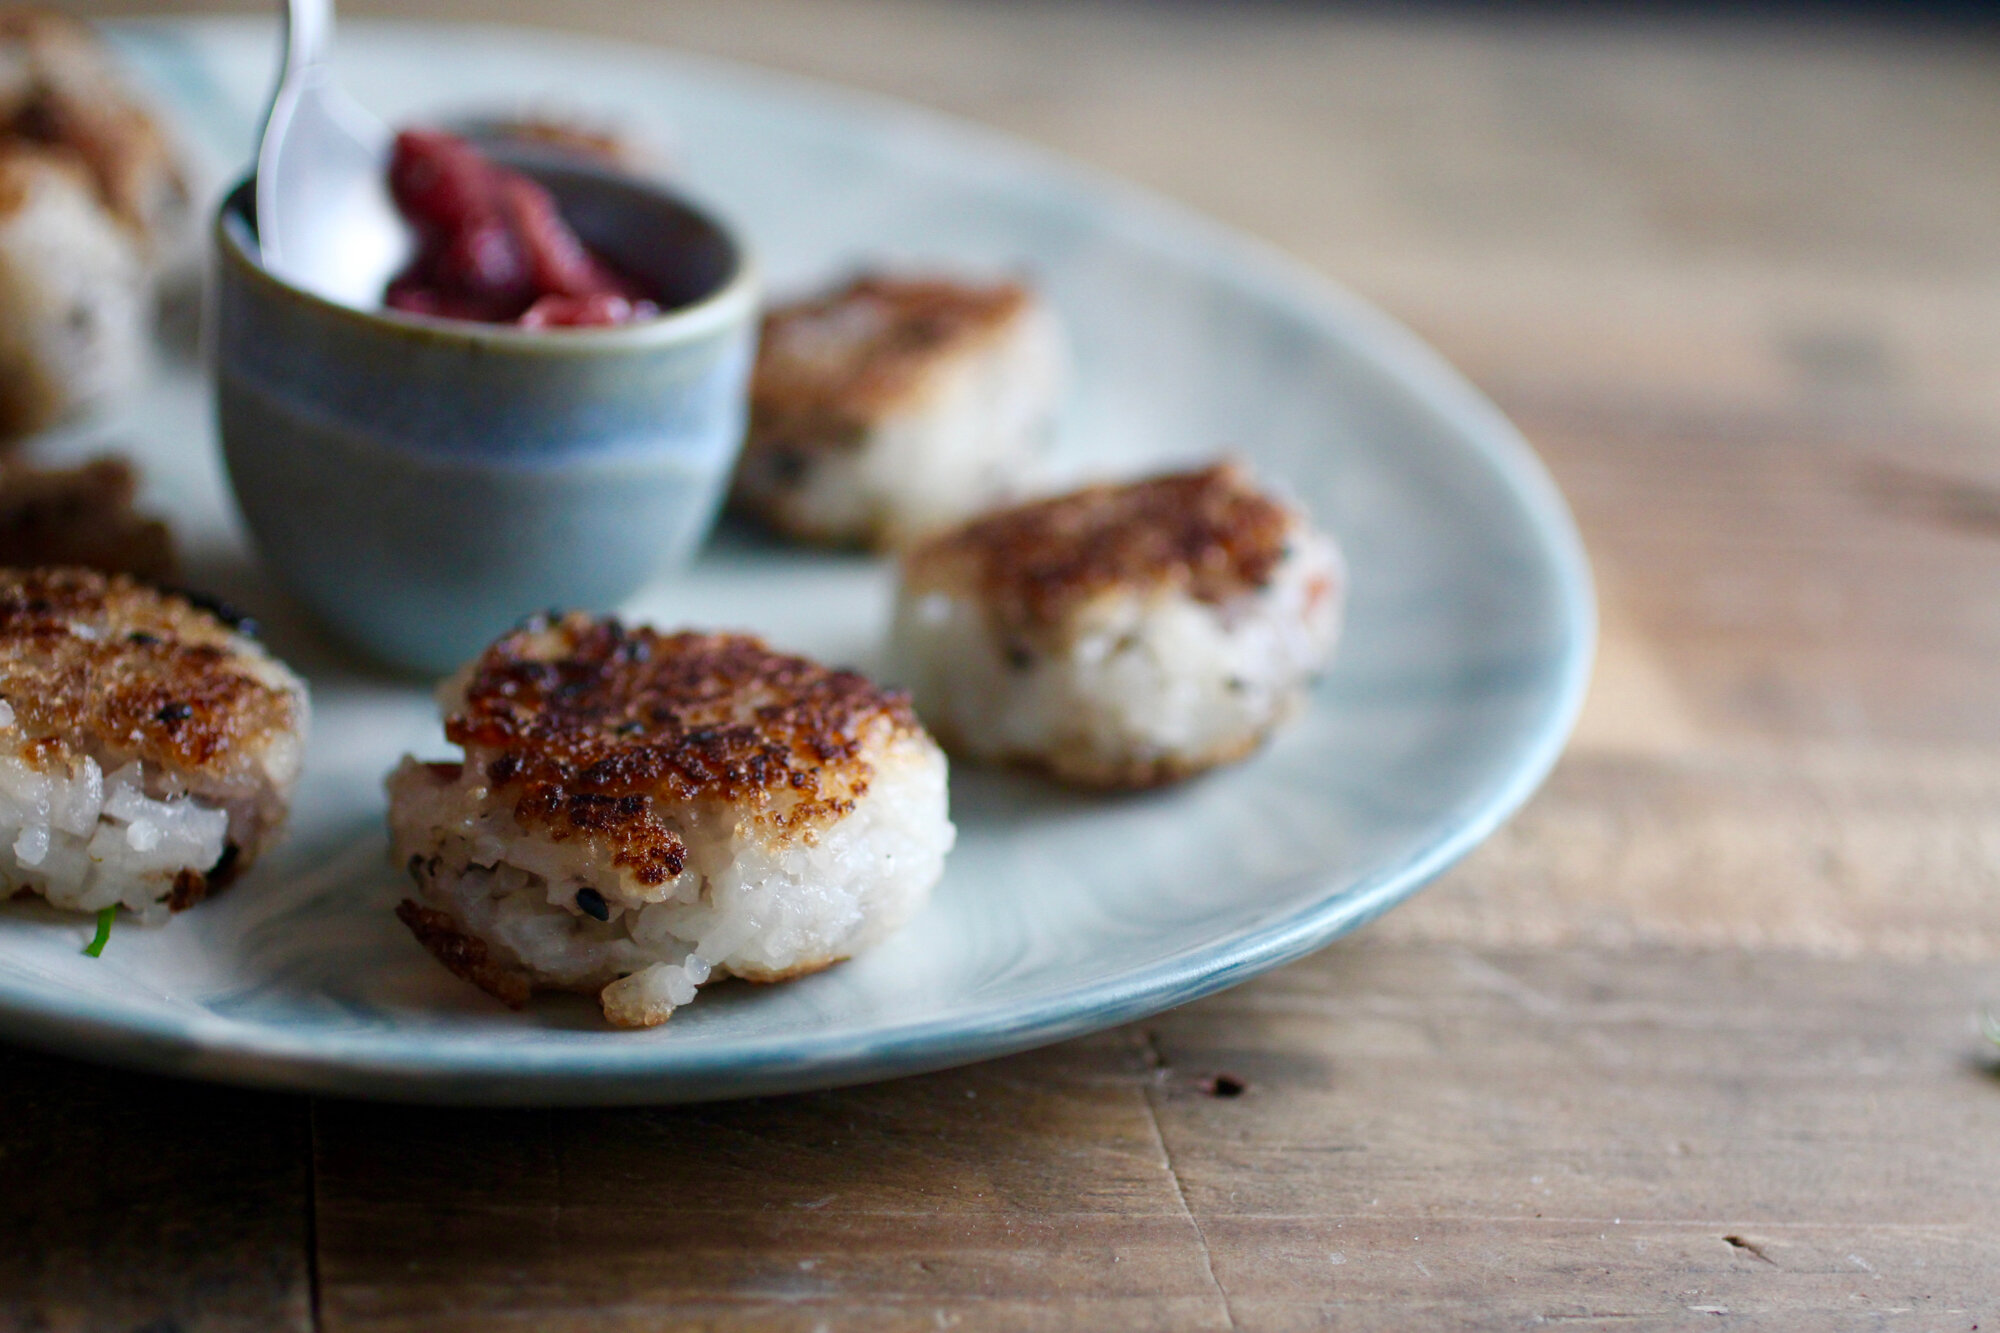
Seared onigiri (Japanese rice balls) with pickled plum

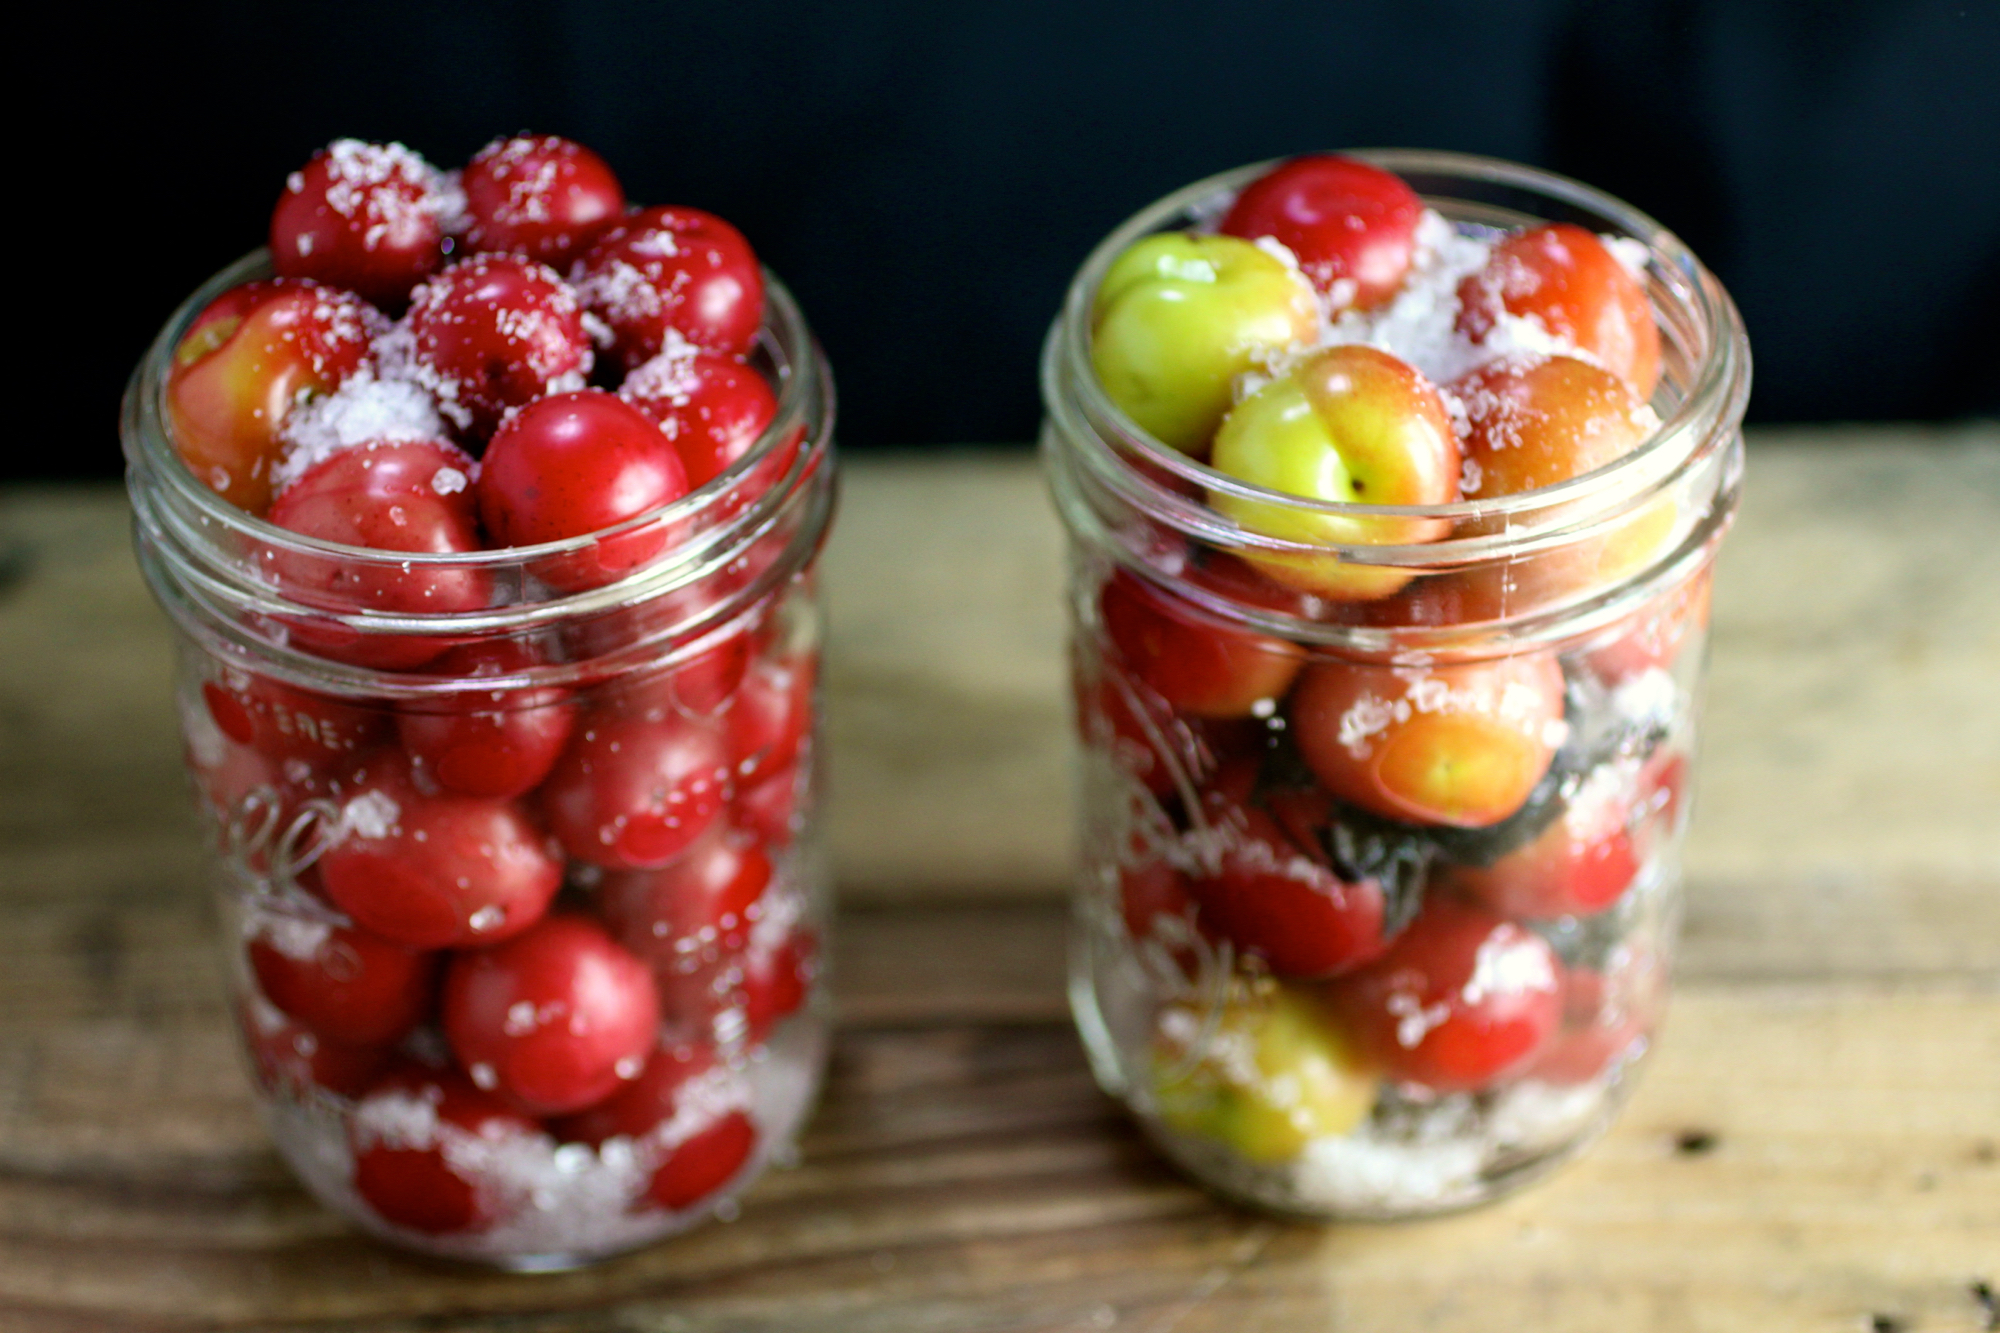
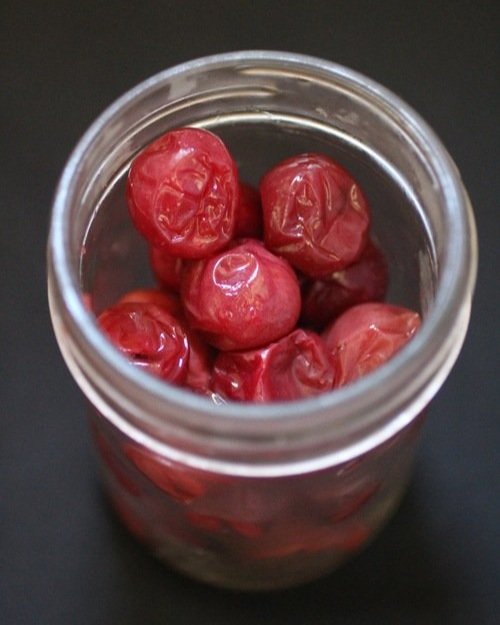
The beginnings of umeboshi made from wild California plums.
Last year I was diligent enough to get my hands on some wild plums and turn them into a California-inspired version of umeboshi, the umami-rich pickled plum condiment from Japan. You can find more about umeboshi and how I made it here, but the most important piece of information in this blog post is that as a result of my making umeboshi, I might be invited on an - I kid you not - Japanese game show. "Who Wants to Come to Japan" is a show that essentially, sends people who are interested in a particular aspect of Japanese culture and have never been to Japan and films their experience. They came across my umeboshi post and reached out to me about being a contestant. Naturally, I jumped at this opportunity. I have never been to Japan and have always wanted to go to explore Japanese foodways and the culture in general. Given it's a Japanese game show, there's definitely a high probability of ridiculousness and, although I may be the brunt of the ridicule, YOLO amiright?
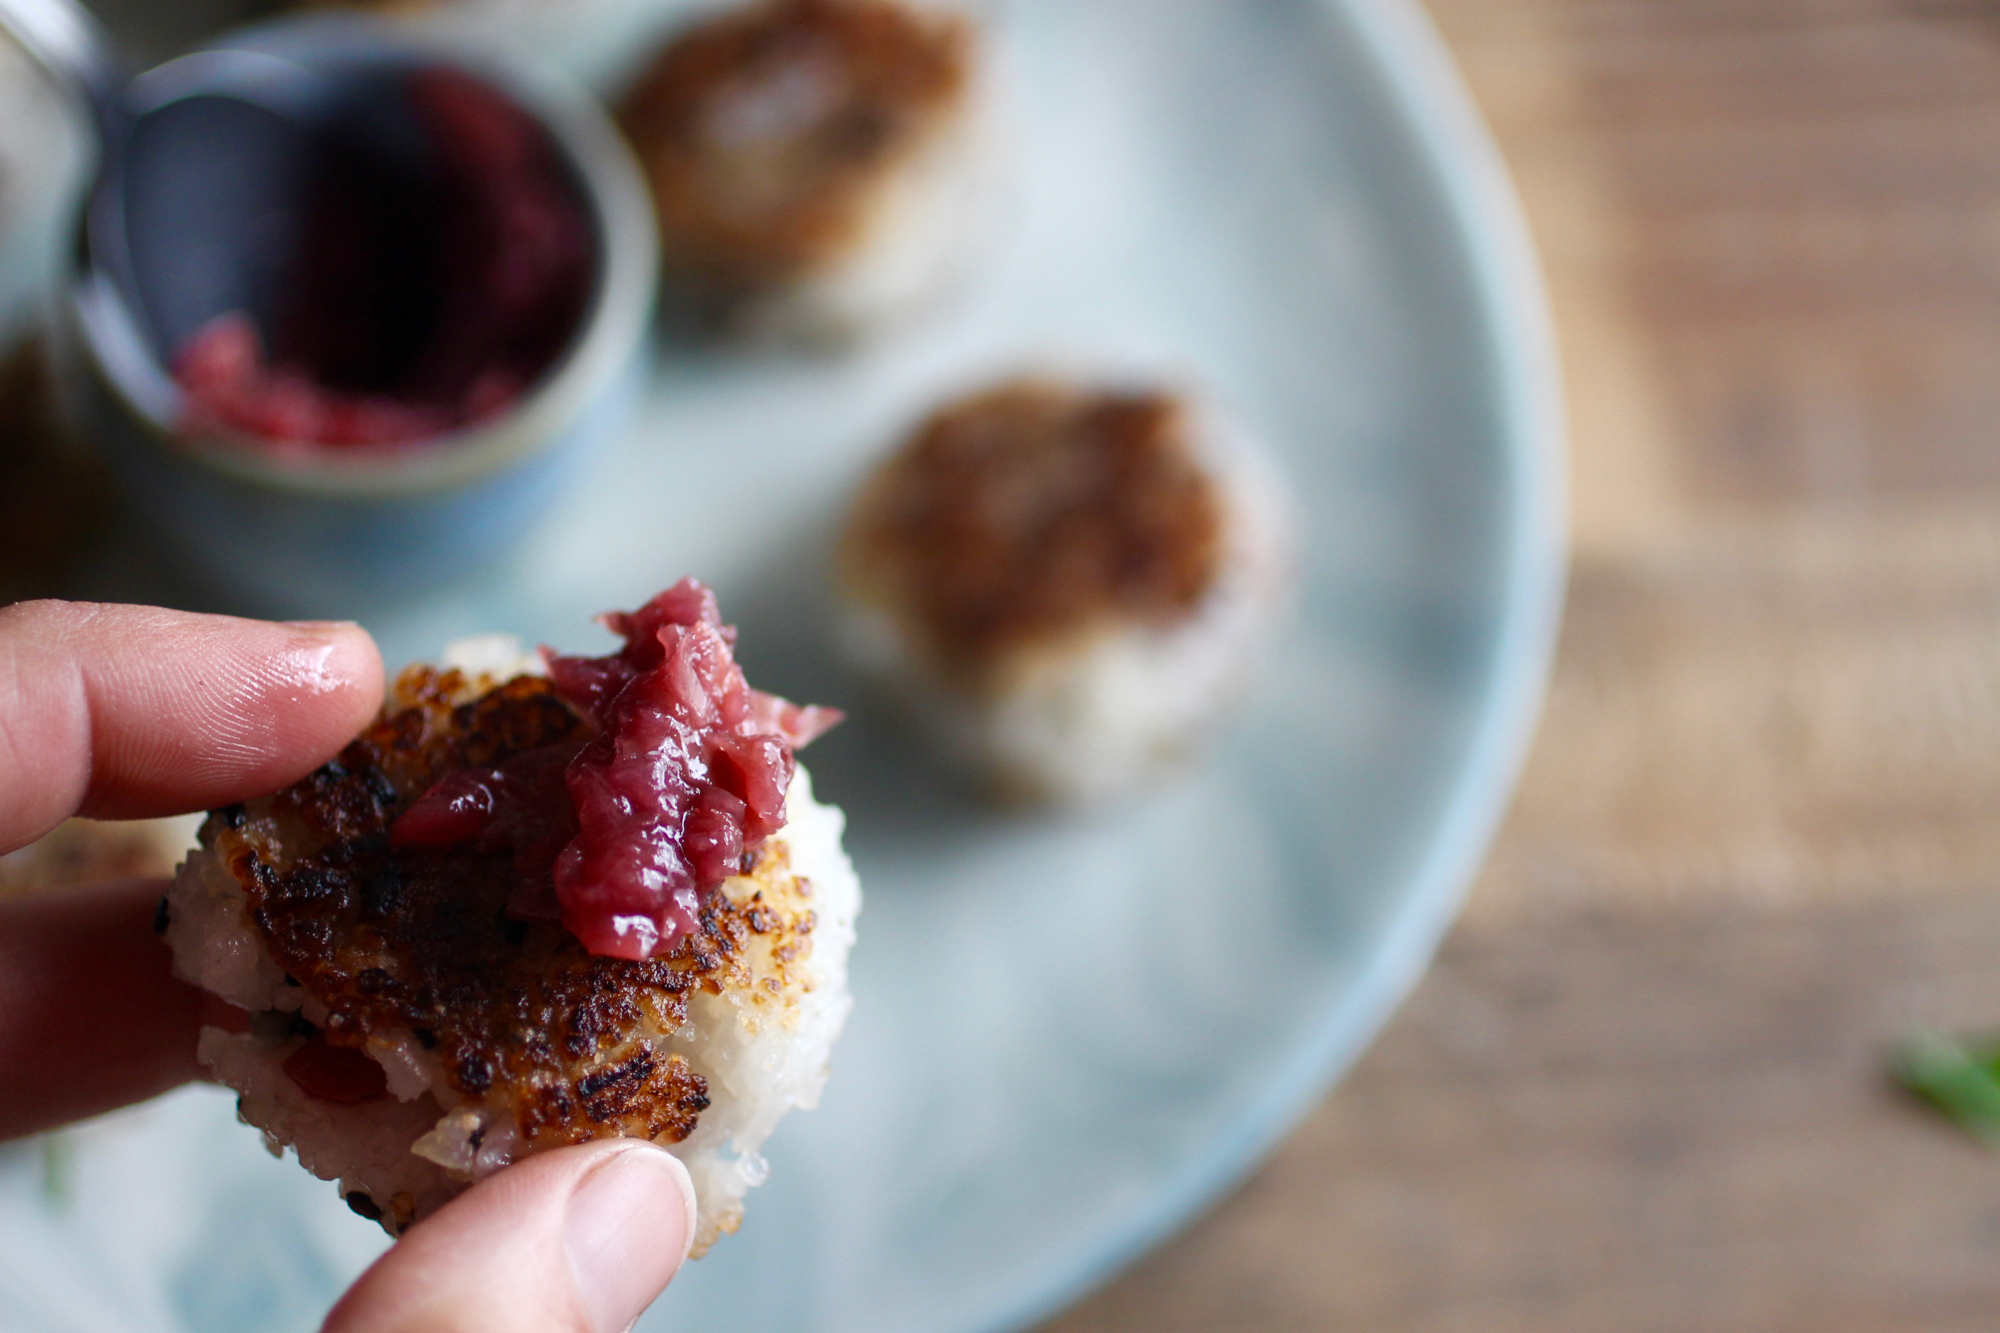
Sometimes you need a little extra umeboshi paste.
So - to honor this momentous occasion (they're visiting tomorrow!) I decided to finally get around to posting my method for umeboshi onigiri, or rice balls stuffed with umeboshi paste - a delicious way to use up leftover rice! I like to sear my onigiri (technically yaki-onigiri), kind in the same vein as aracini, if you've ever had the Italian fried rice ball appetizer, but pan-seared instead of fried.
This recipe, in combination with other umeboshi dishes including asparagus with wild onion and umami and simply a corn-butter-umeboshi sauté, are so good that I am almost out of my umeboshi supply and sadly, didn't get around to pickling any this year. I guess I'll just have to savor what I have left!
The below recipe makes about 8 small onigiri and can be expanded as needed.
2 cups cooked short-grained rice (preferably sticky rice), cooled* - great way to use up your leftovers! Especially delicious is using leftover coconut rice either from a restaurant or made at home (cook rice with half water/half coconut milk).
1-2 teaspoons sesame seeds or furikake flakes (Japanese seasoning mix)
Sea salt
4 pickled plums (umeboshi), pitted and diced or smashed into a paste
Grapeseed oil, for searing
Soy or tamari sauce, optional (above photo was plain onigiri with umeboshi paste on the side)
In medium bowl, stir sesame seeds or furikake flakes into sticky rice to combine.
Wet hands lightly with water then spread a pinch of salt across your palms. Scoop 2 tablespoons of rice mixture from bowl and gently squeeze into ball. Flatten ball then form a well in the center. Add about 1/2 teaspoon umeboshi paste to well, then fold edges of rice over paste to cover.
Gently squeeze into ball then flatten again. Continue process with more rice and umeboshi until rice is gone.
Lightly oil a cast iron pan and heat on medium-high. Once oil is hot, add onigiri and sear until lightly brown, about 1-2 minutes on each side.
Serve with optional soy or tamari sauce (though you probably won't need it!)
*If rice isn't originally sticky and/or not sticky enough, you can make it "stickier" (technically, to be sticky rice, it must be a certain variety of rice that's high in a certain time of pasty starch) by heating pre-cooked rice on medium-low with 1-2 tablespoons water for about 5 minutes or until sticky, stirring occasionally. Here's a recipe for sticky rice, but I just cook rice as I always do then make it stickier after with this method.
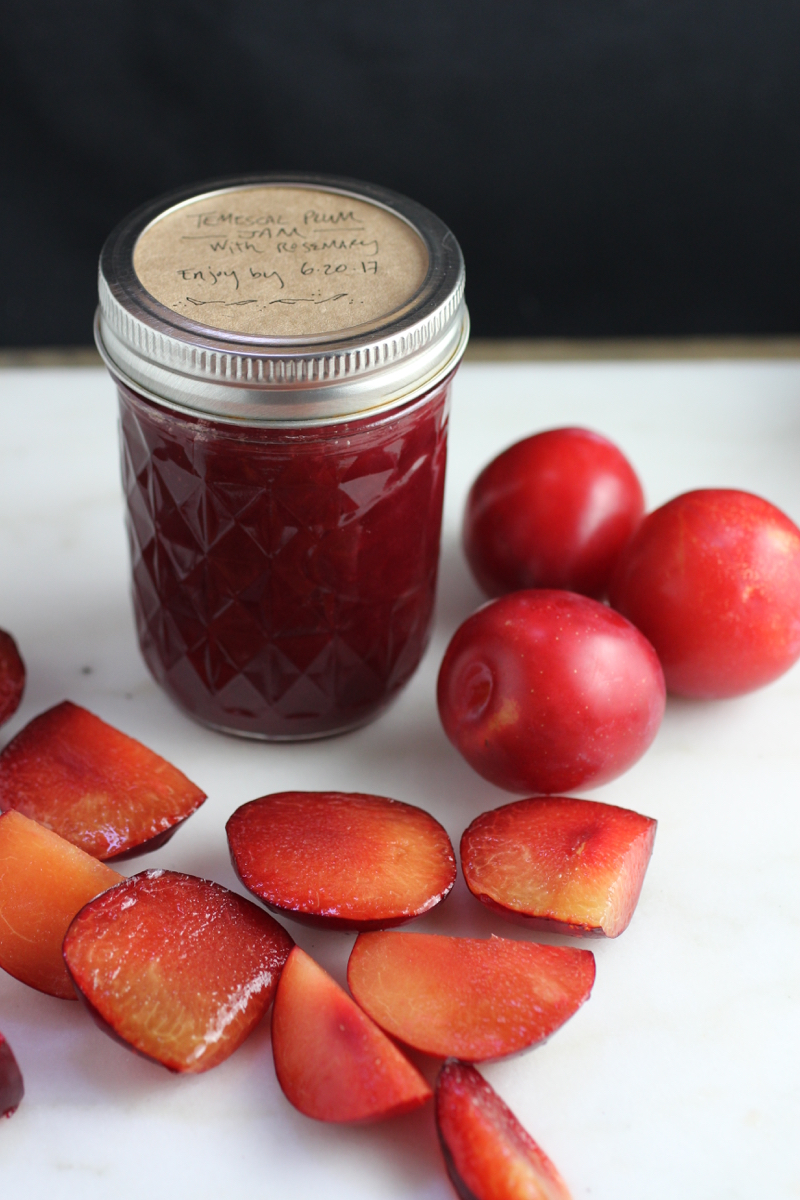
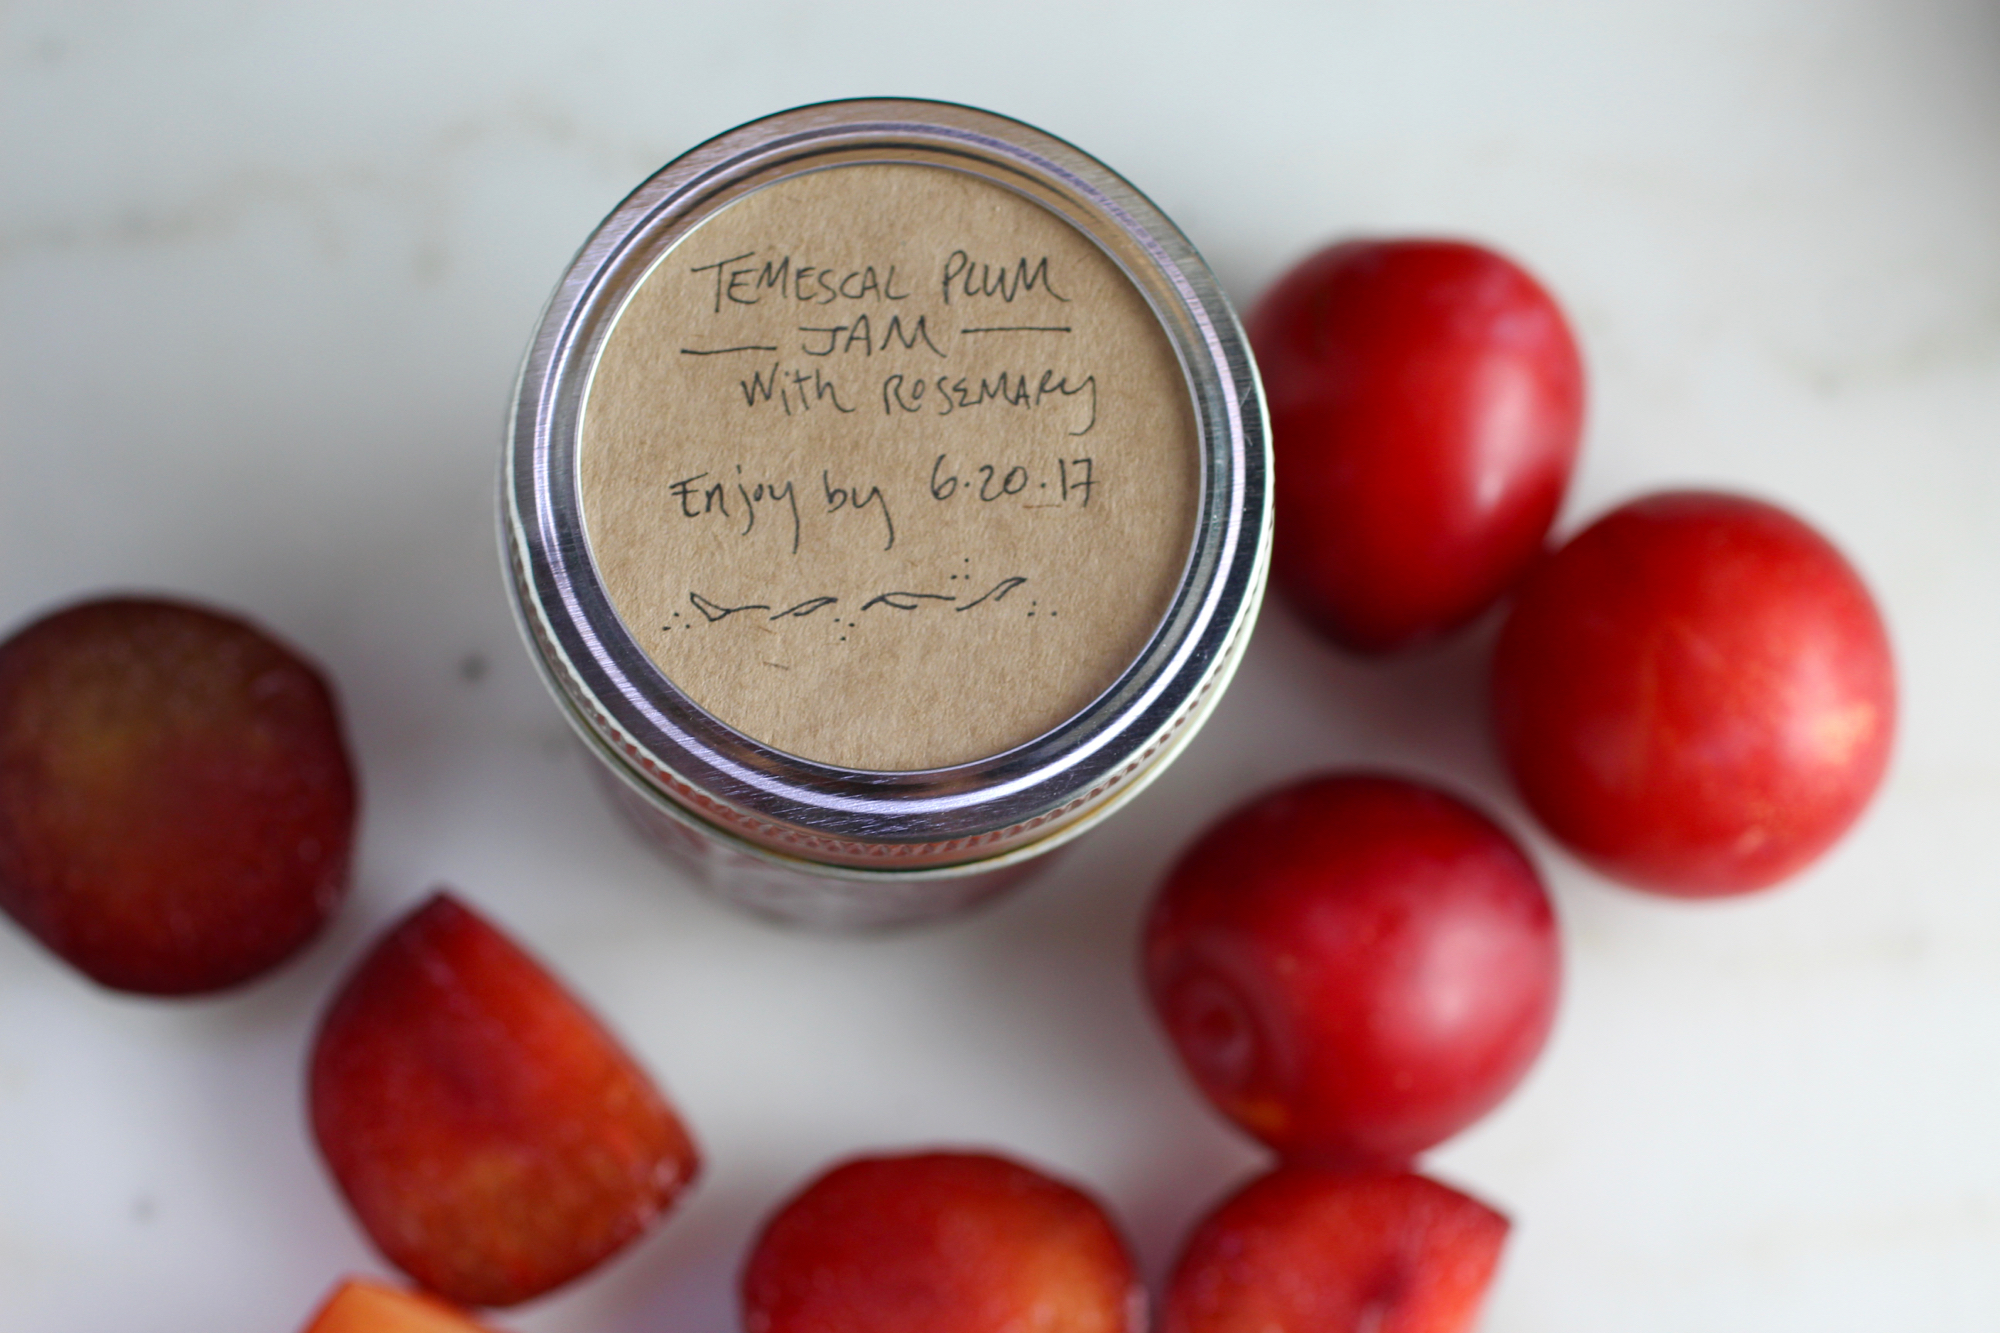
Plum-Rosemary Jam and Spiced Chutney
One neighbor's discarded plums are another's treasure.

Preserves are a great way to preserve!
There are times that I especially appreciate how fortunate I am to live in California. Plum season is one of those times. During the months of June, July, and sometimes August, many neighborhoods in the Bay Area are literally dripping with plums. These plums are often there for anyone willing to put in the effort, as many plum tree owners can't seem to keep up with the production. While the small and tart wild plums that you can find in many parks and urban environments are lovely (especially for California wild plum umeboshi, recipe coming soon!), the Santa Rosa plums that are much-loved cultivated variety in the area are pretty ethereal. They are sweeter, but not cloyingly so, with beautiful flesh and an almost rose-like scent. When my neighbors told me that they had more of these plums than they could handle and told me to take as many as I could I knew I hit the plum jackpot. Low hanging fruit for sure!
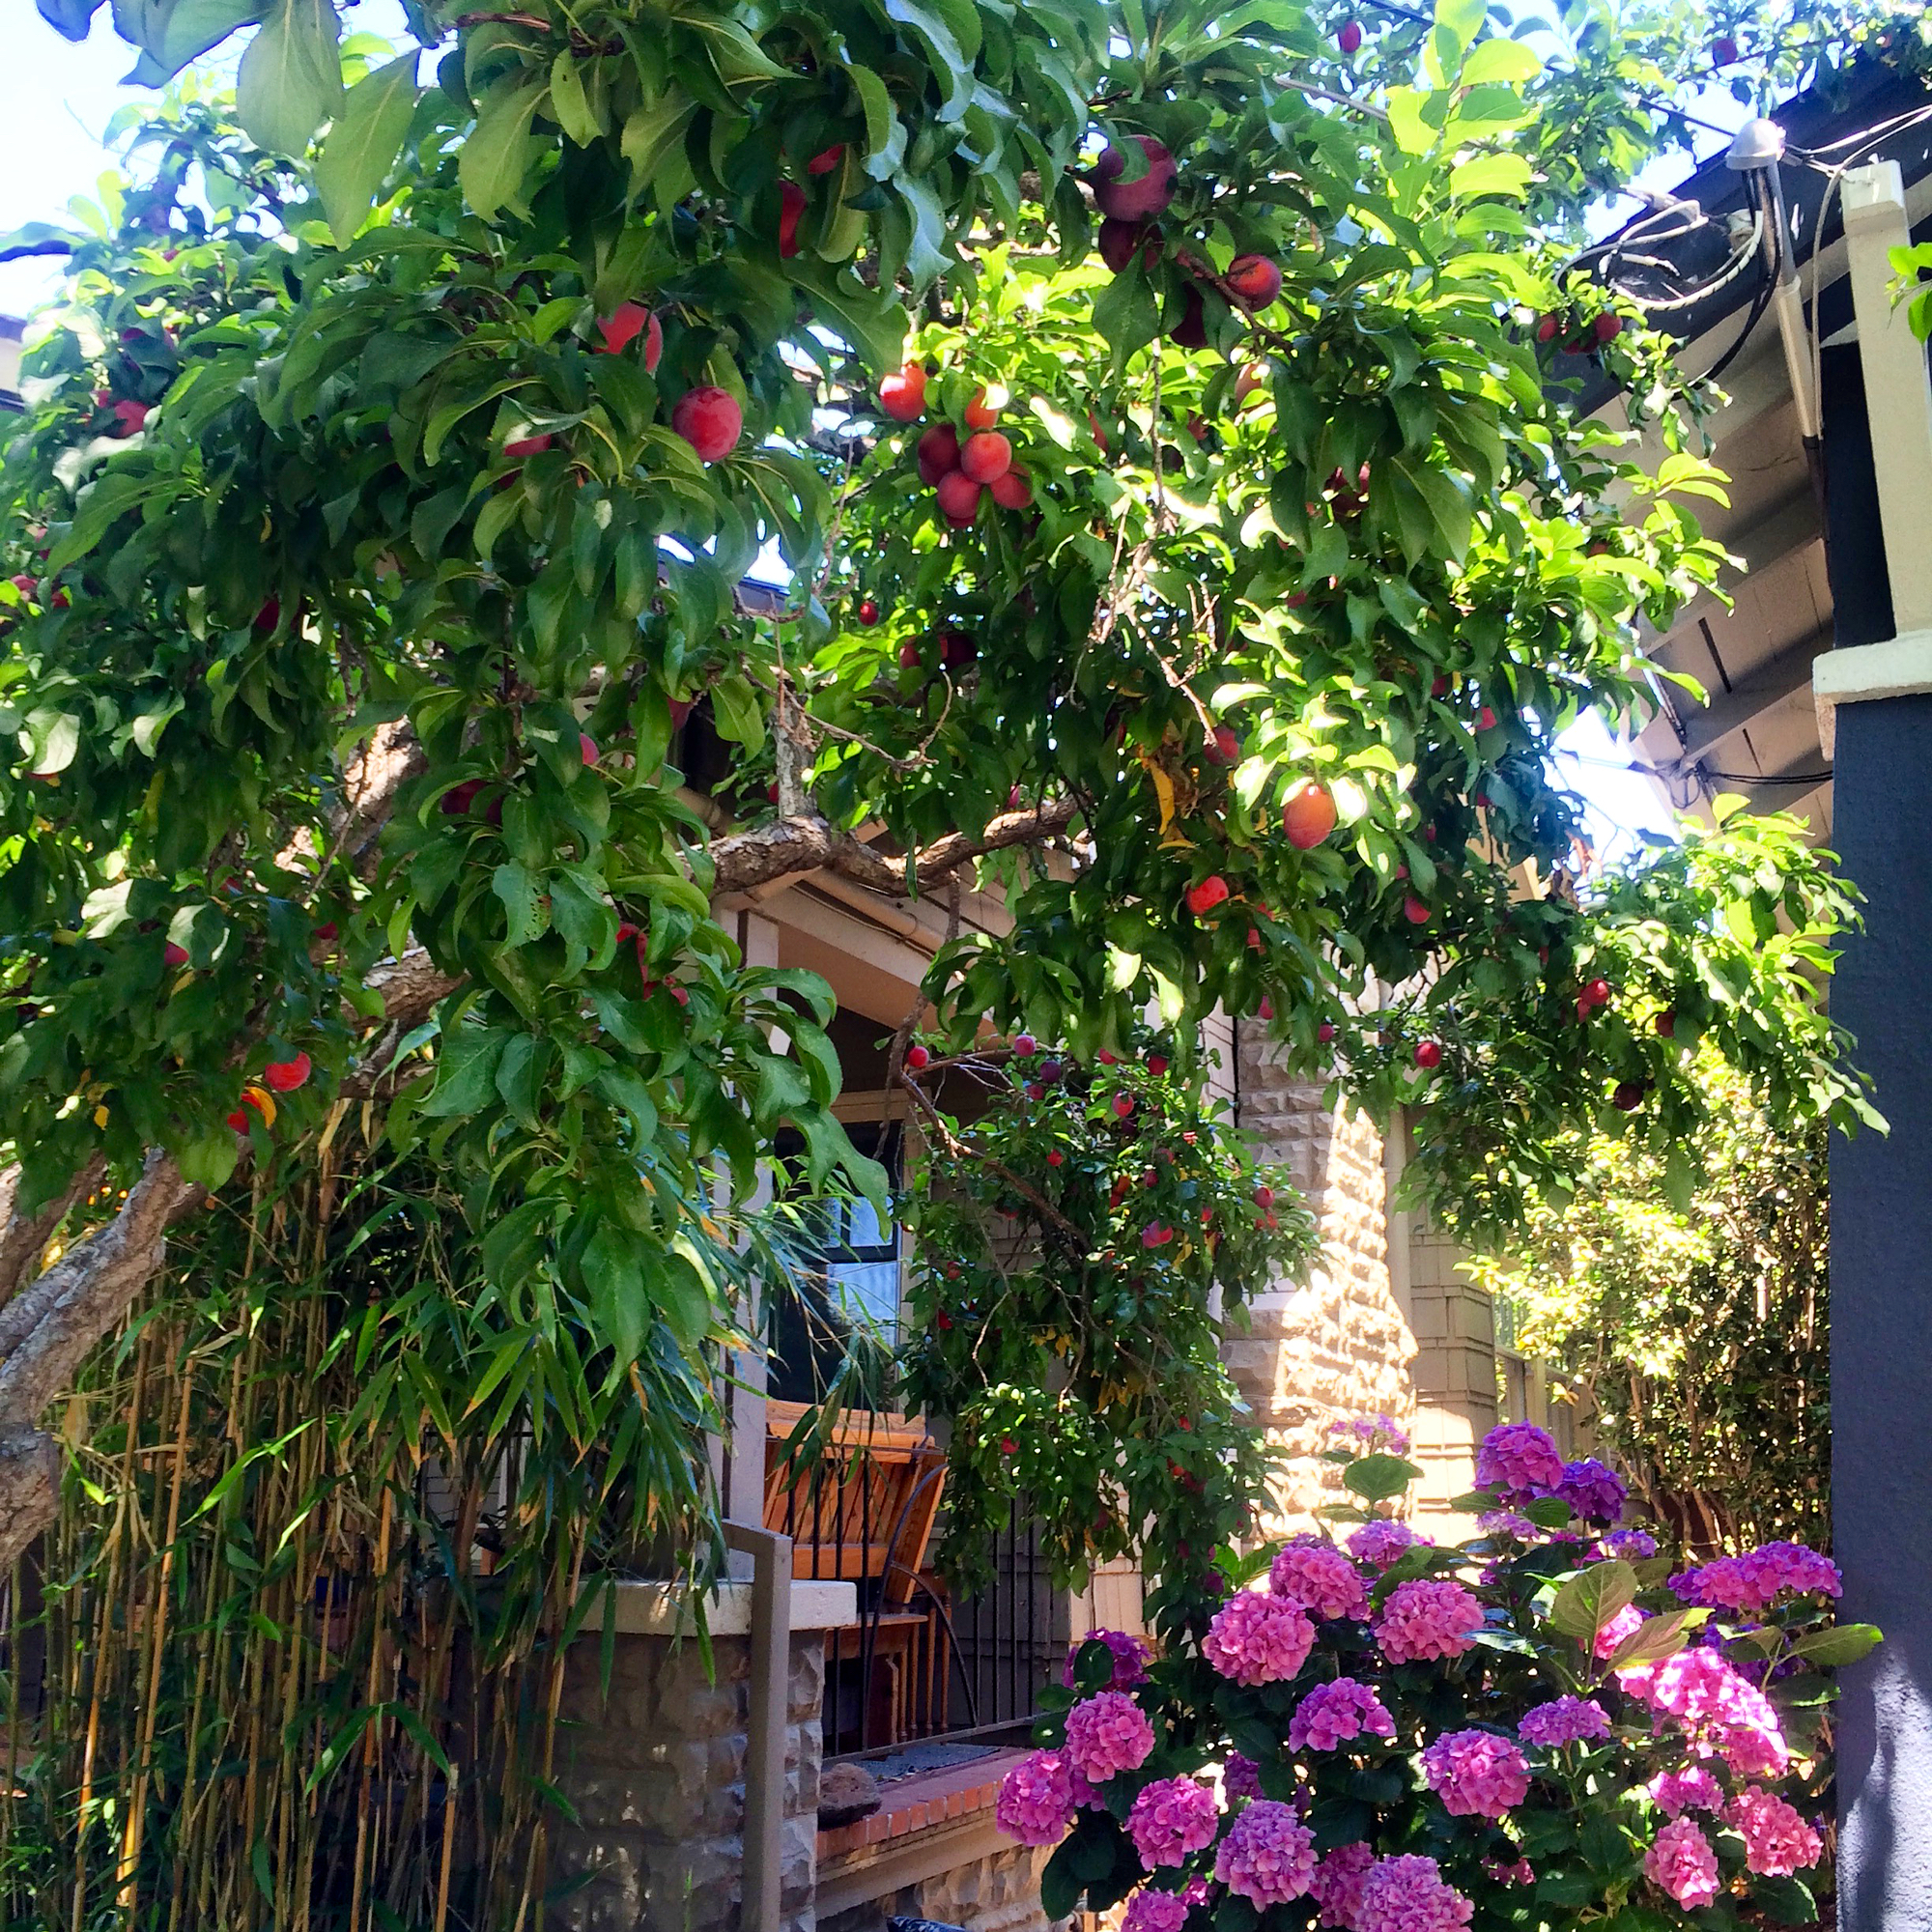
I gotta lotta neighbors with a lotta unused plums.
There are many ways to enjoy plums like use them in place of apricots in this ginger almond galette or simply eat them fresh and let the juices run down your chin, but if you're in need of putting up (isn't that a great phrase?) a lot of them for later use, preserves (hence the name) are a classic way to go. When I have a bunch of fruit, I like to make both jams and chutneys because it's nice to have a classic jam for topping toasts and yogurt, filling pastries, and making cocktails, but chutney is great to have around for savory applications. Serve it with blistered green beans or roast chicken eh, voilà! All of a sudden that ho-hum dish is exciting. The jam uses store-bought pectin - I used to only make my own pectin from citrus pith, but (although fun) it can be quite time consuming and the Pomona pectin is a faster way to success. The quantities and spices in both the jam and the chutney are adaptable to availability and preferences!
Plum-Rosemary Jam
Makes about twelve, 8-ounce jars. Recipe adapted from Serious Eats.
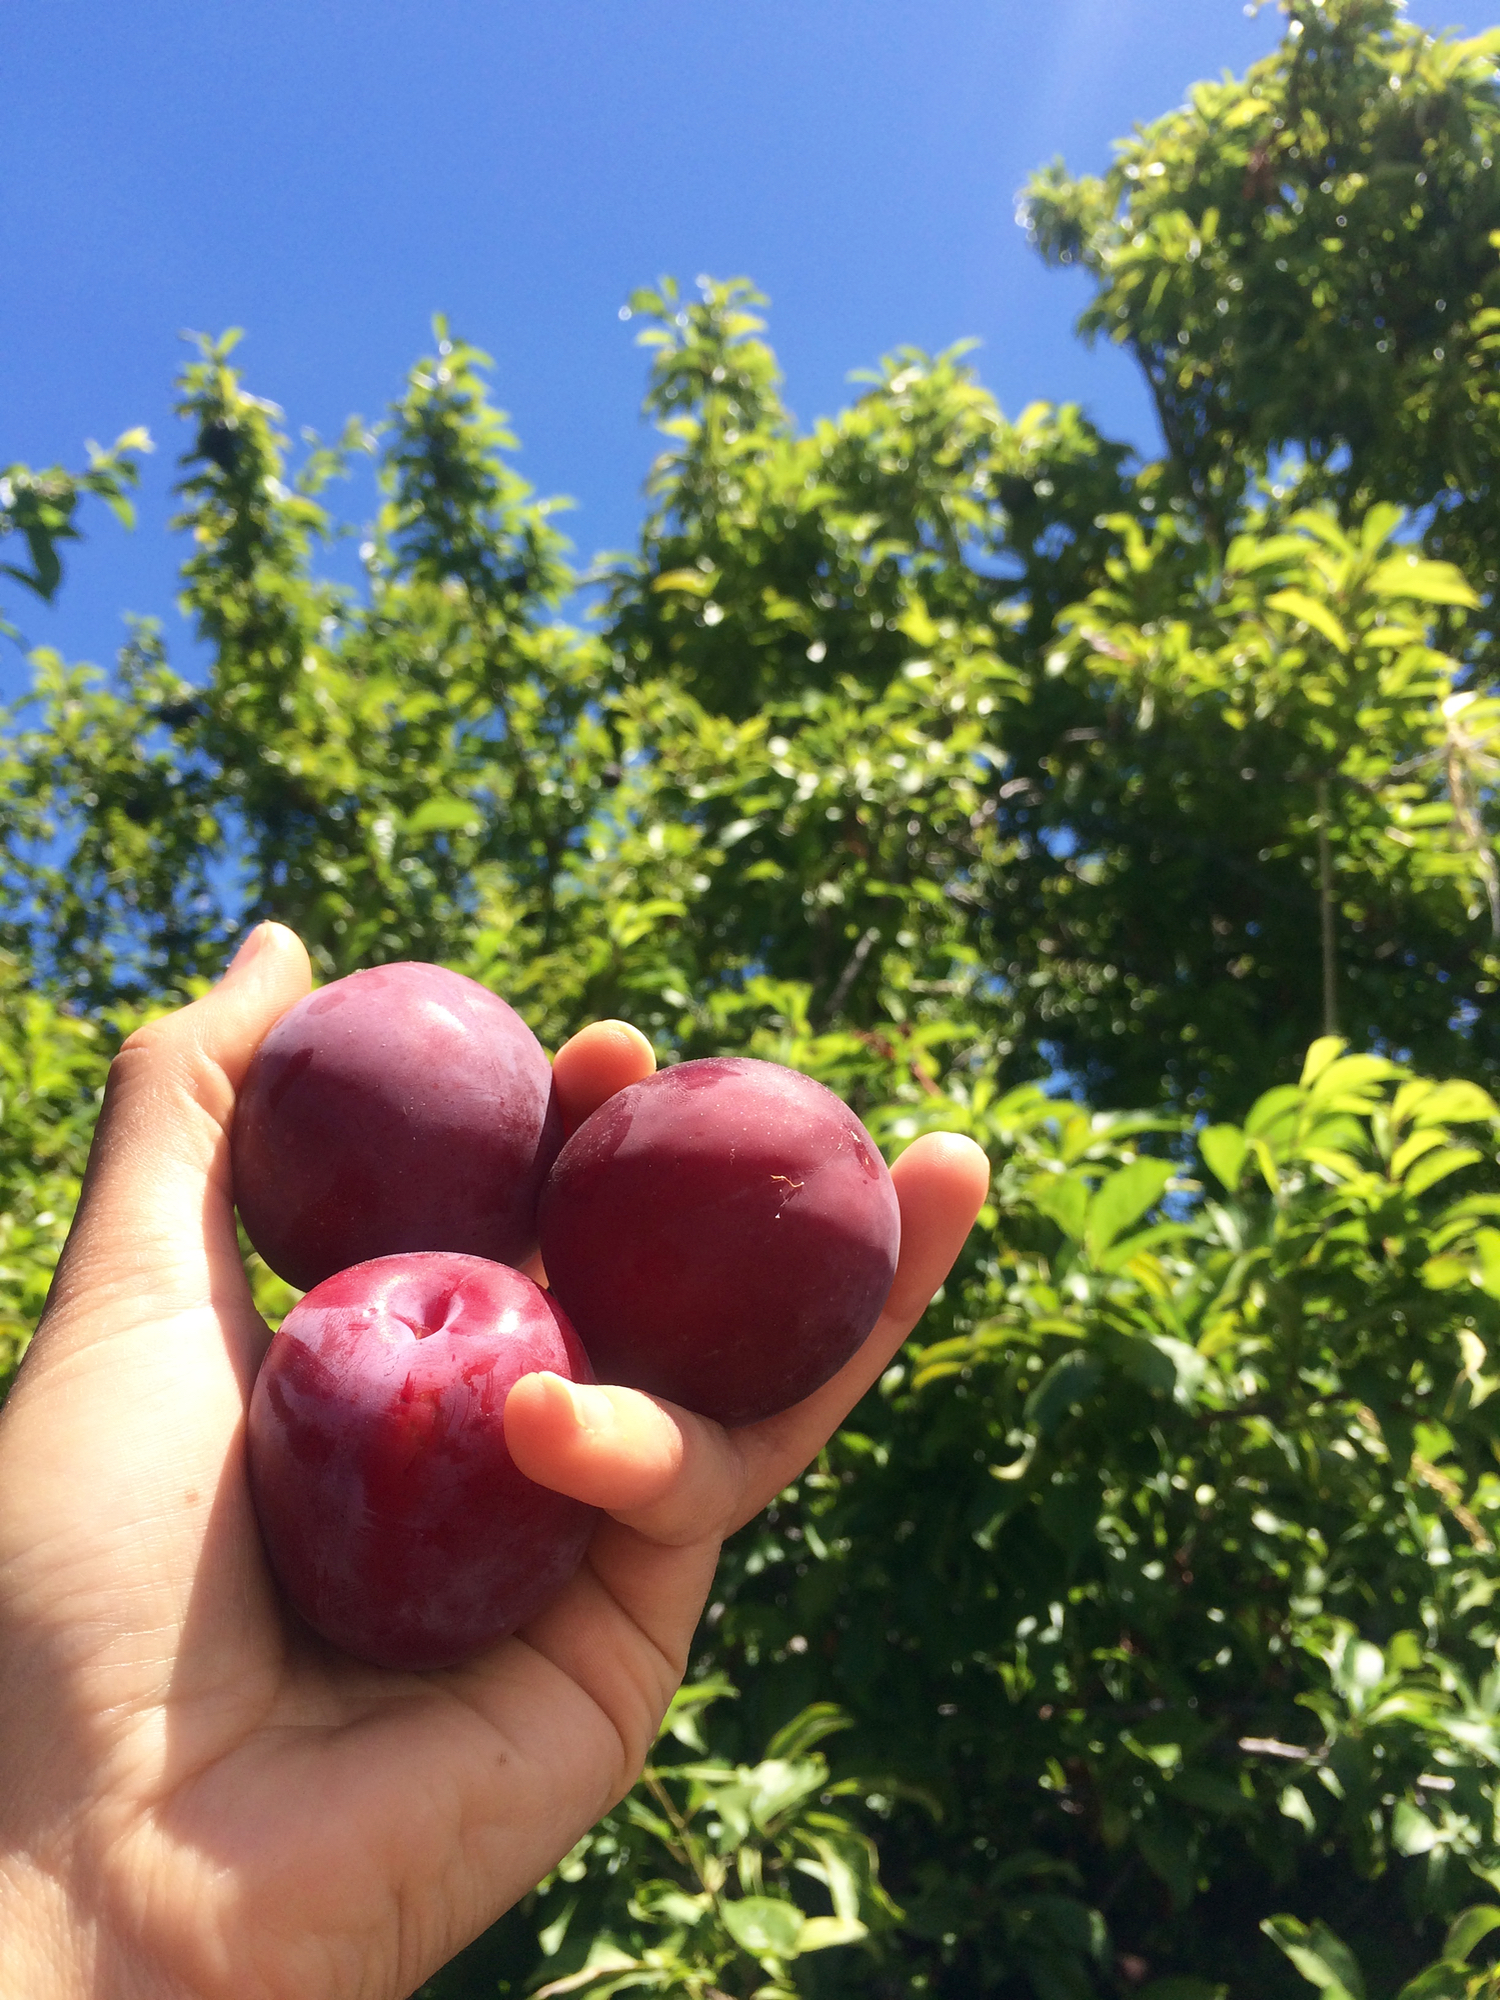
Glorious Santa Rosa plums.
6 pounds plums, pitted and chopped
2.25 pounds granulated sugar
1.5 Tbs Pomona's Universal pectin or other low-sugar pectin
2 Tbs calcium water (comes in pectin package)
2.25 ounces lemon juice (about 2 lemons)
3 sprigs rosemary
Toss plums with sugar and pectin in large bowl. Cover, refrigerate overnight (optional - this may be helpful if you don't have time to make jam after picking fruit and want to save it until the next day).
Put two spoons in the freezer.
Heat in large pot on medium with calcium water, lemon juice, and rosemary sprigs, stirring frequently. Cook for 30 min - 1 hour, skimming off foam* and smashing to desired texture. An immersion blender can also be used to break down fruit, but rosemary sprigs should be removed before blending.
Check for doneness by putting jam on spoon and putting back in freezer for 2 minutes. When you run your finger through the jam on the spoon, it should leave a track and jam should cling to the spoon (rather than running off). The jam in the pot will also be a lot glossier/smooth.
While jam is cooking, wash and sterilize jars and rings by submerging under water and boiling for 10 minutes. Throw in the lids once they’ve boiled for 10min and turn off water.
Remove rosemary sprigs and fill jars, leaving 1/2 -inch headspace. Screw on rings loosely, submerge again in water for another 10 minutes to seal.
Store at room temperature. Jam is good for up to 1 year.
*The foam is tasty and has a cool texture, kind of like meringue! Next time I do this, I want to blend into egg white foam and see if it will set up into a cookie, but is great and fun on desserts regardless.
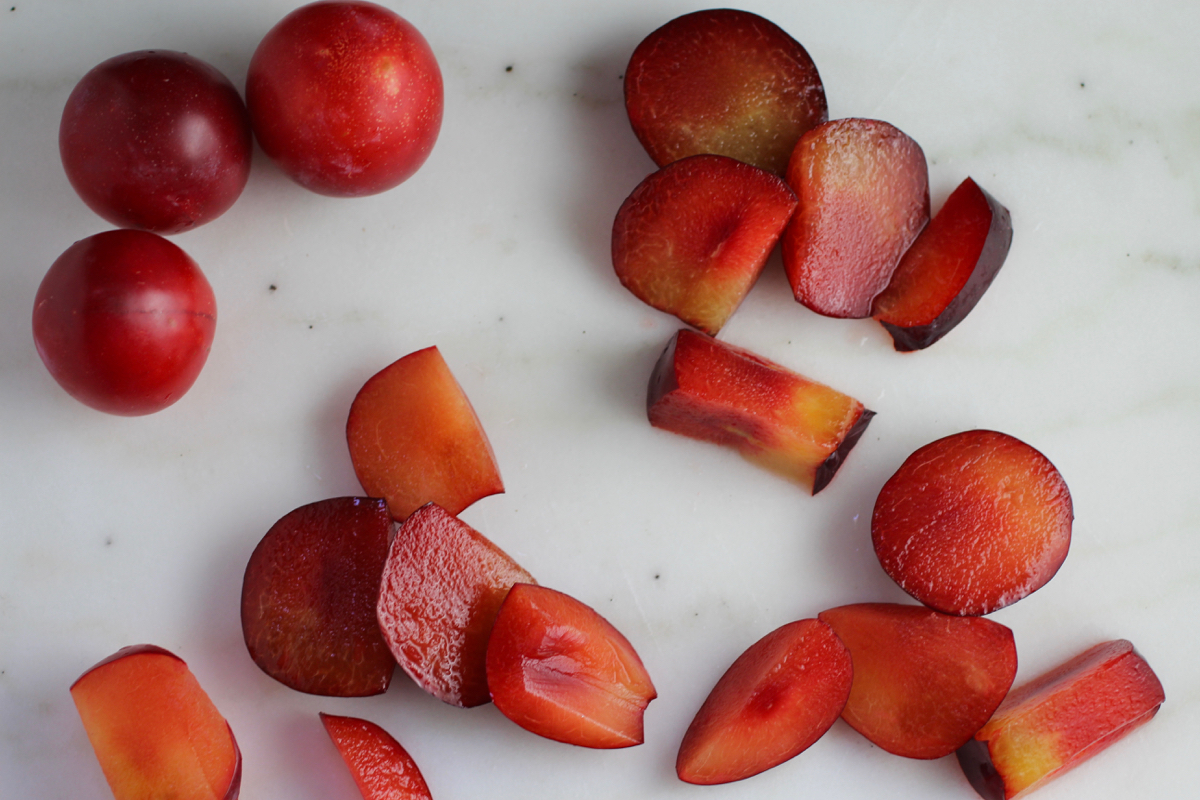
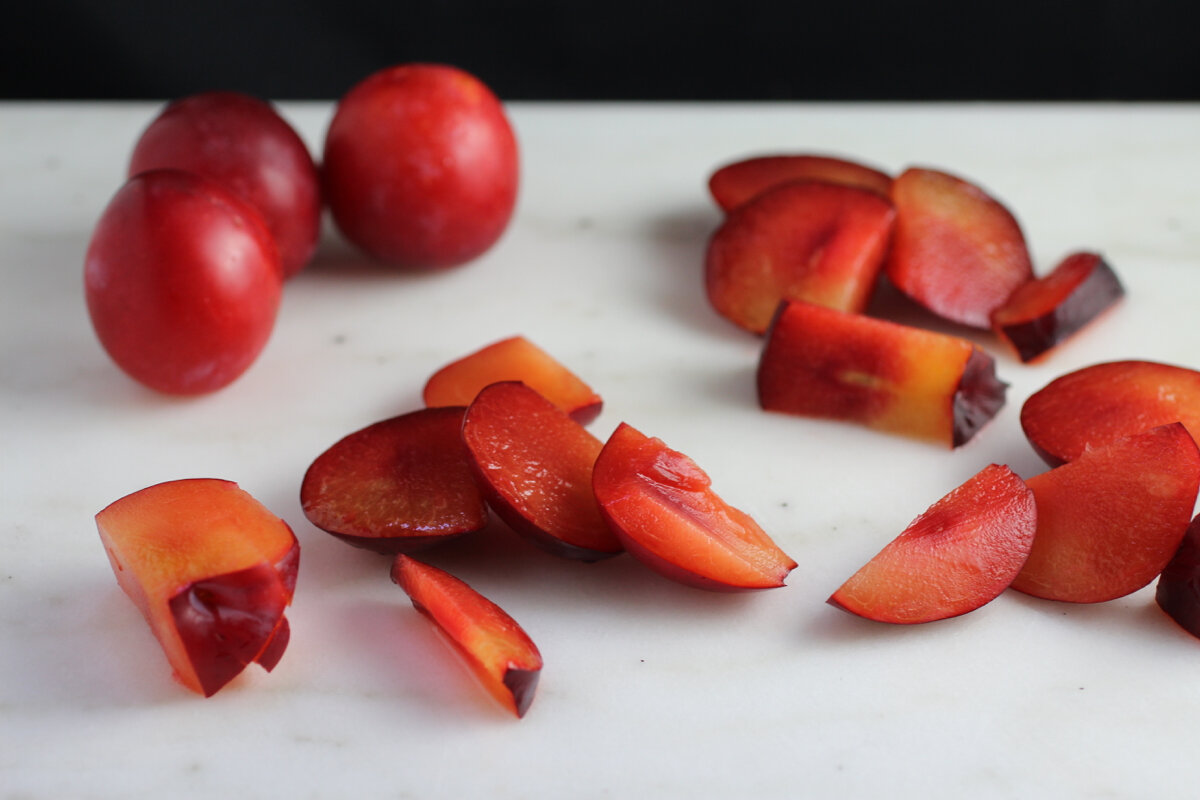
The flesh is yellow in color and the taste tart-sweet. Cut around the pit, as it does not fall out willingly.
Spiced Plum Chutney
Makes about four, 8-ounce jars. Recipe adapted from Jamie Oliver (with a lot more kick added!)
2.2 pounds plums, pitted and chopped
4 shallots, thinly sliced
1 tablespoon neutral oil (grapeseed or vegetable)
3 fresh bay leaves
7 cloves
9 allspice seeds
1 tablespoon black or yellow mustard seeds
1 tablespoon coriander seeds
2 teaspoons red pepper flakes (optional - this amount is pretty spicy)
1-3/4 cups brown sugar
3 tablespoons grated ginger
Zest from 1 large orange
Juice from 1 large orange
300ml cider vinegar or 200ml red wine + 100ml water
1/2-1 teaspoon salt
Cook shallots in oil on low until golden.
Add bay leaves and all spices except for ginger and sauté for 1 minute.
Stir in plums. Add sugar, ginger, and orange zest. Squeeze juice from orange into measuring cup, top off with cider vinegar or vinegar/water combination until it reaches 450ml. Add this to plums and bring to a boil. Simmer until thick about 30 minutes - 1 hour. Salt to taste.
While chutney is cooking, wash and sterilize jars and rings by submerging under water and boiling for 10 minutes. Throw in the lids once they’ve boiled for 10min and turn off water.
Remove bay leaves and as many allspice seeds as you can and fill jars, leaving 1/2 -inch headspace. Screw on rings loosely, submerge again in water for another 10 minutes to seal.
Store at room temperature. Chutney is good for up to 1 year.
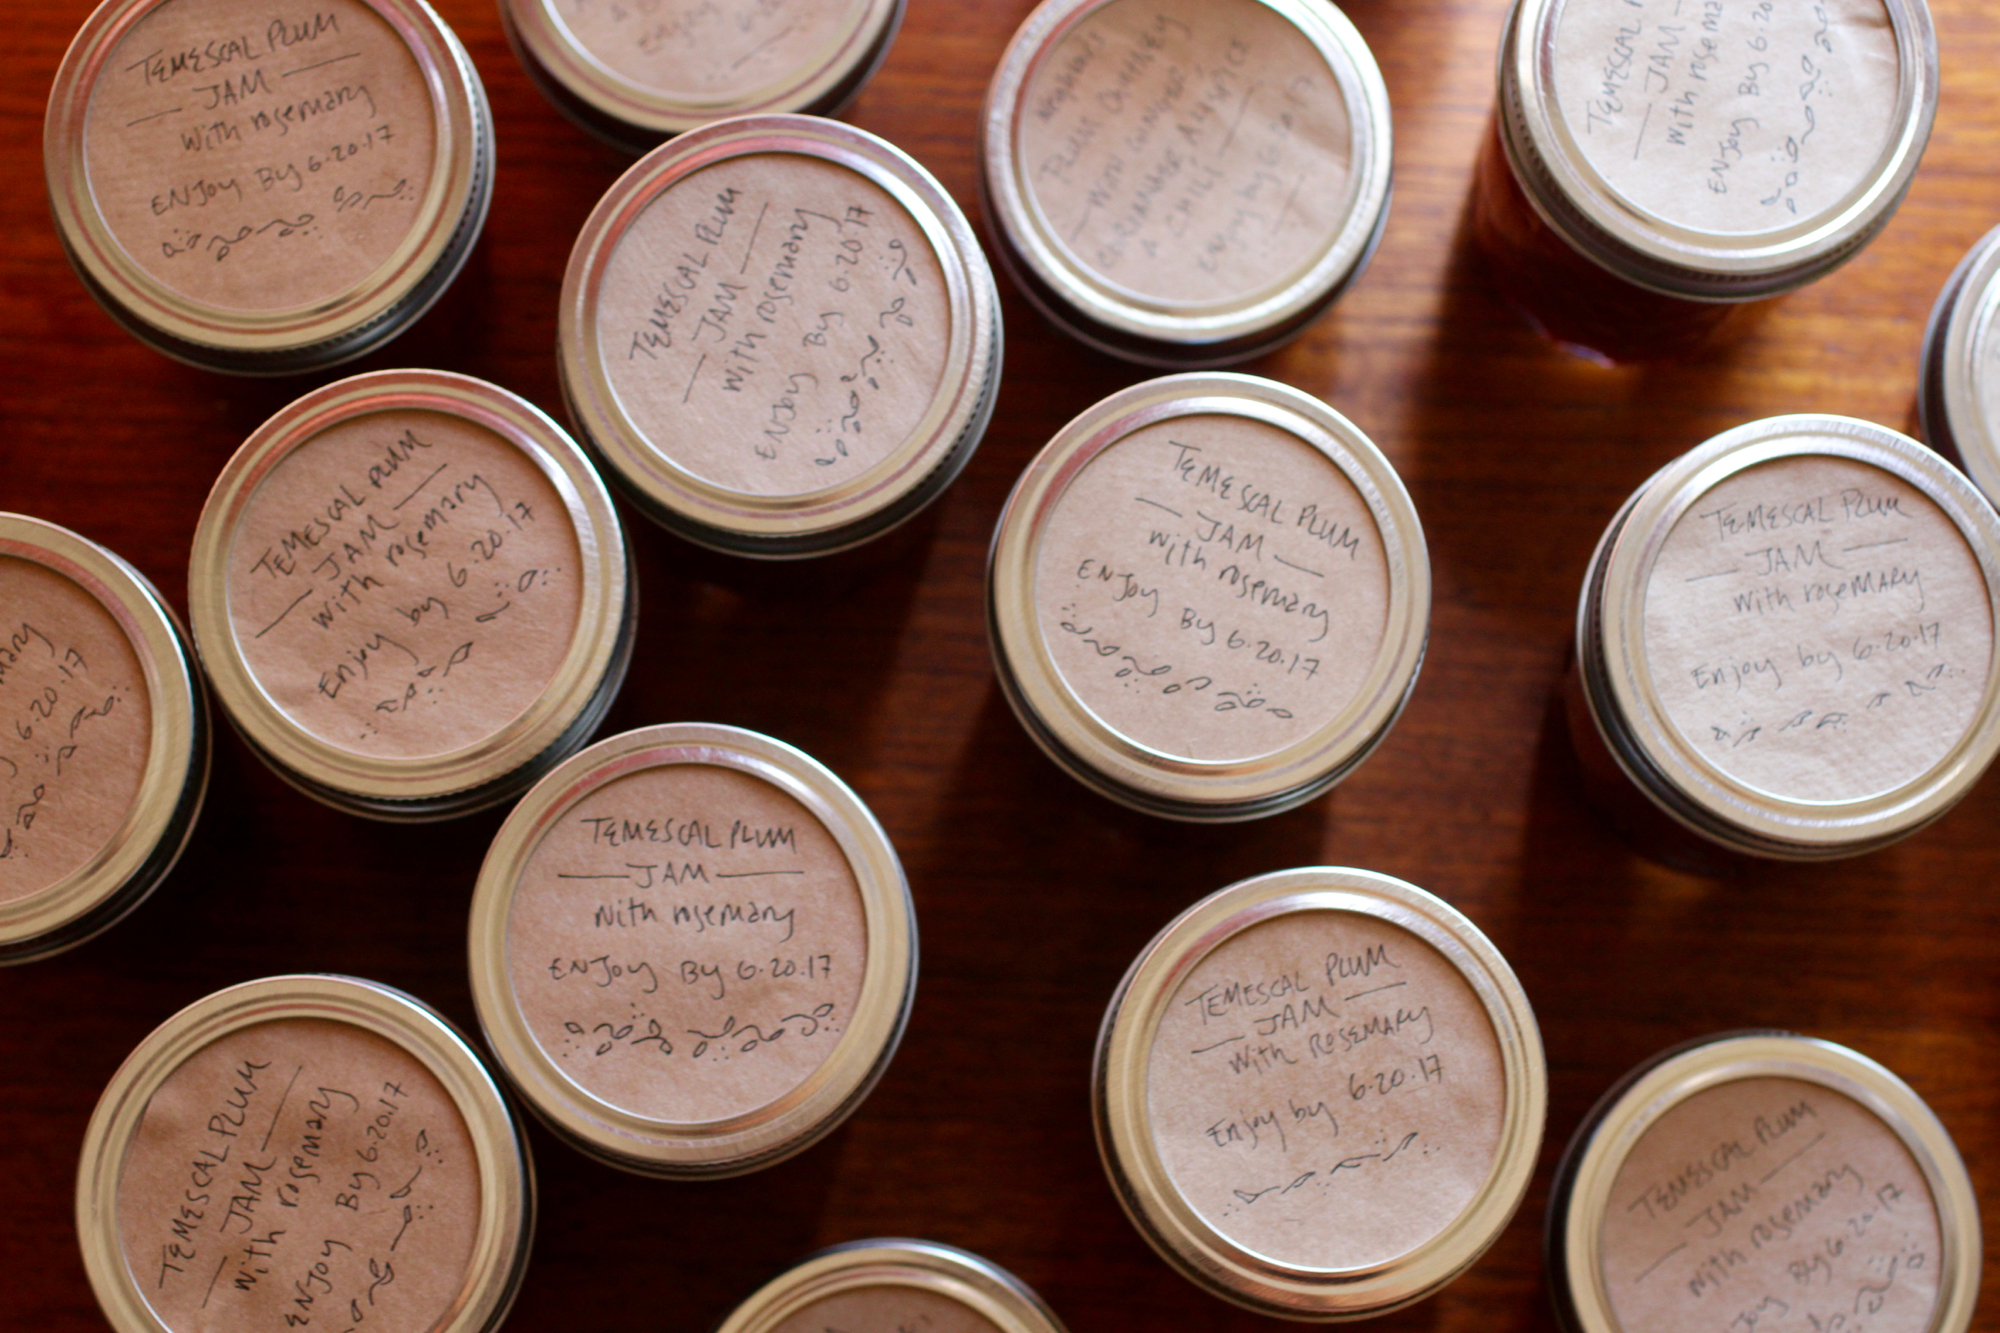
To label jam, I use old paper grocery bags - just trace the outside of a ring, cut out a circle slightly smaller than the outer edge, and then screw on top of the lid.
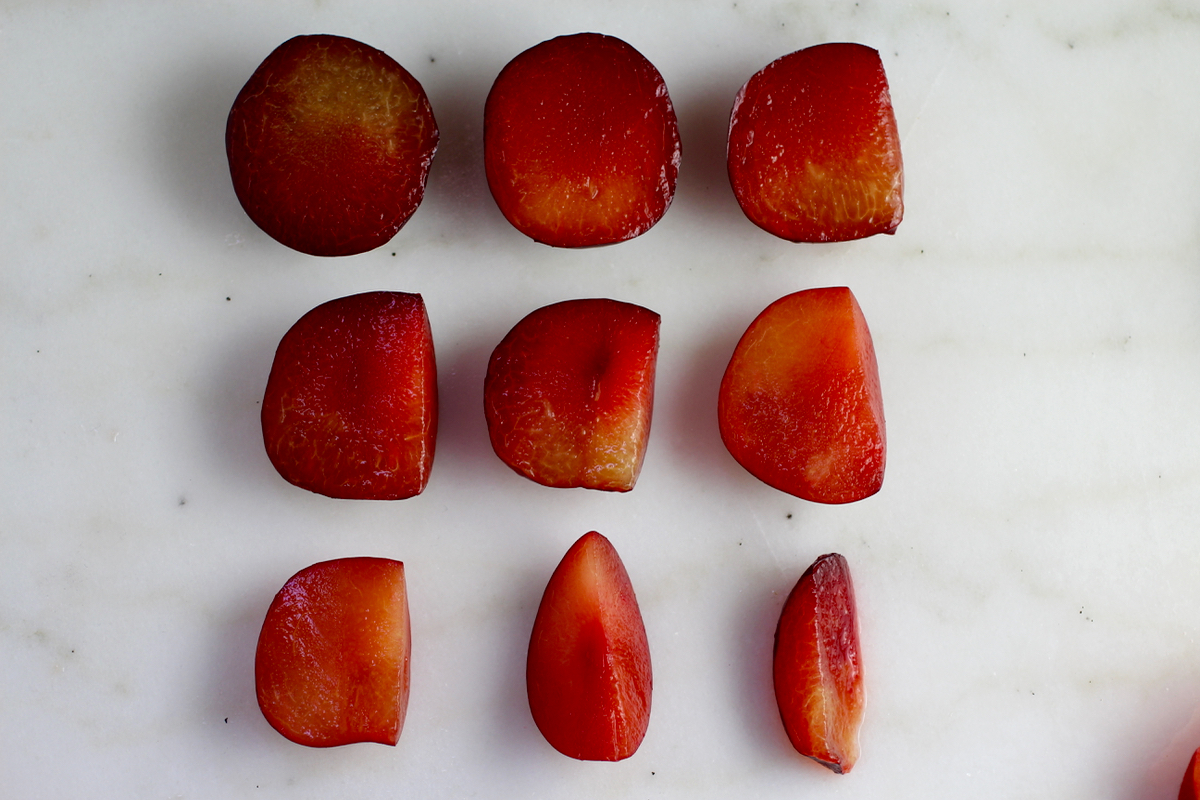
Phases of plum.