

California Capers
California Capers.

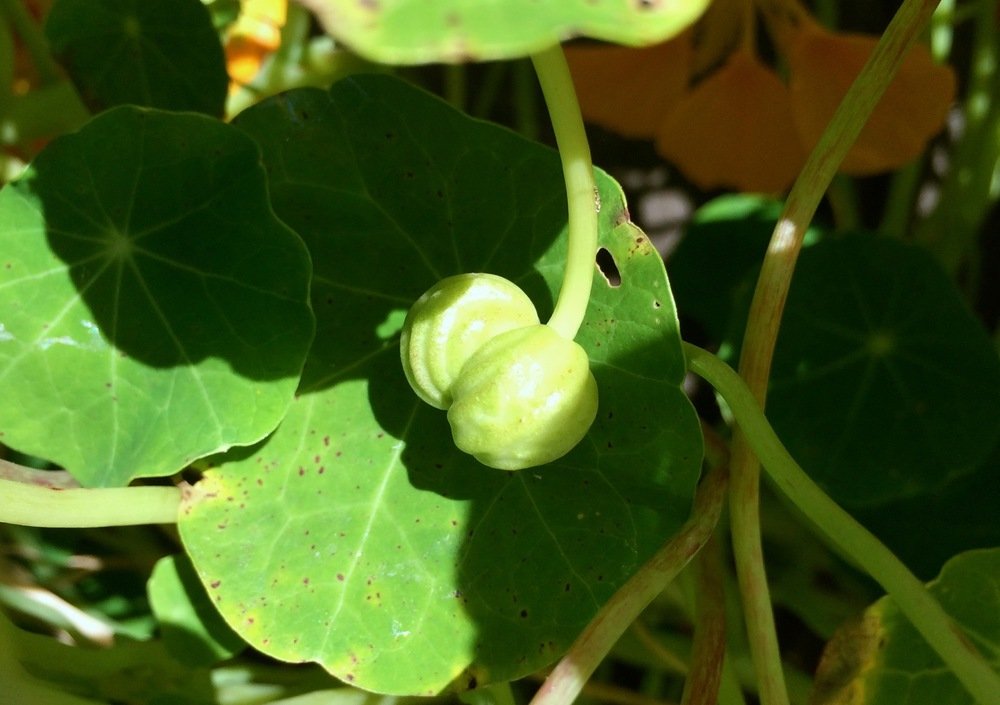
As I explore in a previous post, the nasturtium plant (Tropaeolum majus) has so much more going on than a pervasive vine with peppery bright flowers, including incredibly spicy leaves and (the subject of this post) pungent, clear-your-nasal-cavity seed pods. You want to pick the seed pods when they're young and green, as they toughen and get bitter with age (but are still edible). Try them raw - their wasabi-like flavor is so intense, it'll wake you right up! I like eating them as a snack, but as they are so intense a little goes a long way. By pickling them, you can preserve and enjoy these pearls of flavor for up to one year. As with most things in the culinary world, someone else has already done this and coined them "California Capers" - a designation I love and truly wish I'd created!
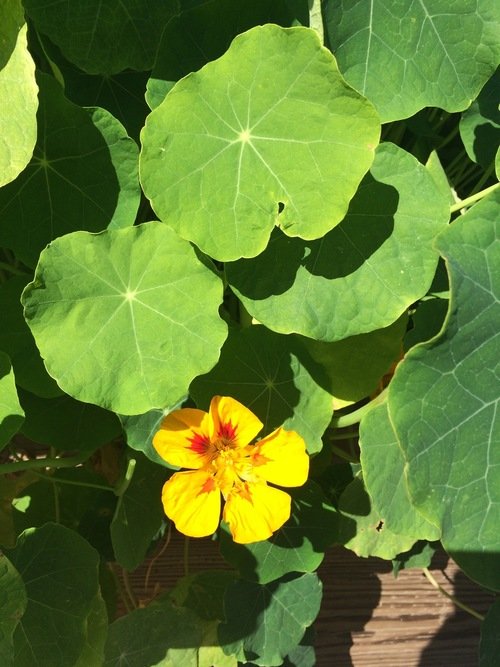
The nasturtium plant in all its glory.

Nasturtium seed pods stuck together in groups of three - these need to be separated before washing and preserving.
Don’t worry about sounding professional. Sound like you. There are over 1.5 billion websites out there, but your story is what’s going to separate this one from the rest. If you read the words back and don’t hear your own voice in your head, that’s a good sign you still have more work to do.
Be clear, be confident and don’t overthink it. The beauty of your story is that it’s going to continue to evolve and your site can evolve with it. Your goal should be to make it feel right for right now. Later will take care of itself. It always does.
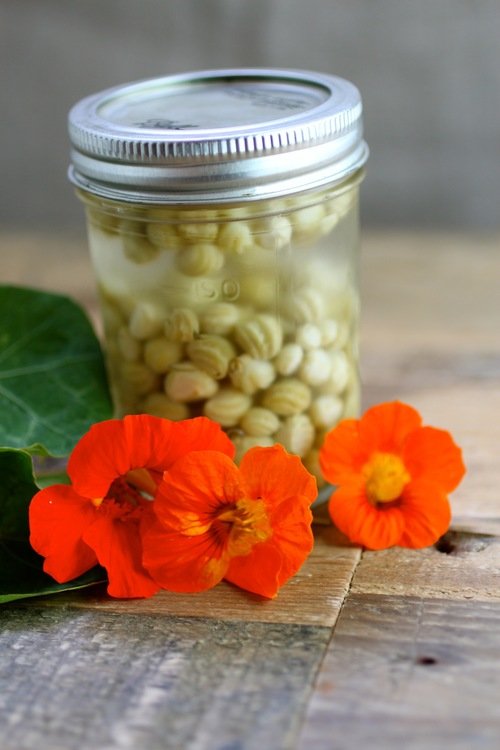
I've tried making California capers a few ways, some ways more complex than others, but I find that I like the simple version from this site best, with a few alterations. If you find the caper pungency to be too strong, you can always submerge them in a salty brine for a few days (1/4 cup salt: 2 cups water). Pickled nasturtium pods work anywhere you'd use regular capers - they're amazing on bagels and lox (anything with smoked or preserved fish, really), pasta pomodoro, braised chicken, in tuna or egg salad, green salad, etc.
Makes 1 pint
1-1/3 cups young nasturtium seed pods
2 bay leaves
About 1-1/3 cups distilled white vinegar
2 teaspoons Kosher or sea salt
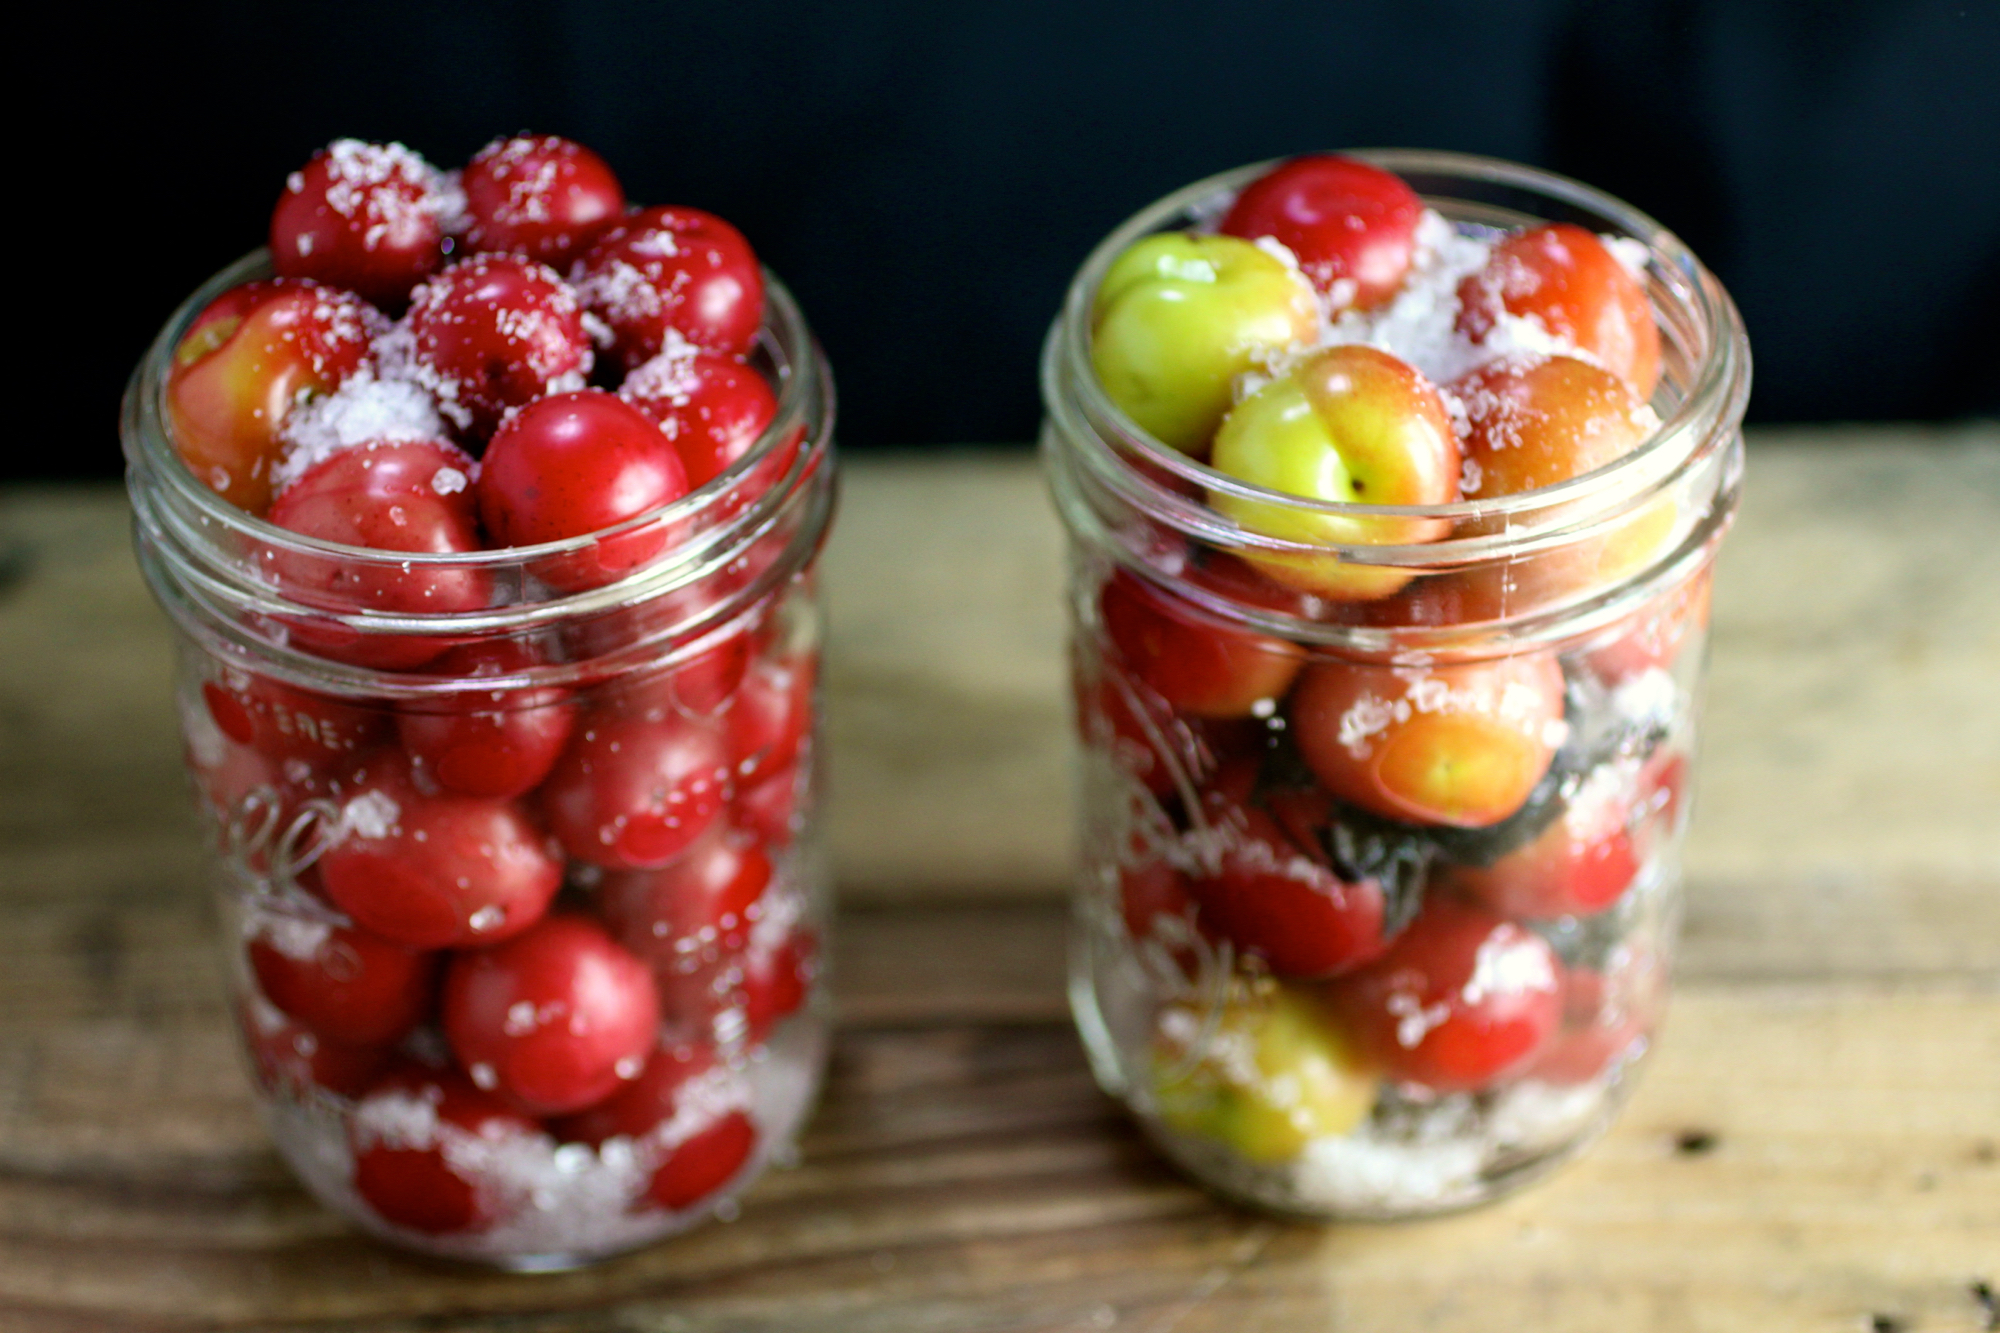
Separate seed pods that are stuck together - they are often joined in groups of three.
Soak seed pods in water to remove any dirt/debris, then drain and place in two sterilized half-pint jars along with 1 bay leaf per jar.
In a small saucepan over medium-high heat, bring the vinegar and salt to a simmer and stir until salt is dissolved. Pour hot vinegar mixture over seed pods, covering them completely.
Let the jars cool to room temperature before sealing with lids. Refrigerate for at least 24 hours before eating and enjoy for up to one year.
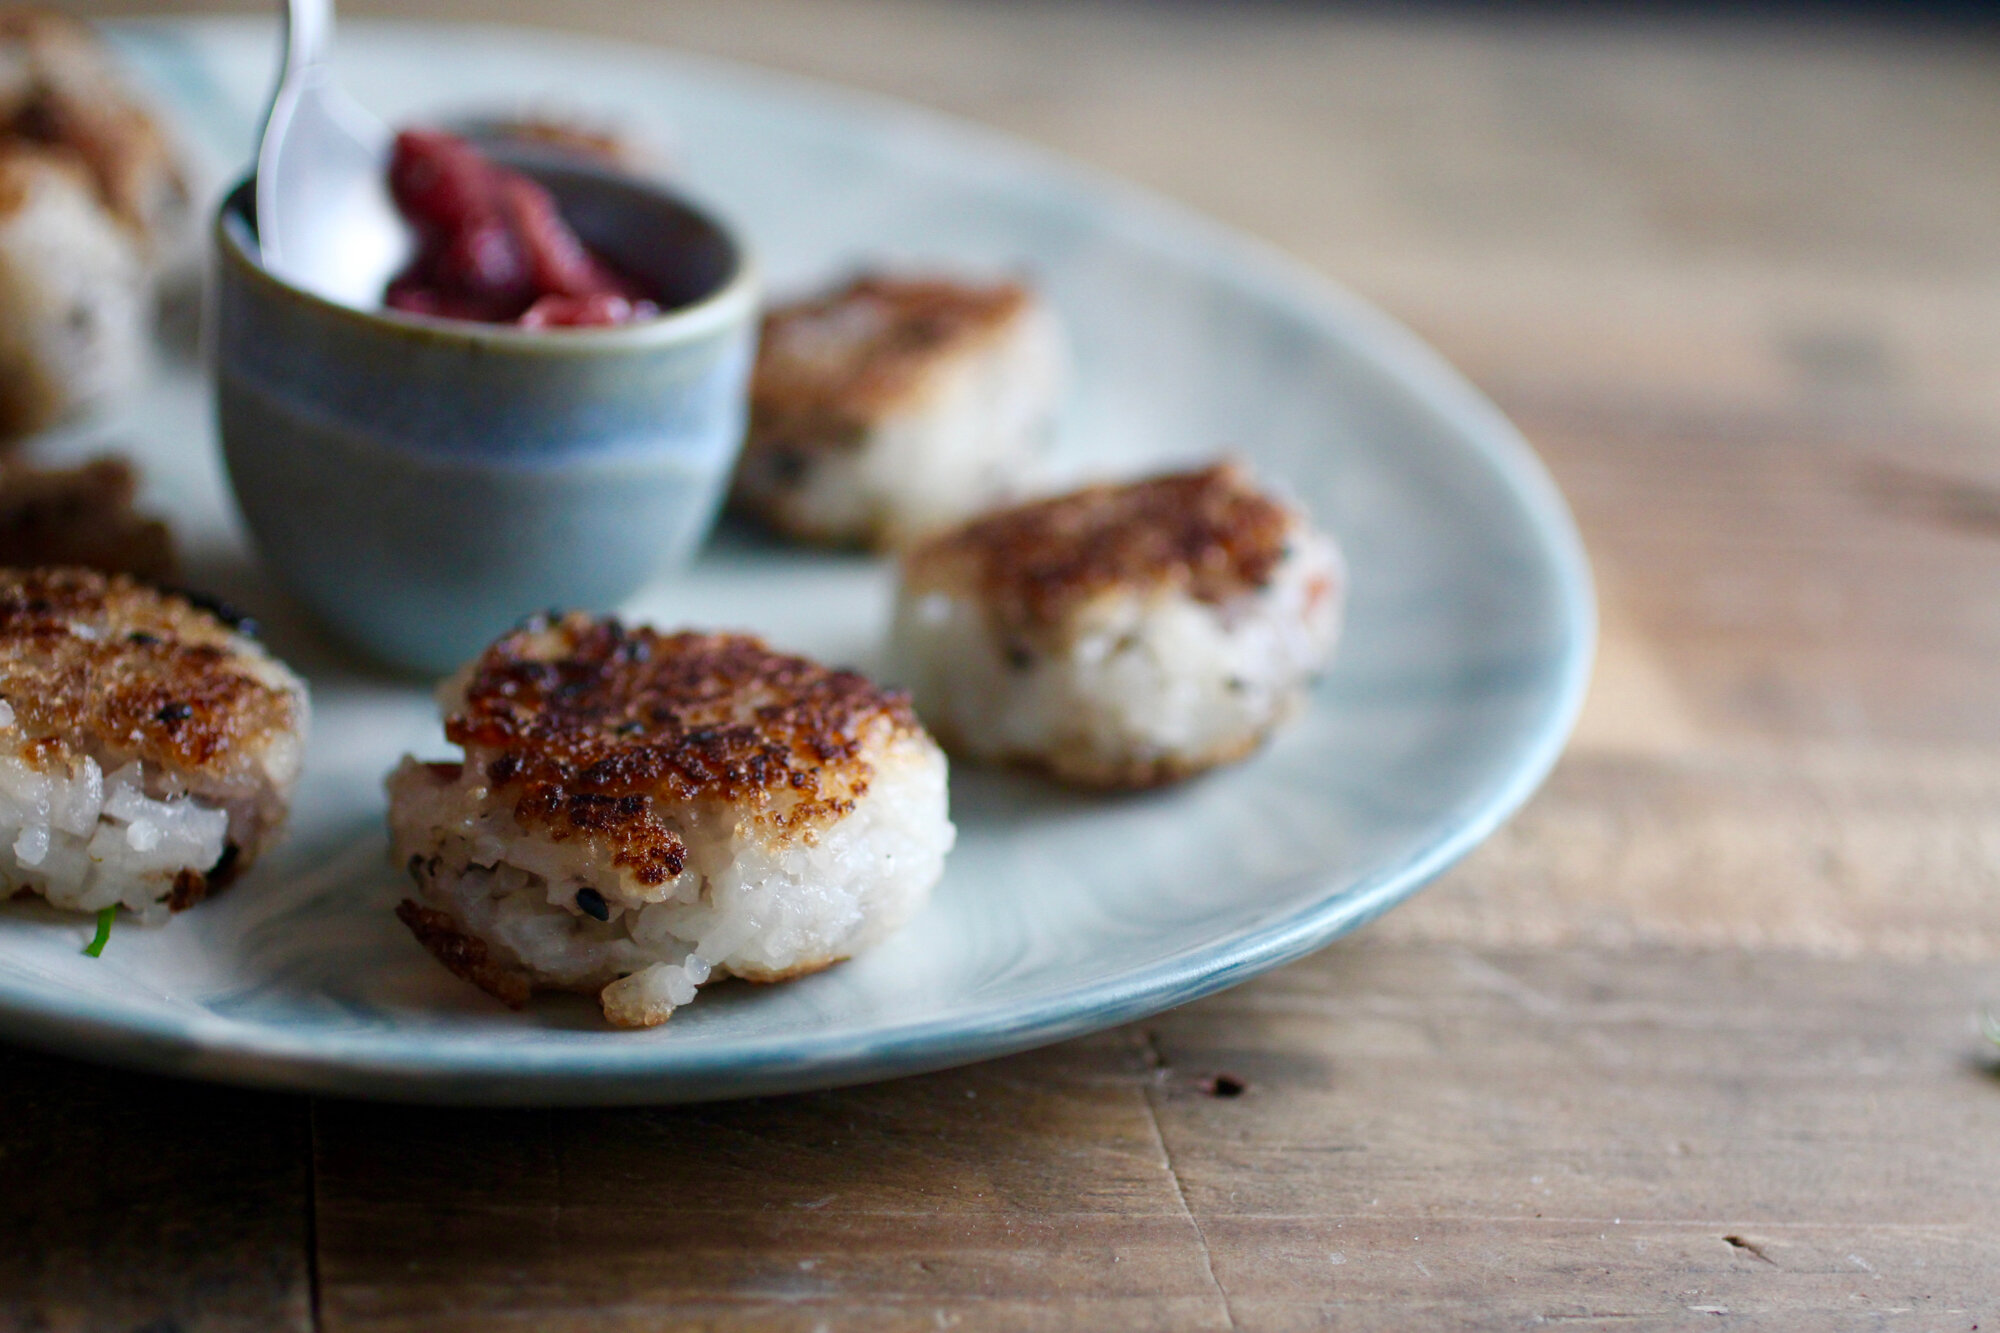
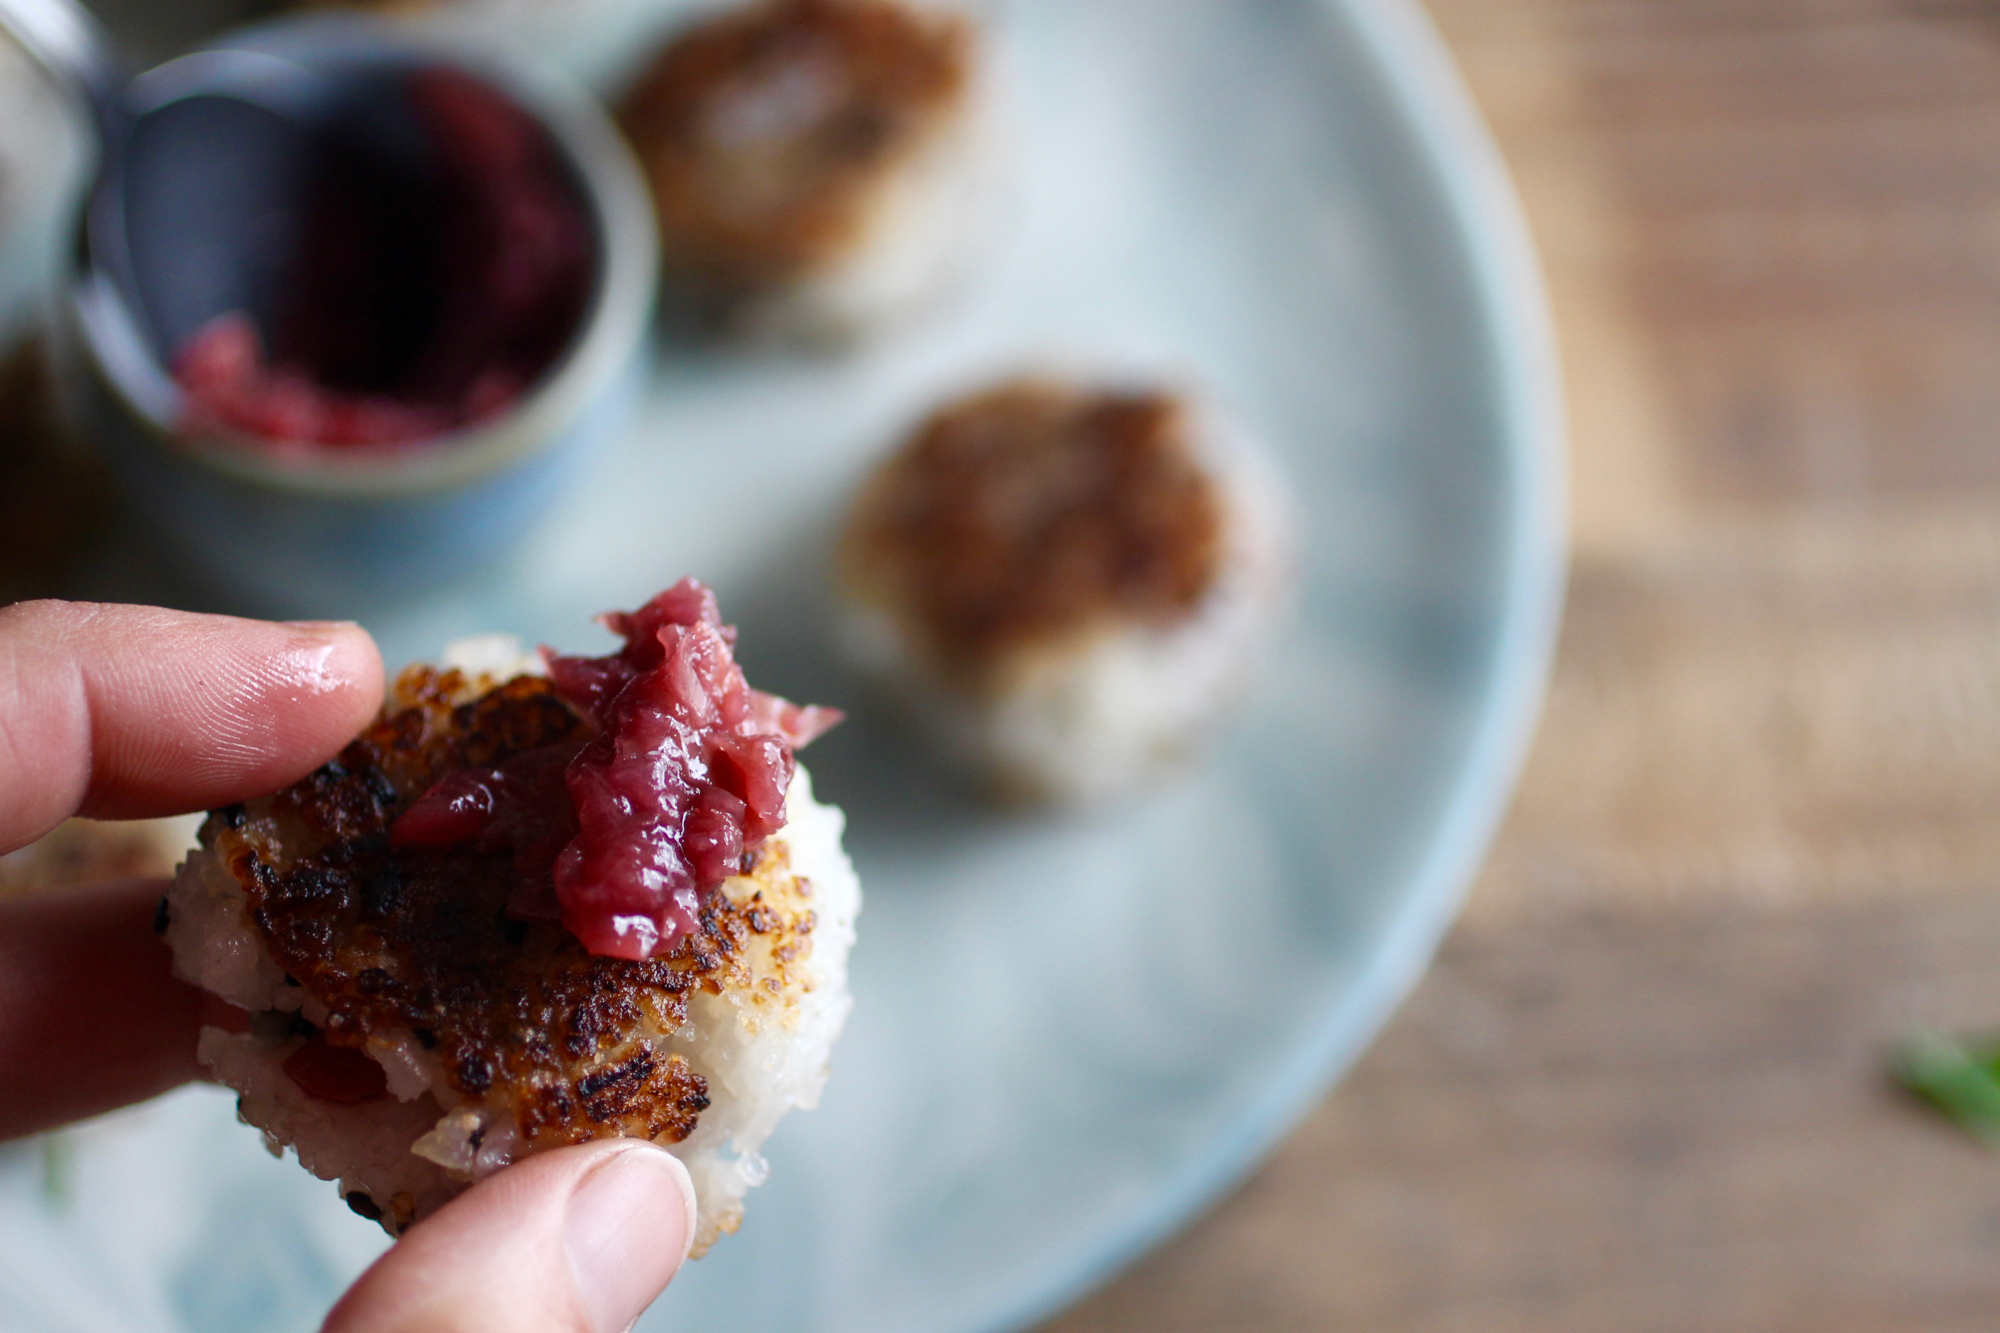
Seared onigiri (Japanese rice balls) with pickled plum

The beginnings of umeboshi made from wild California plums.
Last year I was diligent enough to get my hands on some wild plums and turn them into a California-inspired version of umeboshi, the umami-rich pickled plum condiment from Japan. You can find more about umeboshi and how I made it here, but the most important piece of information in this blog post is that as a result of my making umeboshi, I might be invited on an - I kid you not - Japanese game show. "Who Wants to Come to Japan" is a show that essentially, sends people who are interested in a particular aspect of Japanese culture and have never been to Japan and films their experience. They came across my umeboshi post and reached out to me about being a contestant. Naturally, I jumped at this opportunity. I have never been to Japan and have always wanted to go to explore Japanese foodways and the culture in general. Given it's a Japanese game show, there's definitely a high probability of ridiculousness and, although I may be the brunt of the ridicule, YOLO amiright?
Sometimes you need a little extra umeboshi paste.
So - to honor this momentous occasion (they're visiting tomorrow!) I decided to finally get around to posting my method for umeboshi onigiri, or rice balls stuffed with umeboshi paste - a delicious way to use up leftover rice! I like to sear my onigiri (technically yaki-onigiri), kind in the same vein as aracini, if you've ever had the Italian fried rice ball appetizer, but pan-seared instead of fried.
This recipe, in combination with other umeboshi dishes including asparagus with wild onion and umami and simply a corn-butter-umeboshi sauté, are so good that I am almost out of my umeboshi supply and sadly, didn't get around to pickling any this year. I guess I'll just have to savor what I have left!
The below recipe makes about 8 small onigiri and can be expanded as needed.
2 cups cooked short-grained rice (preferably sticky rice), cooled* - great way to use up your leftovers! Especially delicious is using leftover coconut rice either from a restaurant or made at home (cook rice with half water/half coconut milk).
1-2 teaspoons sesame seeds or furikake flakes (Japanese seasoning mix)
Sea salt
4 pickled plums (umeboshi), pitted and diced or smashed into a paste
Grapeseed oil, for searing
Soy or tamari sauce, optional (above photo was plain onigiri with umeboshi paste on the side)
In medium bowl, stir sesame seeds or furikake flakes into sticky rice to combine.
Wet hands lightly with water then spread a pinch of salt across your palms. Scoop 2 tablespoons of rice mixture from bowl and gently squeeze into ball. Flatten ball then form a well in the center. Add about 1/2 teaspoon umeboshi paste to well, then fold edges of rice over paste to cover.
Gently squeeze into ball then flatten again. Continue process with more rice and umeboshi until rice is gone.
Lightly oil a cast iron pan and heat on medium-high. Once oil is hot, add onigiri and sear until lightly brown, about 1-2 minutes on each side.
Serve with optional soy or tamari sauce (though you probably won't need it!)
*If rice isn't originally sticky and/or not sticky enough, you can make it "stickier" (technically, to be sticky rice, it must be a certain variety of rice that's high in a certain time of pasty starch) by heating pre-cooked rice on medium-low with 1-2 tablespoons water for about 5 minutes or until sticky, stirring occasionally. Here's a recipe for sticky rice, but I just cook rice as I always do then make it stickier after with this method.