
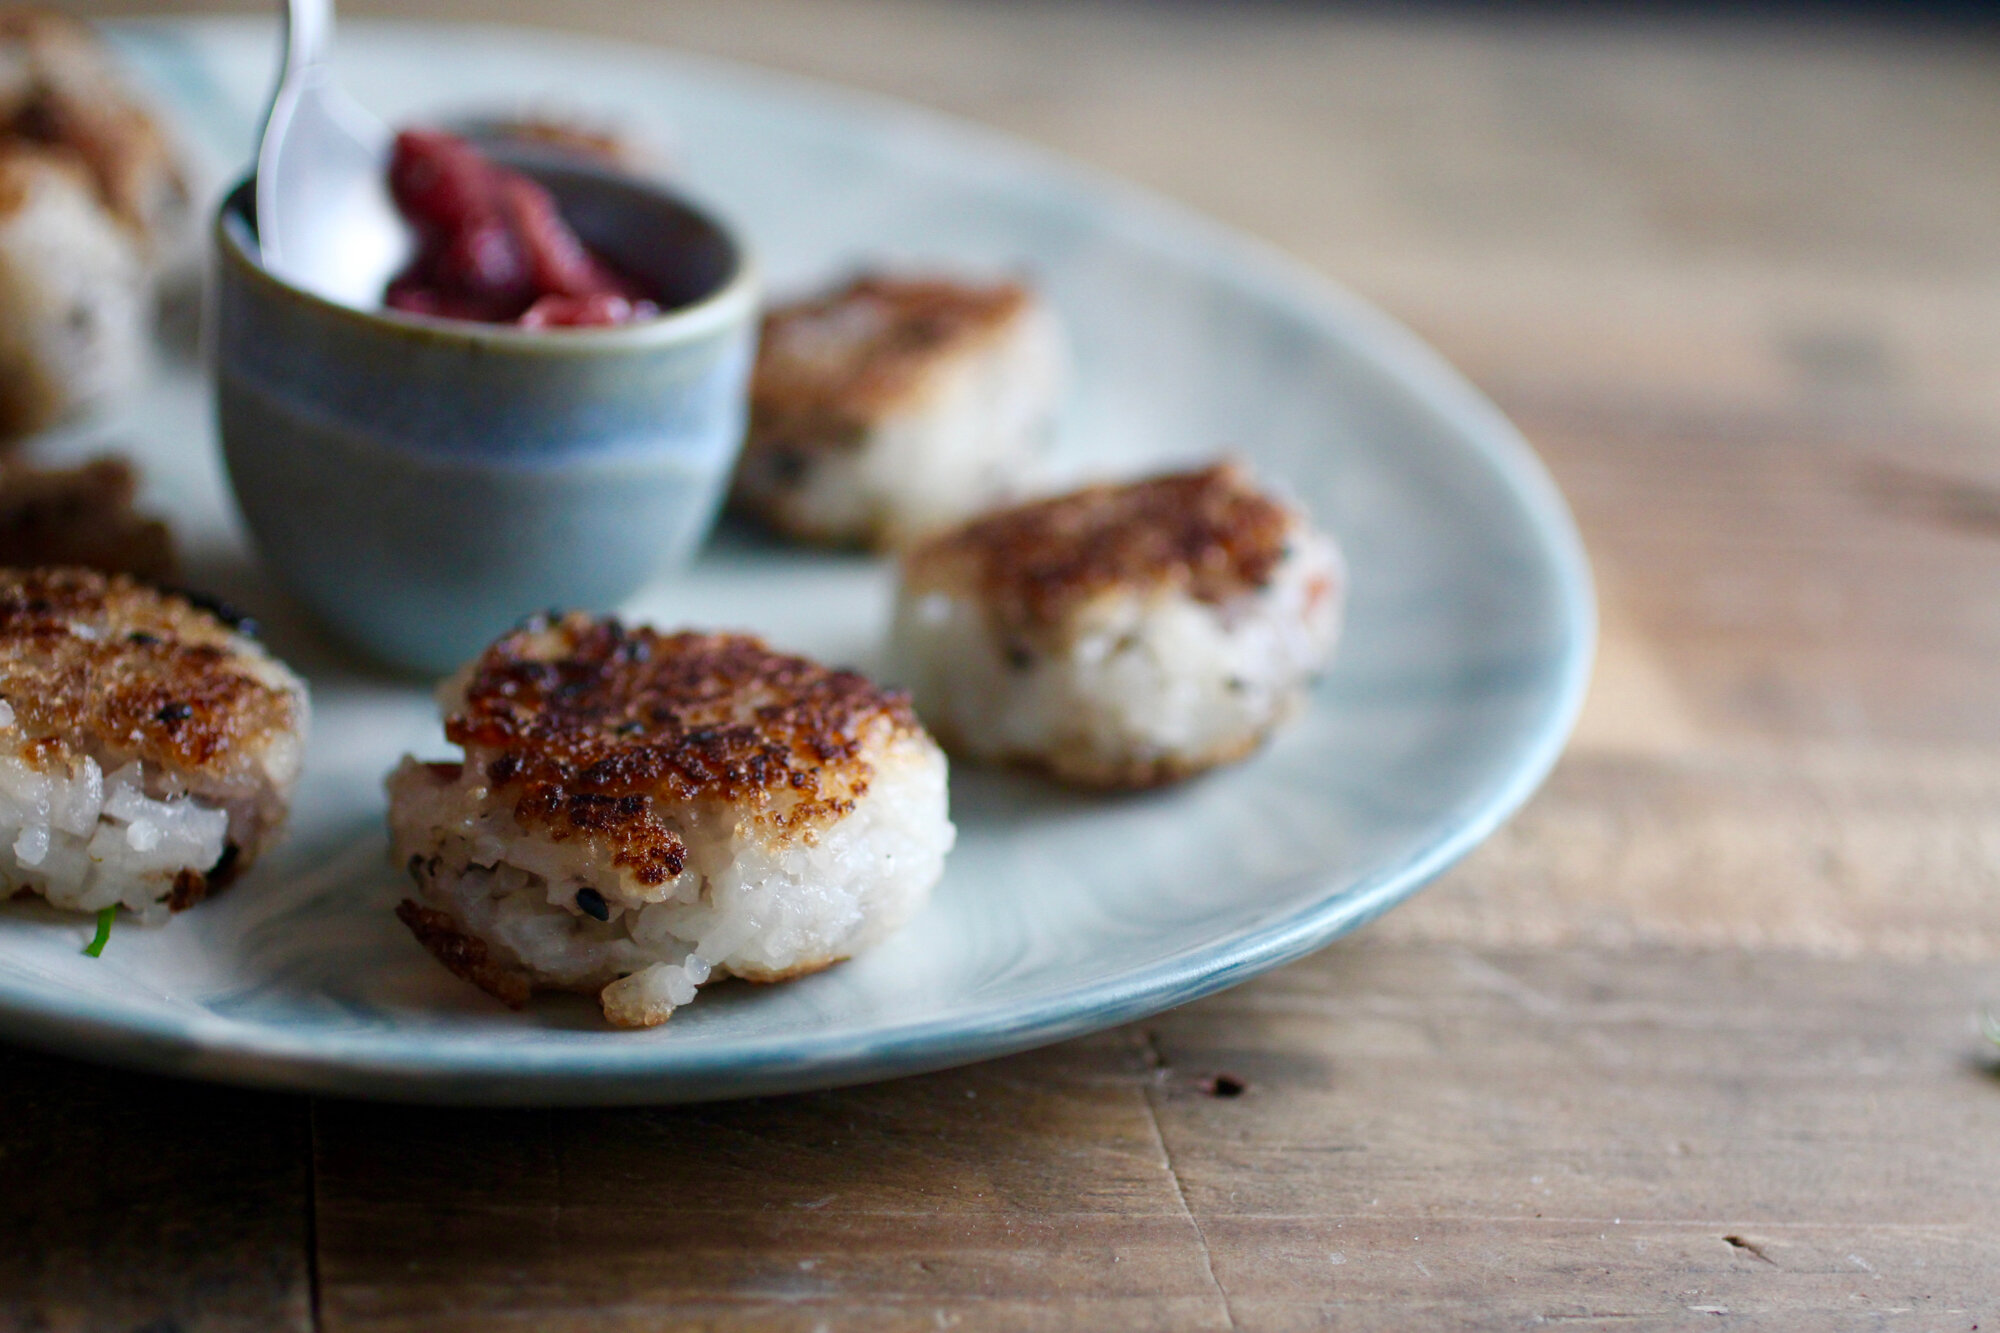
Seared onigiri (Japanese rice balls) with pickled plum

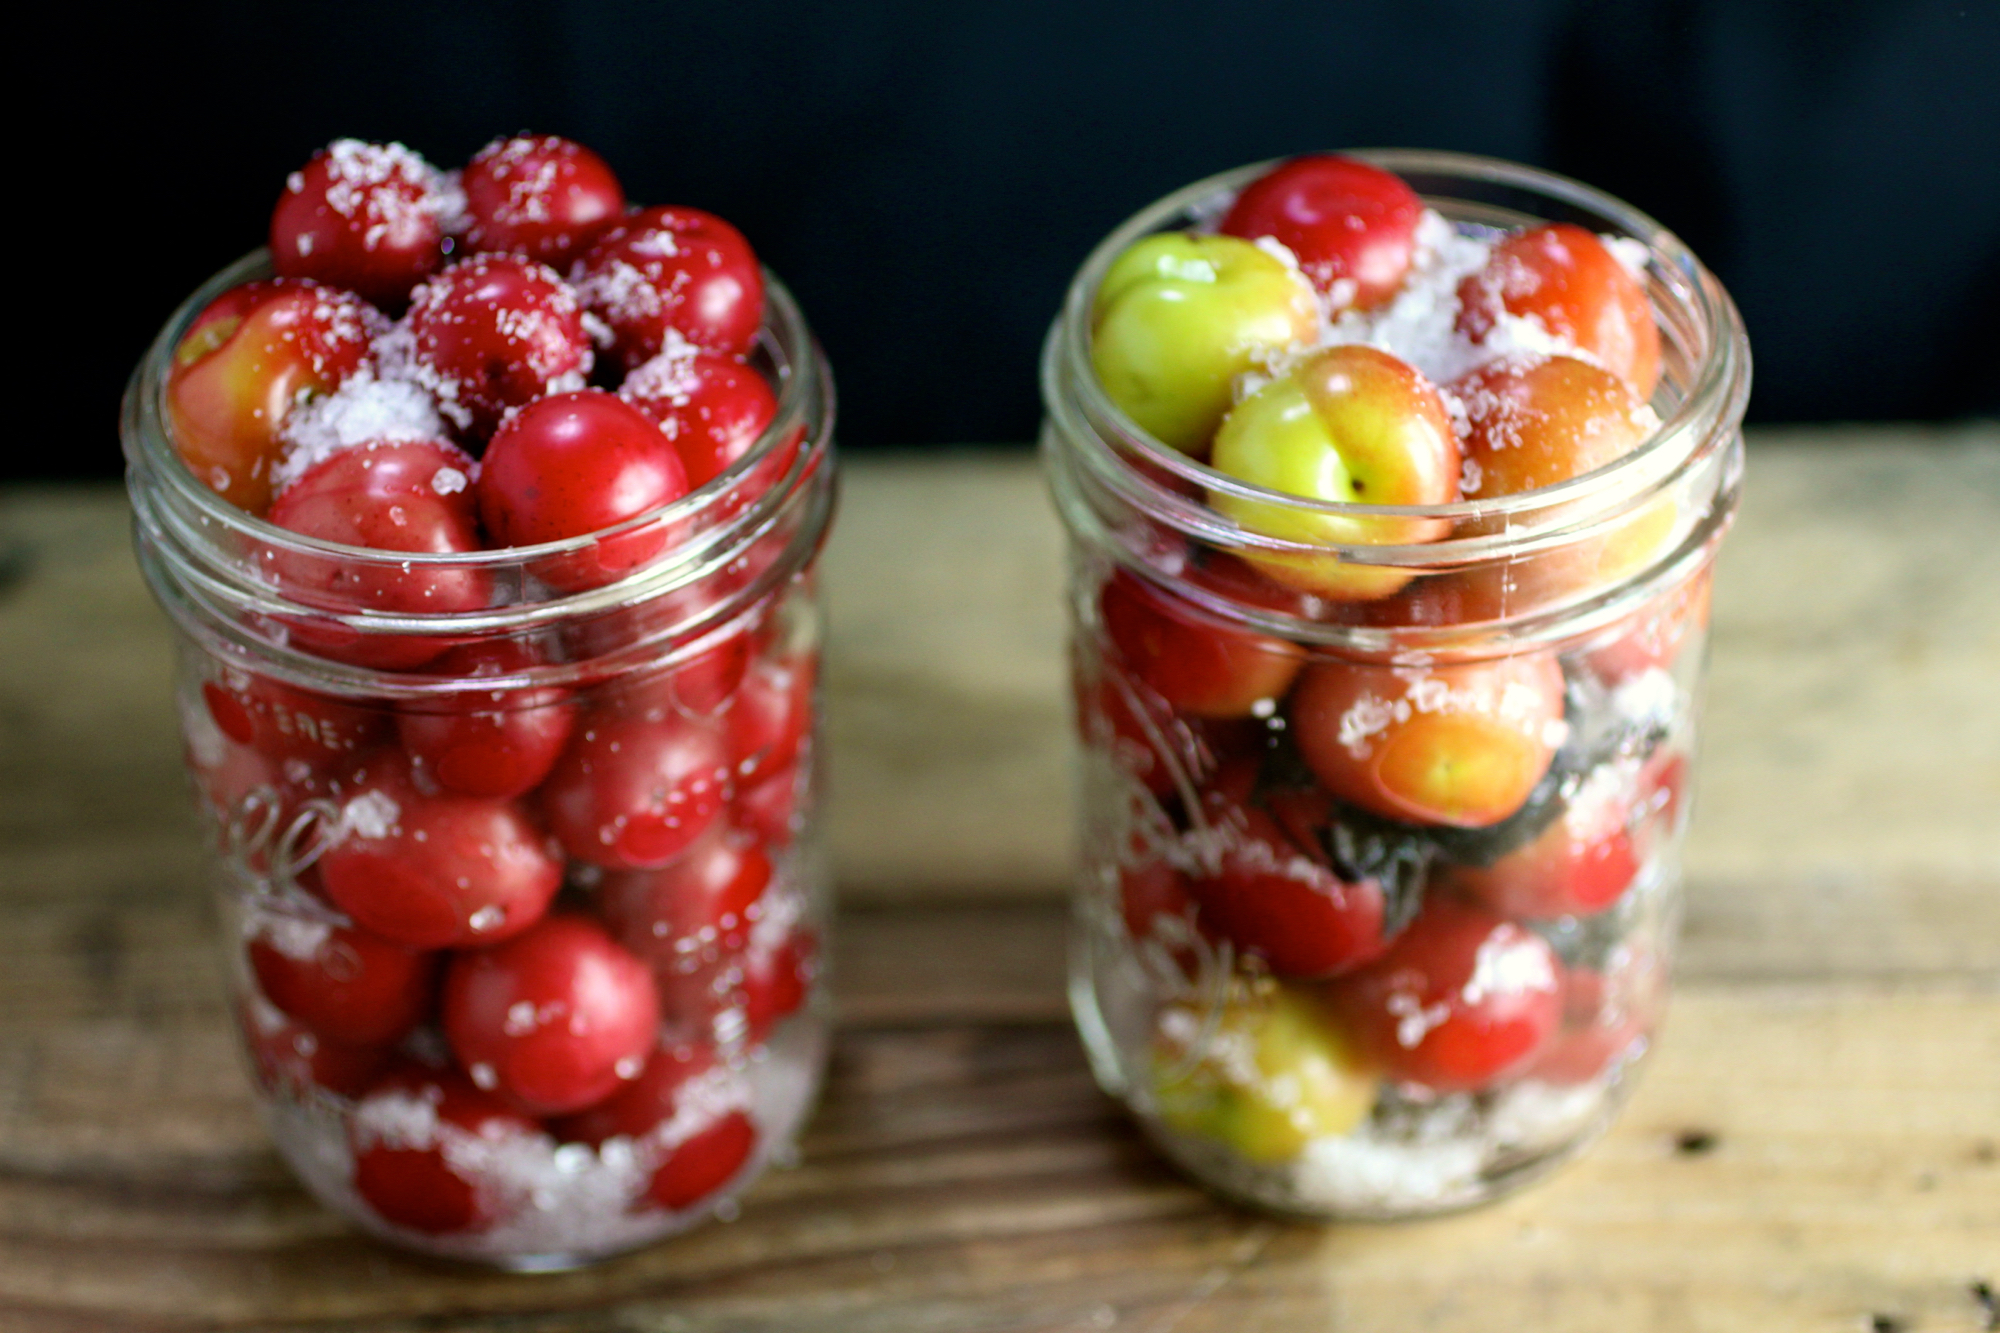
The beginnings of umeboshi made from wild California plums.
Last year I was diligent enough to get my hands on some wild plums and turn them into a California-inspired version of umeboshi, the umami-rich pickled plum condiment from Japan. You can find more about umeboshi and how I made it here, but the most important piece of information in this blog post is that as a result of my making umeboshi, I might be invited on an - I kid you not - Japanese game show. "Who Wants to Come to Japan" is a show that essentially, sends people who are interested in a particular aspect of Japanese culture and have never been to Japan and films their experience. They came across my umeboshi post and reached out to me about being a contestant. Naturally, I jumped at this opportunity. I have never been to Japan and have always wanted to go to explore Japanese foodways and the culture in general. Given it's a Japanese game show, there's definitely a high probability of ridiculousness and, although I may be the brunt of the ridicule, YOLO amiright?
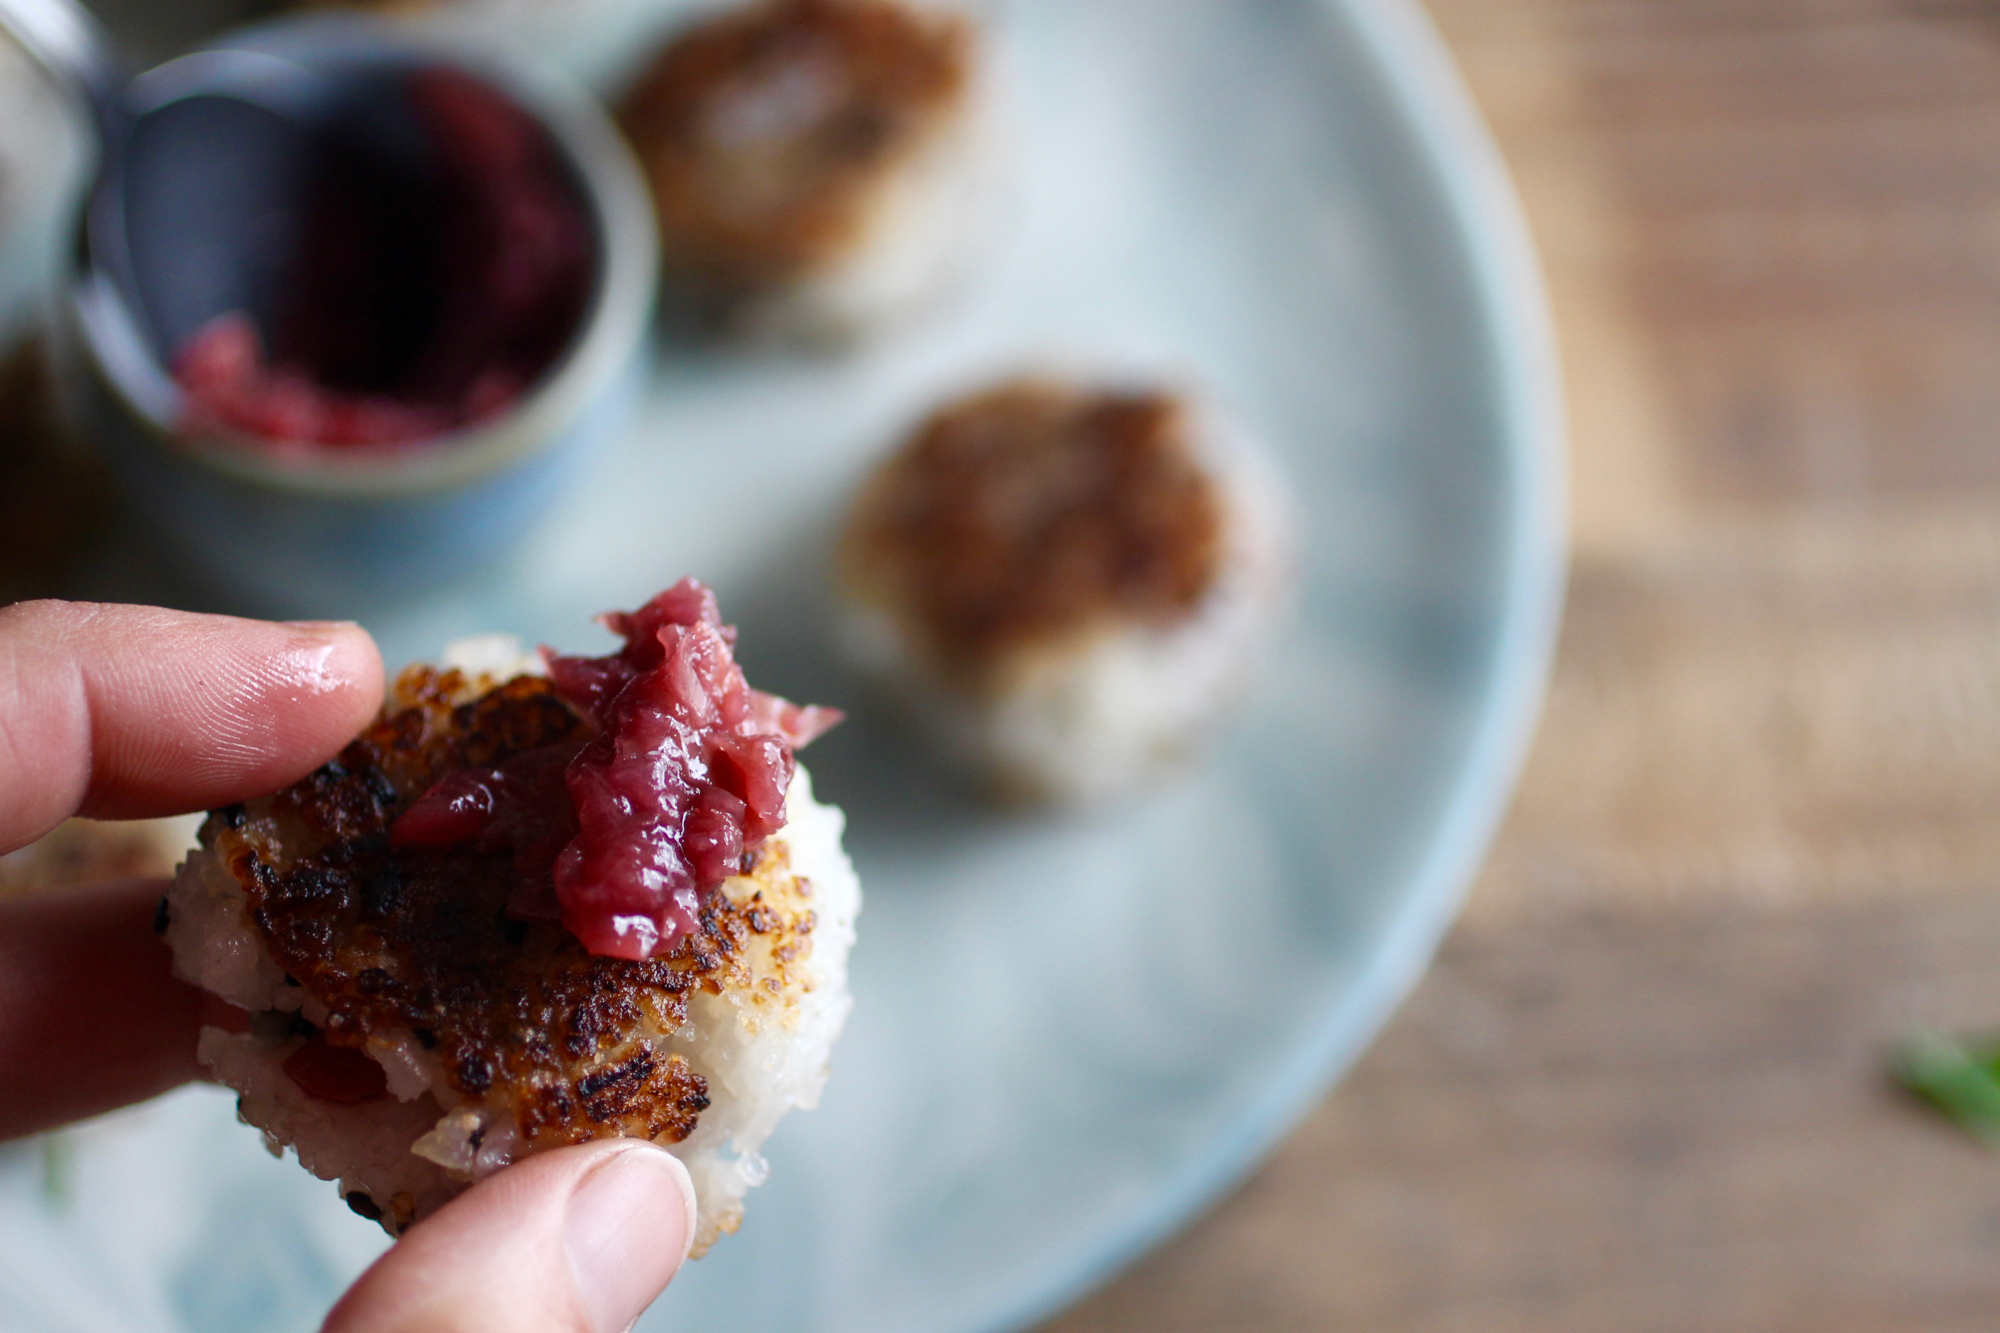
Sometimes you need a little extra umeboshi paste.
So - to honor this momentous occasion (they're visiting tomorrow!) I decided to finally get around to posting my method for umeboshi onigiri, or rice balls stuffed with umeboshi paste - a delicious way to use up leftover rice! I like to sear my onigiri (technically yaki-onigiri), kind in the same vein as aracini, if you've ever had the Italian fried rice ball appetizer, but pan-seared instead of fried.
This recipe, in combination with other umeboshi dishes including asparagus with wild onion and umami and simply a corn-butter-umeboshi sauté, are so good that I am almost out of my umeboshi supply and sadly, didn't get around to pickling any this year. I guess I'll just have to savor what I have left!
The below recipe makes about 8 small onigiri and can be expanded as needed.
2 cups cooked short-grained rice (preferably sticky rice), cooled* - great way to use up your leftovers! Especially delicious is using leftover coconut rice either from a restaurant or made at home (cook rice with half water/half coconut milk).
1-2 teaspoons sesame seeds or furikake flakes (Japanese seasoning mix)
Sea salt
4 pickled plums (umeboshi), pitted and diced or smashed into a paste
Grapeseed oil, for searing
Soy or tamari sauce, optional (above photo was plain onigiri with umeboshi paste on the side)
In medium bowl, stir sesame seeds or furikake flakes into sticky rice to combine.
Wet hands lightly with water then spread a pinch of salt across your palms. Scoop 2 tablespoons of rice mixture from bowl and gently squeeze into ball. Flatten ball then form a well in the center. Add about 1/2 teaspoon umeboshi paste to well, then fold edges of rice over paste to cover.
Gently squeeze into ball then flatten again. Continue process with more rice and umeboshi until rice is gone.
Lightly oil a cast iron pan and heat on medium-high. Once oil is hot, add onigiri and sear until lightly brown, about 1-2 minutes on each side.
Serve with optional soy or tamari sauce (though you probably won't need it!)
*If rice isn't originally sticky and/or not sticky enough, you can make it "stickier" (technically, to be sticky rice, it must be a certain variety of rice that's high in a certain time of pasty starch) by heating pre-cooked rice on medium-low with 1-2 tablespoons water for about 5 minutes or until sticky, stirring occasionally. Here's a recipe for sticky rice, but I just cook rice as I always do then make it stickier after with this method.

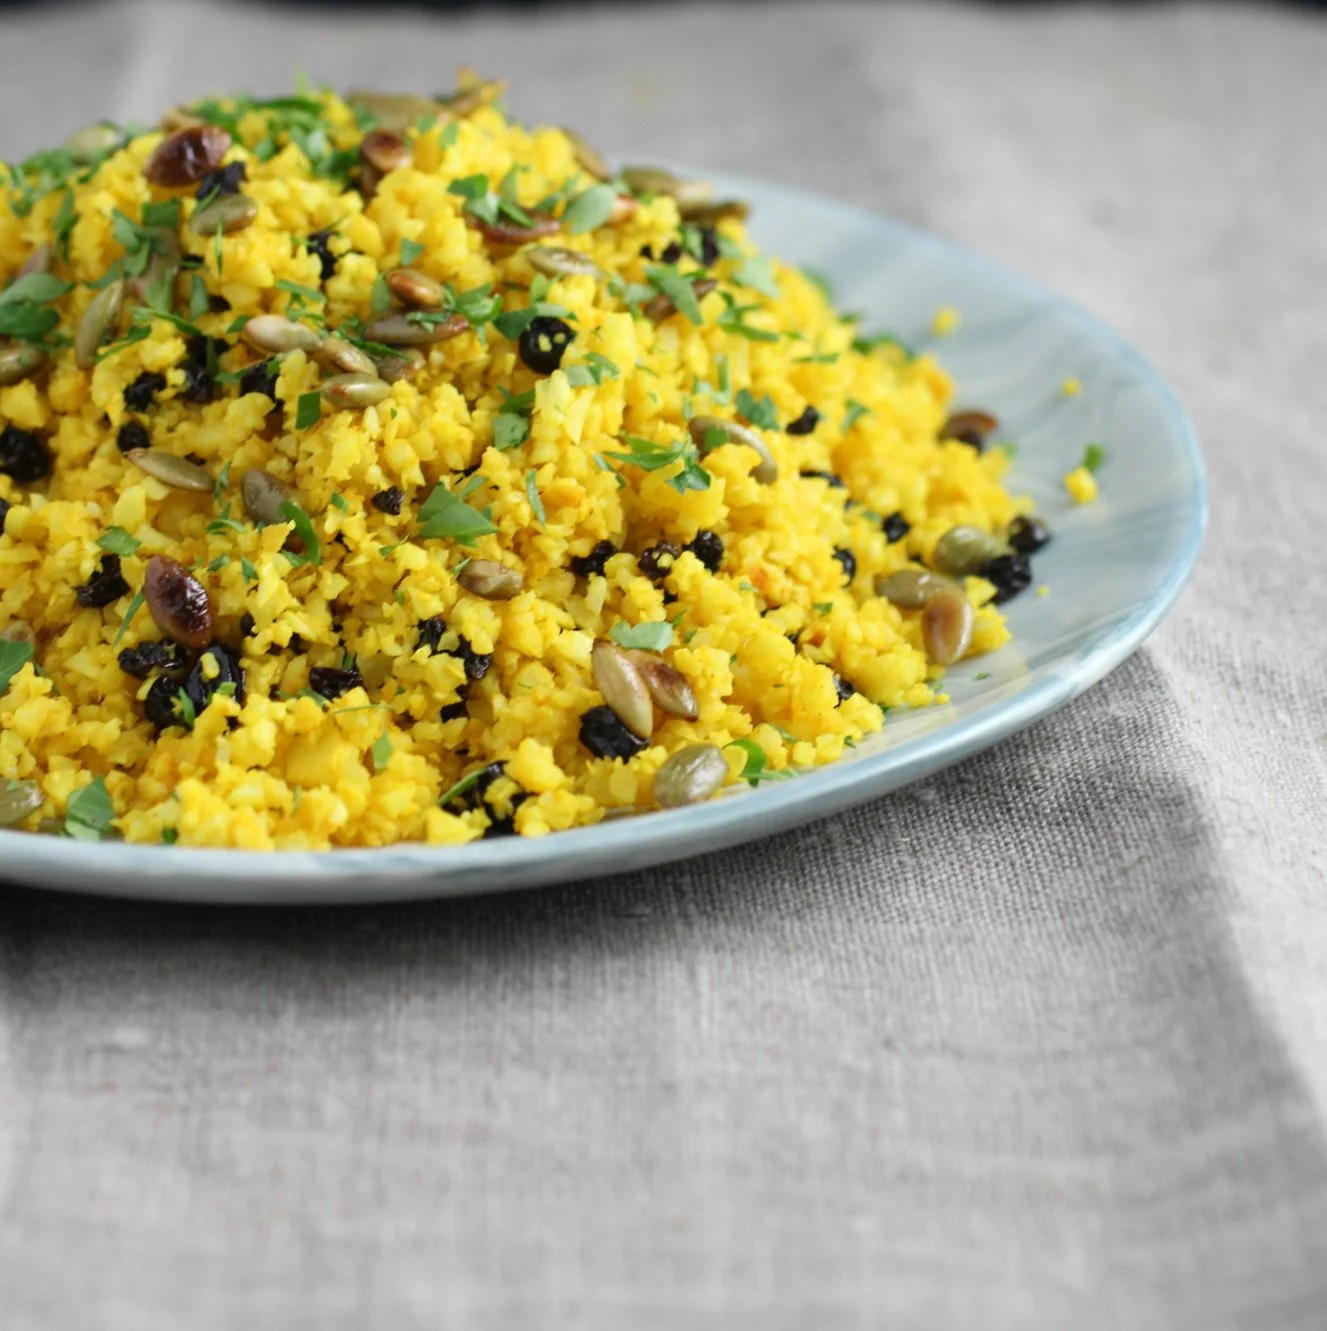
Turmeric-Spiced Cauliflower Couscous
Reinvented craveability.
I'll admit I was a skeptic when cauliflower rice came on the scene - it often feels unnecessary to mess with a good thing and I am certainly not "carbaphobic". As much as I love cauliflower (and I do love it so), even I'll admit I can overdo it with cruciferous vegetables occasionally (ever tried kohlrabi ice cream? definite skippable). I am, however, a big fan of deliciousness and vegetables and when these worlds collide my meal is complete, which is exactly what happens when cauliflower is pulverized into small bits, seasoned well, and served as a grain. In this case, I call it couscous because the flavoring is in the "couscous genre", one could easily call it rice, as it's the same process. Apart from being delicious and satisfyingly high fiber and phytonutrients, what's great about making cauliflower into a grain is that you don't even need the whole floret. If you have leftover cauliflower stems from another dish they can easily be tossed into the food processor and turned into rice!
Stems and cores can be used in addition to or in place of florets.
This recipe calls for heating the cauliflower after pulsing in the food processor, but it can also be served raw for a crunchier texture and application, such as chilled cauliflower tabouli salad. Additionally, although the flavor and color of turmeric is hard to ignore, cauliflower rice or couscous is also nice simply seasoned if paired with a dish that is flavorful, such as slow cooked spicy garbanzo beans or an eggplant tagine. When it comes down to it, cauliflower rice/couscous is incredibly versatile similar to...regular rice or couscous! Serves 4.
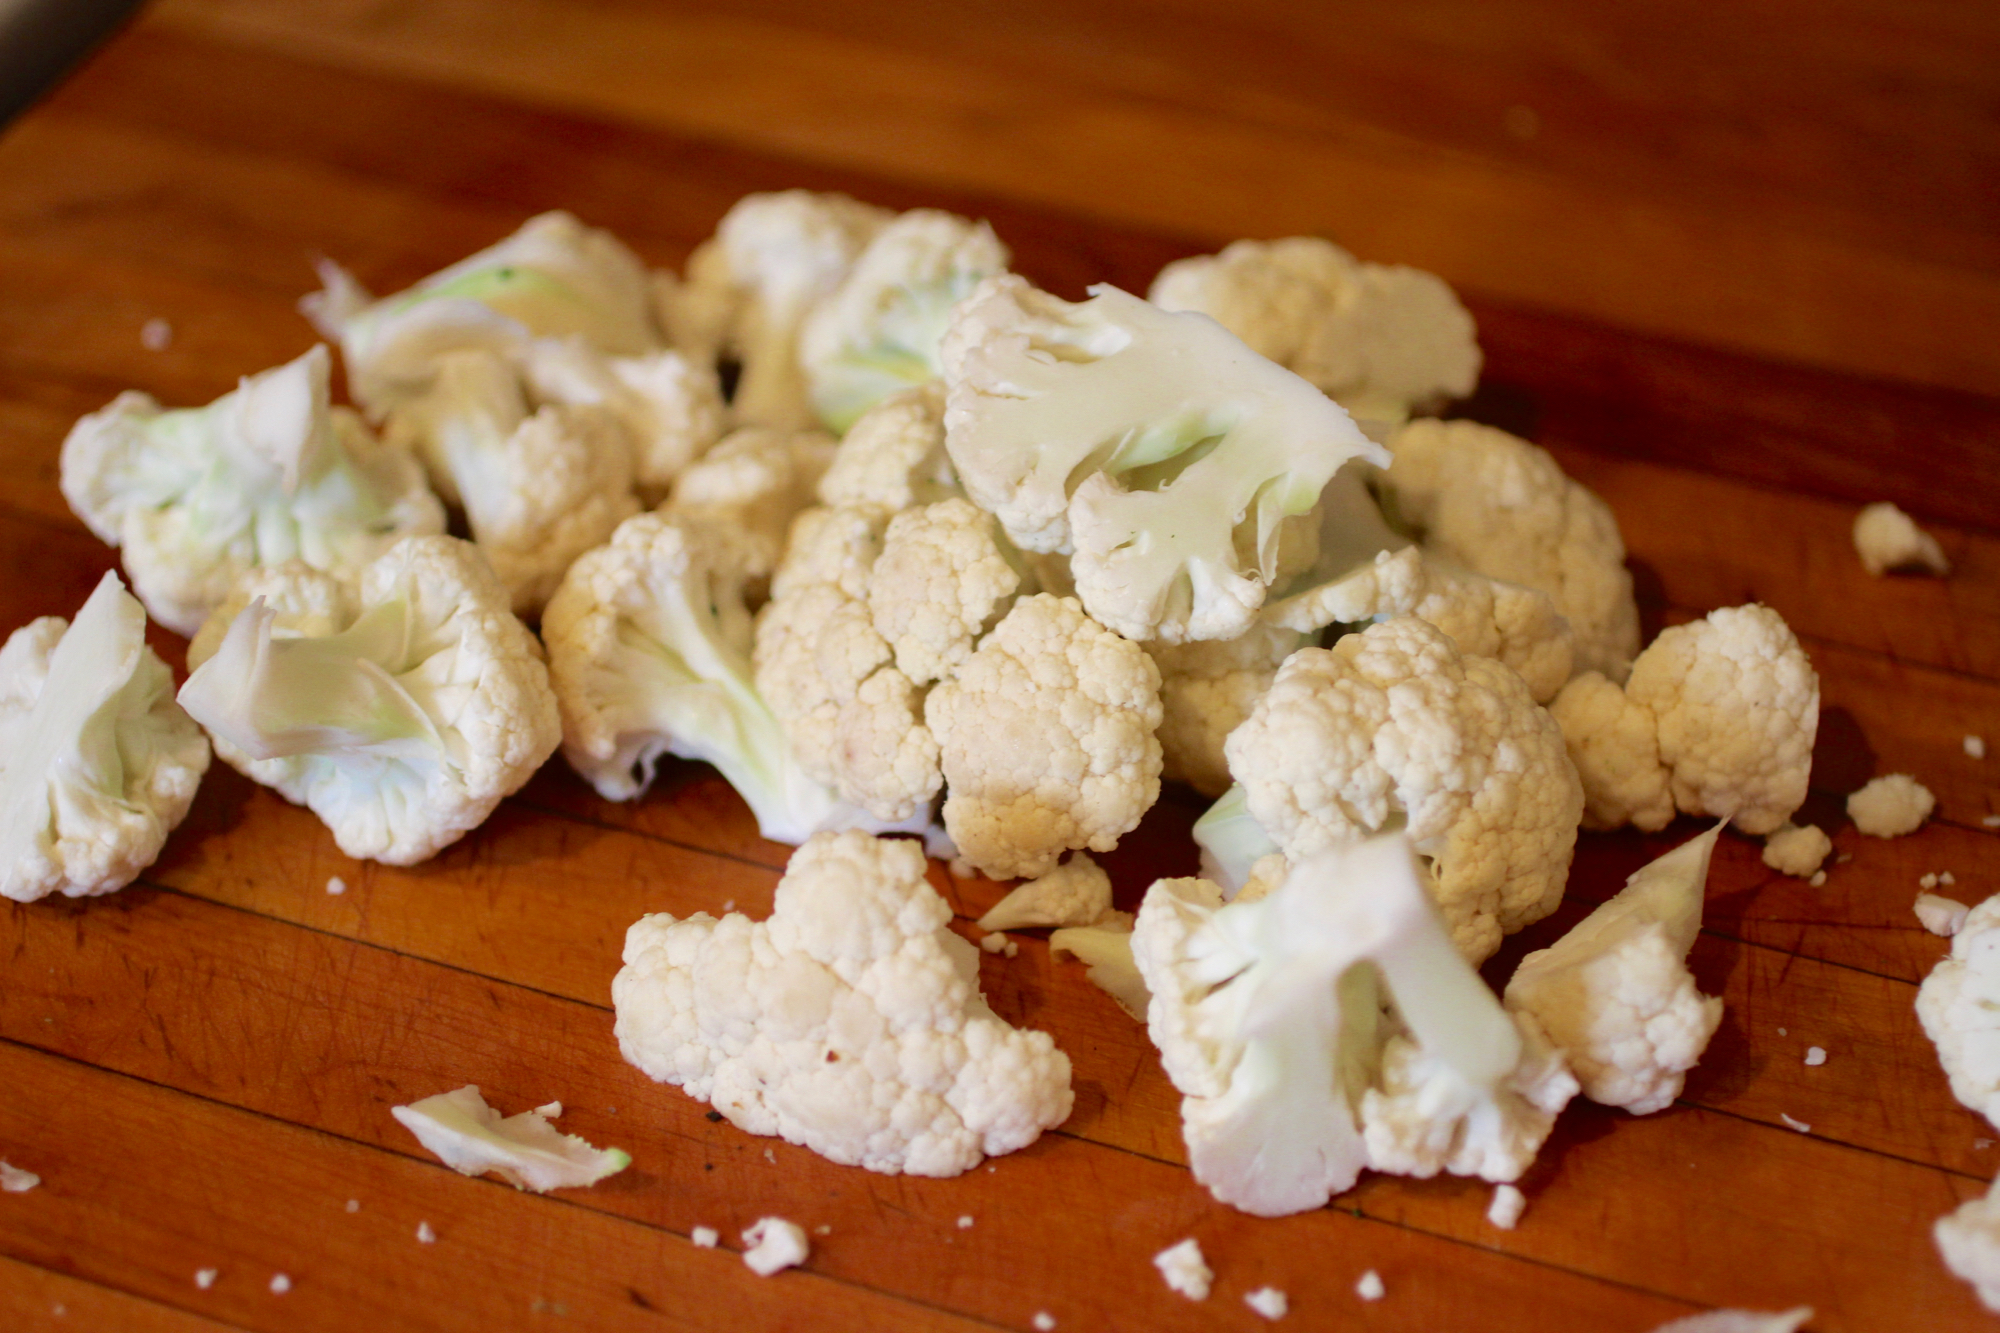
1 large head cauliflower (about 2 pounds, stems and/or florets can be used)
1 tablespoon olive oil
2 teaspoons turmeric
1/4 teaspoon salt
1/2 cup currants (optional)
2 tablespoons toasted pumpkin seeds
Chopped parsley, for garnish
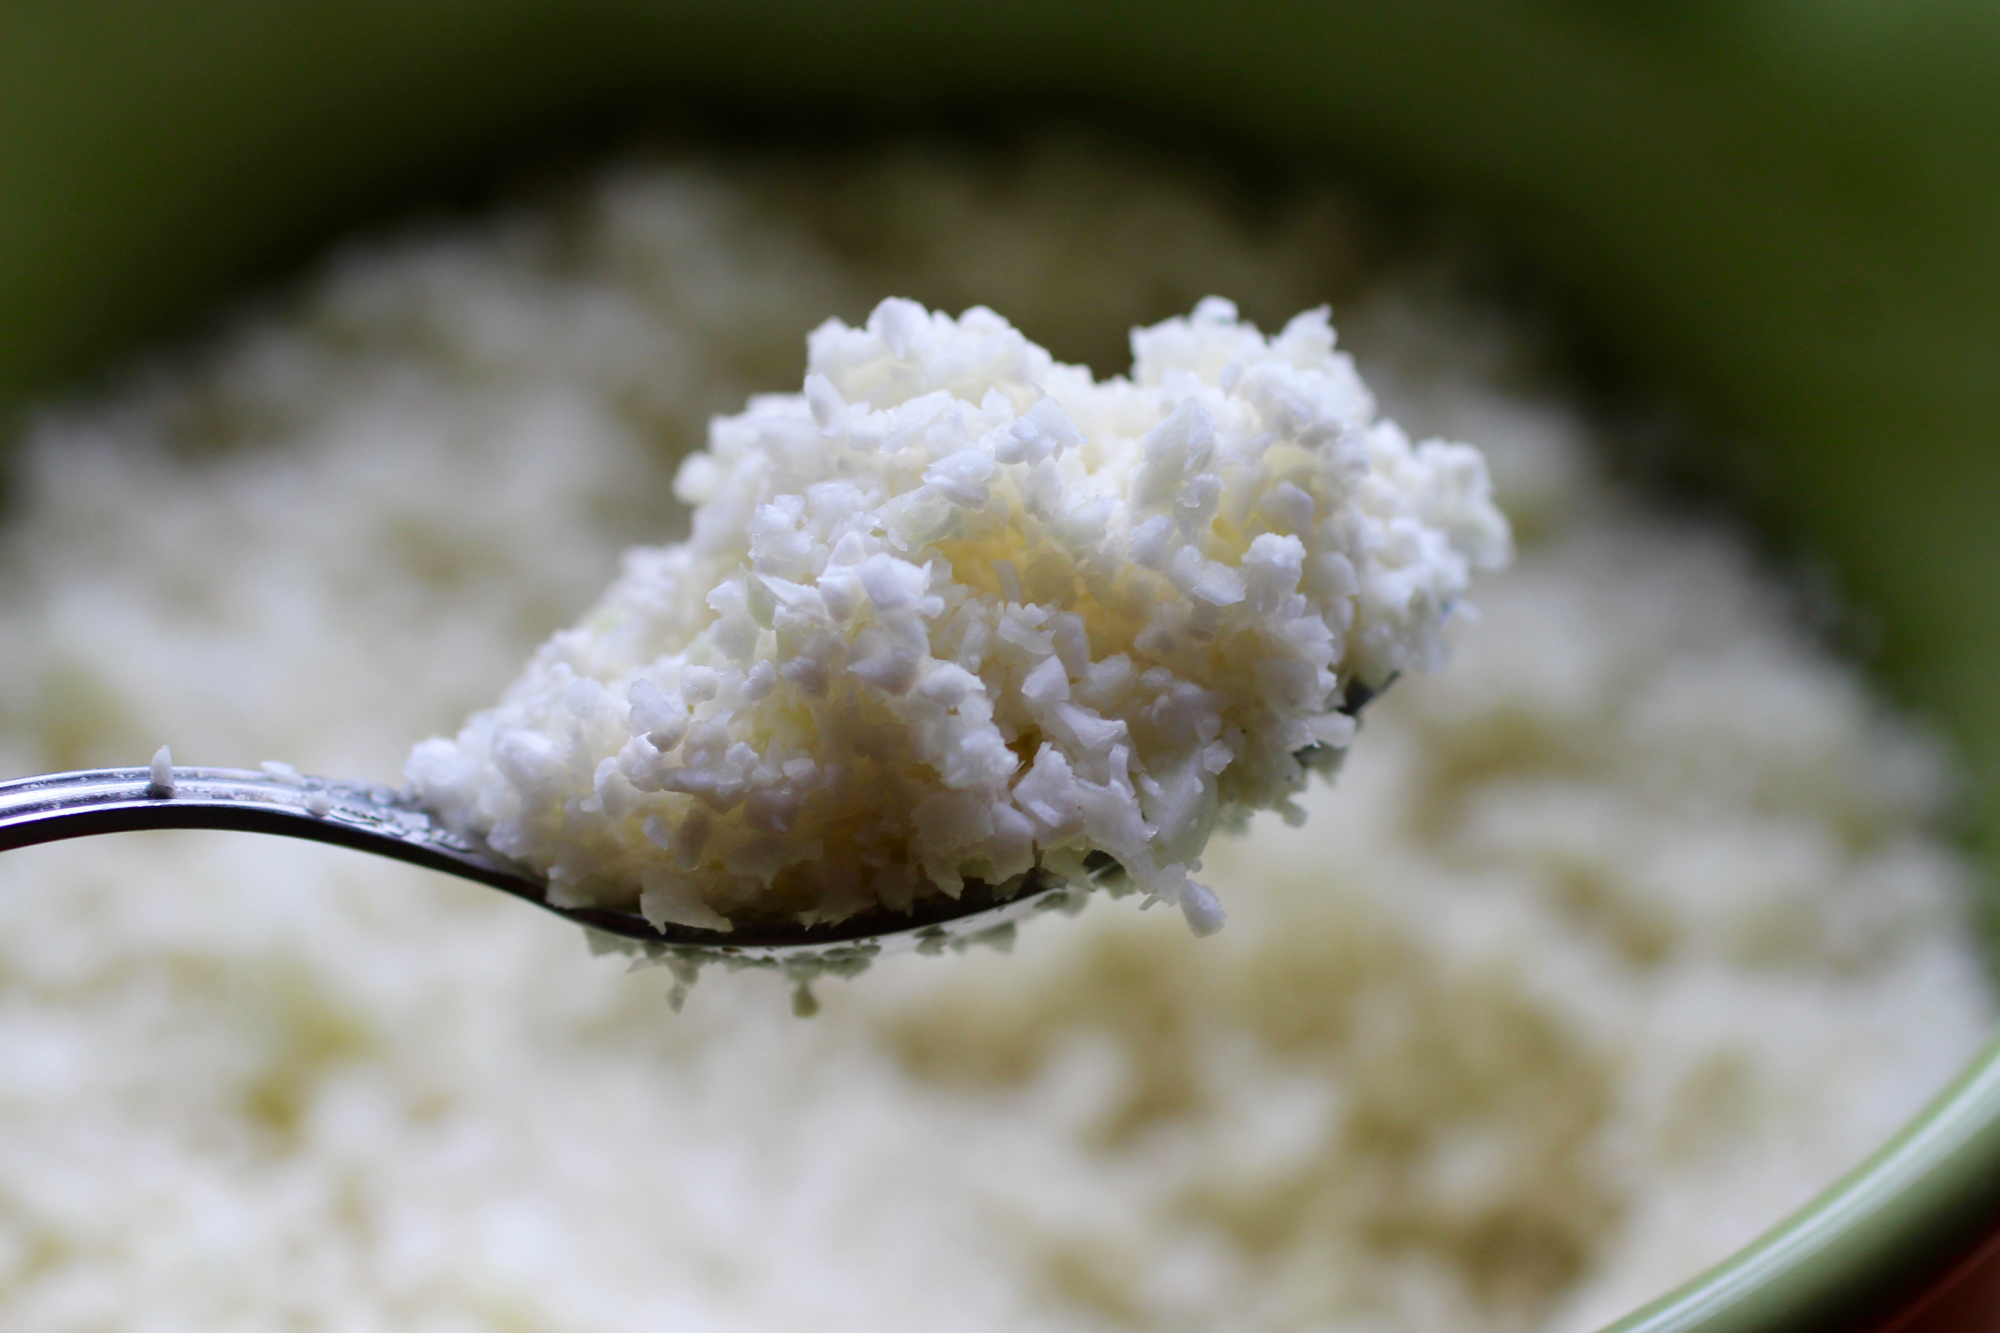
Process cauliflower until it resembles grain.
Cut and/or pull apart cauliflower into large florets and chop core/stem into smaller pieces. If you have leftover cauliflower core/stems from another application, they can be pulverized and used as well.
Using a food processor, pulse the cauliflower until broken down into couscous-sized pieces, processing in two batches if needed. As cauliflower is processed, remove any large pieces that are not broken down, set them aside, and pulse separately. If you do not have a food processor, you can grate the cauliflower into couscous-sized pieces using the large holes on a box grater.
Heat olive oil in a skillet with a lid on medium heat*. Stir in cauliflower, cover, and cook for 6-7 minutes, until desired softness is reached, stirring occasionally. Add turmeric, salt, and optional currants then stir to combine. Serve hot garnished with pumpkin seeds and chopped parsley.
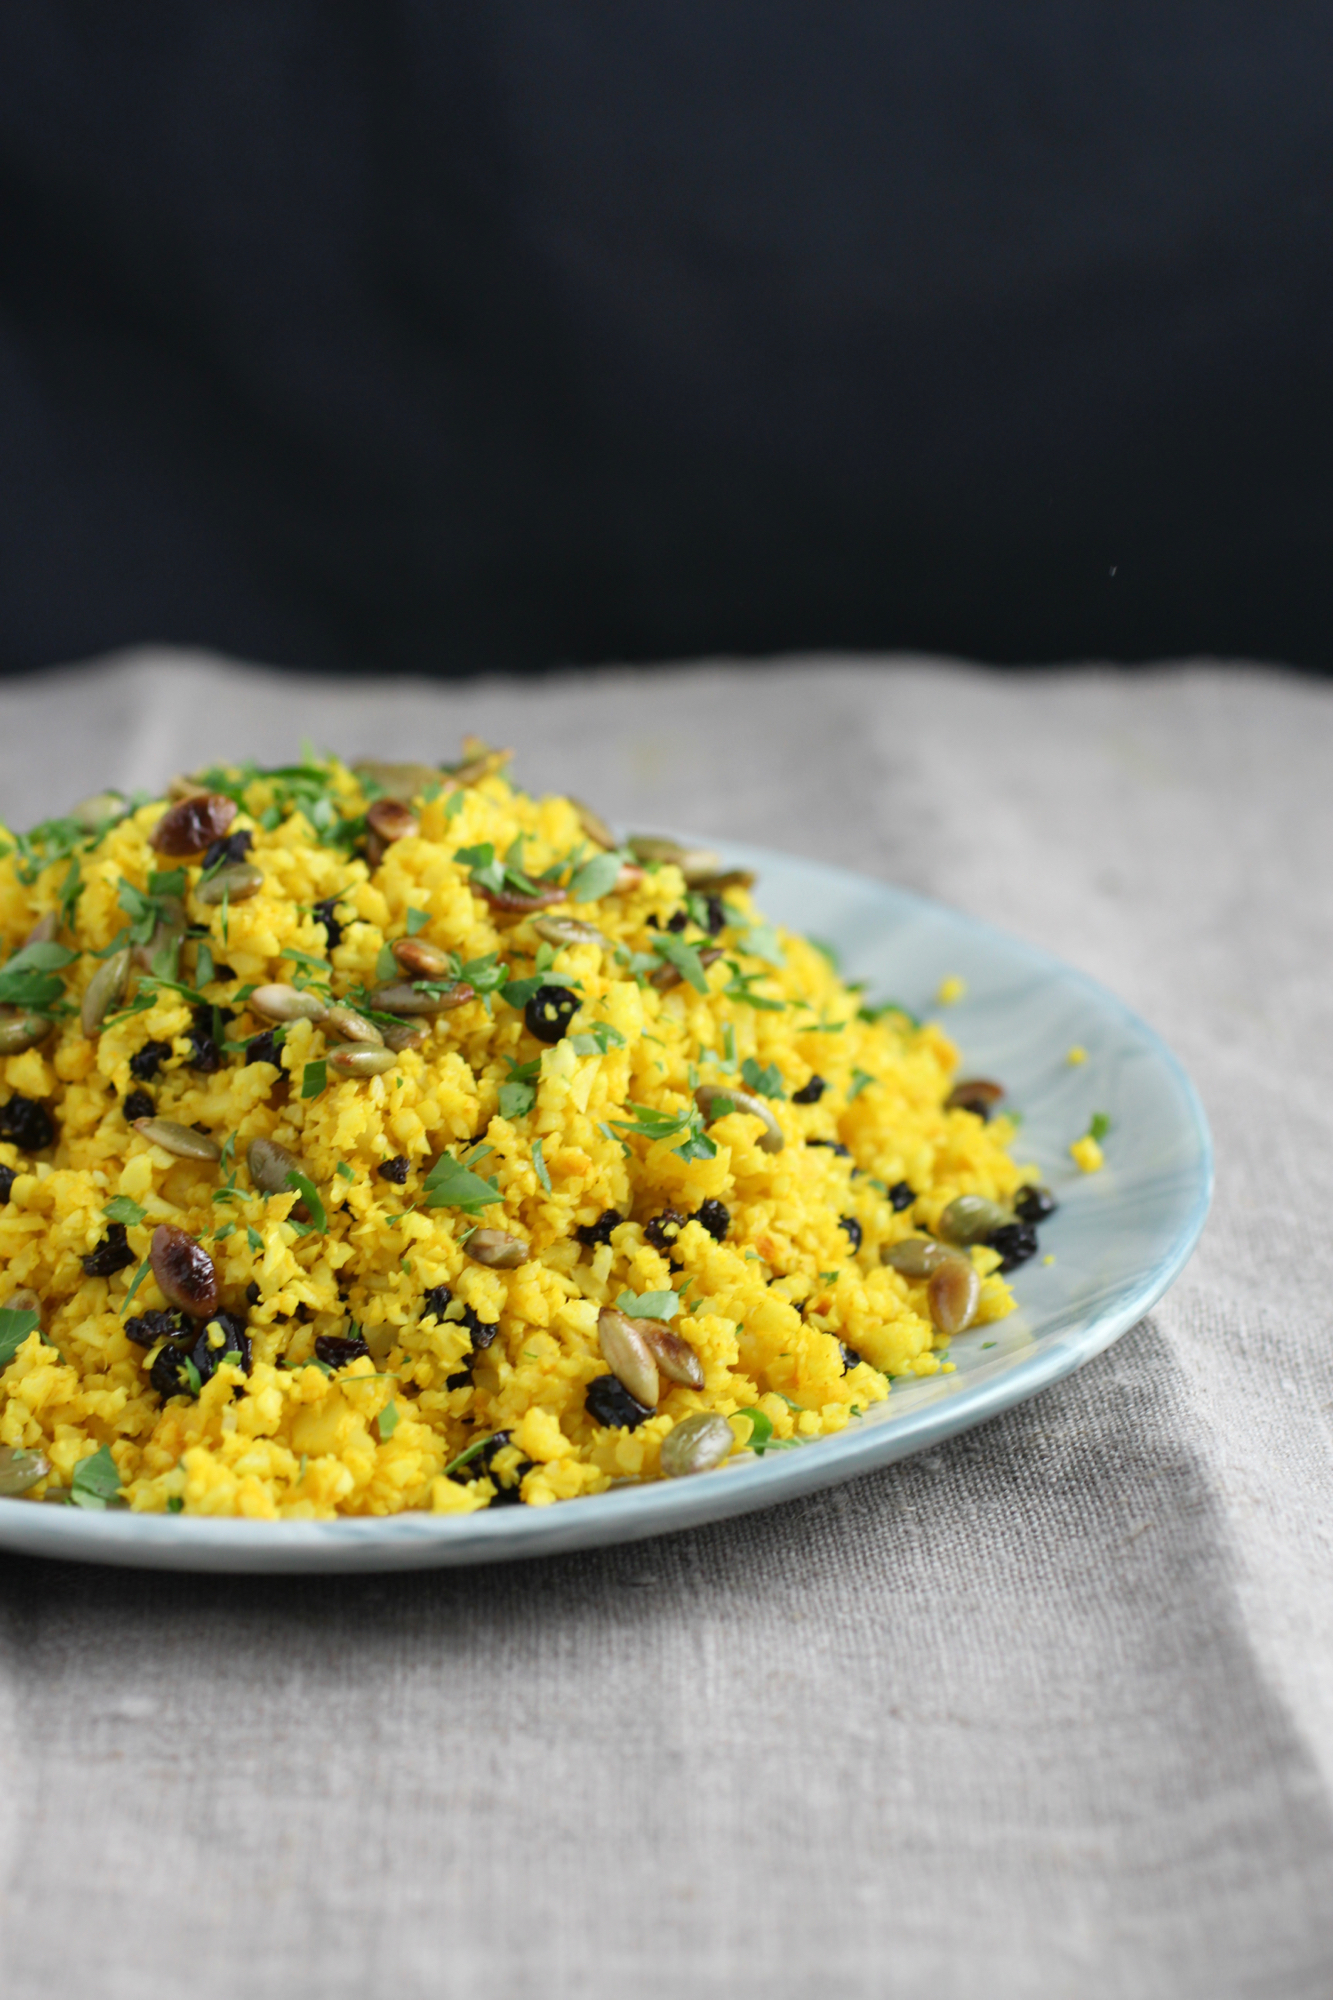
Delicious reinvented side dish or main when paired with sautéed garbanzo beans or grilled lamb.