
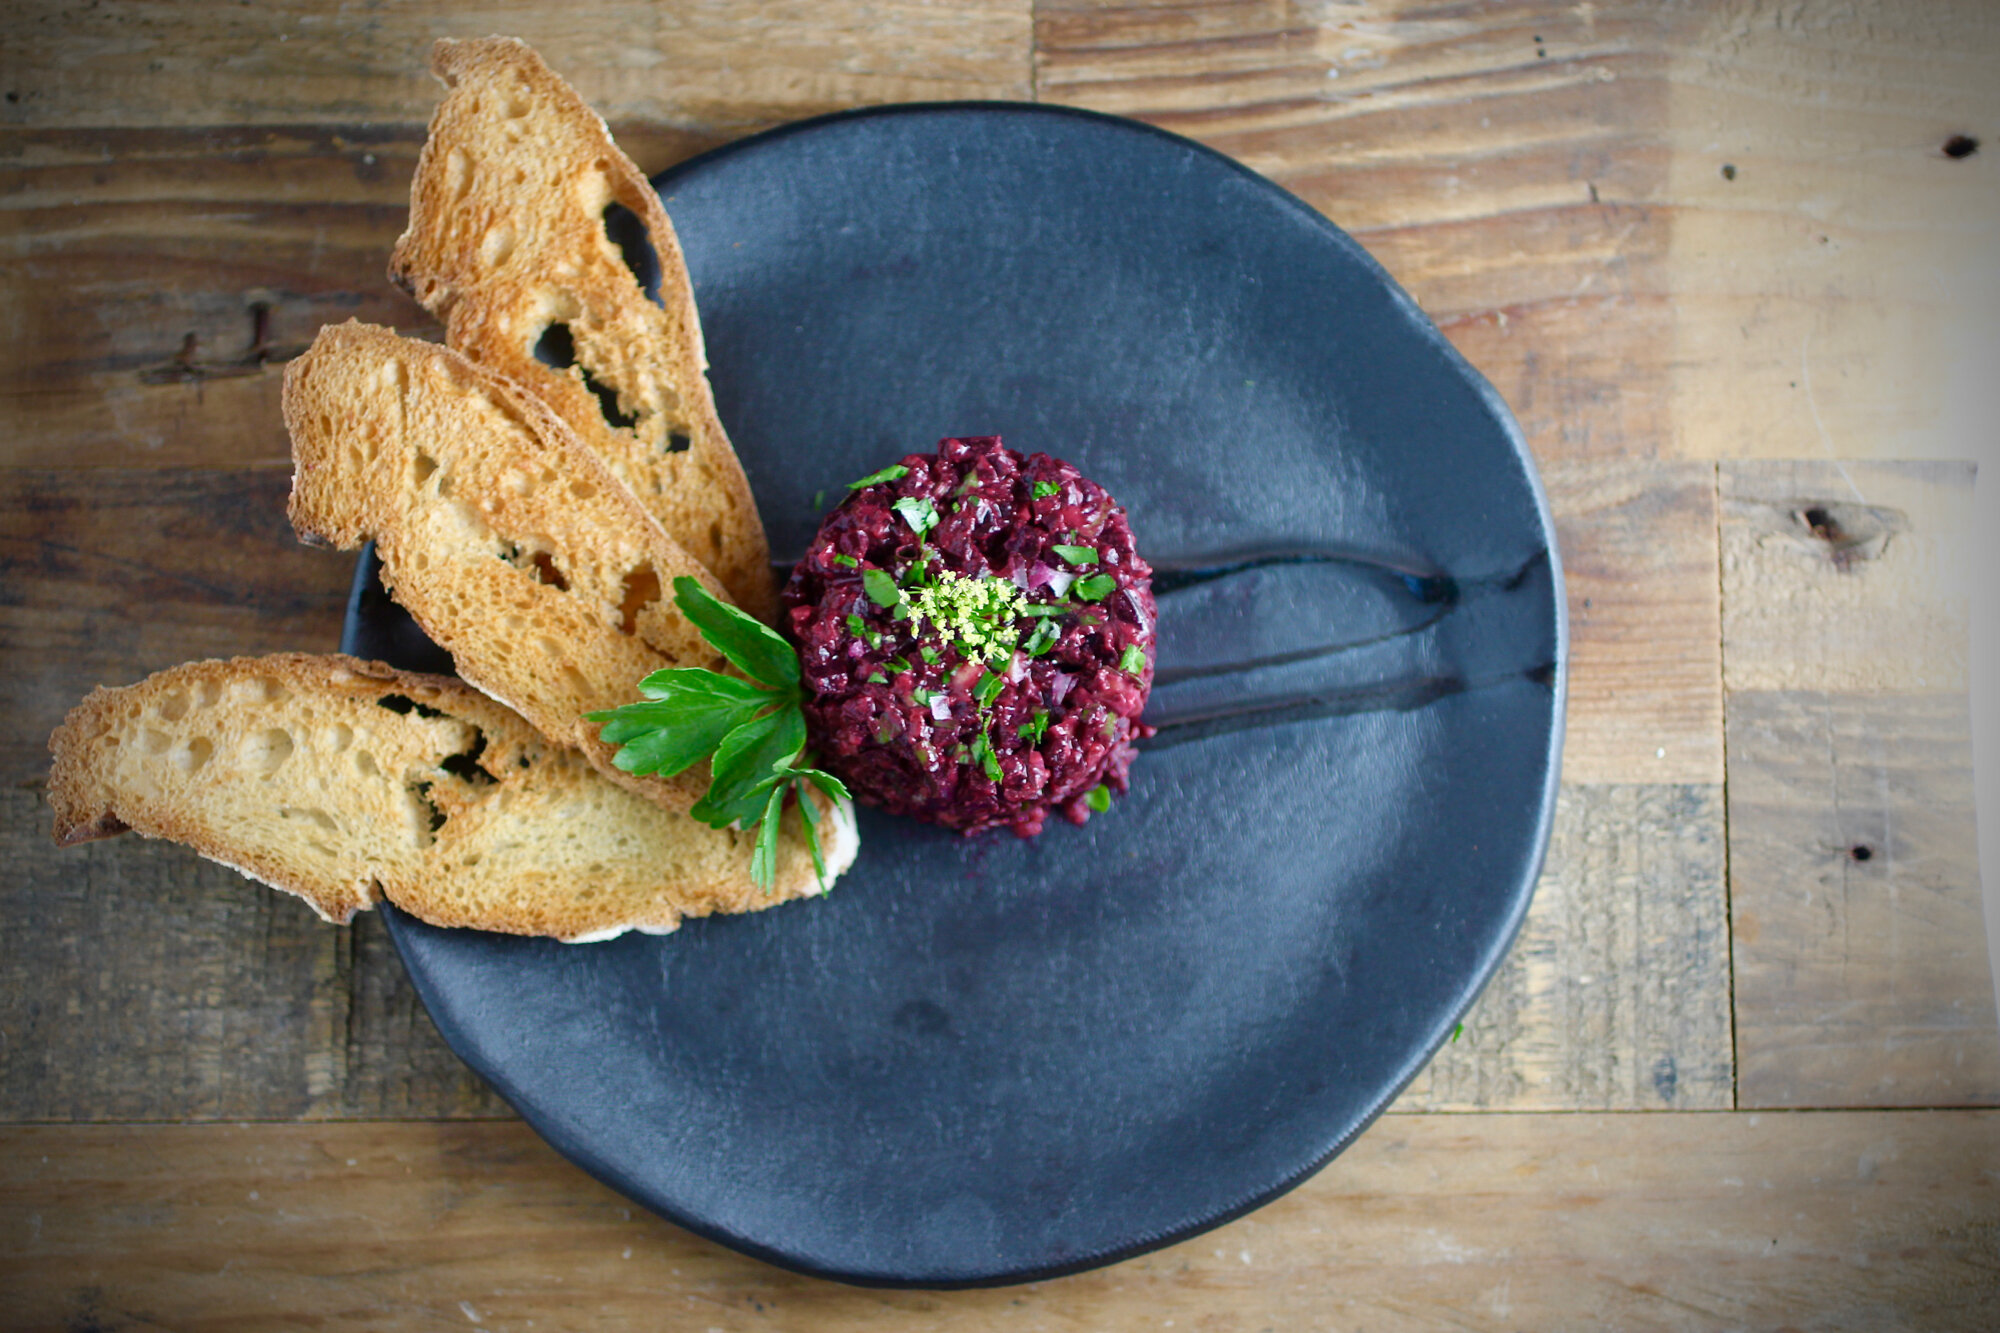
Beet tartare with shallot, capers, and dijon mustard
Plant-based spin on a classic with or without faux egg.

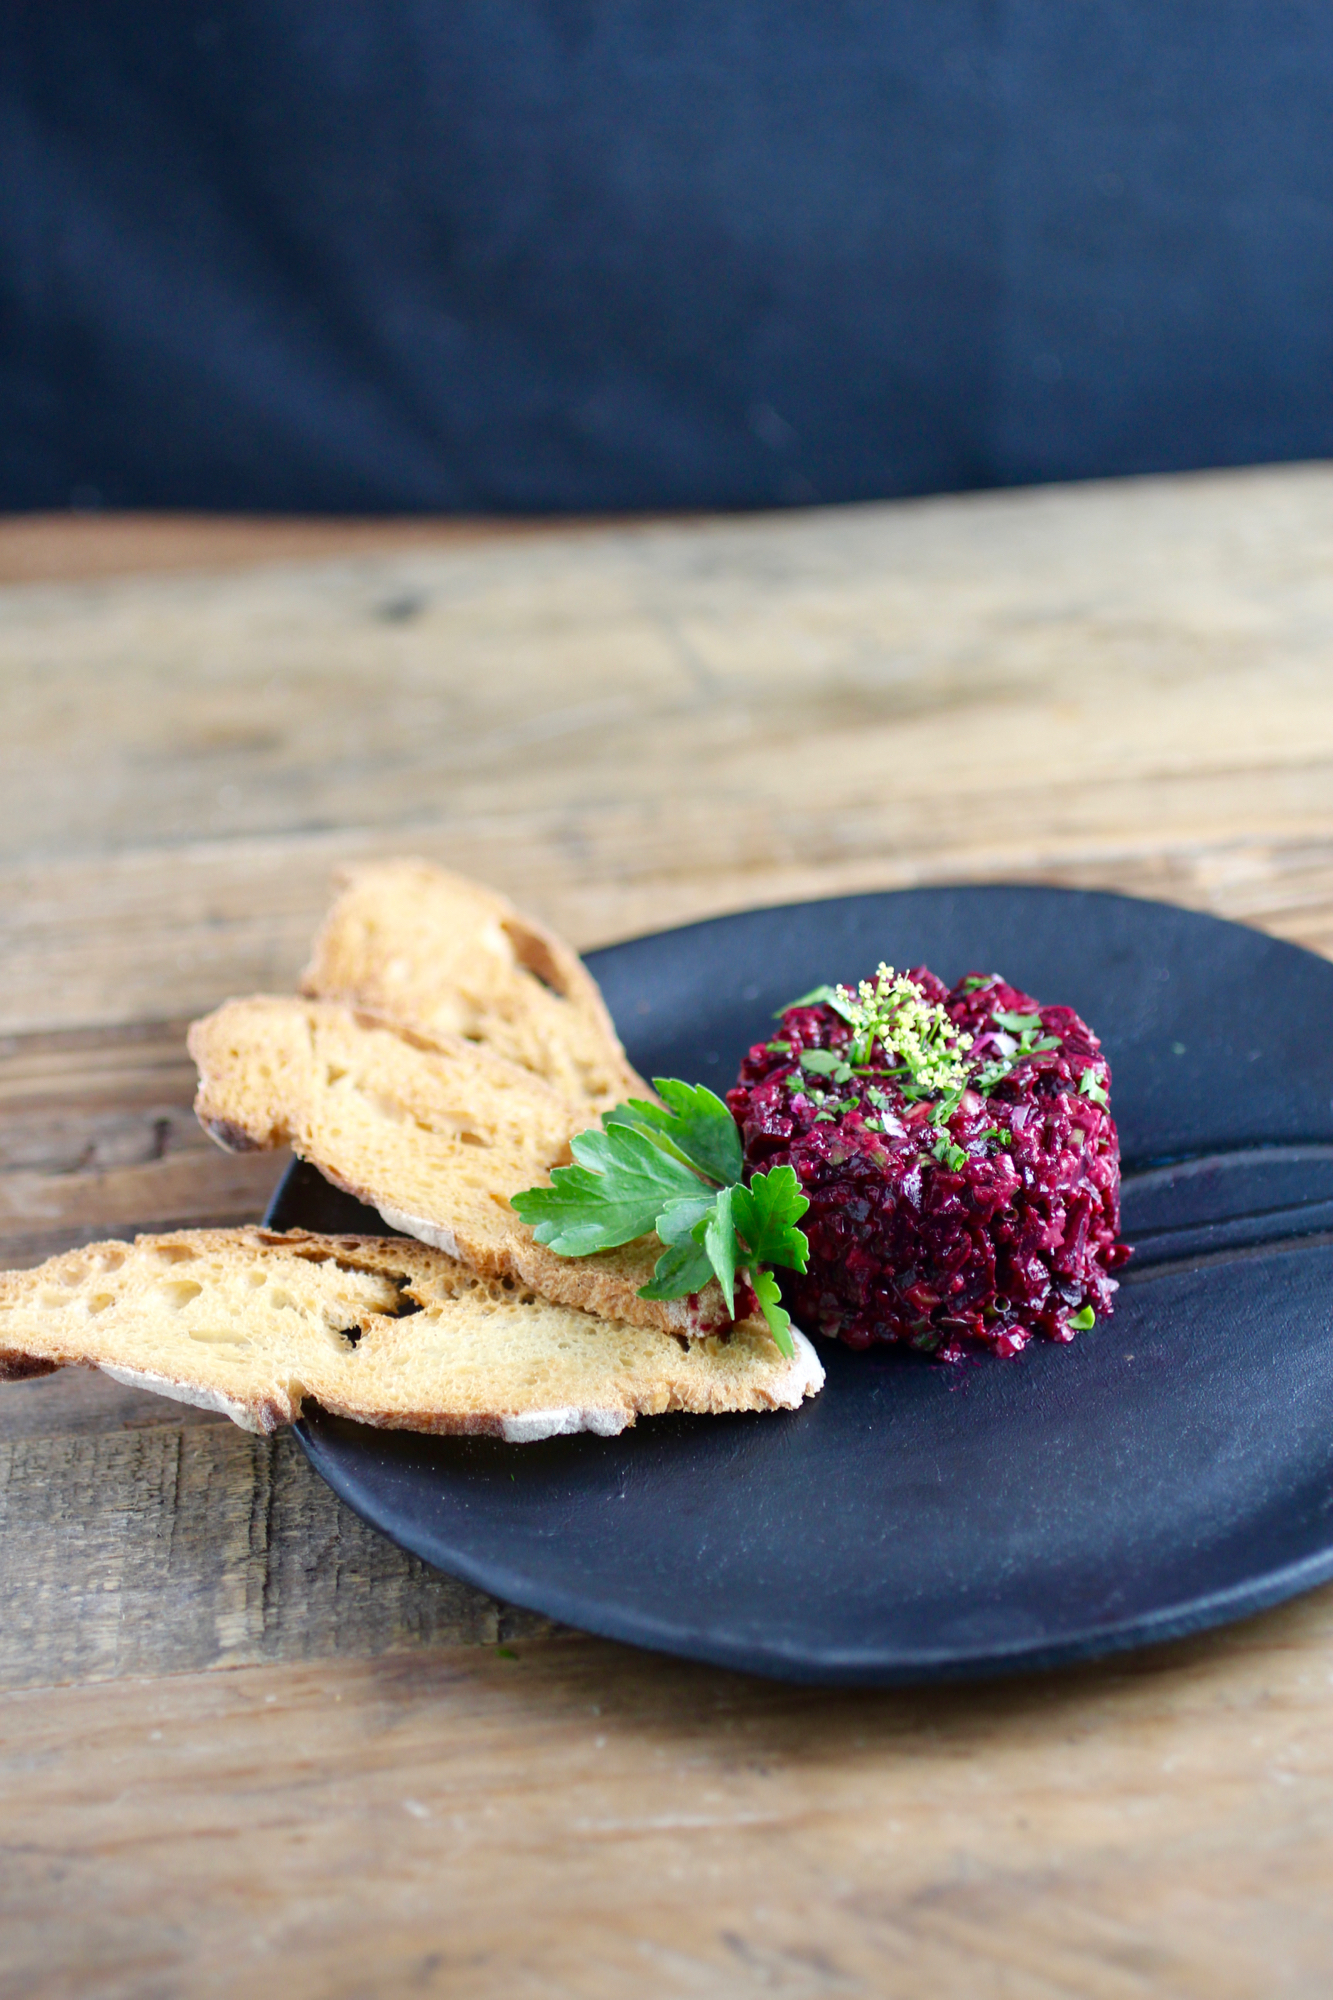
Beet tartare served with baguette crisps, but you can use any edible vehicle for the tartare of your choosing.
There's something special about classic beef tartare done right. I'm kind of a sucker for tartare when I'm at a restaurant that I know has good meat and will prepare it properly. Usually, I'm with someone else and we'll share it in addition to a few salads or other things to help balance out the meal. BUT, in the interest of plant-forward innovation, I thought I'd try to replicate tartare using beets instead of beef and making the whole dish entirely from plant-based ingredients. Crazy? Maybe.
There were some challenges with mimicking the luscious quality of the raw beef, but the combination of miso and olive oil comes pretty close and the miso has the additional bonus of providing umami flavor that you get from meat in the beef version (double score!) If you do eat meat, another great option is to make a tartare with both beef and beet (I've done a 1:1 ratio and it was very successful) to keep some of the beef flavor and texture, but still make your tartare more plant-forward. Other classic ingredients are added to this recipe such as shallots, capers, parsley, and Dijon mustard, but you can play around with these as you like!
Traditionally, beef tartare is served with a runny egg yolk on top that is mixed in to the cubed steak before eating. You could top this with a real egg yolk and it would be delicious, but I was in an experimental mood and decided to try out making a faux egg from chickpea flour, flax, miso, water, and tumeric. The flax, chickpea, and water provide texture while the miso flavor, and the turmeric color. It's pretty fun, but, you know, not a real egg yolk. In my opinion, nothing you can make in a home kitchen comes close to an egg if you want all of the egg-like properties. Using flax and other substitutions works great for many baking or binding applications, but if you're looking for a runny egg yolk there's nothing like the real thing...eggs are just magical. However, you can serve this with or without an egg/faux egg and it's still delicious. Great appetizer for your vegan friends (or self) and can easily be gluten-free if served with GF crackers, endive, or the like. Recipe below serves 6 and can be stored in the refrigerator for a few days without diminishing (too much) in quality.
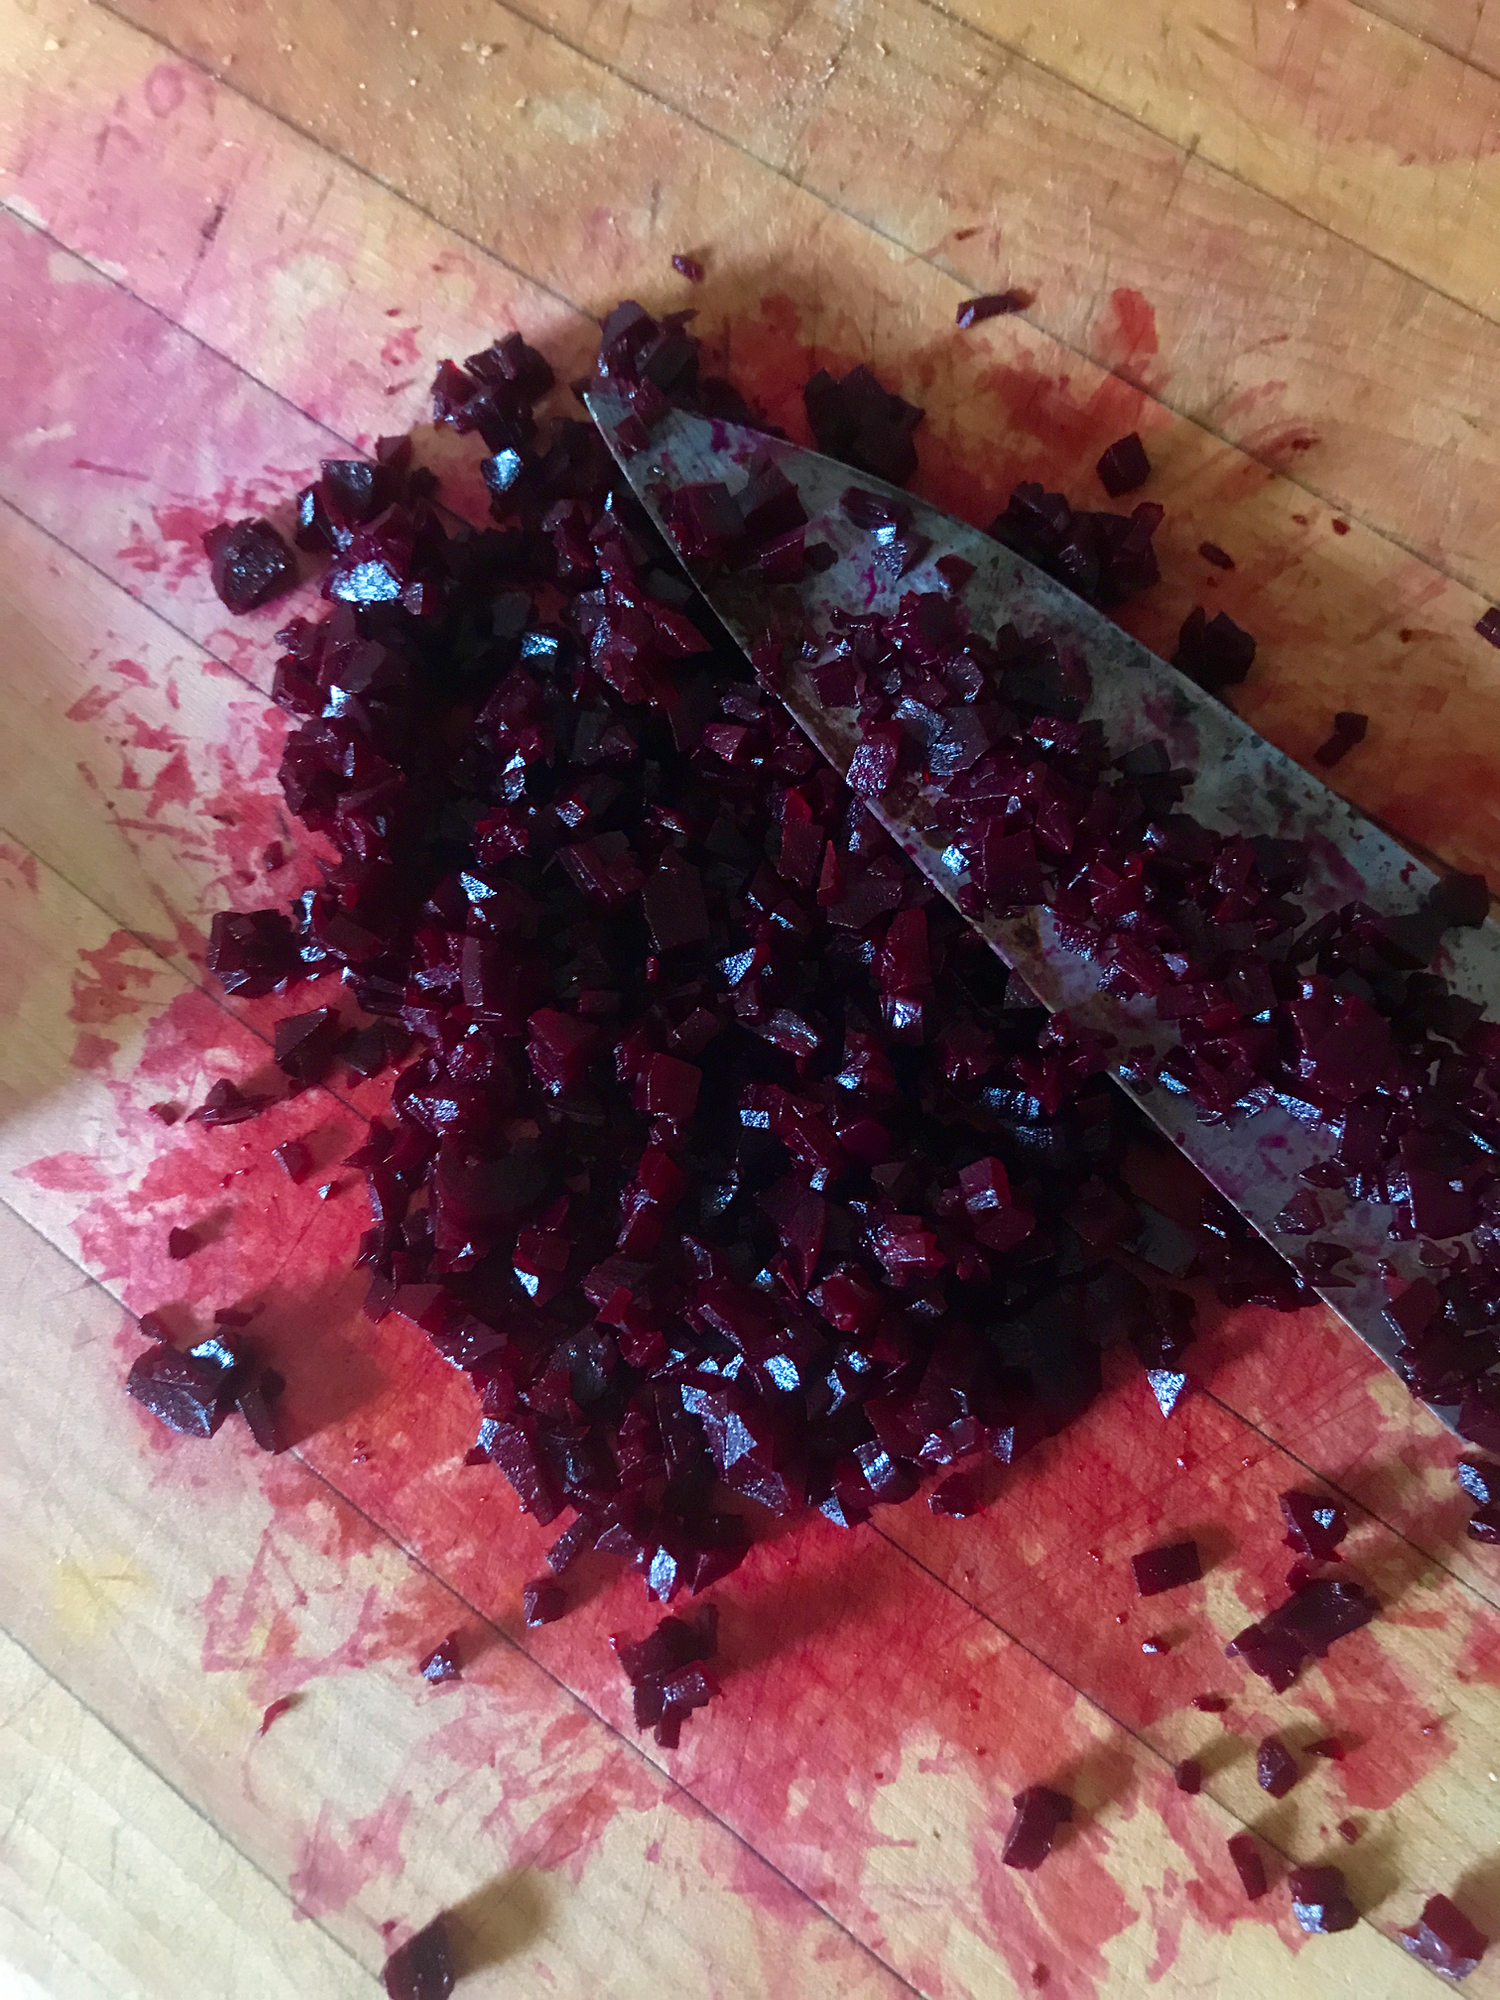
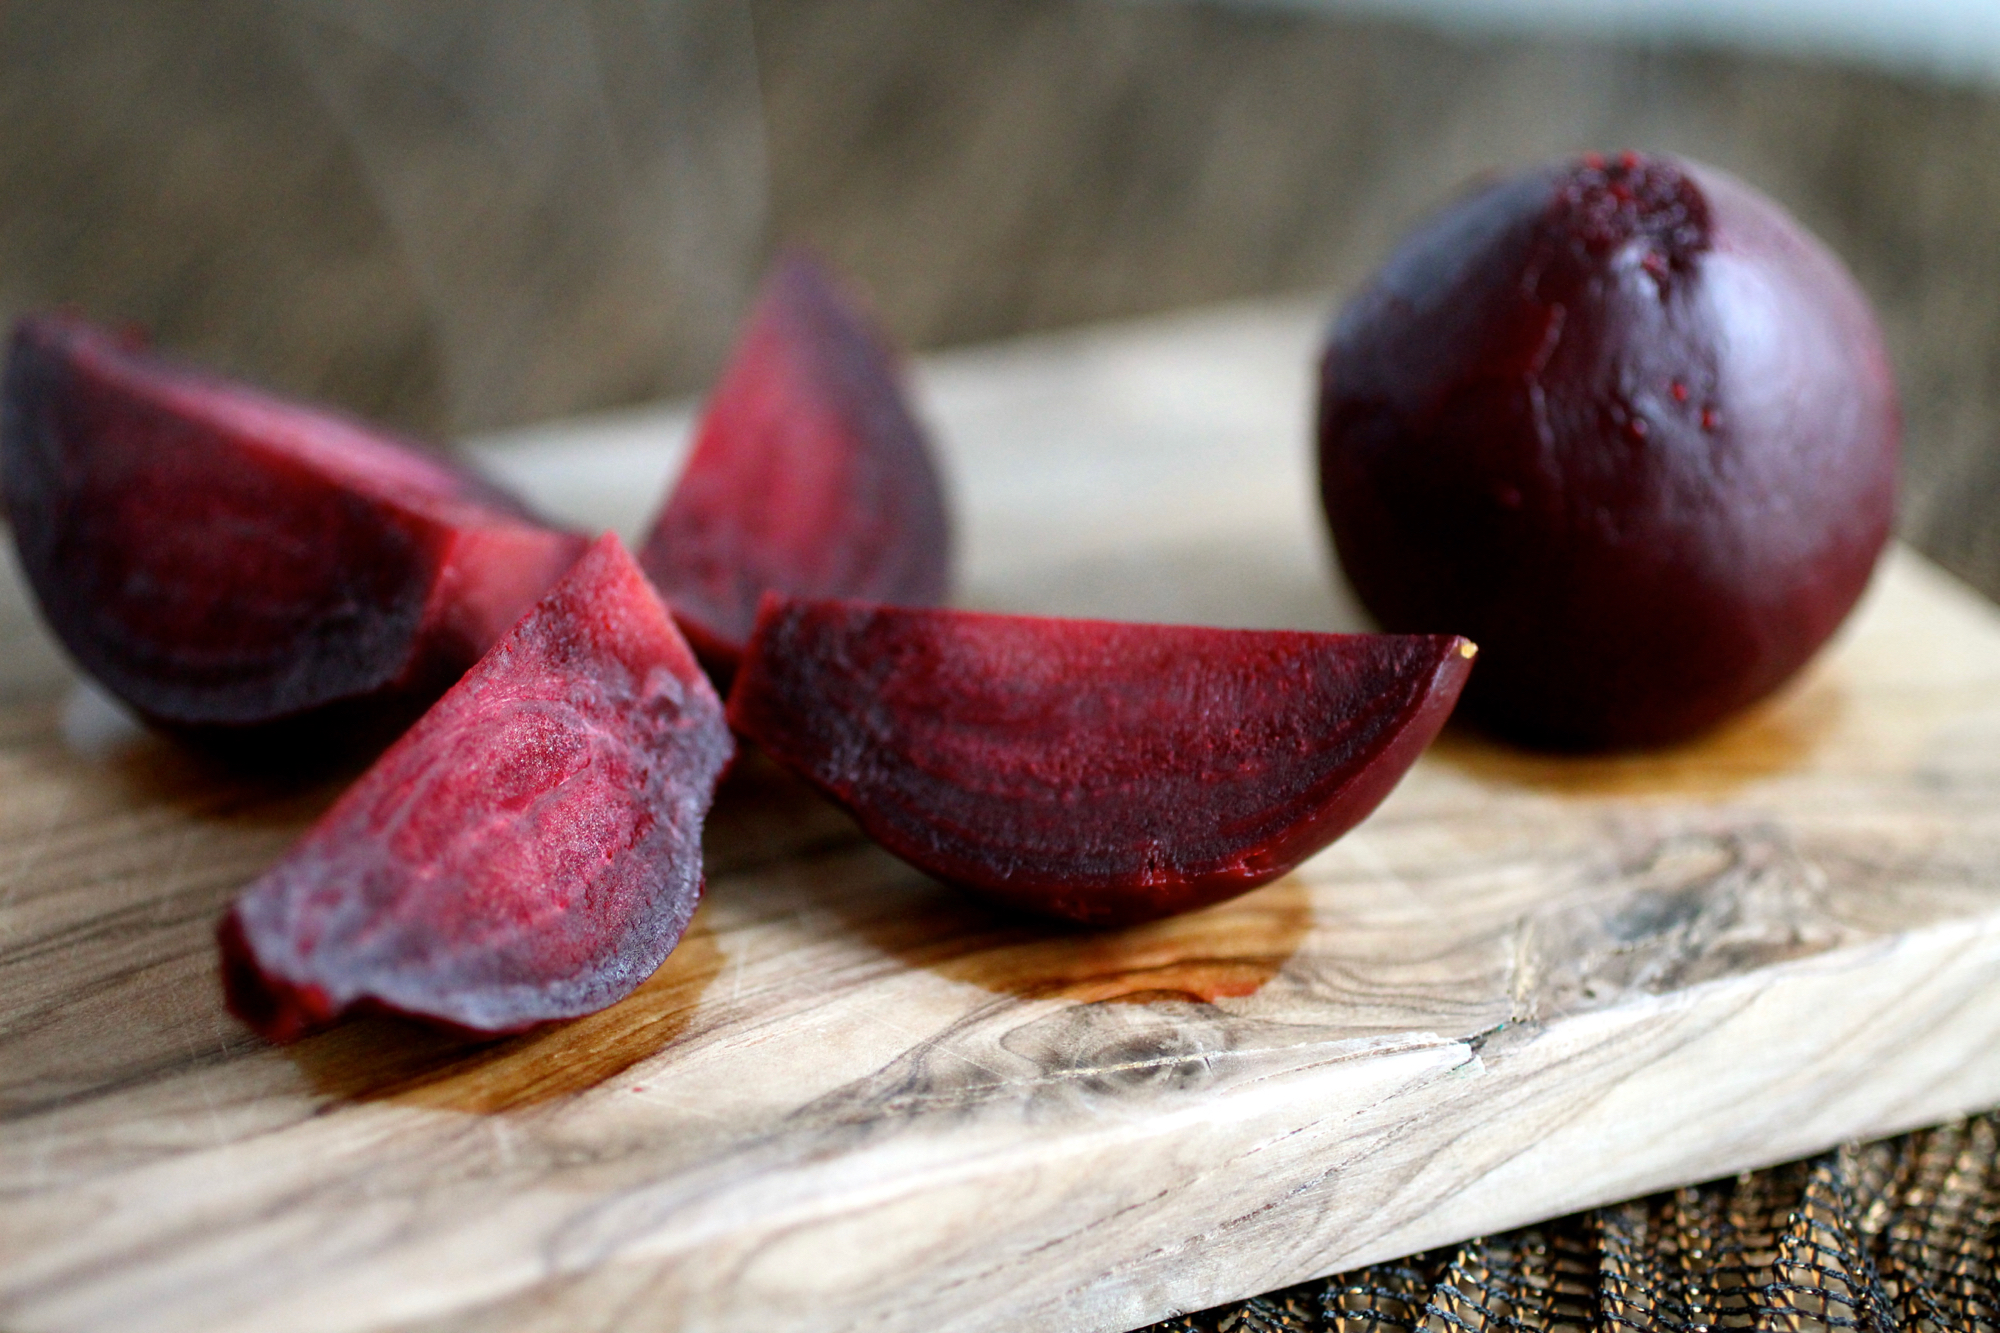
Finely mincing beets - it's not blood, it's beet juice! Be careful, it stains.
- 2 medium beets, about 6 ounces
- 2-3 teaspoons olive oil
- 2-3 teaspoons white miso
- 1 tablespoon minced capers (I used California capers)
- 2 teaspoons minced shallot
- 2 tablespoons minced parsley
- 1 tablespoon minced chives (optional)
- 2 teaspoons Dijon mustard
- Squeeze of lemon juice or dash of red wine vinegar
- Salt and cracked black pepper, to taste
- 1 egg yolk or faux egg, for serving - recipe below (optional)
- Baguette crisps (I used this recipe), crackers, cucumber, or endive, for serving
To Prepare
- Mince beet into fine cubes using knife and add to medium bowl.
- Mix in 2 teaspoons olive oil, 2 teaspoons miso, capers, shallot, 1.5 tablespoons parsley, chives (optional), mustard, and squeeze of lemon. Stir in salt/pepper to taste and more olive oil and/or miso to desired flavor and texture.
- Mound onto serving plate and top with egg yolk/faux egg yolk (optional). Sprinkle with salt and reserved parsley and serve with baguette crisps or crackers.

Beet tartare with faux egg. Not perfect, but kinda works!
Faux egg yolk - makes 1 faux egg yolk (if using for above recipe, you may want to double the below to allow for creation of a larger "yolk" if needed)
- ½ tablespoon chickpea flour
- ½ tablespoon ground flaxseed
- 1 teaspoon white miso
- 1 tablespoon water
- ¼-½ teaspoon turmeric
- To prepare: Whisk all ingredients except turmeric then whisk in turmeric to create desired color.

Spreading beet tartare on baguette crisps. The above is 1/2 of the recipe.

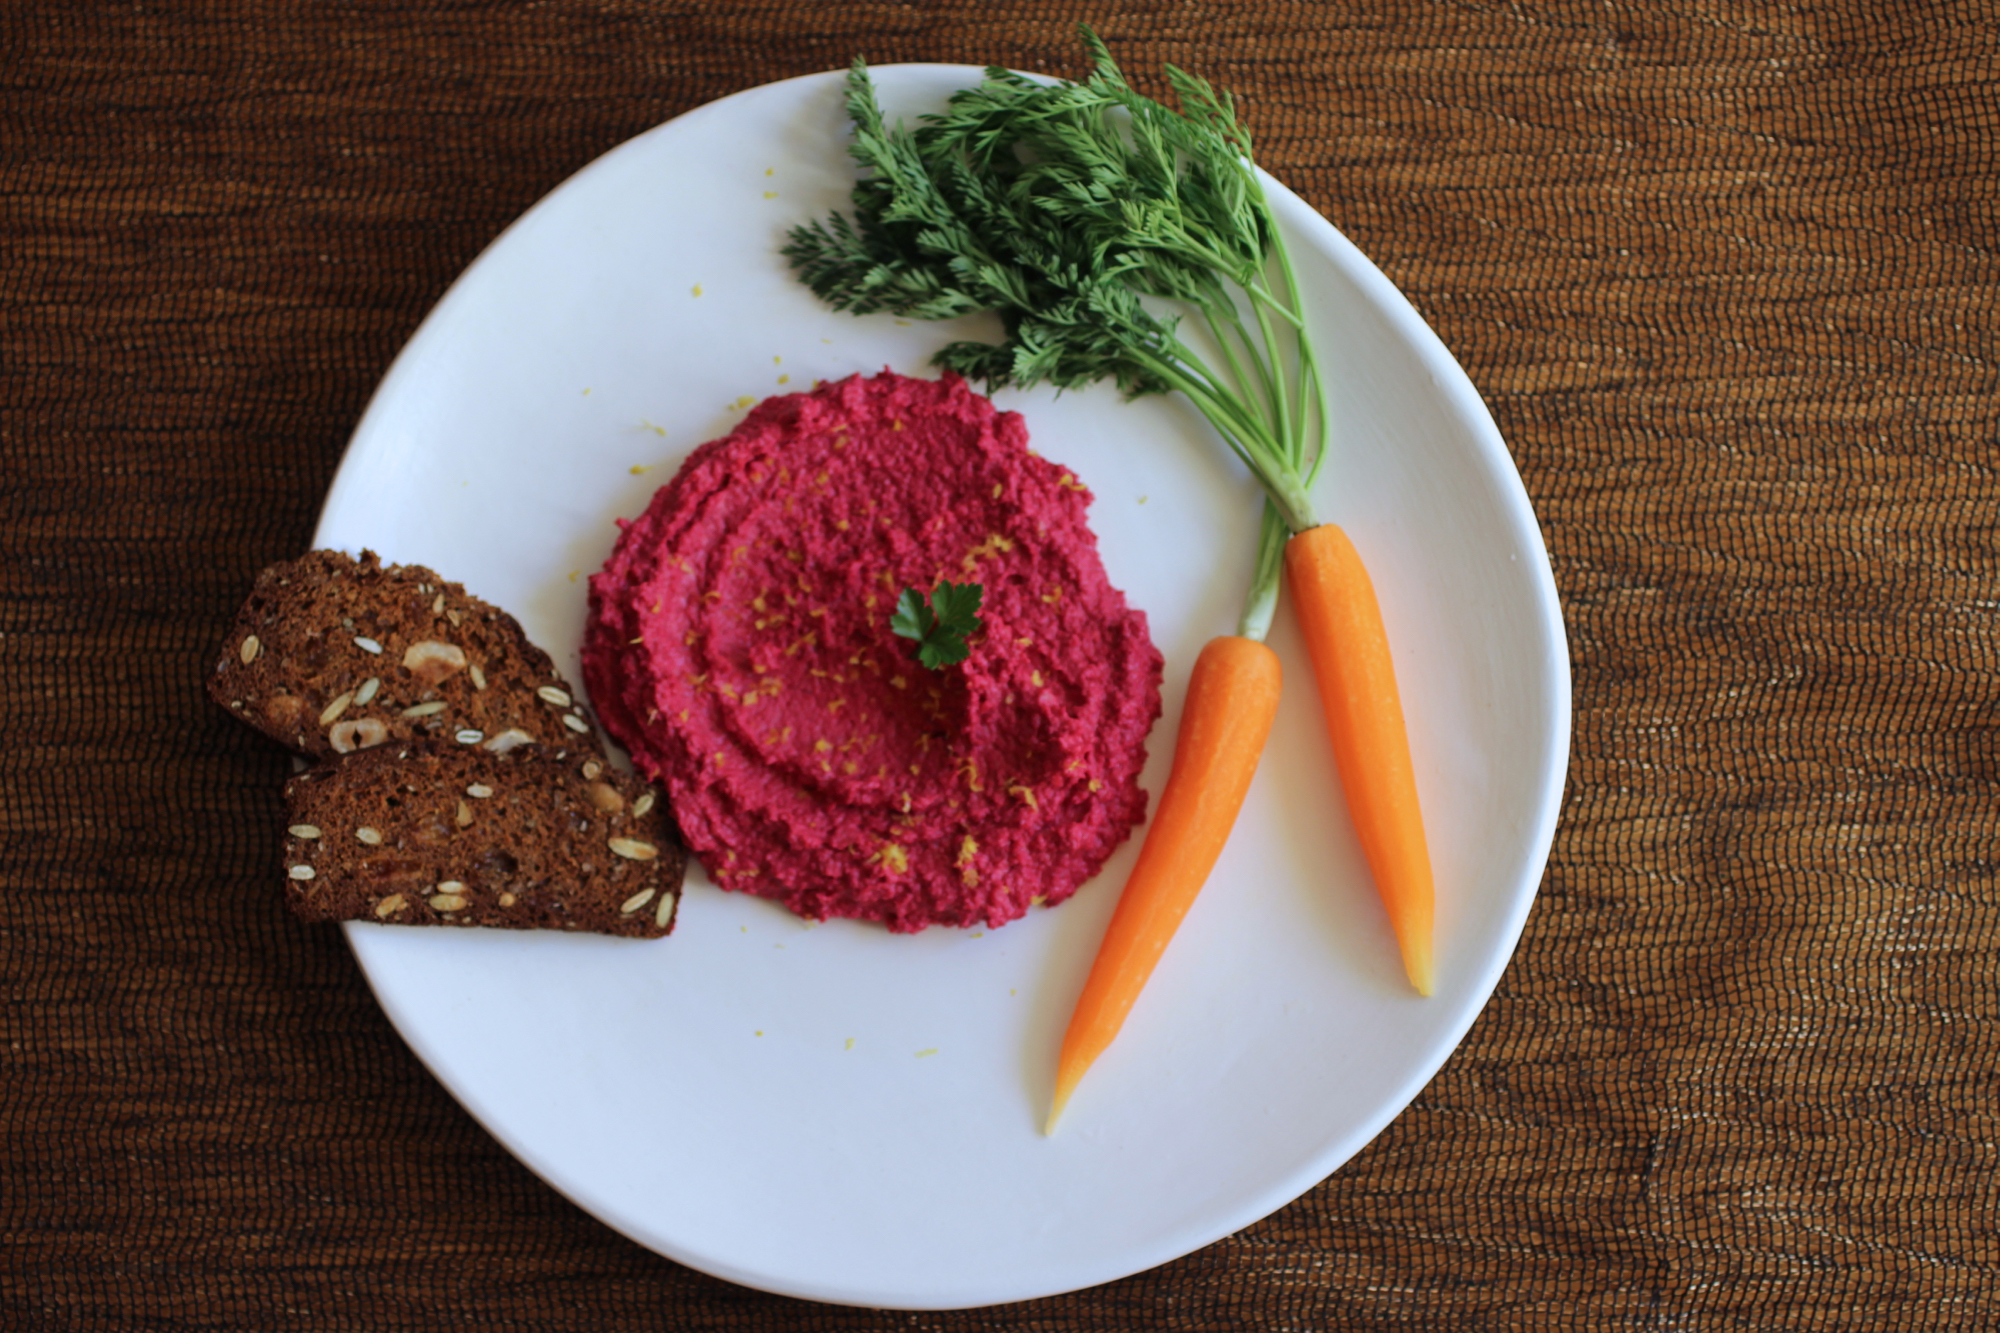
Beet and lemon zest hummus
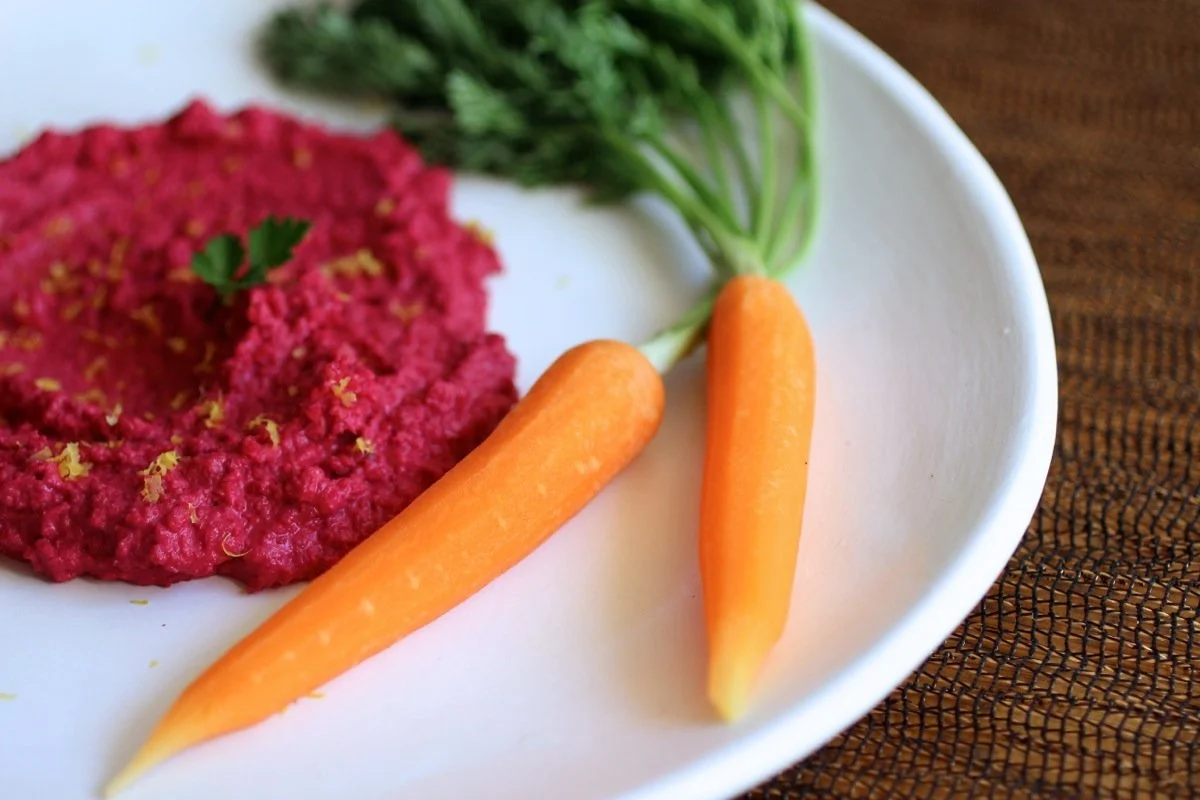
Let's face it - hummus is an easy crowd pleaser. It's vegan, gluten-free, nut-free and dip-able, so ever since it's widespread usage in the U.S. you'll be hard pressed to find a party table absent of the chickpea-tahini spread. Variations on hummus, while not as common, are similarly appreciated and, with its bright eye-catching presence, this variation brings the party (my kind of party). The flavor is similar to classic hummus, but lighter and brighter with the beet and lemon zest. A more classic Middle Eastern take on this spread, lebna bil schwendr, includes yogurt and beet instead of chickpeas and tahini. Serve with crudités, crackers, toasted pita, or as a sandwich spread. Makes 2 cups.
1 large or 2 small beets, about 4 ounces, scrubbed clean
1 cup cooked chickpeas
Zest of one lemon, about 1 tablespoon
Juice of one lemons, 2-3 tablespoons
2 tablespoons tahini
1/8 teaspoon salt
Up to 1/4 cup extra virgin olive oil
1-3 tablespoon(s) water
Fresh ground black pepper to taste (optional)
Cut tops off beets and place into a small saucepan. Cover with water, bring to a boil, and cook until tender, about 15 minutes. Slide skin off of beets while cooling under cold running water. Chop and add to food processor.
Add chickpeas, lemon zest, lemon juice, tahini, salt, and 2 tablespoons olive oil. Blend until smooth. Drizzle in more olive oil and water until desired consistency is reached. Incorporate black pepper to taste. Hummus will keep in the refrigerator for up to one week.
There are many ways to eat this hummus!

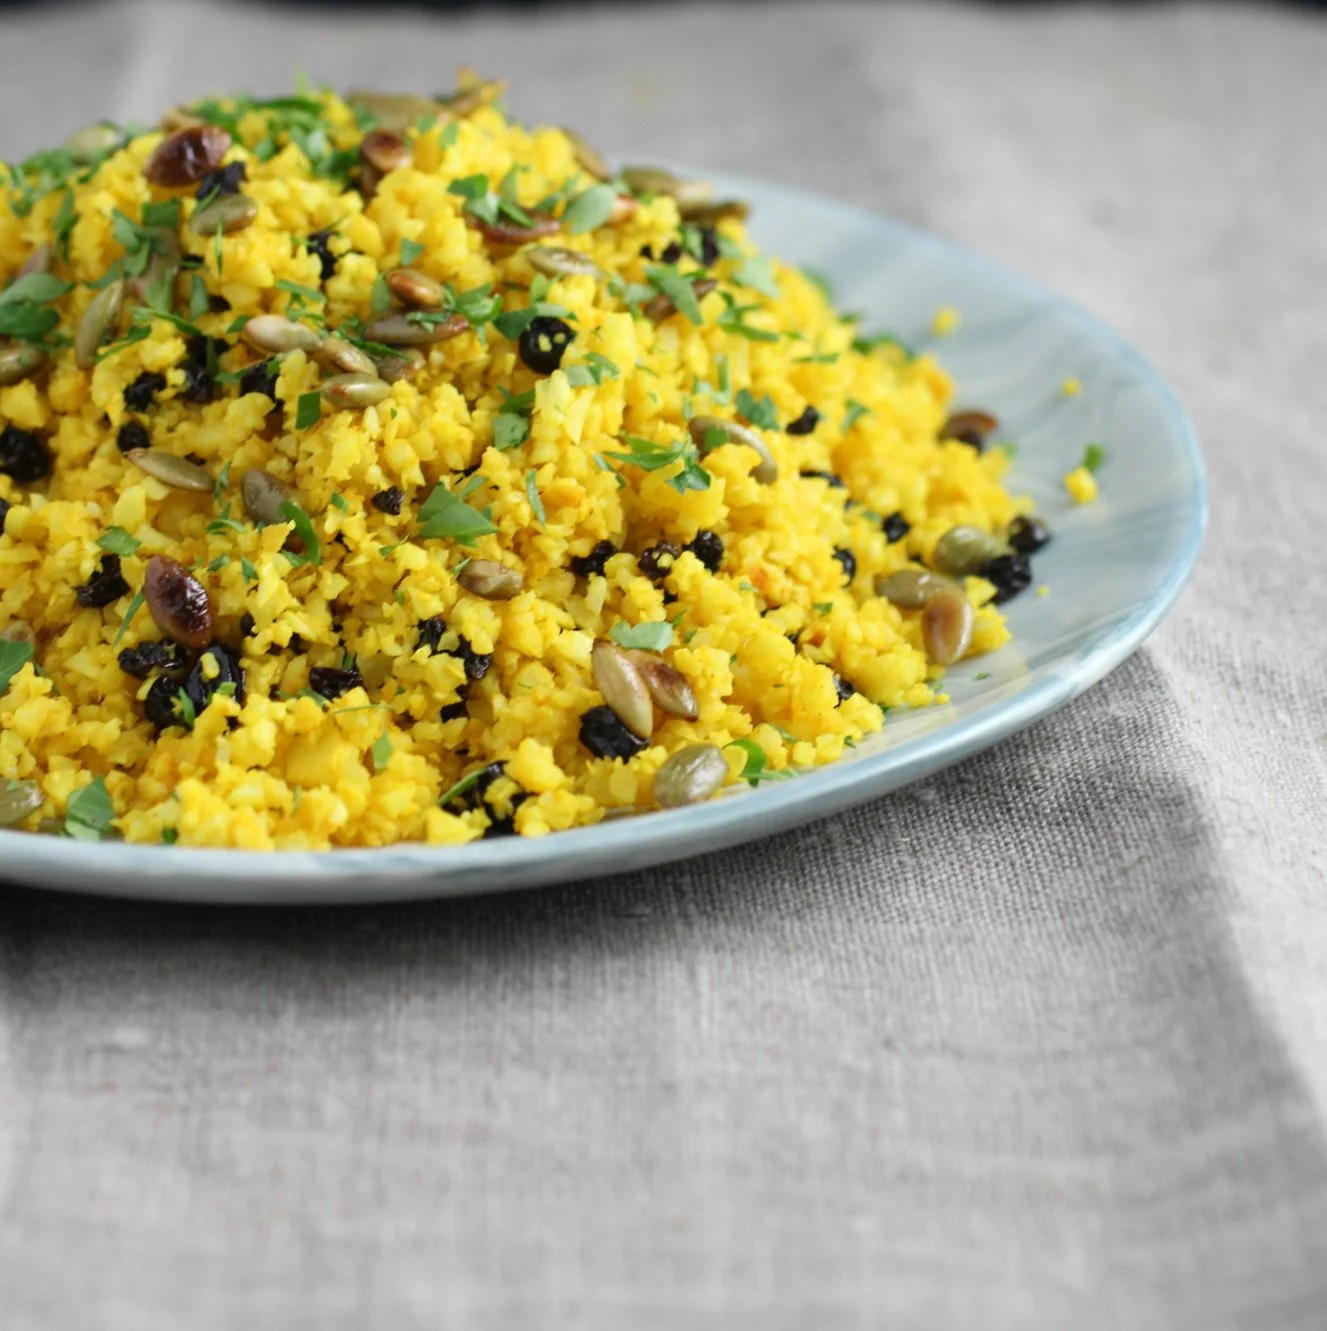
Turmeric-Spiced Cauliflower Couscous
Reinvented craveability.
I'll admit I was a skeptic when cauliflower rice came on the scene - it often feels unnecessary to mess with a good thing and I am certainly not "carbaphobic". As much as I love cauliflower (and I do love it so), even I'll admit I can overdo it with cruciferous vegetables occasionally (ever tried kohlrabi ice cream? definite skippable). I am, however, a big fan of deliciousness and vegetables and when these worlds collide my meal is complete, which is exactly what happens when cauliflower is pulverized into small bits, seasoned well, and served as a grain. In this case, I call it couscous because the flavoring is in the "couscous genre", one could easily call it rice, as it's the same process. Apart from being delicious and satisfyingly high fiber and phytonutrients, what's great about making cauliflower into a grain is that you don't even need the whole floret. If you have leftover cauliflower stems from another dish they can easily be tossed into the food processor and turned into rice!
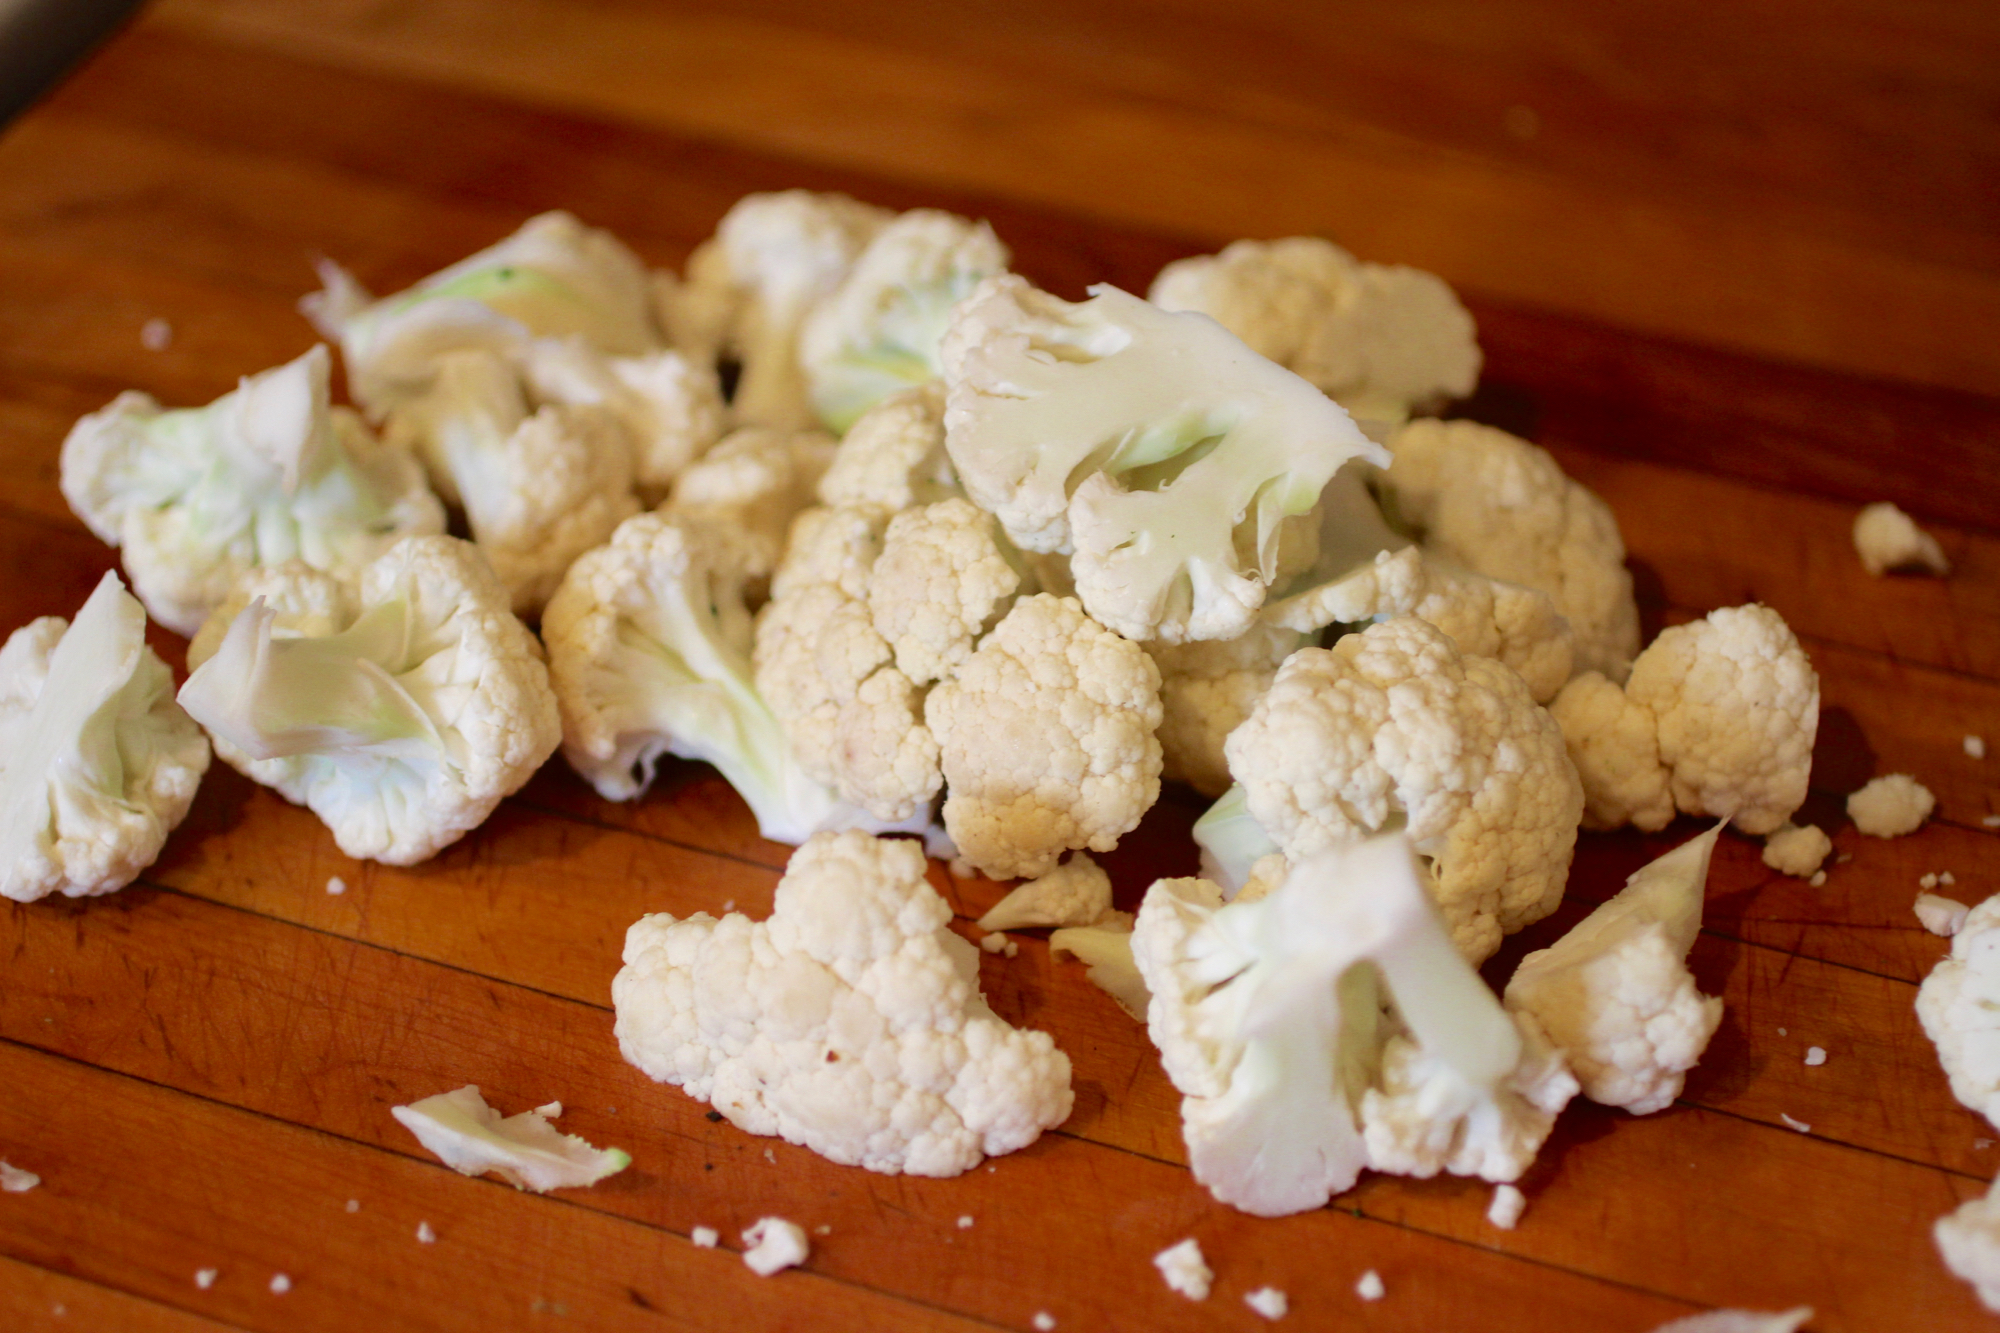
Stems and cores can be used in addition to or in place of florets.
This recipe calls for heating the cauliflower after pulsing in the food processor, but it can also be served raw for a crunchier texture and application, such as chilled cauliflower tabouli salad. Additionally, although the flavor and color of turmeric is hard to ignore, cauliflower rice or couscous is also nice simply seasoned if paired with a dish that is flavorful, such as slow cooked spicy garbanzo beans or an eggplant tagine. When it comes down to it, cauliflower rice/couscous is incredibly versatile similar to...regular rice or couscous! Serves 4.
1 large head cauliflower (about 2 pounds, stems and/or florets can be used)
1 tablespoon olive oil
2 teaspoons turmeric
1/4 teaspoon salt
1/2 cup currants (optional)
2 tablespoons toasted pumpkin seeds
Chopped parsley, for garnish
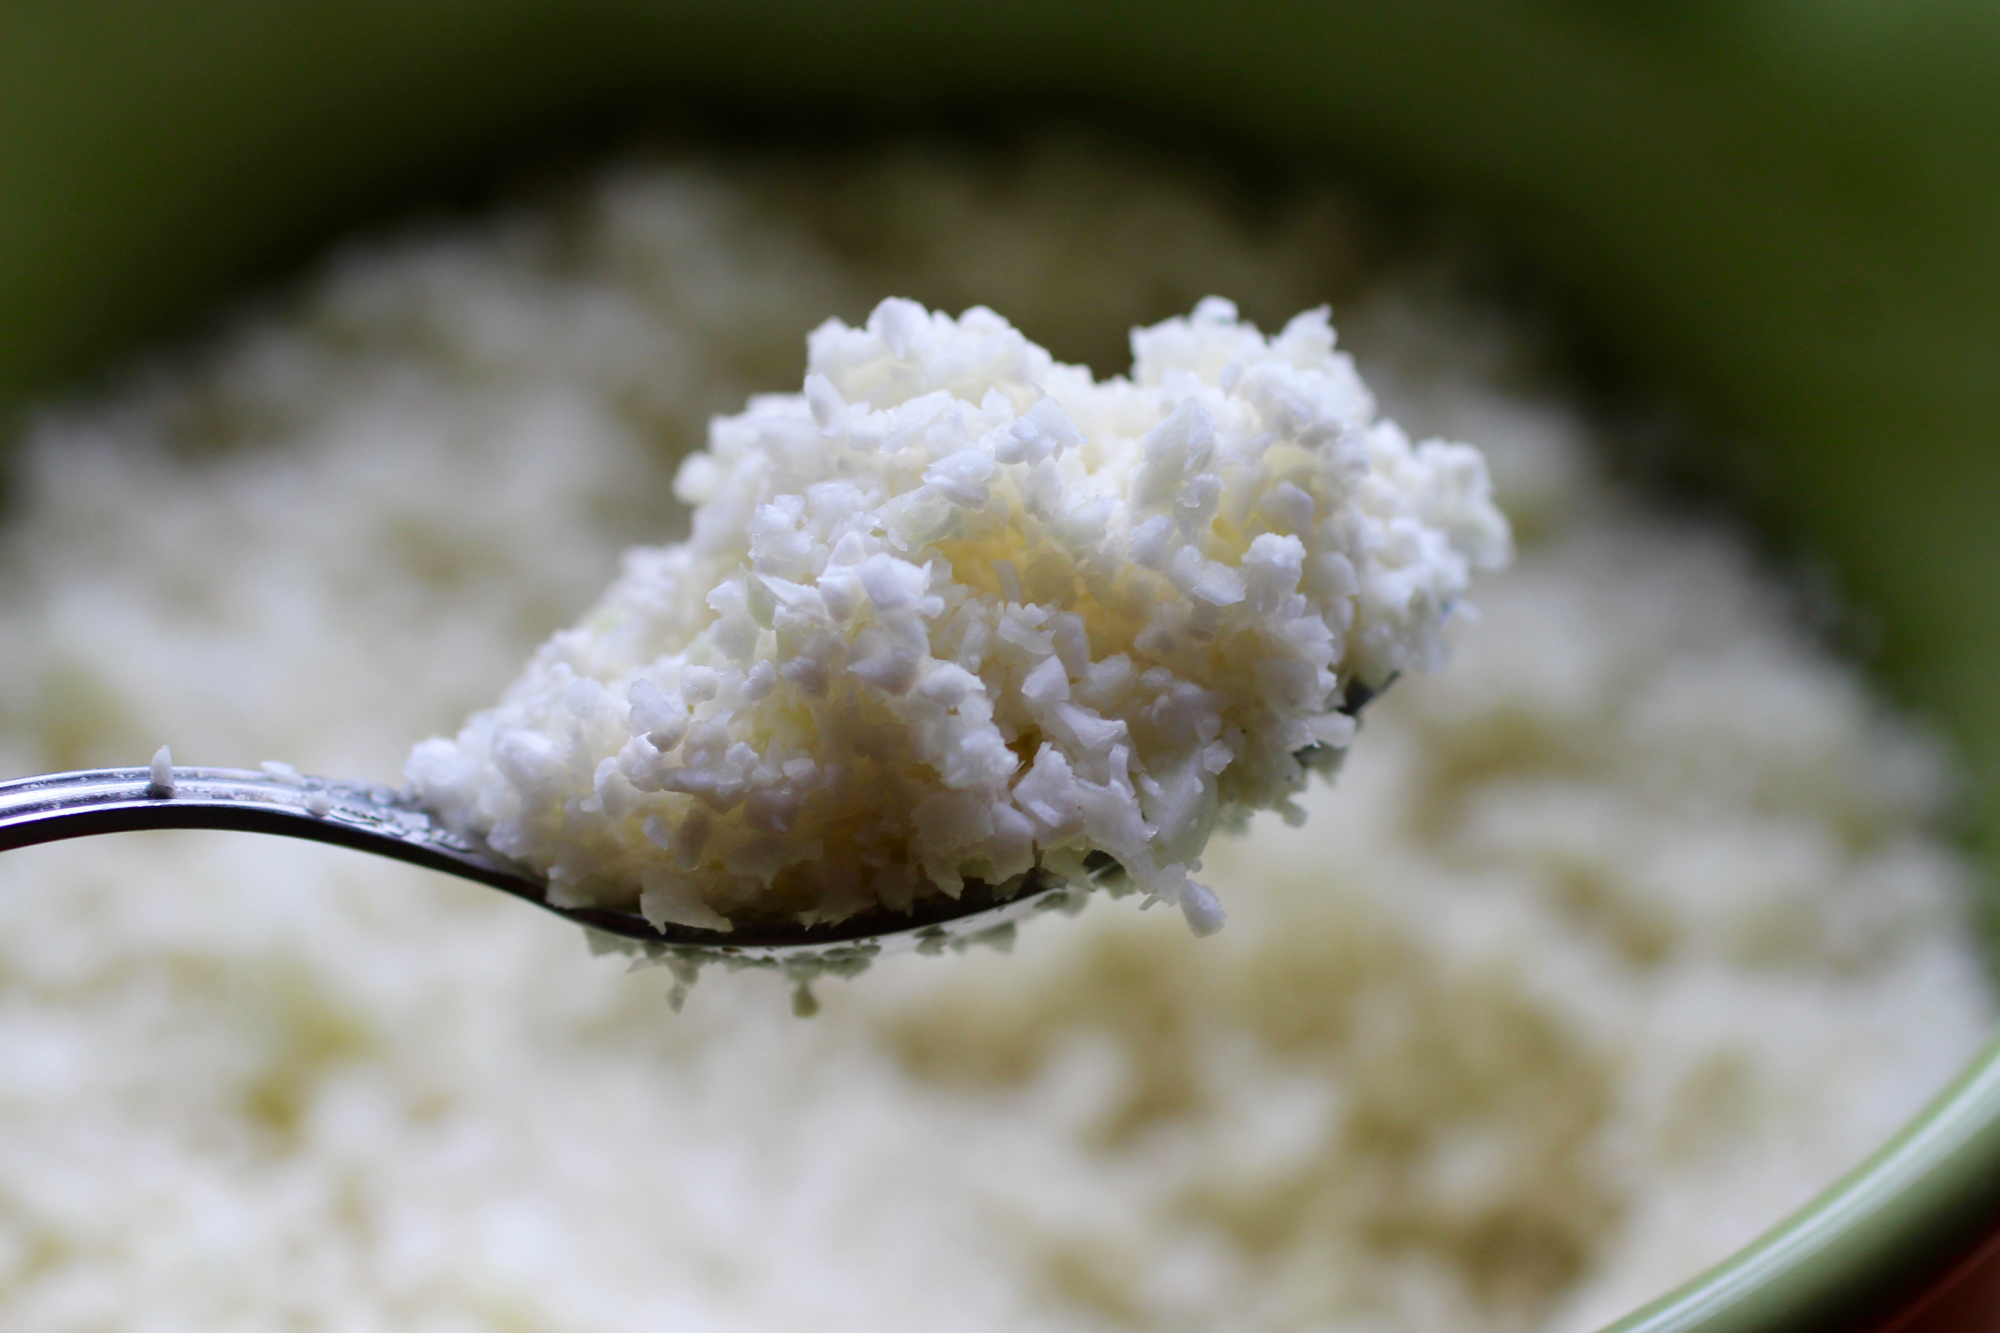
Process cauliflower until it resembles grain.
Cut and/or pull apart cauliflower into large florets and chop core/stem into smaller pieces. If you have leftover cauliflower core/stems from another application, they can be pulverized and used as well.
Using a food processor, pulse the cauliflower until broken down into couscous-sized pieces, processing in two batches if needed. As cauliflower is processed, remove any large pieces that are not broken down, set them aside, and pulse separately. If you do not have a food processor, you can grate the cauliflower into couscous-sized pieces using the large holes on a box grater.
Heat olive oil in a skillet with a lid on medium heat*. Stir in cauliflower, cover, and cook for 6-7 minutes, until desired softness is reached, stirring occasionally. Add turmeric, salt, and optional currants then stir to combine. Serve hot garnished with pumpkin seeds and chopped parsley.
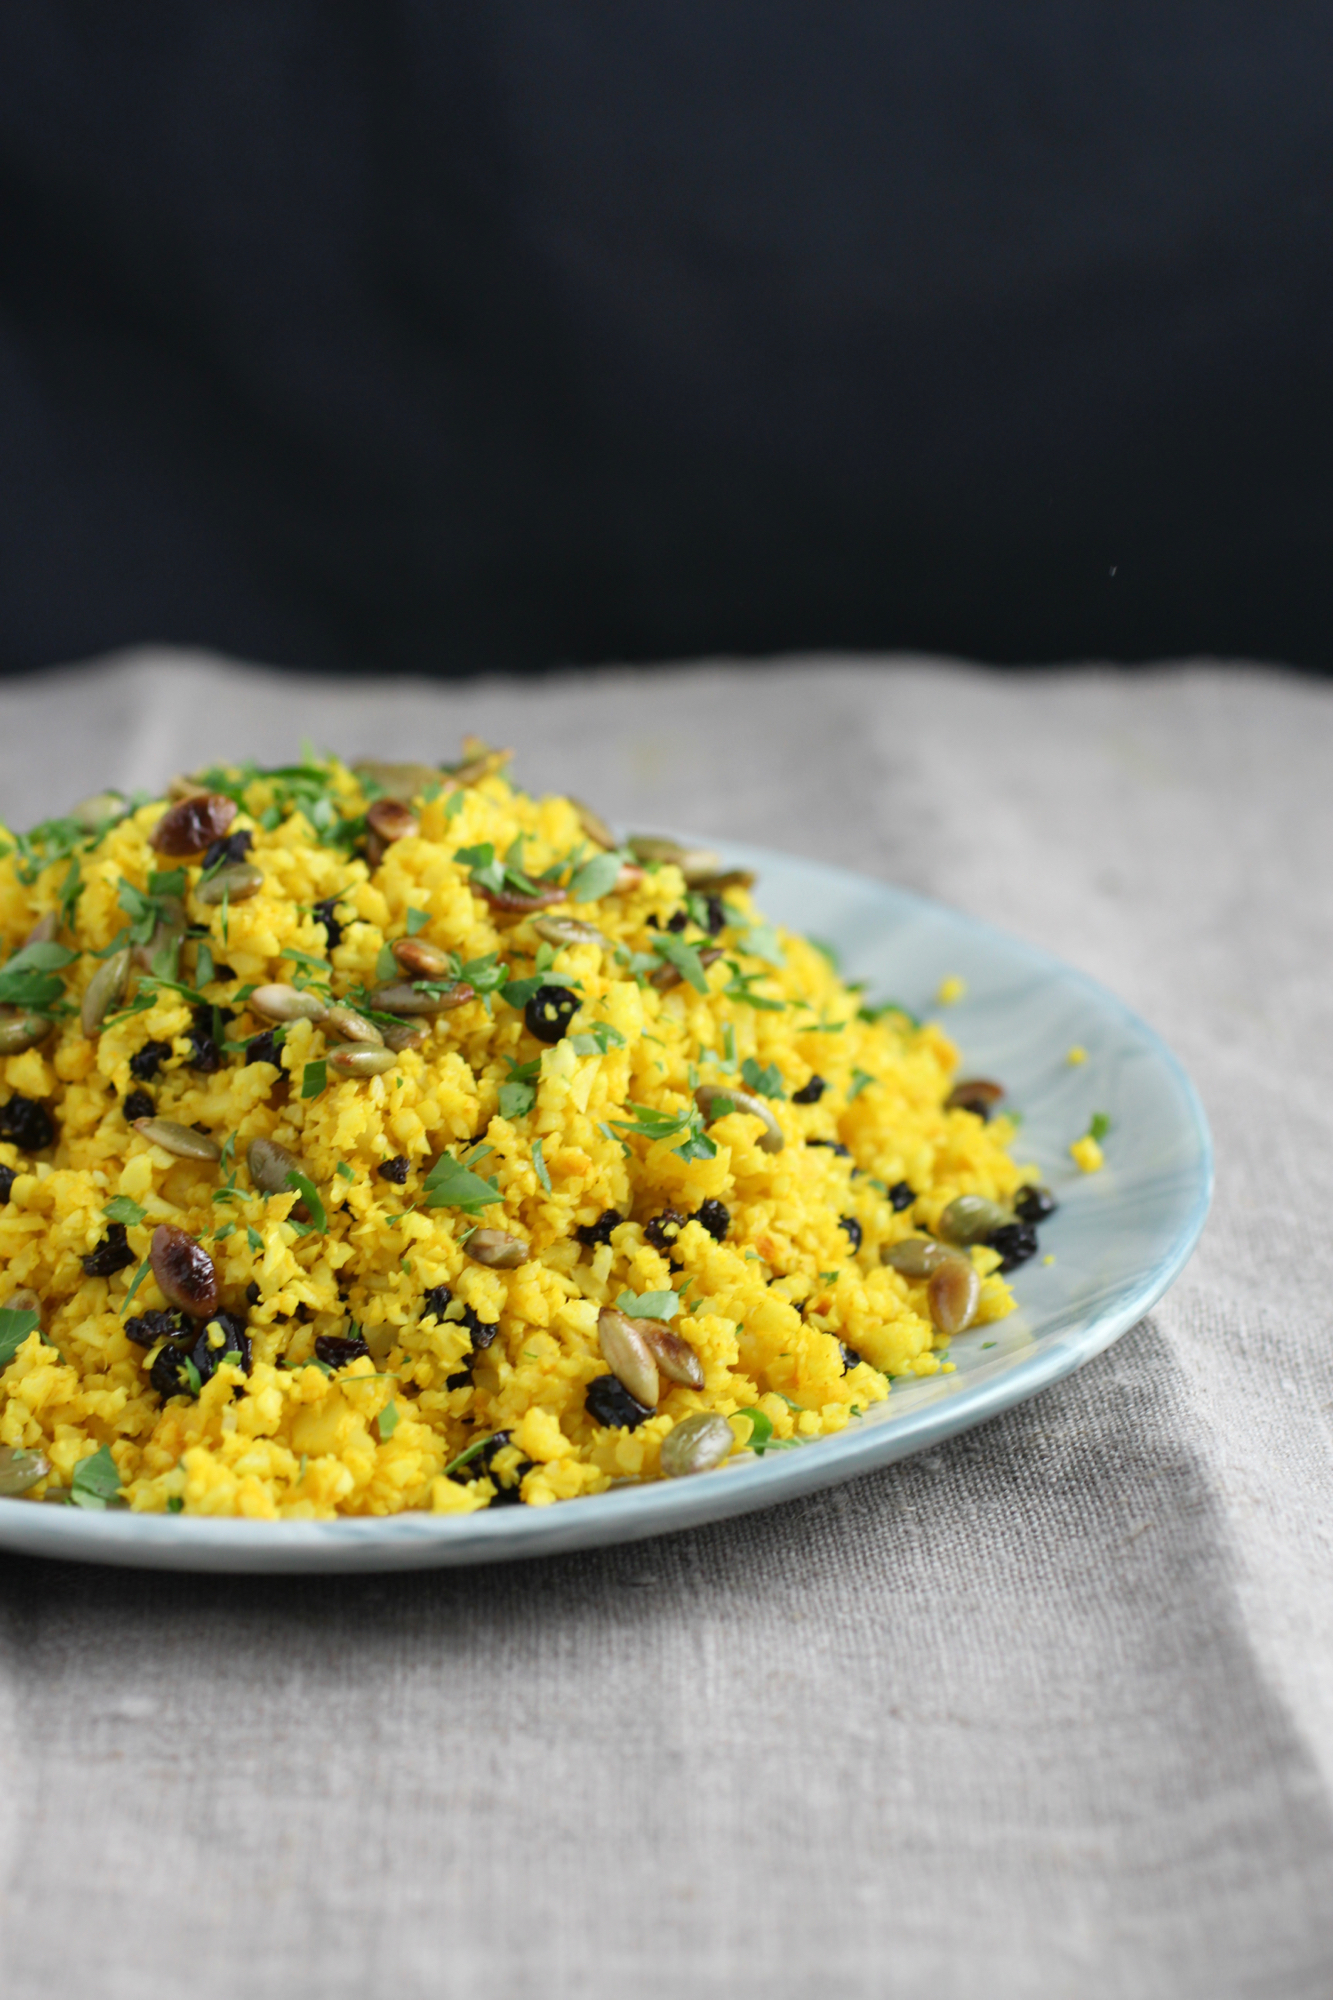
Delicious reinvented side dish or main when paired with sautéed garbanzo beans or grilled lamb.

Radish Greens Chimichurri
Don't toss those greens, transform them into a flavorful sauce that works with pretty much anything!

Do you have "radish greens remorse" every time you toss out delicious looking radish tops? Good news - it doesn't have to be this way! The green leafy tops of radishes and many other vegetables such as turnips, beets, and daikon are perfectly edible and delicious. You can use them as you would other green leafy vegetables, though radish greens in particular can be a little fuzzy and benefit from a bit of processing such as chopping, blending, sautéing, or the addition of an acid.
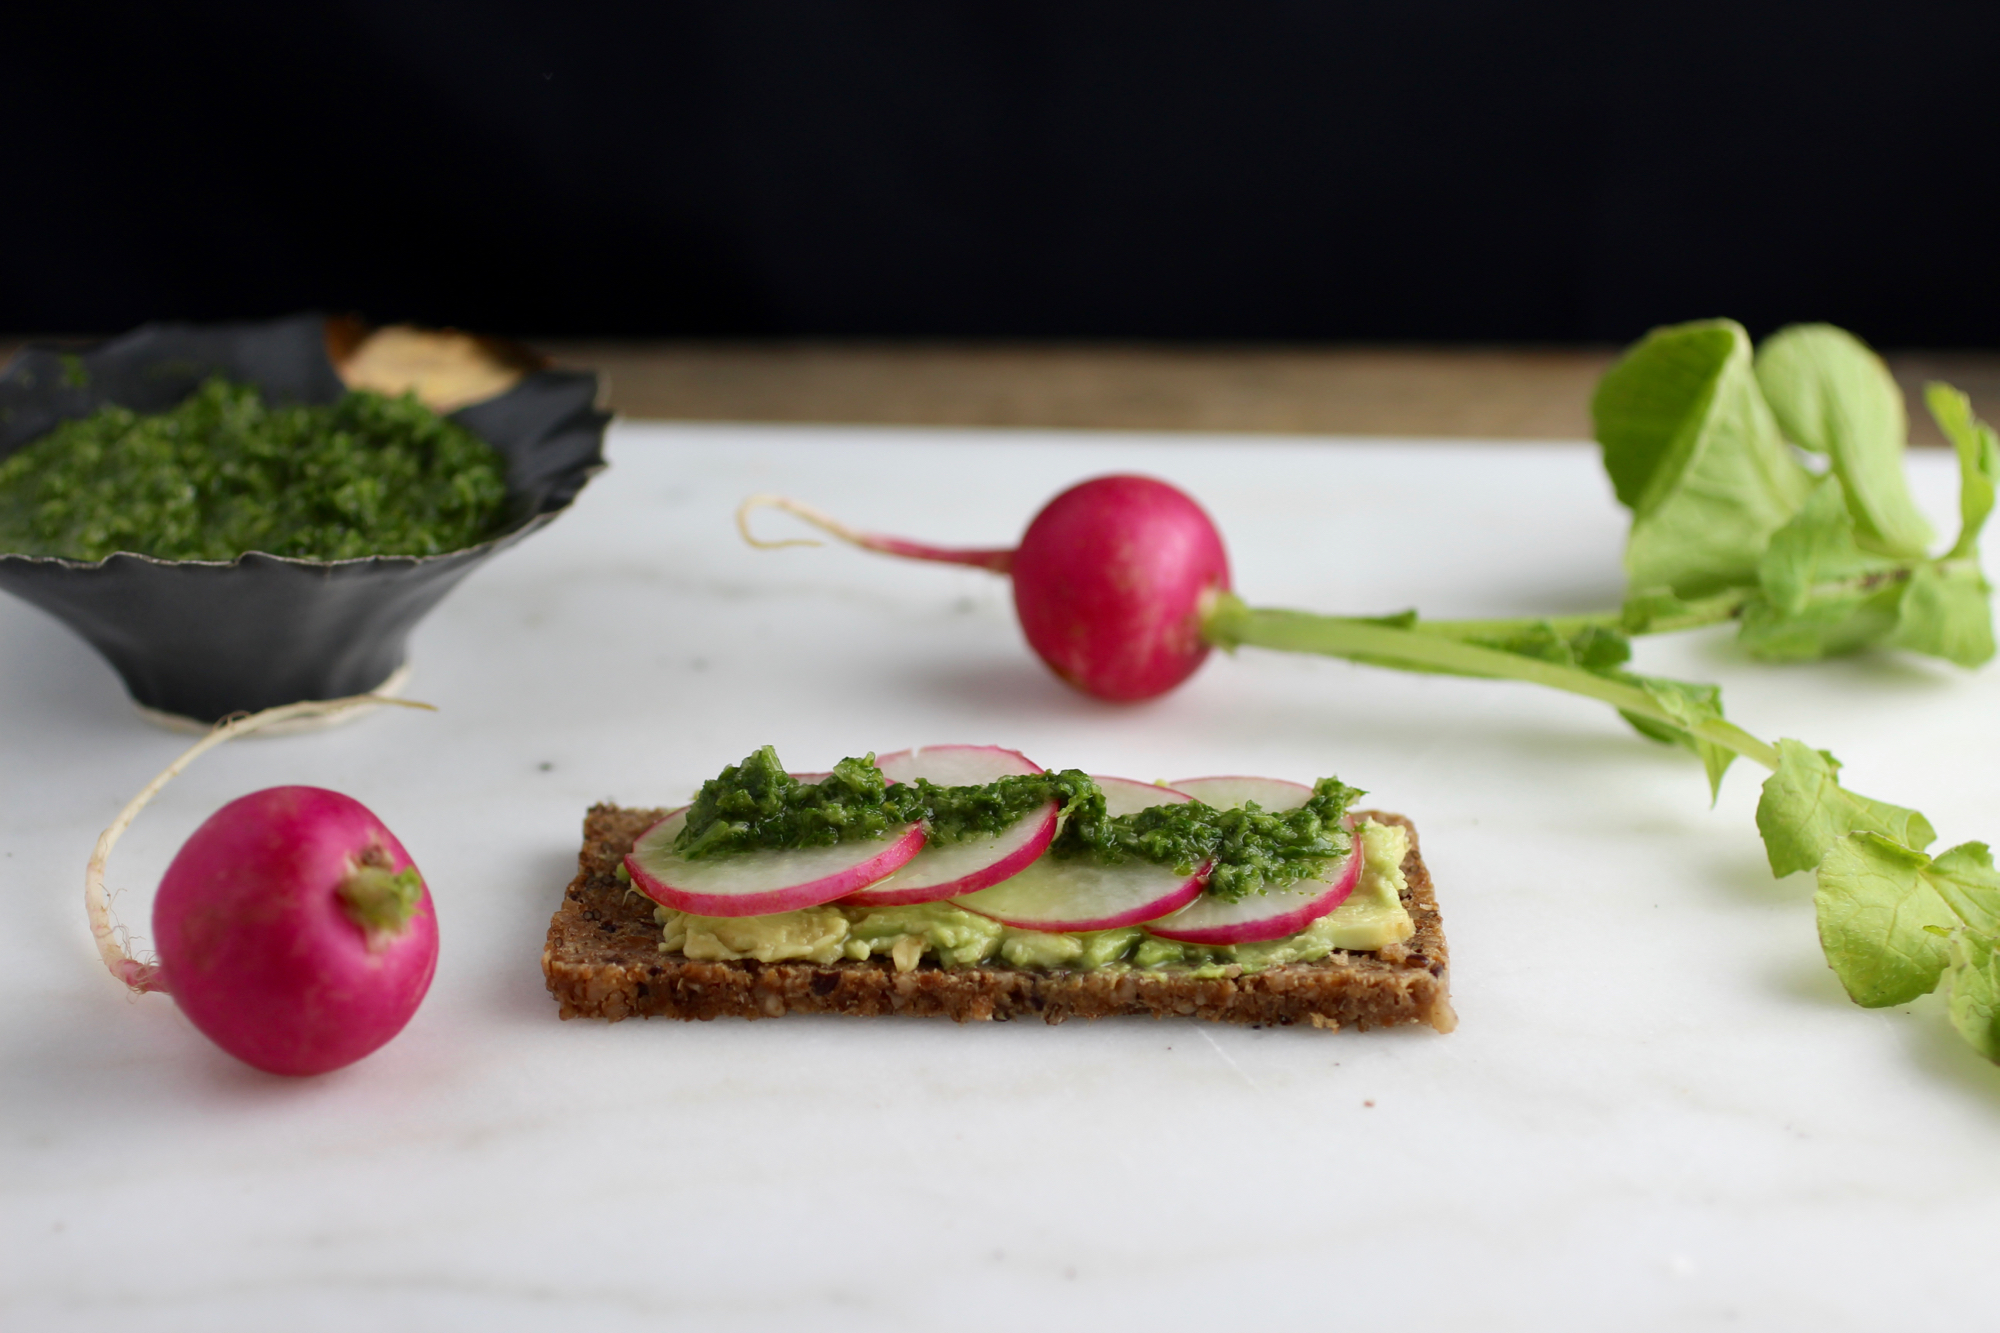
Eating "root to leaves" with sliced radish, avocado, and radish greens chimichurri rye toast.
There are a lot of different words for somewhat similar green sauces: chimichurri, salsa verde, gremolata, chermoula... and at first I deliberated over what to call this particular green sauce. I settled on "chimichurri", as it has a similar combination of vinegar, garlic, and green that you find in traditional chimichurri, just with radish tops in place of parsley and oregano. This sauce can be made with pretty much any edible green that would otherwise be discarded, even wild greens such as dandelion or plantain! It can also be adapted in numerous ways - try adding cilantro or tarragon for more bright herbaceous notes or increase the garlic if that's your jam. The sauce works great on almost anything from grilled vegetables and meat to white beans or breakfast tacos. Really, every time I make it, I end up adding it to all my meals for a few days. You can also eat "root to leaves" by topping a sliced radish and avocado rye toast with a drizzle! Recipe makes 2/3 cup.
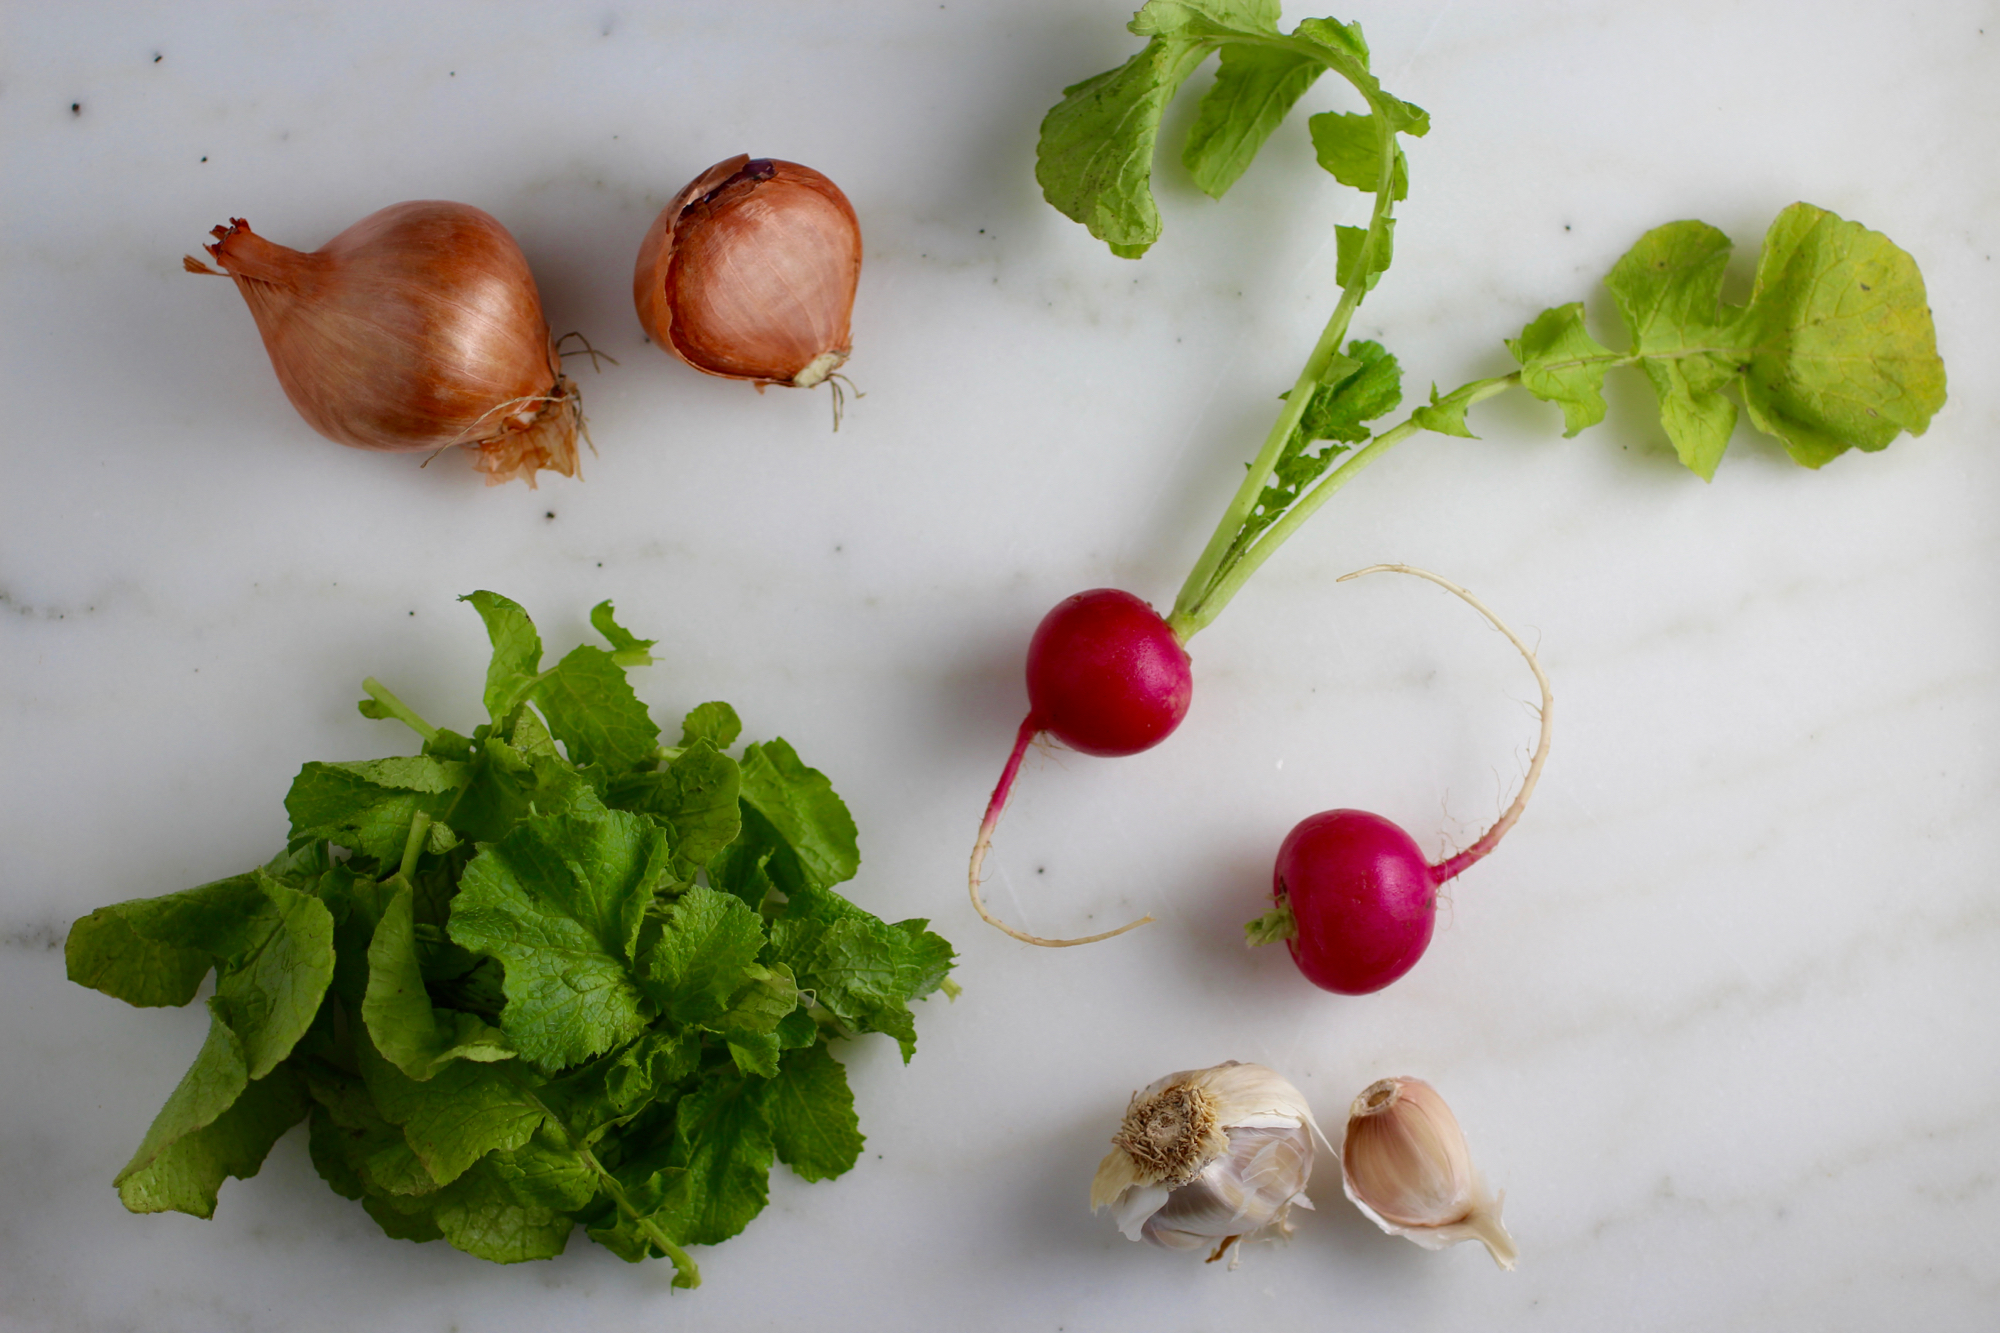
Don't toss those beautiful radish greens!
2-3 (loosely packed) cups chopped radish greens, washed
1 medium shallot bulb, chopped
1 clove garlic, chopped
3 tablespoons rice vinegar
Pinch salt
2 teaspoons olive oil
Heat about 1/2 cup water in small saucepan until simmering. Add radish greens, toss to coat, and cook until softened and dark green (about 30 seconds).
Remove greens and squeeze out excess water. Using an immersion blender or food processor, blend greens with shallots, garlic, rice vinegar, salt, and olive oil until combined, but still coarse. Drain excess liquid if needed and keep chilled up to 4 days until use.