
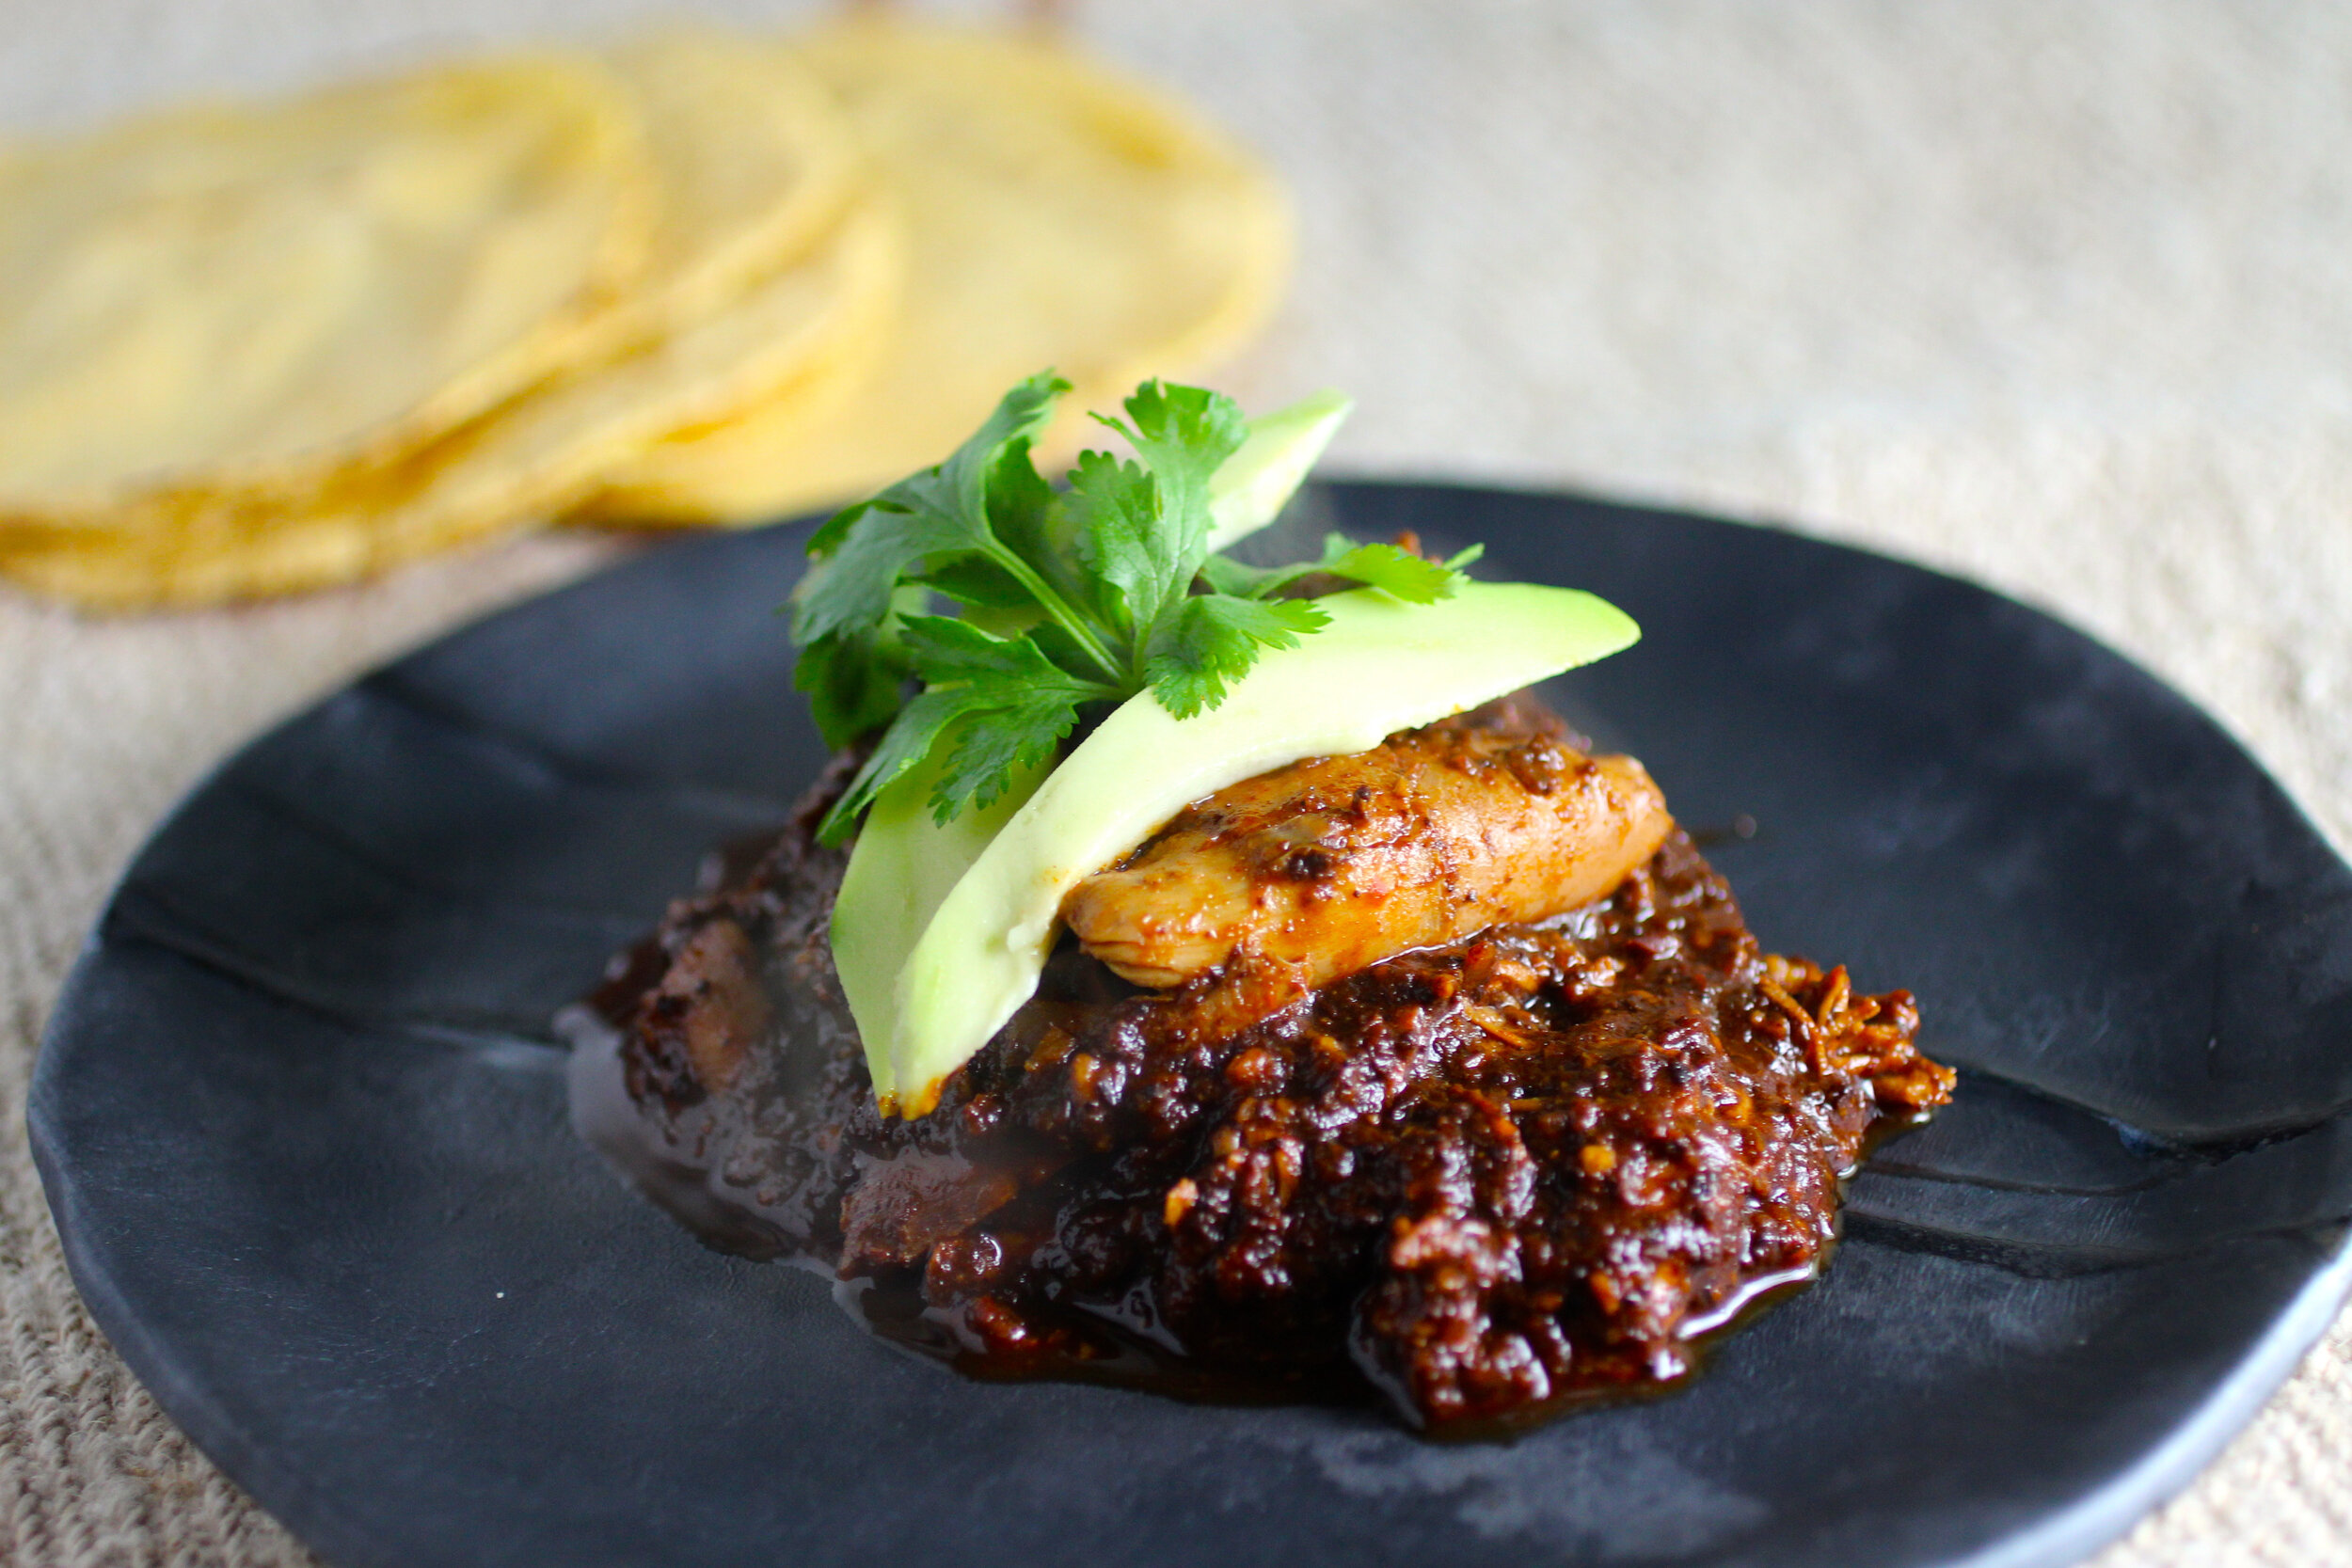
Bay Nut Mole Negro
Foraged bay nuts give the chocolate-coffee flavor you're looking for in a mole.

Most mole recipes leave me feeling overwhelmed and in a too-many-ingredients comatose. This one, although it does take about 2 hours to prepare, it a lot more approachable and some of that time is inactive, which means you can spend it on your other side dishes. Yes, this recipe is likely not as complex as others you may find, but even just with two chiles and some other key ingredients, you can create a delicious and robust mole negro.
“As bay nuts do not contain sugar or cinnamon, I added a little of each. If you don’t have bay nuts, replace them with mexican chocolate (such as Ibarra) and skip the brown sugar and cinnamon. ”
Also unique to this mole is that instead of the traditional chocolate, I chose to use bay nuts. Bay nuts are a foraged find from the bay laurel tree (more on bay nuts and foraging here). The bay nut is a member of the avocado family that, when roasted, becomes akin to a combination of chocolate and coffee - ideal for mole. Recipe serves 6.
2.5 pounds skinless chicken thighs and/or legs
~1-2 teaspoons salt
2 tablespoons grapeseed (or other neutral flavored oil), divided
1.5 cups low sodium chicken broth
Juice and zest from 2 blood oranges
2 cinnamon sticks
1 yellow onion, chopped
1/4 cup almonds, chopped
3 large garlic cloves, diced
2 teaspoons cumin seeds
2 teaspoons coriander seeds
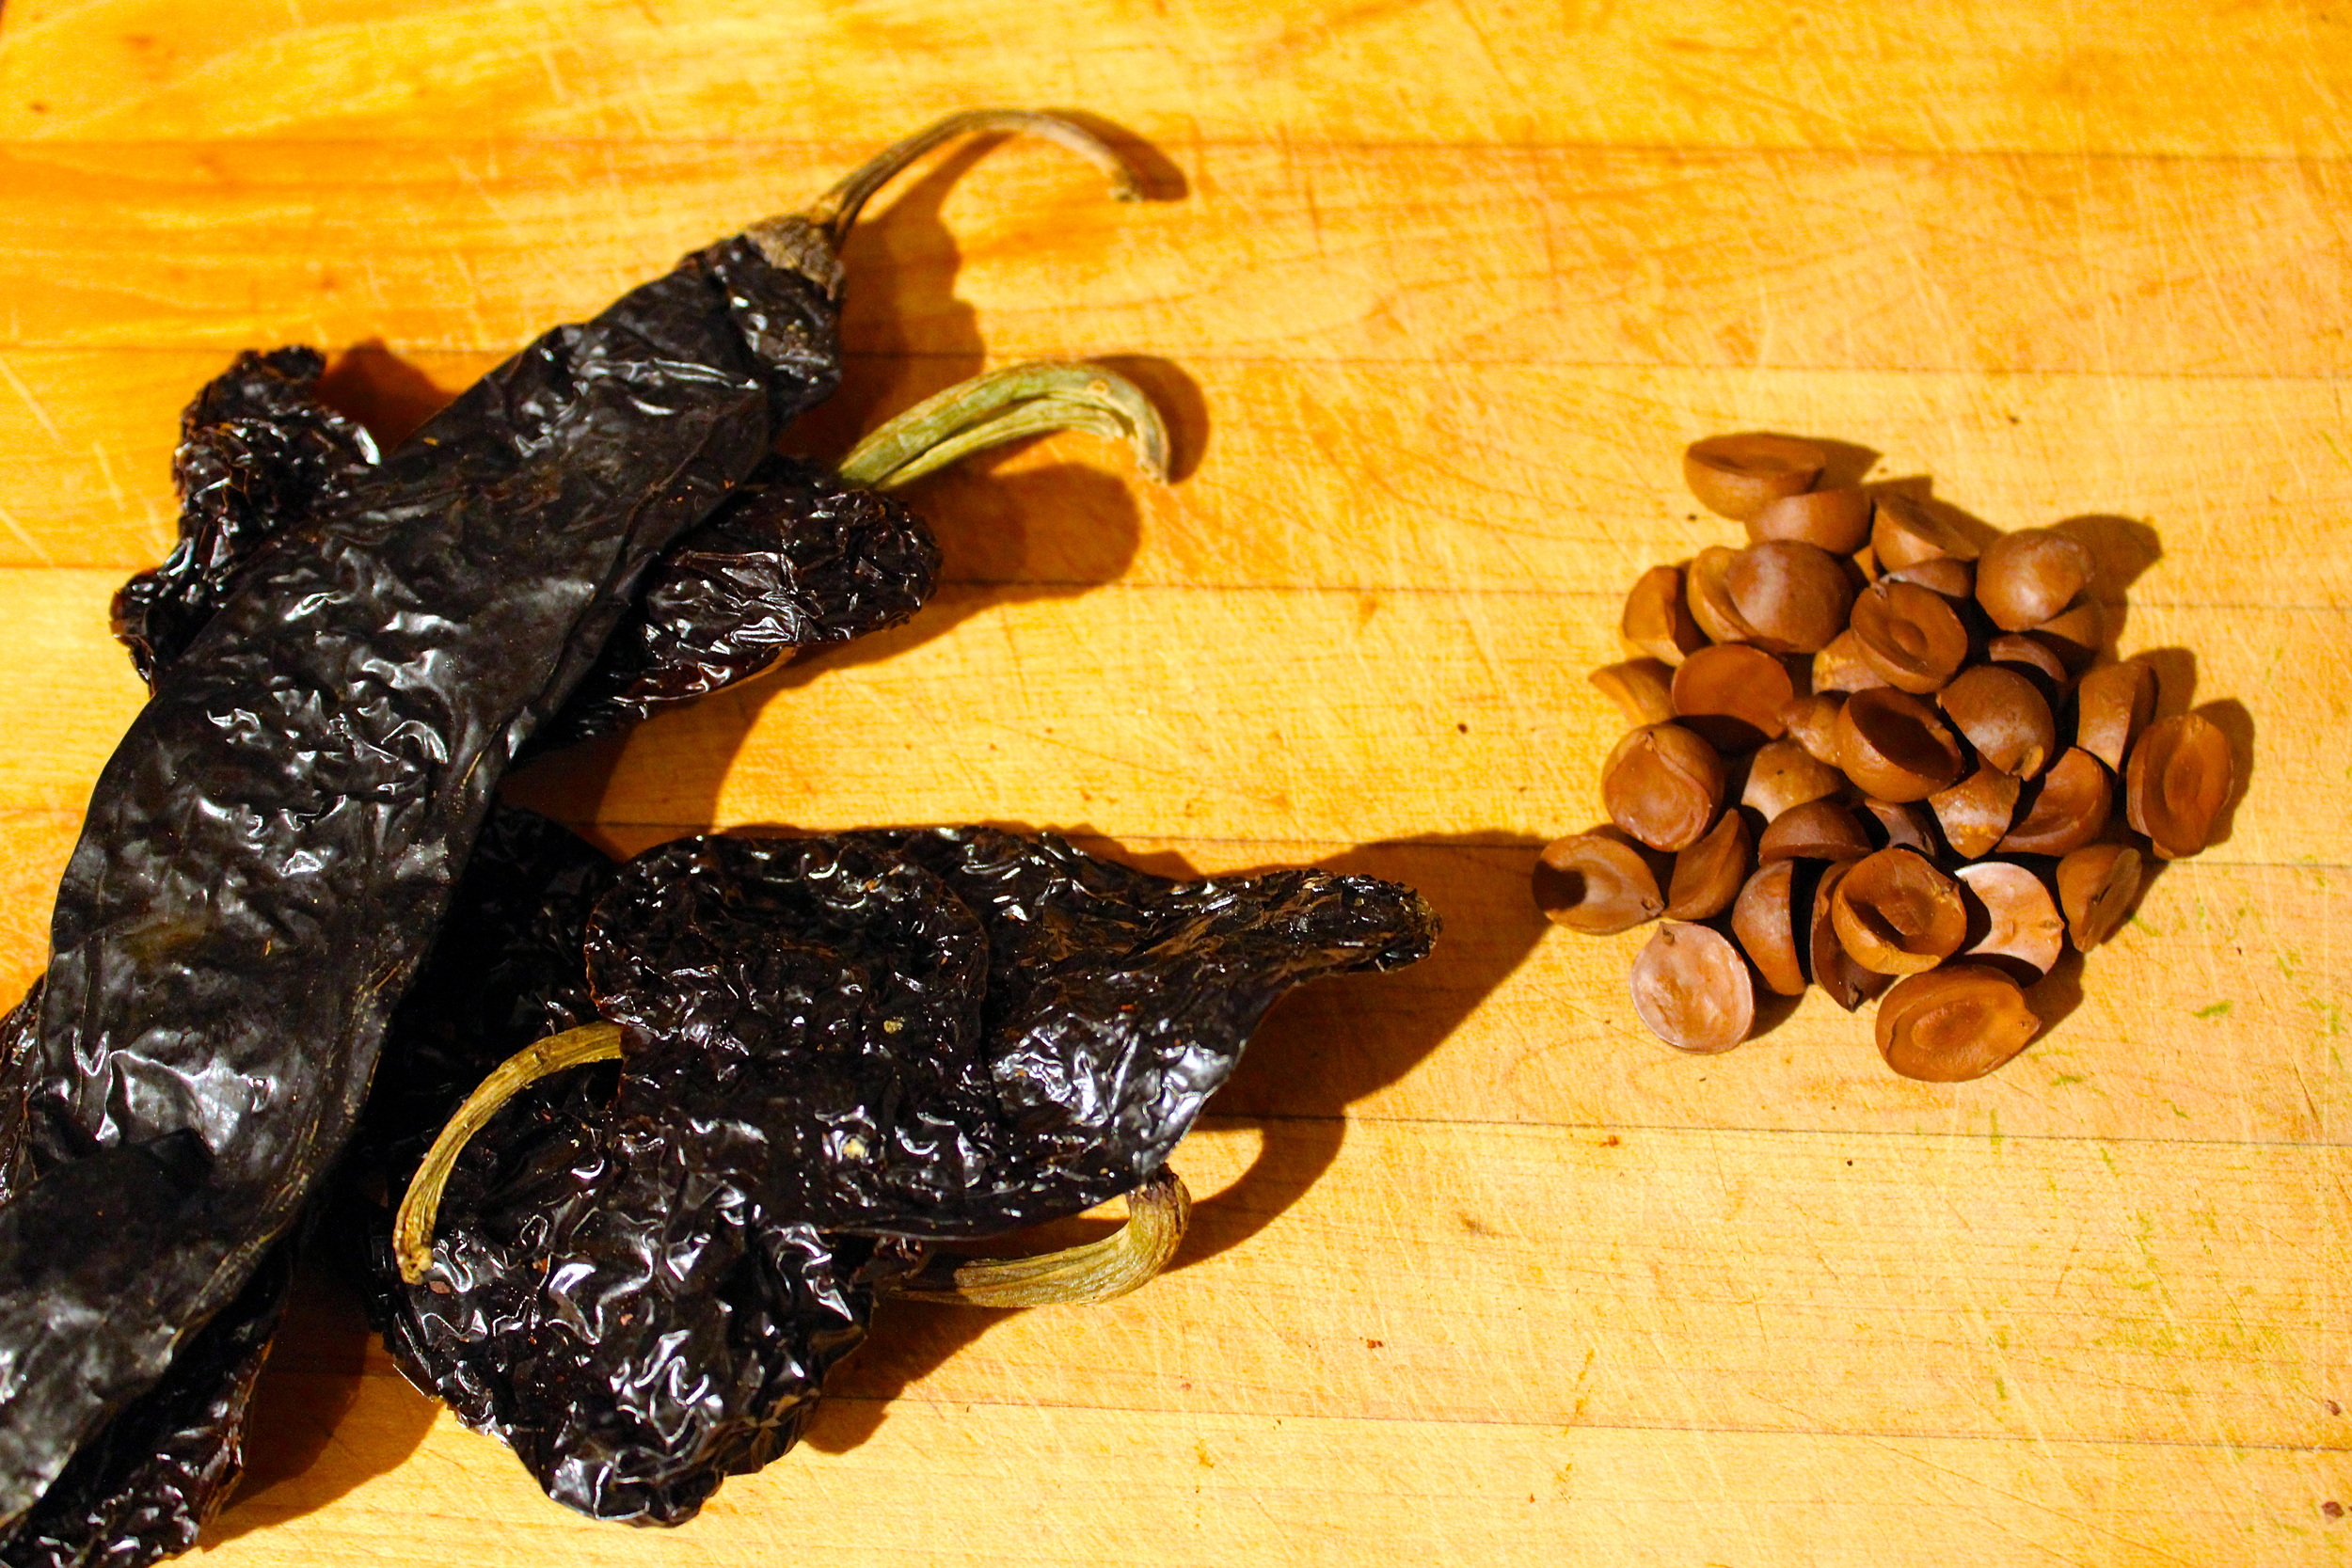
1.5 ounces dried pasilla chiles, stemmed, seeded, and torn into strips
0.5 ounces dried negro chiles, stemmed, seeded, torn into strips
3 prunes, chopped
1 teaspoon dried oregano
2 ounces roasted bay nuts, chopped (mexican chocolate can be substituted for bay nuts, brown sugar, and cinnamon)
1 tablespoon brown sugar
Chopped fresh cilantro, queso fresco, avocado, and corn tortillas (to serve)
Rub chicken all over with salt. Heat 1 tablespoon oil in large pot (I use my large Le Creuset pot) over medium-high heat. Brown chicken on both sides, about 3 minutes per side.
Add broth, blood orange juice, and cinnamon sticks then bring to a boil. Reduce heat to medium-low; cover and simmer until chicken is tender and just cooked through, about 25 minutes.
Meanwhile, heat remaining 1 tablespoon oil in large saucepan over medium heat. Add onions and garlic and sauté until softened and beginning to caramelize, about 10-12 minutes, stirring occasionally. Add almonds, cumin, coriander, and chiles. Reduce heat to medium-low and cook while stirring until chiles soften, about 4 minutes.
Using tongs, transfer chicken from pot to large bowl. Pour chicken cooking liquid into saucepan with onion-chile mixture (reserve pot). Add blood orange zest, prunes, oregano, bay nuts, and brown sugar to saucepan. Cover and simmer until chiles are very soft, stirring occasionally, about 30 minutes. Remove cinnamon sticks and discard.
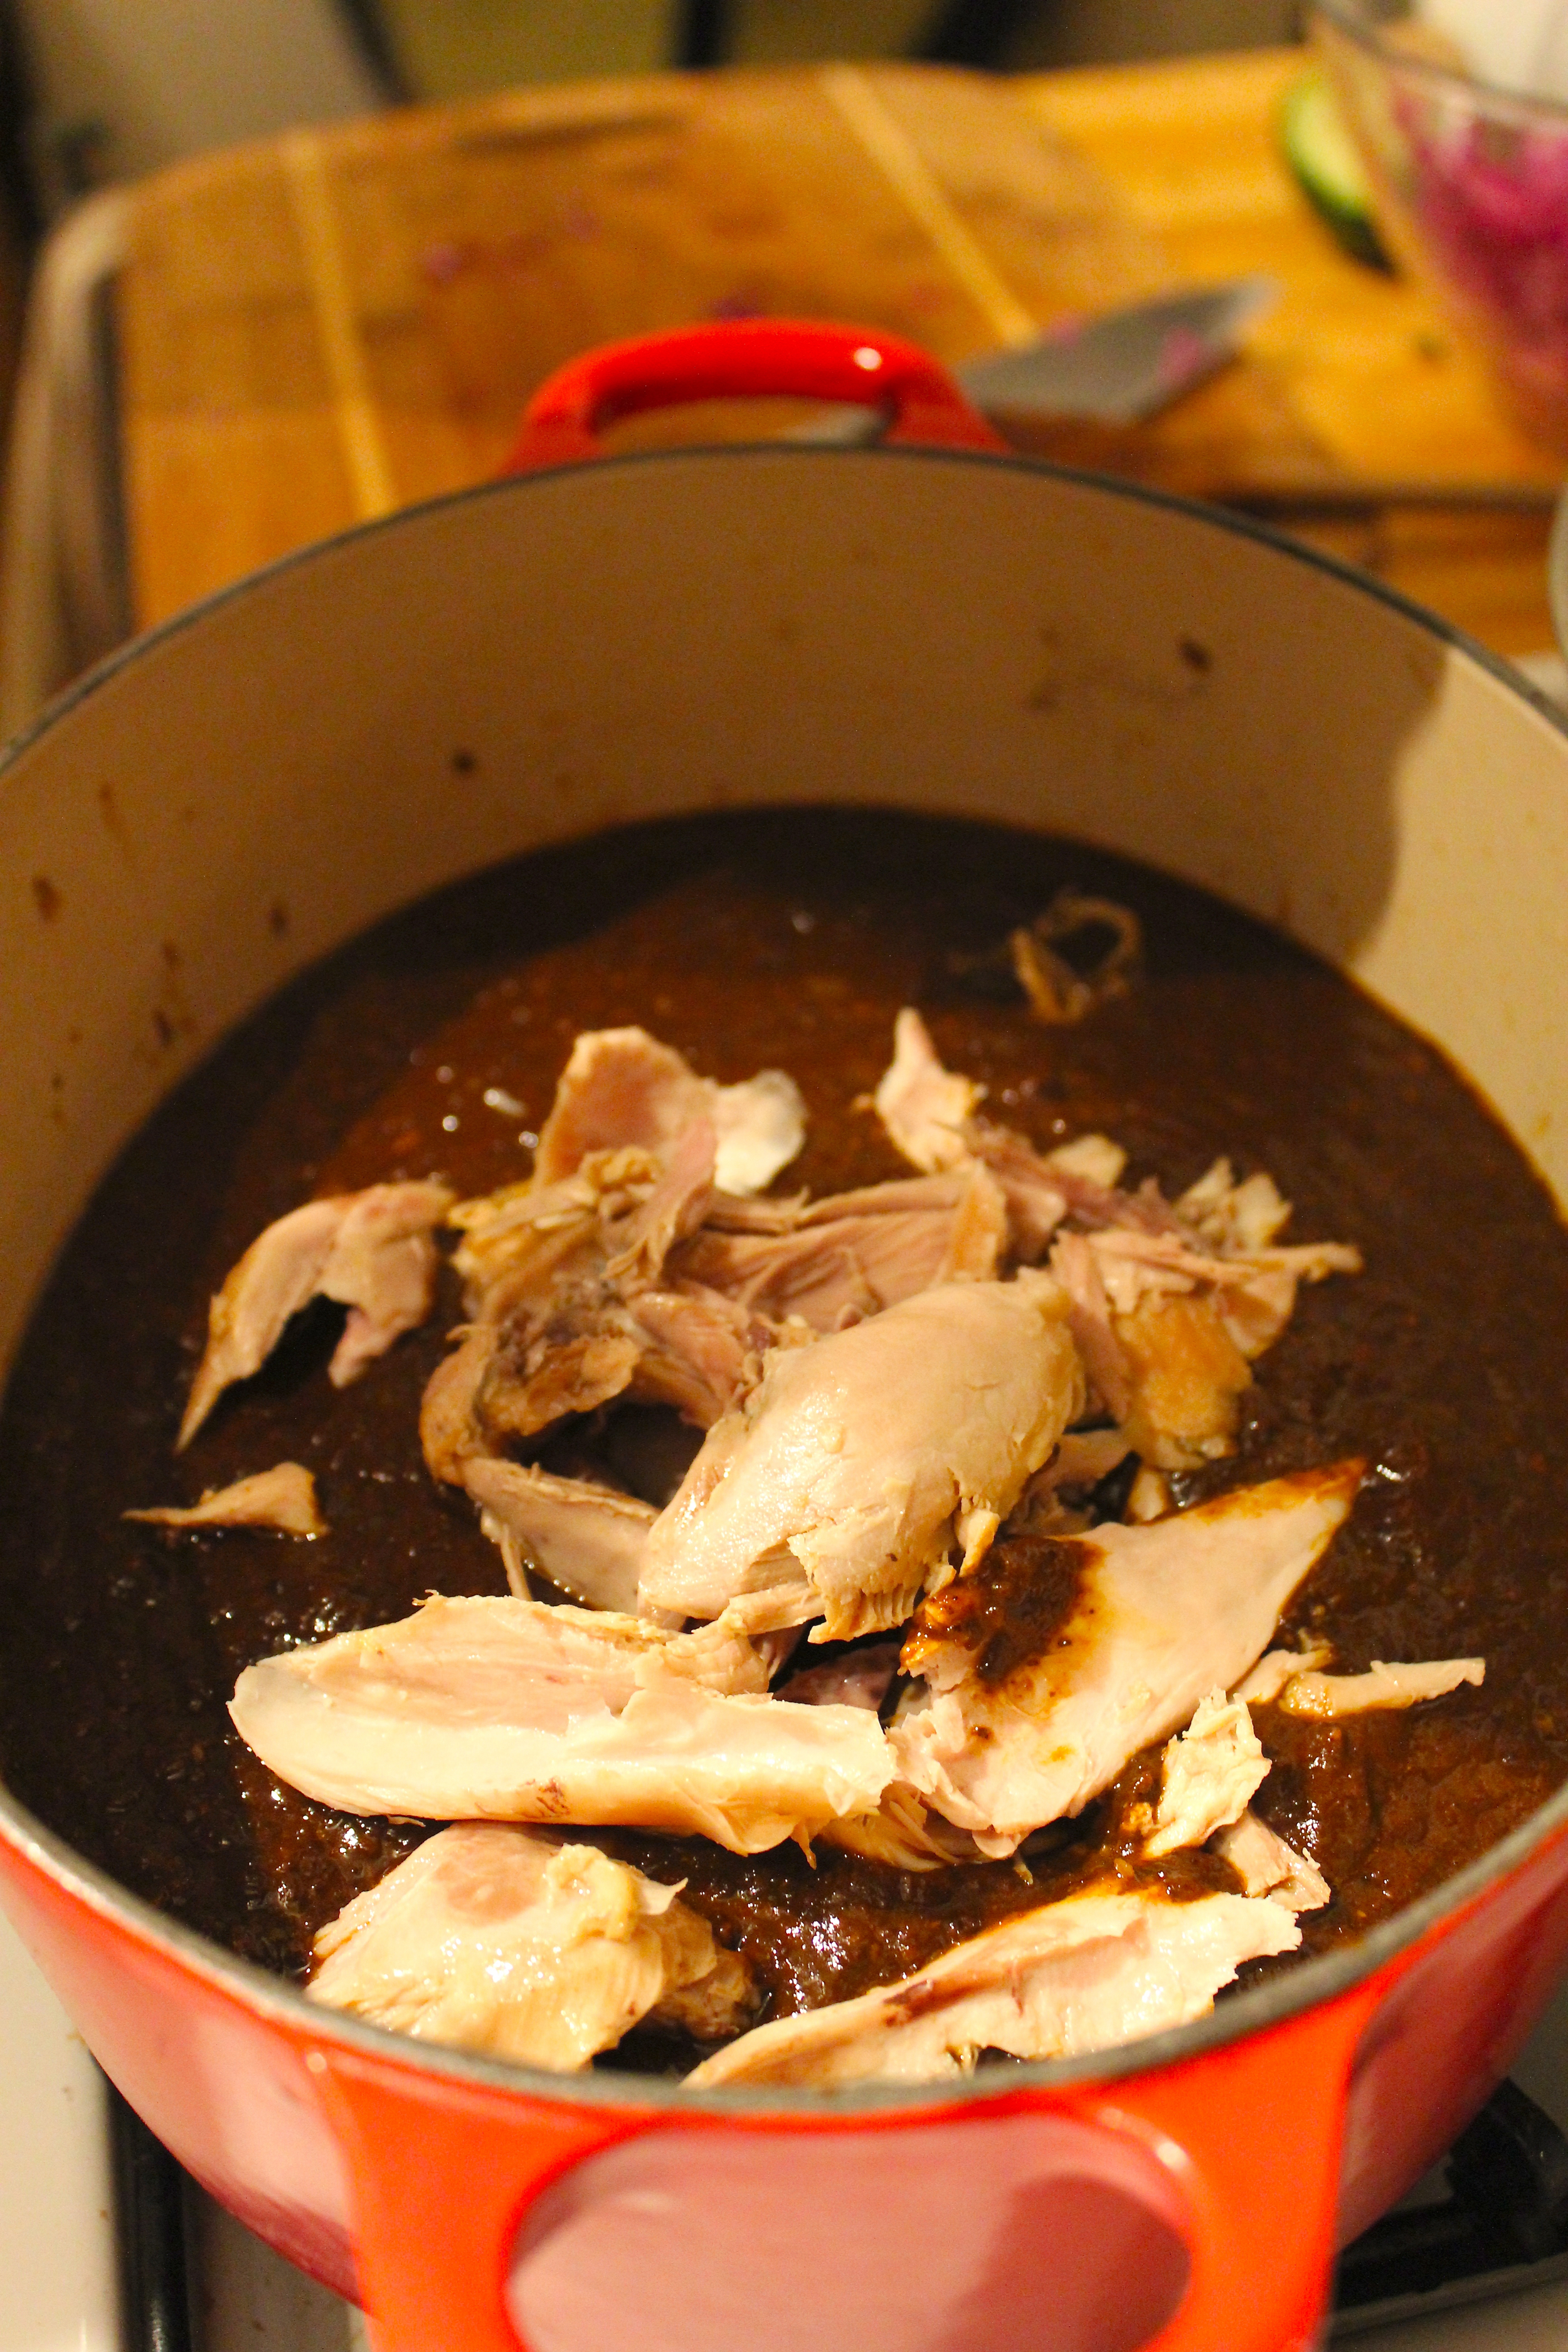
Transfer sauce mixture to food processor or blender and purée until smooth; return to reserved pot. Season sauce to taste with salt. Coarsely shred chicken and return to sauce; stir to coat and re-heat chicken.
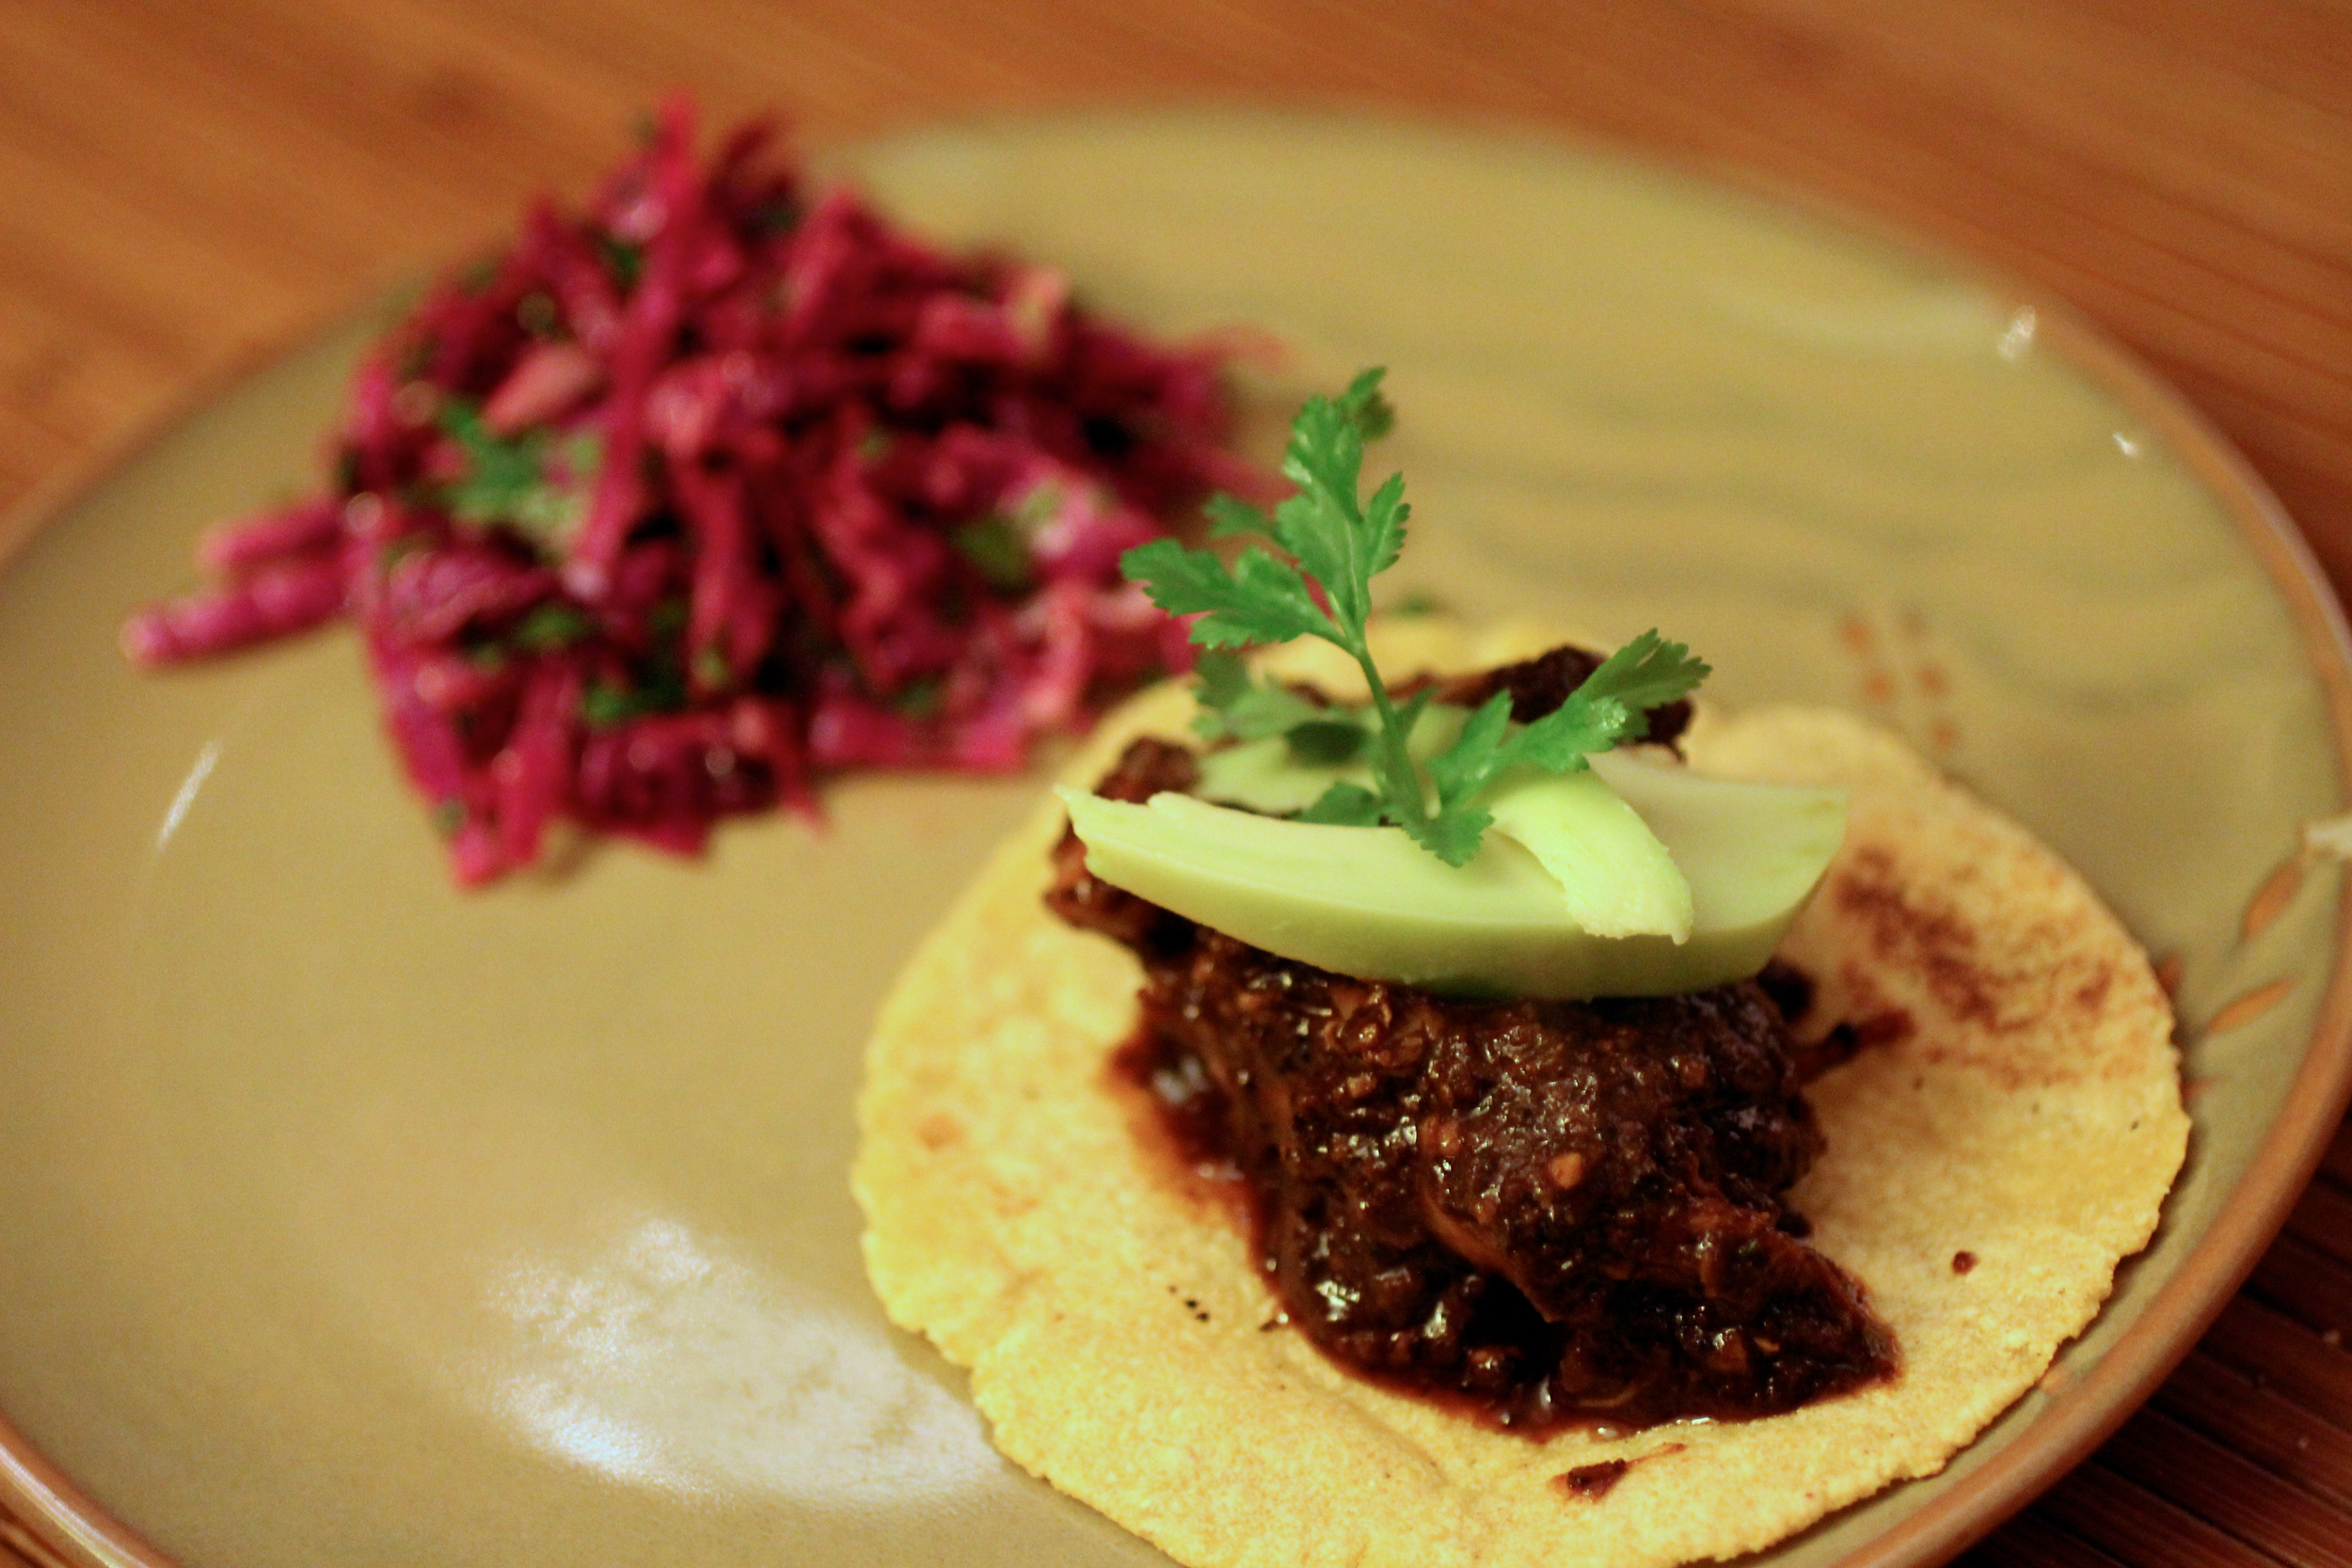
Serve topped with cilantro springs, avocado, corn tortillas, and queso fresco (if desired).
Pair with: Vinegary red cabbage slaw (the vinegar is a great contrast to the dark, rich mole), roasted delicata or butternut squash.

Buckwheat Hazelnut Shortbread

Shortbread is called short bread because it is very high in fat, which gets in the way of gluten development, thus "shortening" the gluten strands. Gluten is a very strong and stretchy protein, so when a lot of fat gets in the way of its development, the tenderness and melt-in-your mouth effects increase. Food scientists wanted to capitalize on this so they created a fat product that shortens really well, in addition to being cheaper than butter and more solid and shelf-stable than vegetable oils. They call it shortening (naturally). However, in light of the fact that the trans fat in shortening is incredibly bad for your healthy and that butter tastes way better and is more sustainable, we will be using butter in our shortbread.
This twist on shortbread incorporates buckwheat flour and hazelnuts, producing a rustic, dark, and nutty cookie that is always a crowd-pleaser. Dough can be made in advance and frozen for later use. Makes 6 dozen cookies (recipe can be halved). “If you prefer a crispier crunch and more classic hazelnut shortbread, just replace the buckwheat flour with all-purpose flour, as buckwheat flour does absorb some moisture. ”
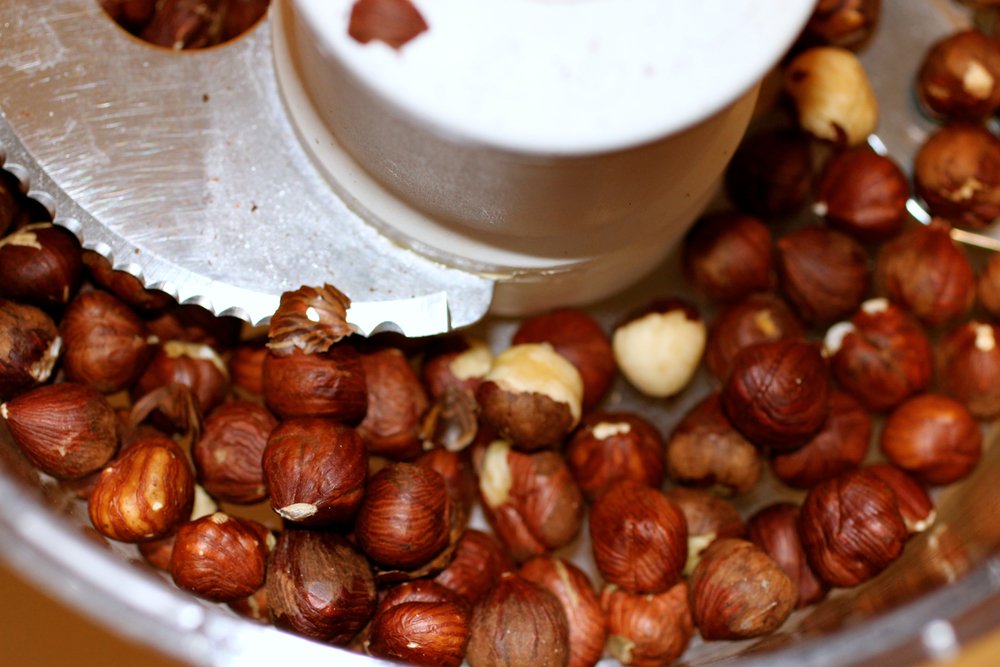
Blending hazelnuts in food processor.
1 cup hazelnuts (preferably raw, but I have done it with toasted - the shortbread is just…toastier!)
1-1/2 cup all-purpose flour
1/2 cup buckwheat flour
1 teaspoon baking powder
1 teaspoon sea salt
2/3 cup granulated sugar
16 tablespoons (2 sticks) unsalted butter, room temperature, diced
1 teaspoon vanilla
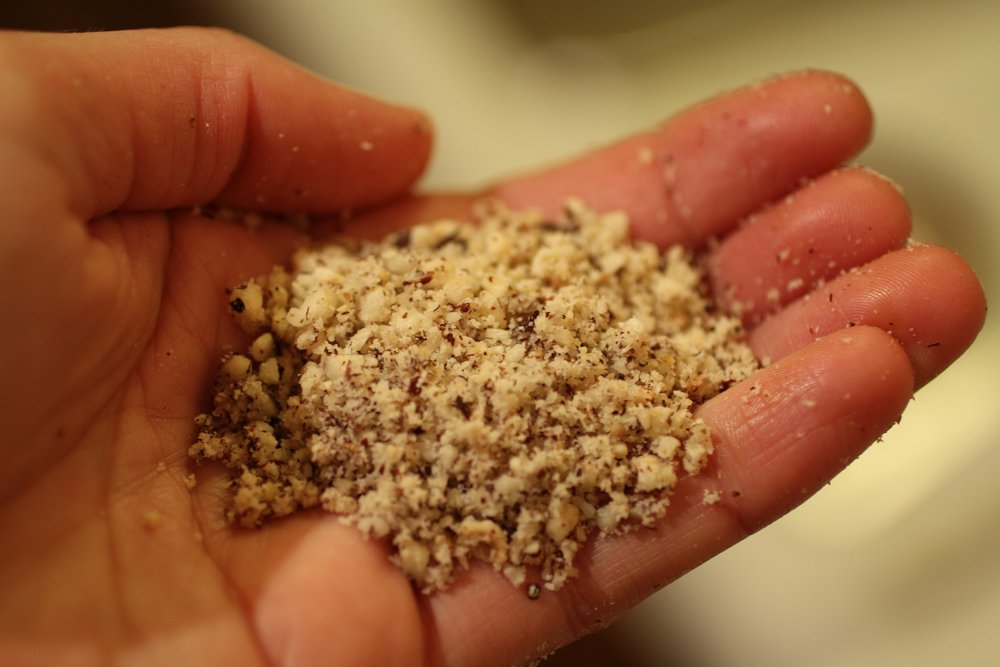
Hazelnuts post grinding.
Preheat oven to 350 degrees F.
Blend hazelnuts in food processor or with immersion blender until mostly fine, but with some medium-sizes coarse granules remaining, about 1 minute. Set aside.
Whisk all-purpose flour, buckwheat flour, baking powder, and salt in a medium bowl.
In large bowl, cut sugar into butter with fork, pastry blender, or hand blender until fluffy. Add vanilla and hazelnuts, mix to combine. Add flour mixture and blend until just incorporated.
Roll a ball, flatten, cover with plastic, and refrigerate 20 minutes. Remove from refrigerator and roll out onto lightly floured surface about 1/4” thick. Cut into rectangles about 1” x 2” and bake for 11-13 minutes until lightly toasted.


Bay Nuts
The cacao-coffee bean of foraged finds.

Here’s the deal: everyone likes coffee and chocolate. Okay, so that may not be entirely true, but who are we kidding? I probably don’t want to associate with those individuals anyway.
For those of us with *good* taste, the knowledge that there is a local edible easily foraged that, when roasted, produces a flavor that can be likened to a combination of coffee and (bitter) chocolate is mind blowing.
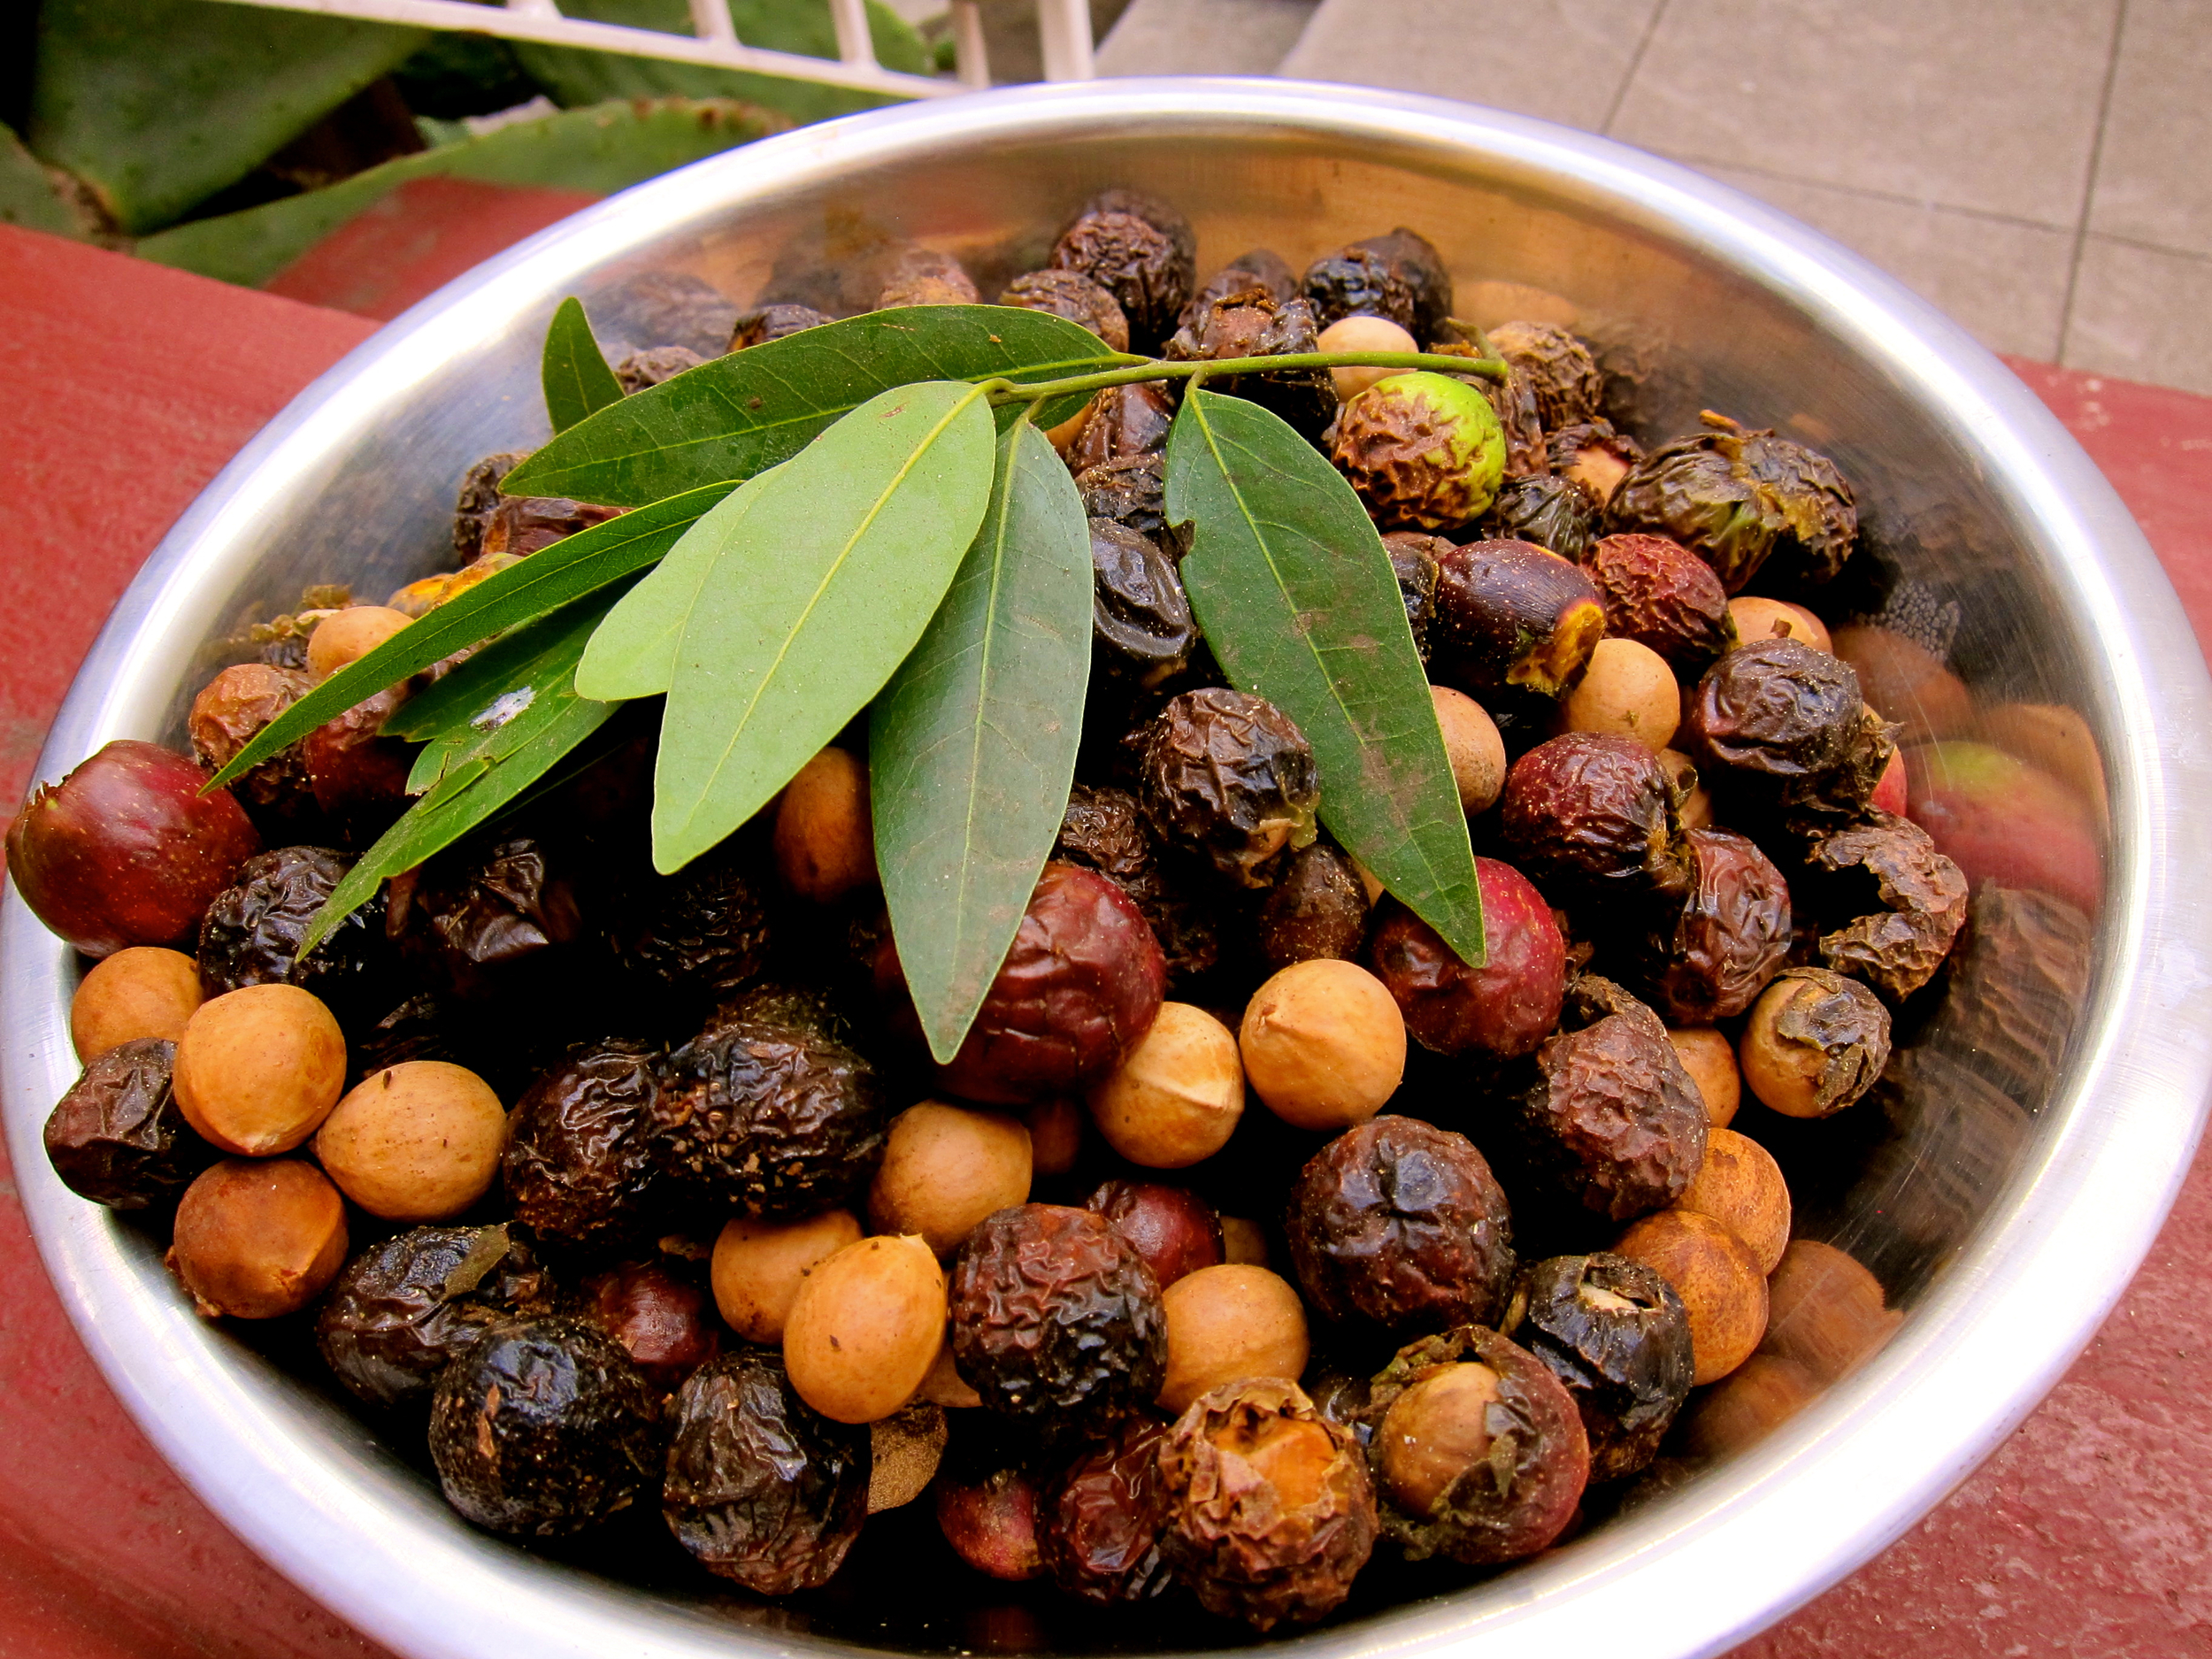
Where to find them: From the West Coast/California bay laurel tree, Umbellularia californica. This may sound obvious, but the bay tree does not always have nuts - the nuts appear from October - December, or even as early as September in Central California or when it's an especially hot year. Also, some years are better than others and some produce only a small amount of nuts - just because you don't find nuts on a tree one year doesn't mean they won't be there the next!
The bay tree leaves can (and should? why buy?) be used as you would use bay leaves purchased from the grocery store, but are very strong, with a ratio of 3:1 (tree bay leaf: store bought bay leaf).
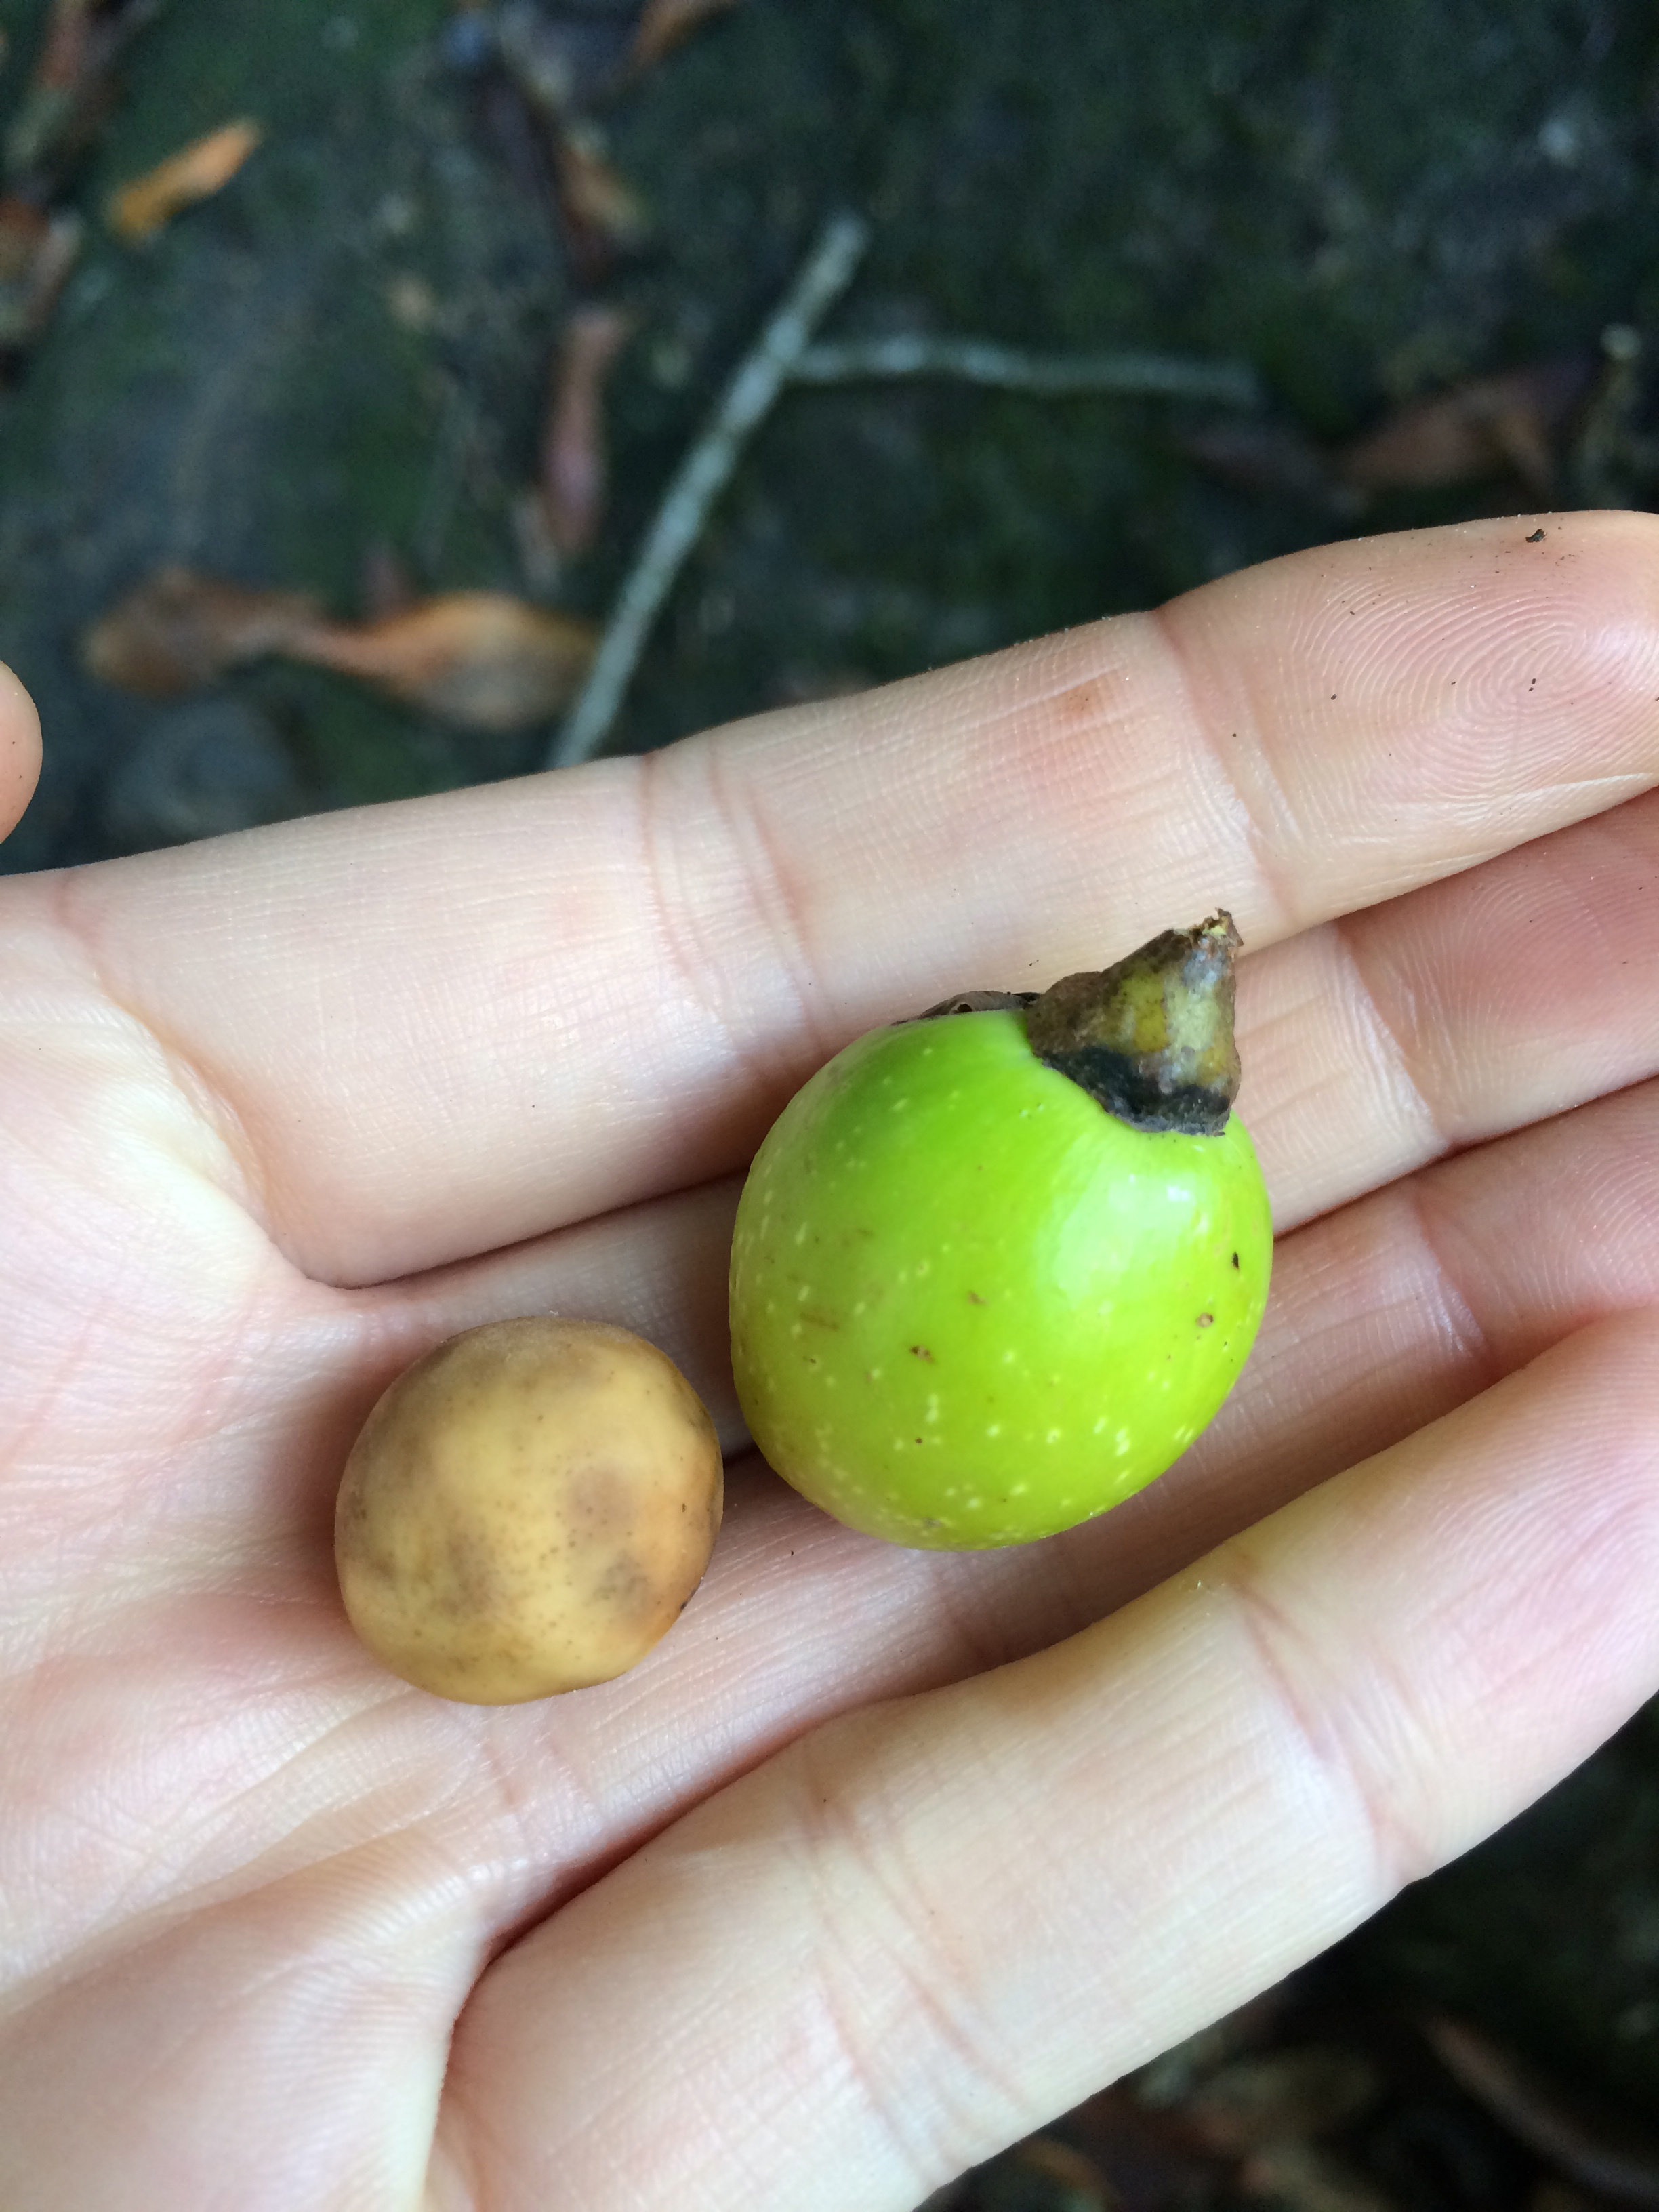

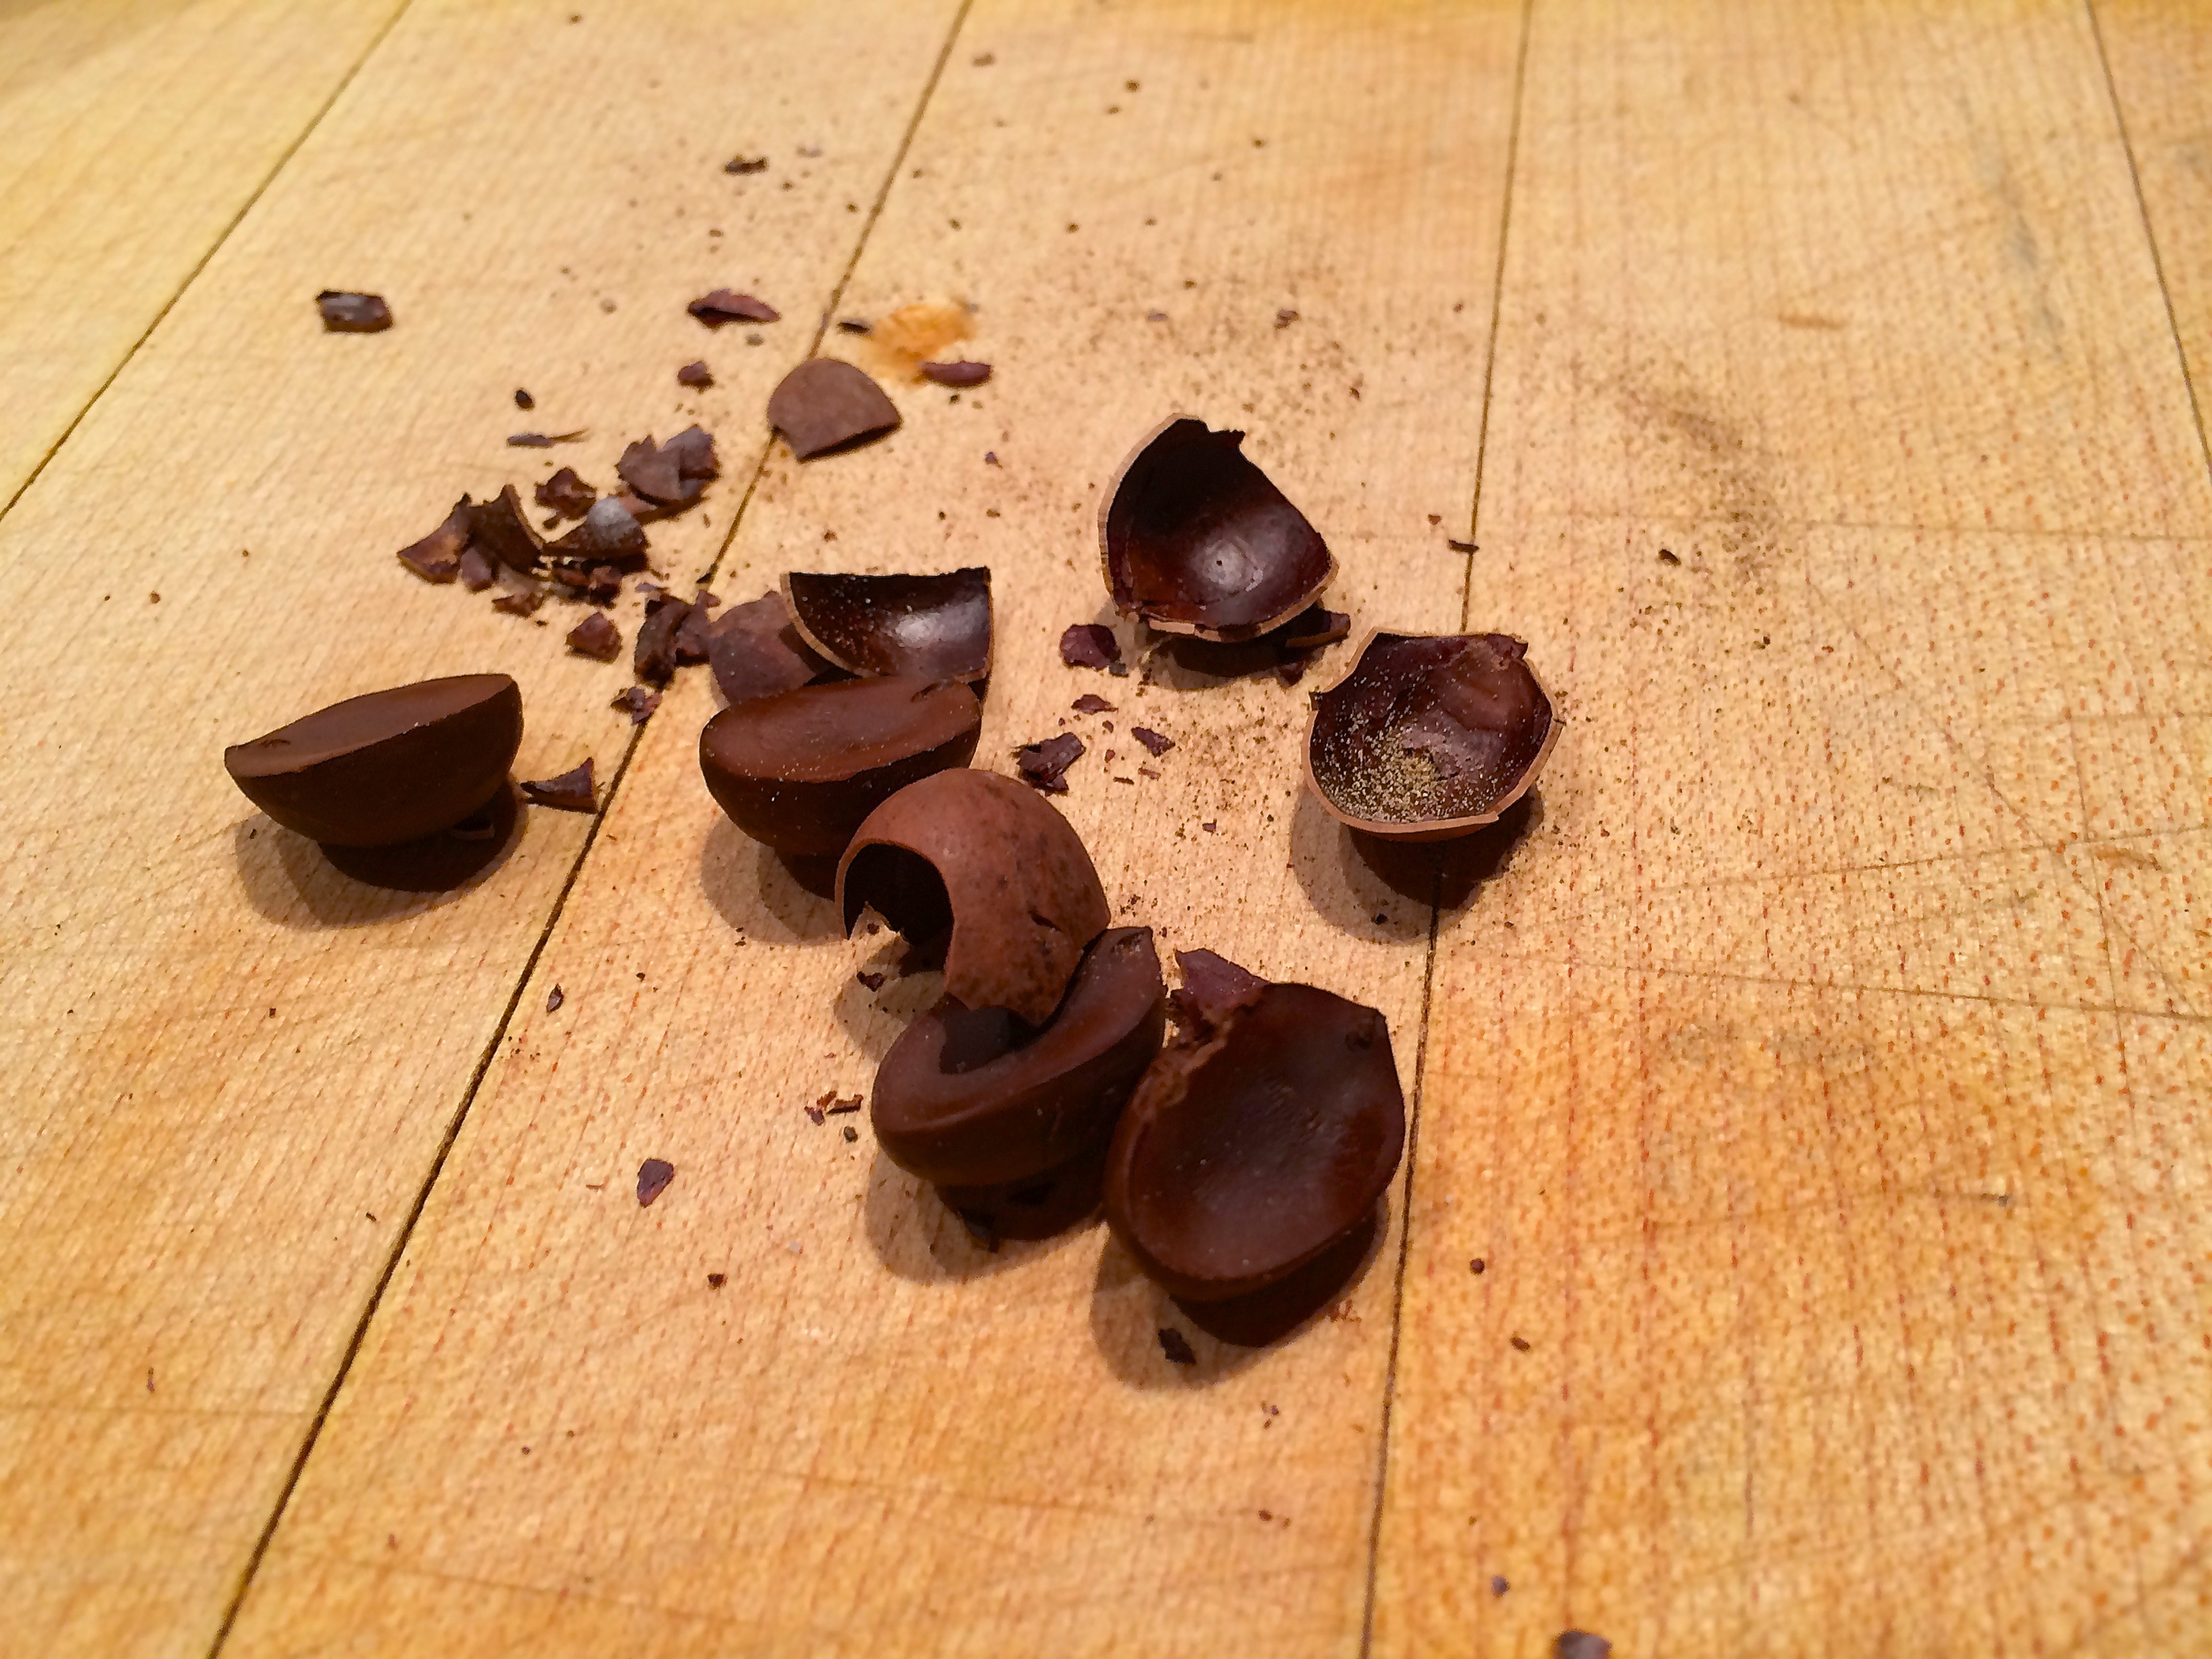
The nut itself is a close relative of the avocado (Lauraceae family) and it looks like an avocado pit with a thin layer of flesh. The flesh goes from a bright green (unripe) to purple (ripe) and is technically edible, but rots very quickly. You'll know it's rotten when the outside is a goopy, gross, mess “this-will-make-you-sick” texture. The real treat is when you roast the nut itself on the inside of the flesh. Before roasting, or if not roasted properly, the nut is extremely bitter and astringent, similar to acorns and olives before they are cured. You will NOT want to eat the nut before roasting.
To roast the nut:
Peel off that goopy exterior. Sometimes you can find the nuts by their lonesome, in which case, score! Less to do. Sometimes, you peel them and they look fine. Othertimes, you peel them and they look gross/moldy - throw these ones out.
Wash the nuts - remove any excess goop.
Dry the nuts. I have seen directions indicating that the nuts need to be dried then stored for 1-2 years, but I don't have the patience for that and in my experience it just takes a few weeks in the dry climate of the Bay Area to remove the moisture. To dry, lay them out to open air until the water evaporates then store in paper bags or other breathable containers (an open bowl or jar) in the dark.
Roast the nuts on a baking sheet in a single layer at 350 degrees F. This usually takes about 1 to 1.5 hours, but you’ll know they’re done when the insides look brown/black (some will crack open to reveal this). Some recipes call for 450 degrees F for 45 minutes - I previously said that either way works, but have heard that 450 makes them too toasty too fast. Up to you, but I would check them every 20 minutes or so.
Crack open the shells with a nut cracker (teeth also work, but everyone cringes when I do that) and eat the nuts as you choose. They have a slightly bitter taste, but for those that like super dark chocolate, it’s delicious. Note that bay nuts possess a mildly stimulating effect, similar to caffeine.
Suggested uses (so far, I’m still experimenting):
One their own (haven’t made them covered in chocolate yet, but I’m sure this would be decadent and plan to do so). Pairing with whiskey is awesome.
Bay nut mole - substitute chocolate for bay nuts. Don’t look back.
Bay nut ricotta cheesecake - I have done this twice now and the recipe is lovely.
Bay nut brittle
Bay nut hot cocoa?
Bay nut chocolate bars - working with the Culinary Institute to make this happen, but I know that Madre Chocolate has done it in the past!

Dandelion Greens Pesto
Put some wild in your pesto spread.

Put some wild in your pesto spread. The added dandelion greens make a lighter, bitterer tasting version of a classic cheese-free pesto. Up the ratio of greens to other ingredients if you desire an even lighter, less rich pesto. Makes about 3/4 cup.
1/2 cup raw pine nuts
1 bunch fresh basil leaves, plucked and chopped
3-4 tablespoons olive oil
1/4 - 1/2 teaspoon salt
2-3 cups chopped dandelion greens
Juice from 1/2 lemon
Combine pine nuts with basil, 3 tablespoons of olive oil, and 1/4 teaspoon salt in a food processor.
Once blended, incorporate dandelion greens and more oil and salt as needed to create desired texture and flavor. Blend in juice from 1/2 lemon.
Pesto may be frozen for up to 1 year, refrigerated for up to 1 week, or used immediately.