
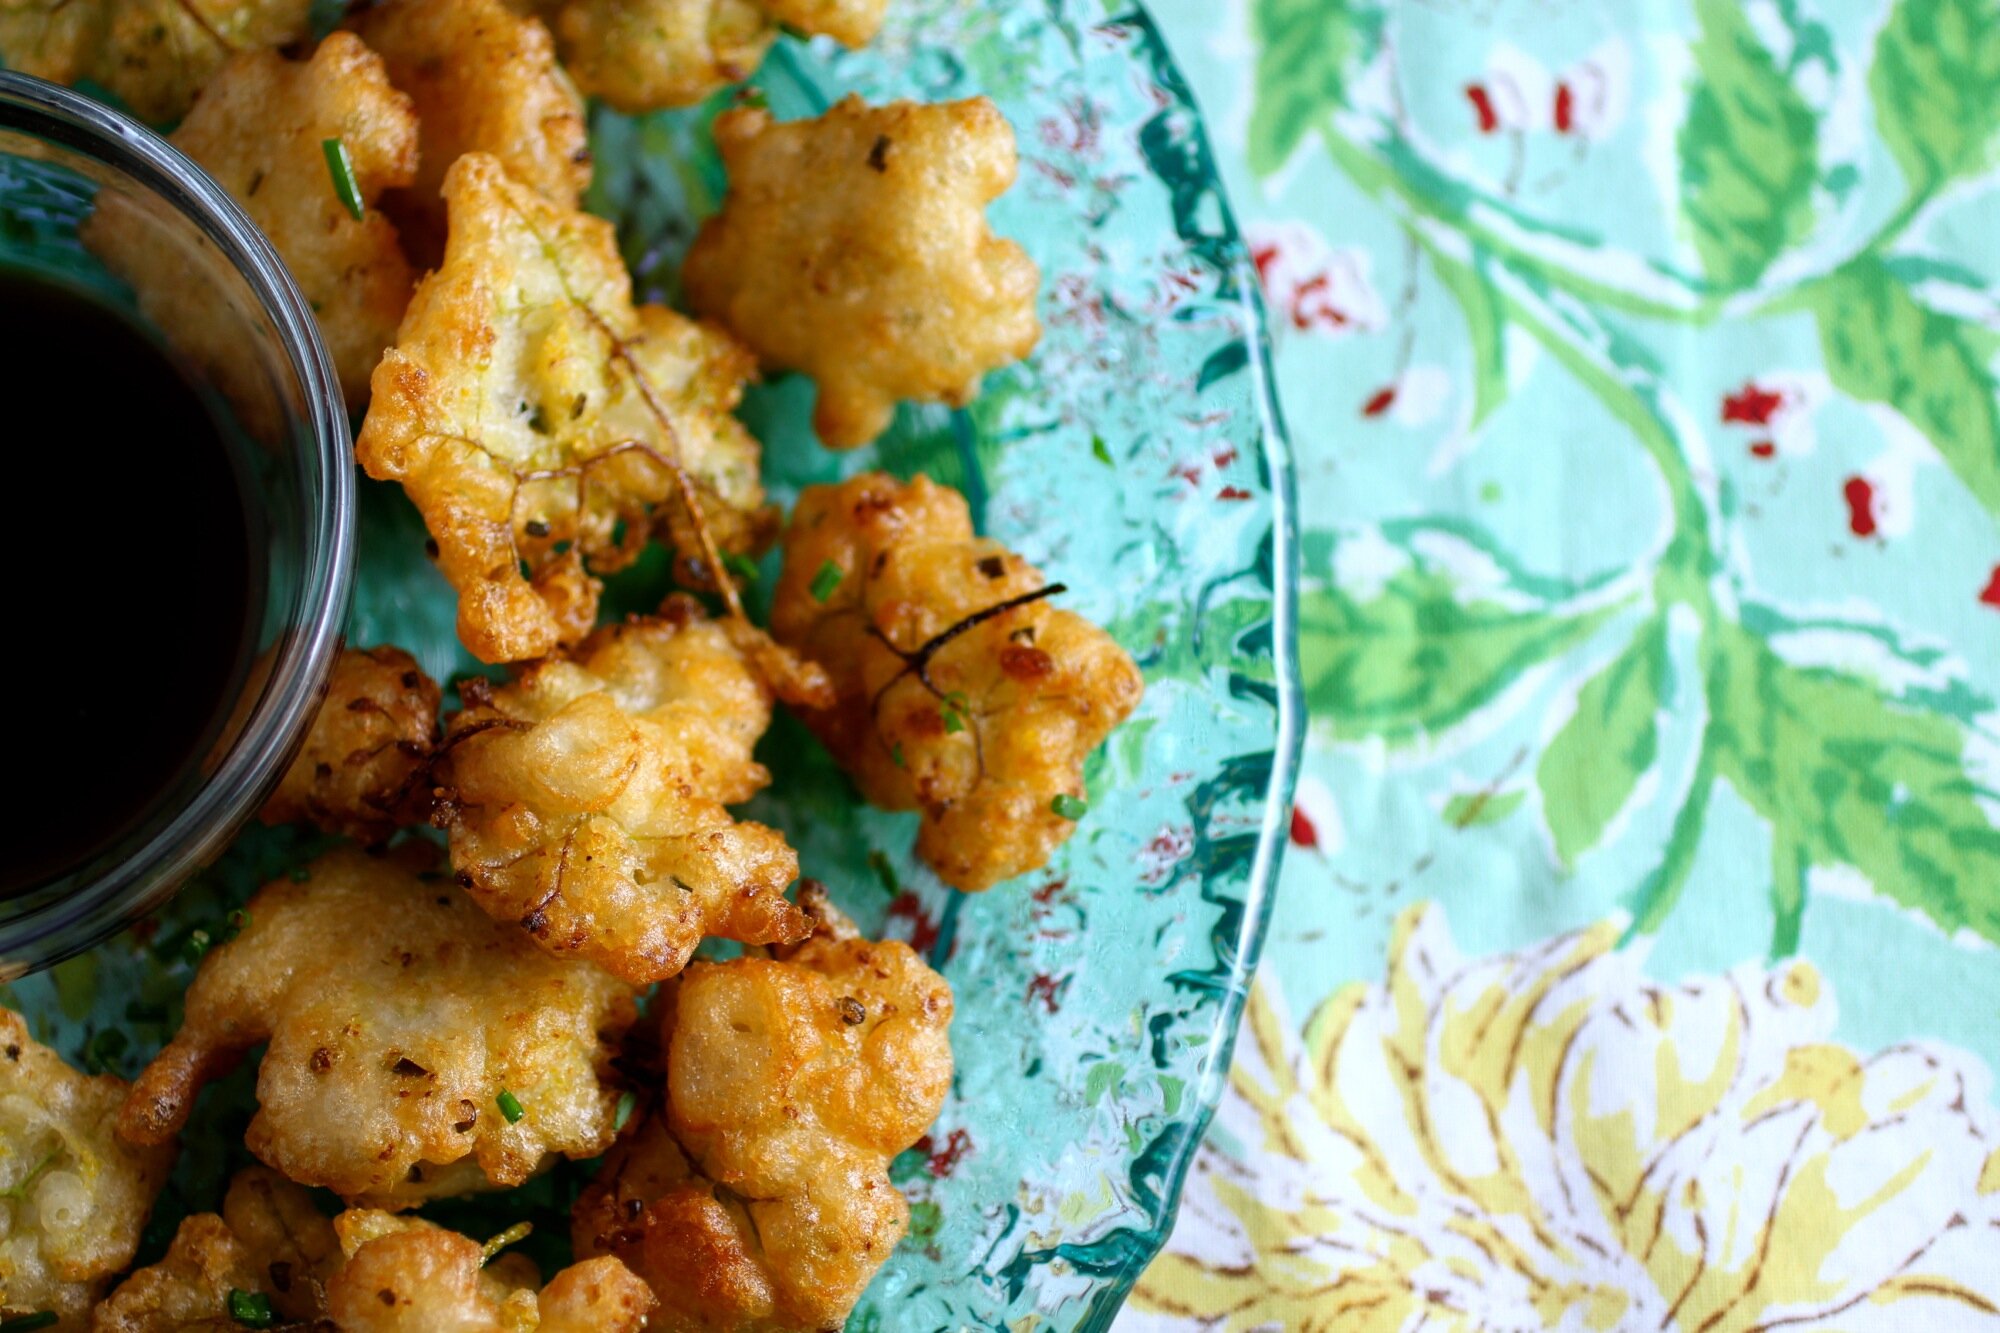
Elderflower Chive Fritters
A savory twist on a wild spring treat.

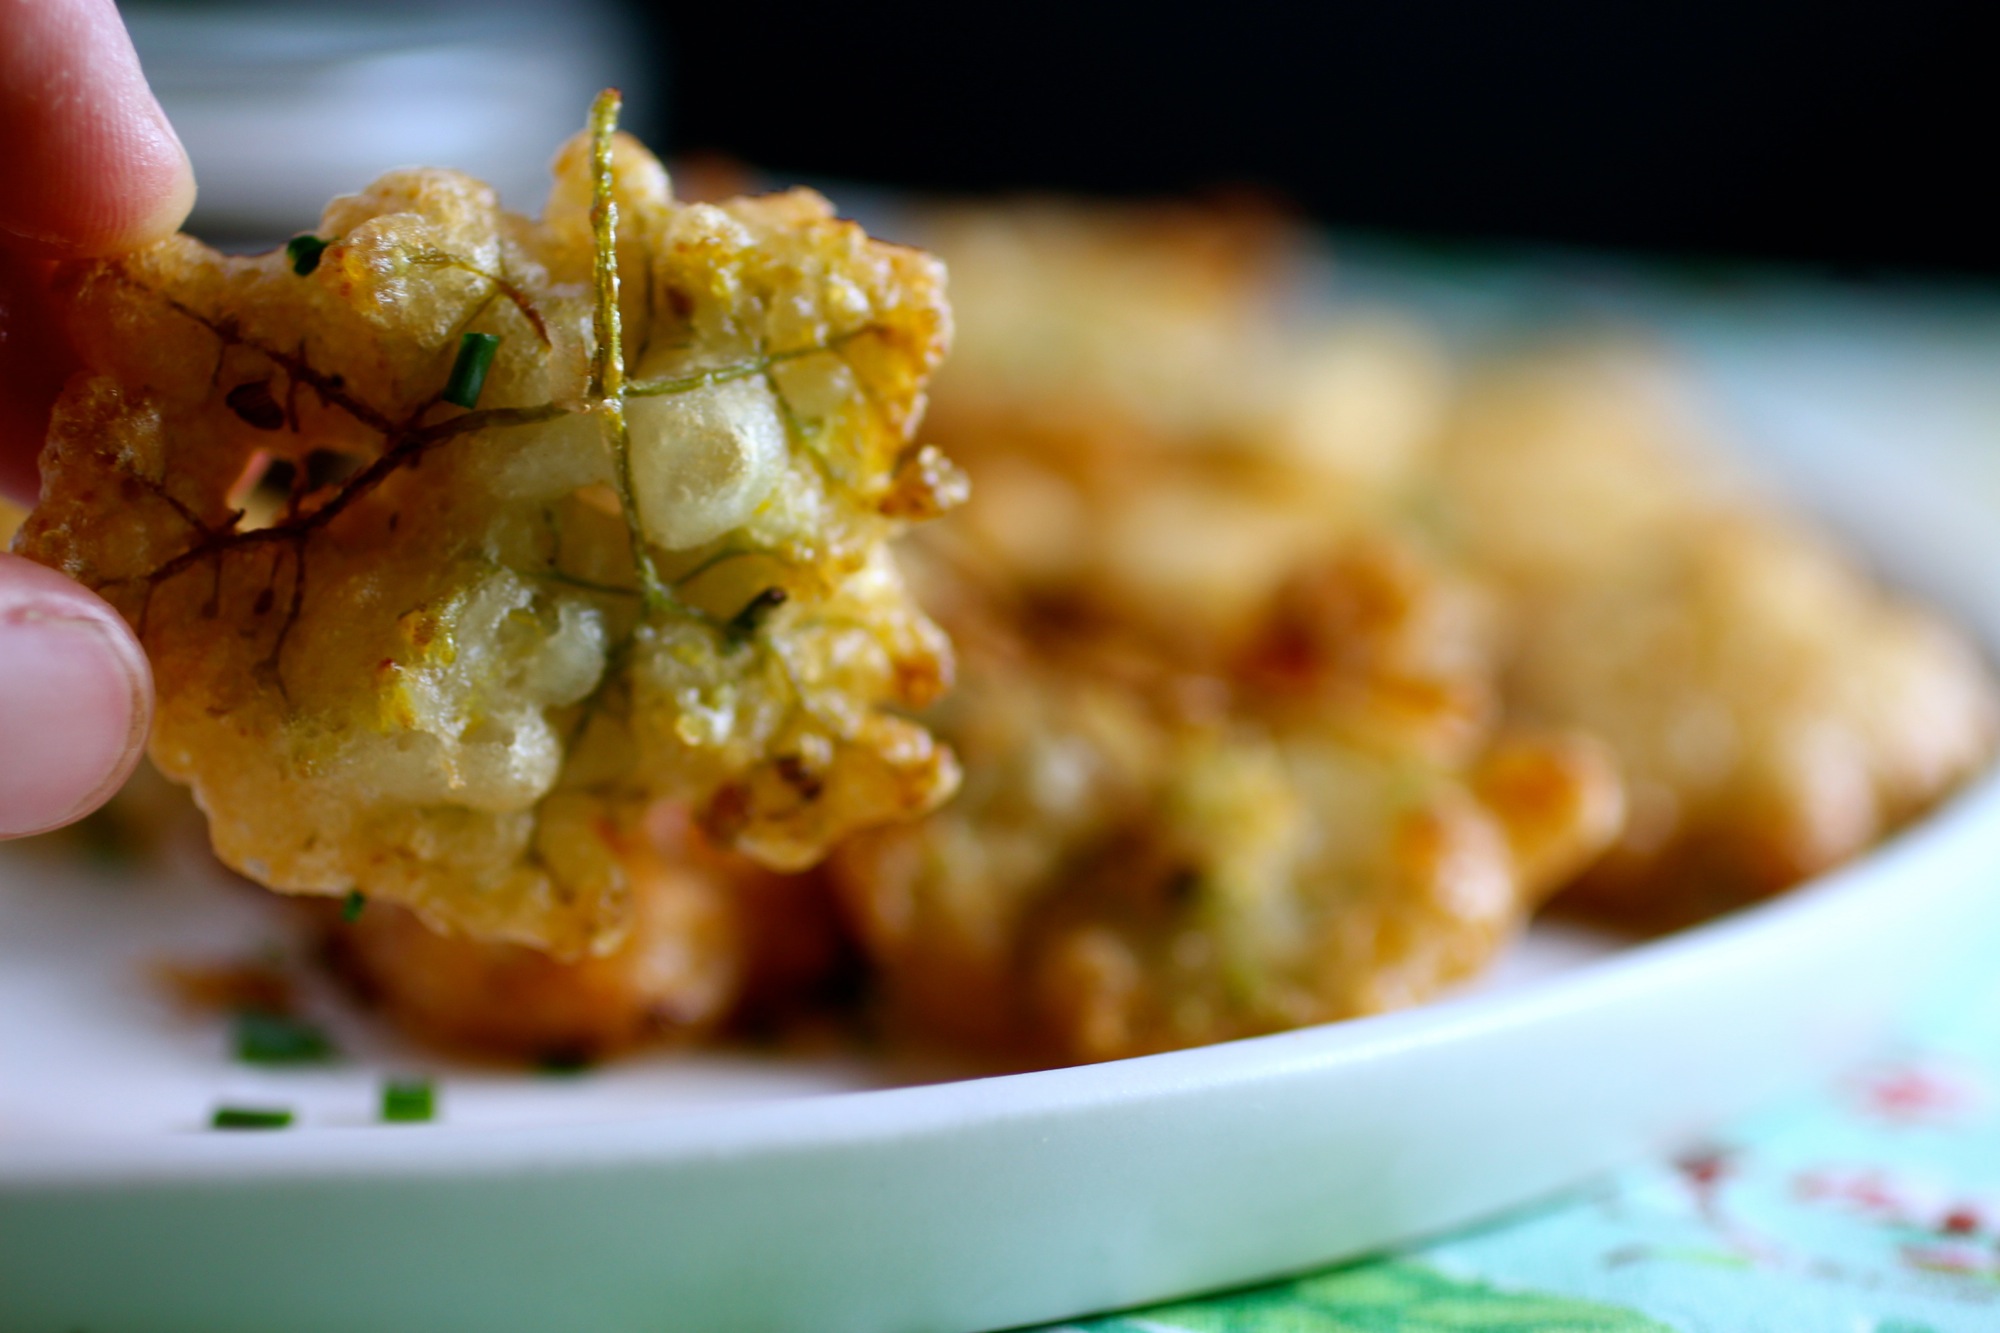
Chives provide brightness without overpowering the elderflower.
As I've mentioned before, I love elderflower and feel a strong connection to the elder tree (more on the “regal elder” and foraging here). Until recently however, the only things I've ever had made with elderflower have been using a sweet cordial. So when I saw a few recipes for elderflower fritters using the whole flower, I was immediately intrigued and wanted to attempt a savory version. The batter contains lemon zest and chives, because I felt that these would add some zest and complexity without overpowering the floral qualities. I served it with ponzu for a dipping sauce, but honestly, we didn't use it much as the fritters stand best on their own! The below recipe makes about 40-45 small fritters, enough for 4-6.
~10 medium-large elderflower heads, broken up into 40-45 small florets
1 cup all-purpose flour
Pinch yeast (champagne or baker's, I used champagne because I had some leftover)
6-8 fluid ounces apple cider or sparkling water
1/2 tablespoon finely grated lemon zest
1/4 teaspoon sea salt, divided
2 tablespoons diced chives, divided
Grapeseed oil, for frying
Ponzu or aioli for dipping (completely optional)


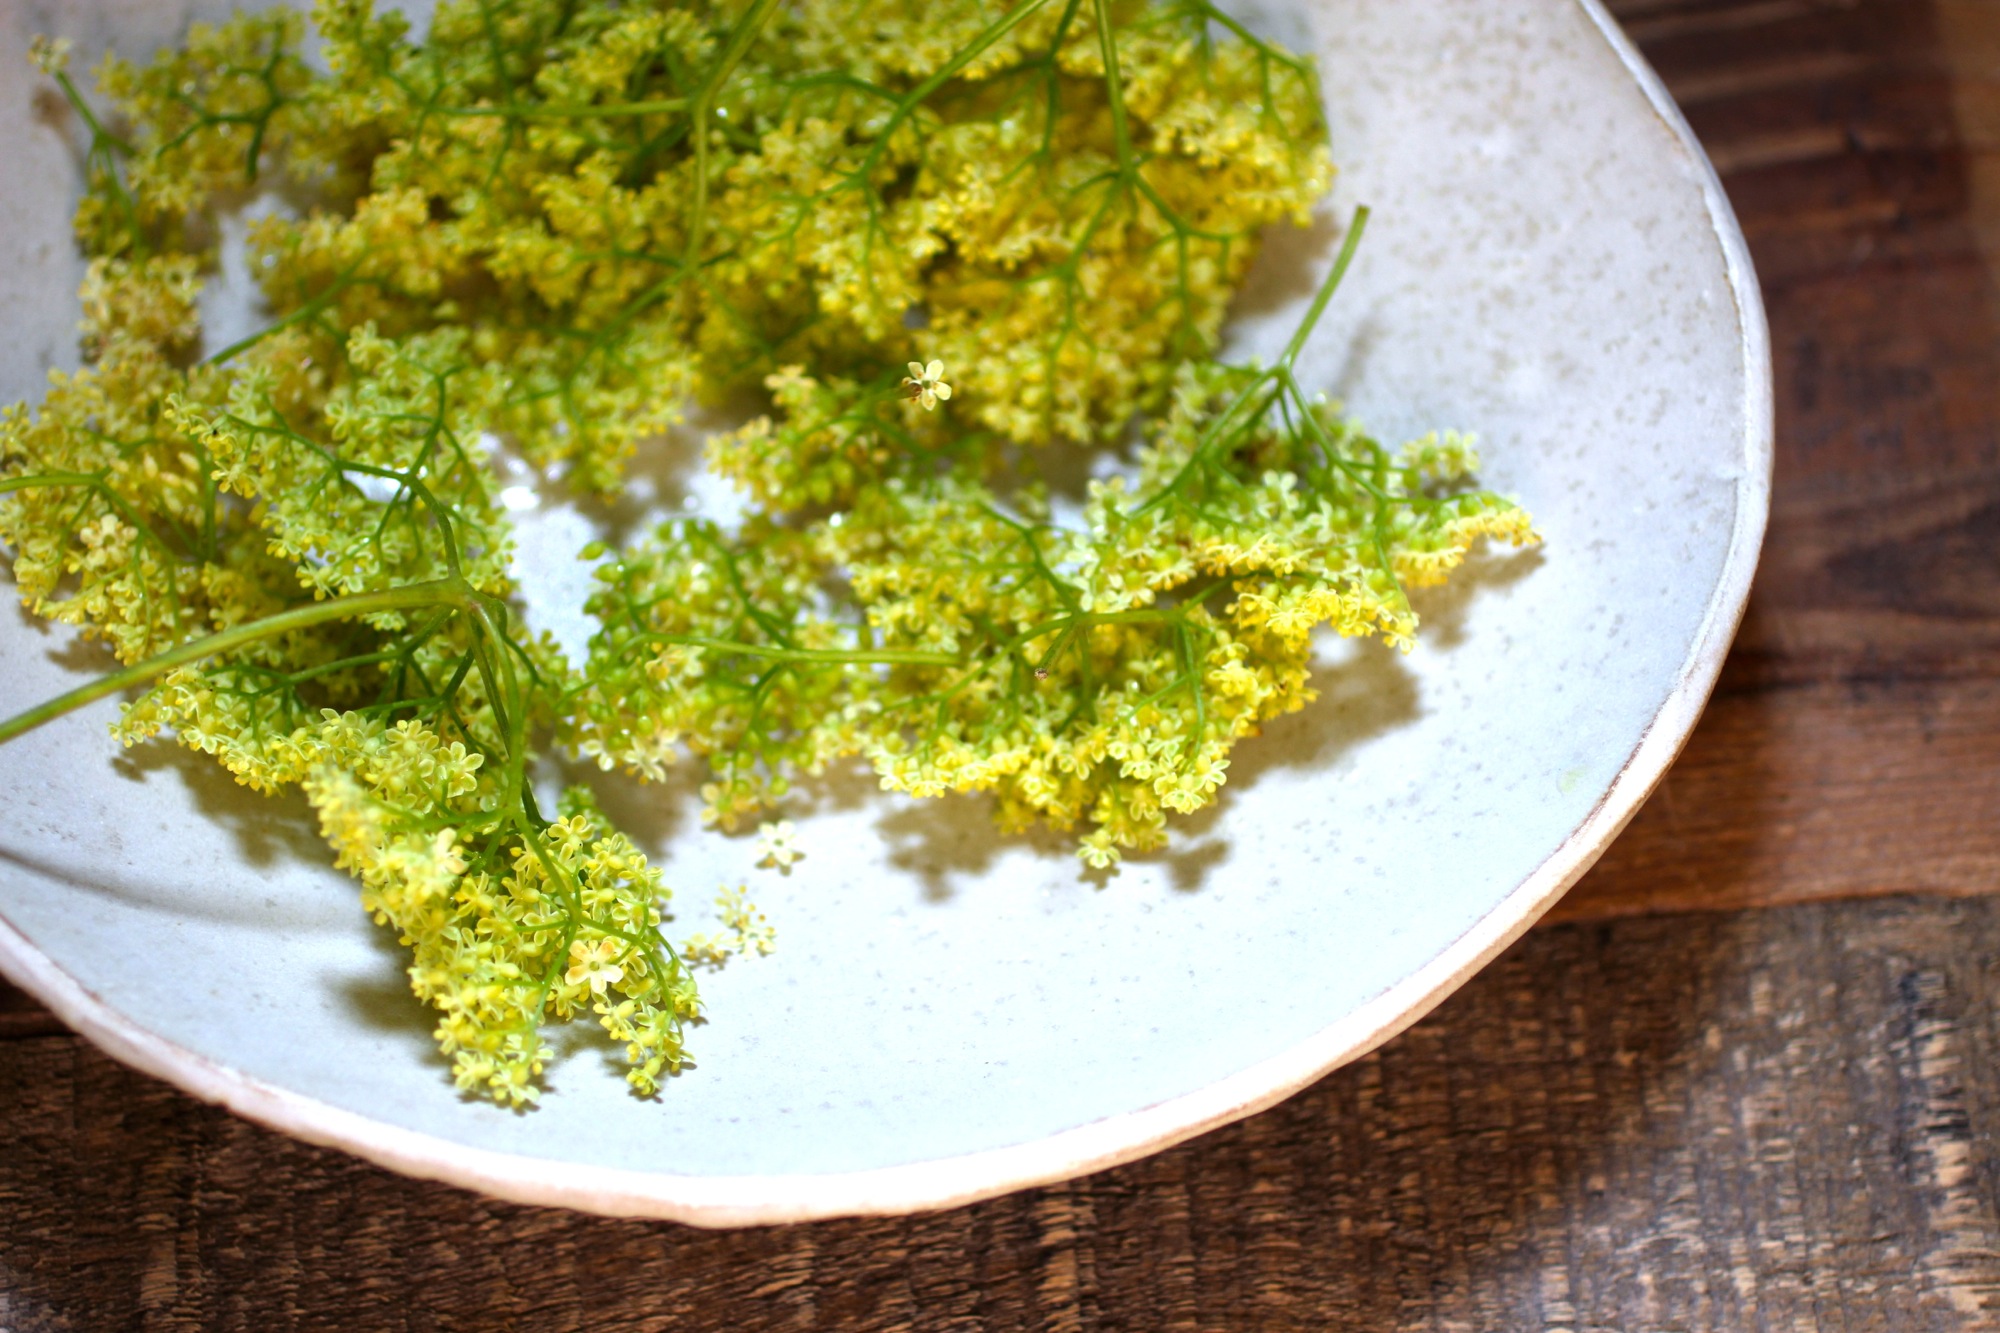
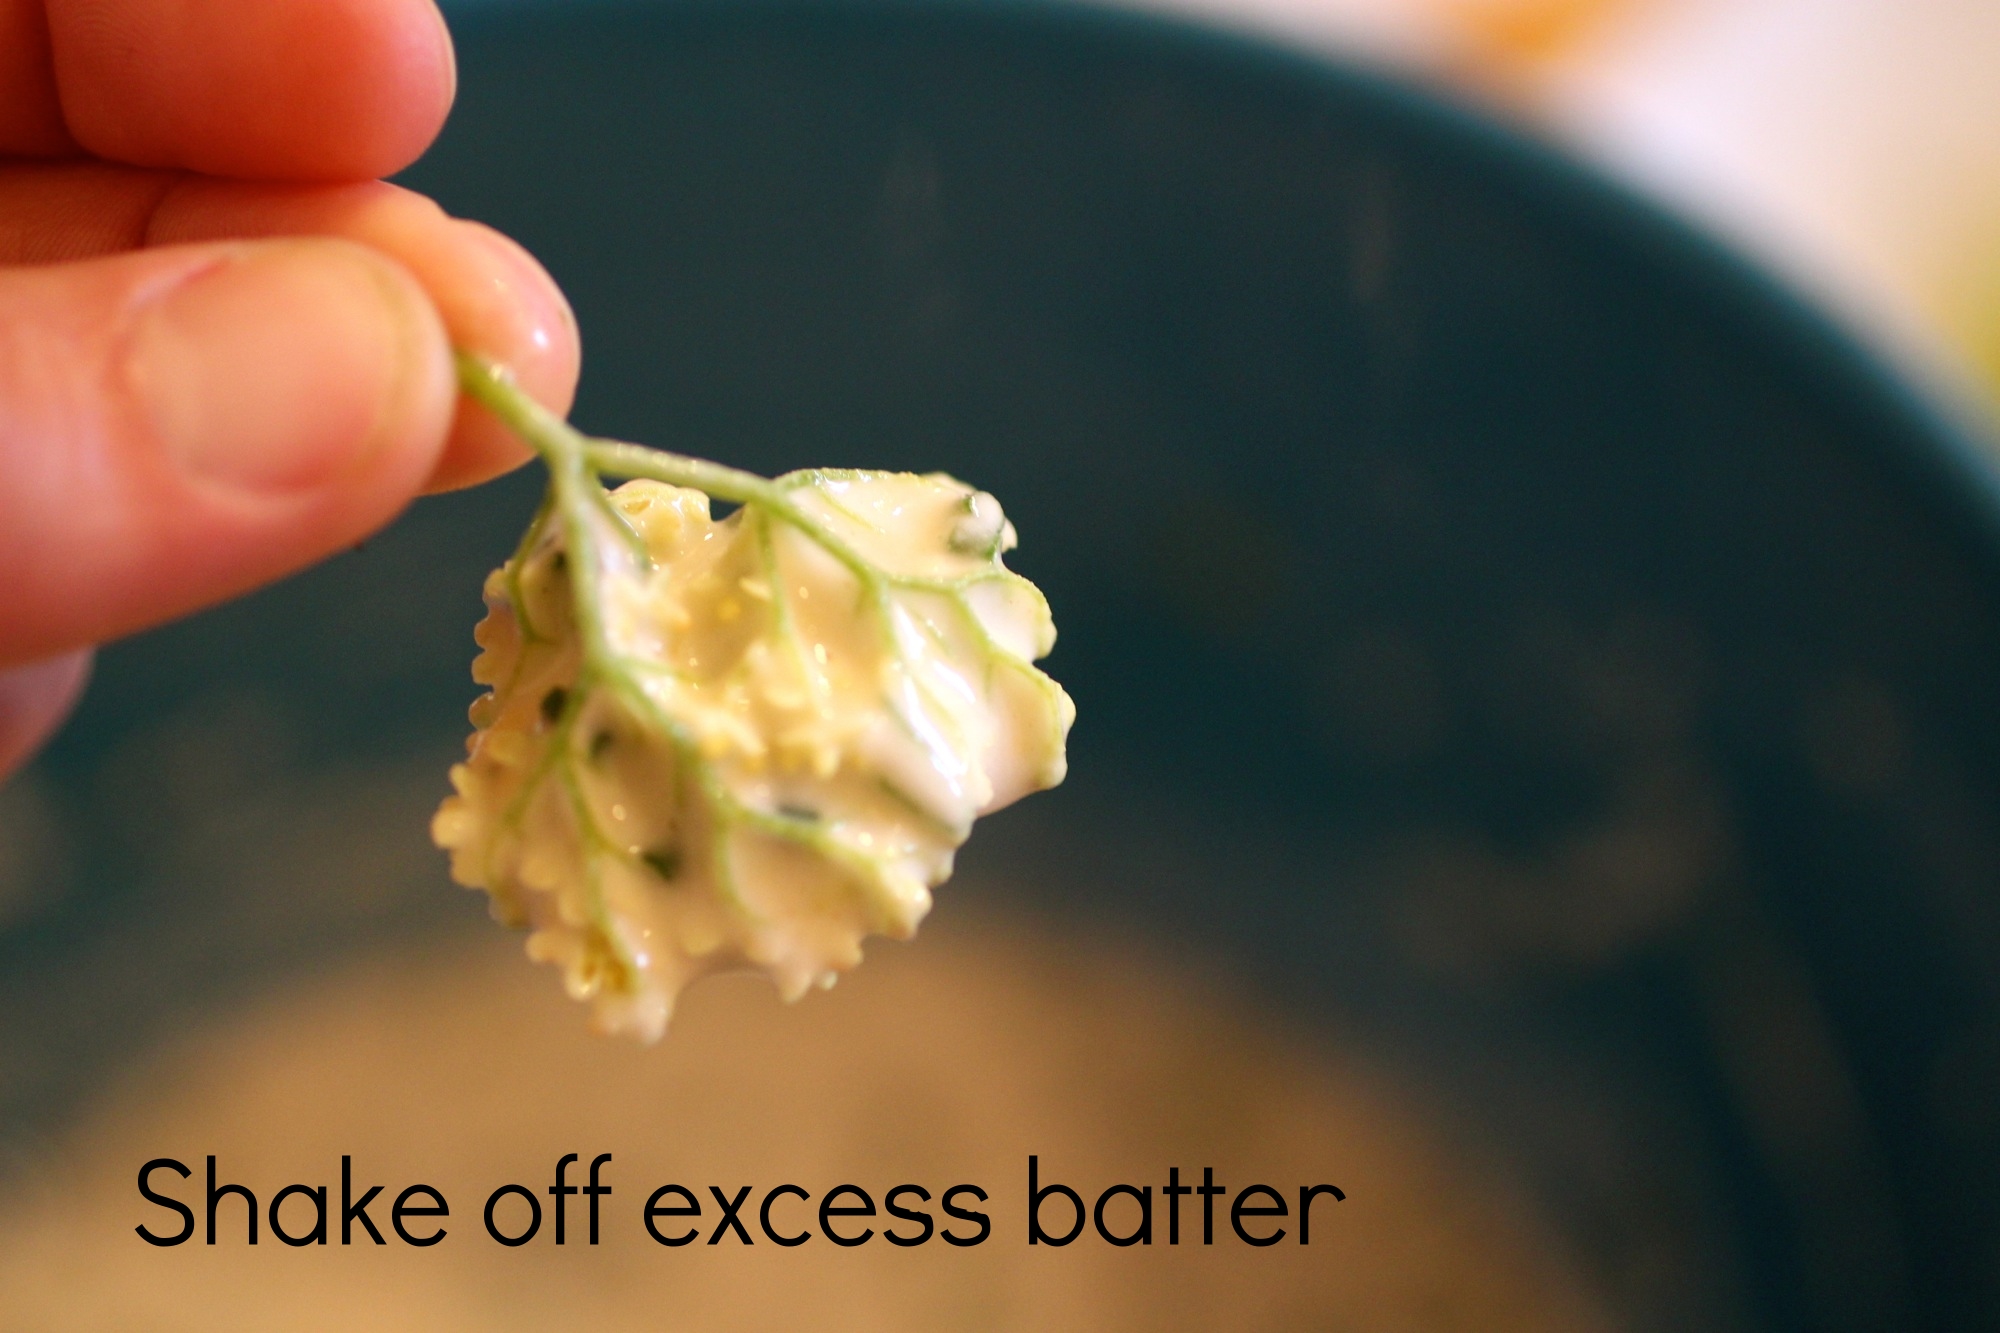

Shake blossoms to remove hitchhiking bugs and dunk into a large bowl of cold water. Remove from water, shake to remove as much water as possible (and probably more bugs!), and pluck smaller clusters (about 1-inch each) from larger clusters, removing as much large stem as possible (there will be some stems still, as that's how the flower clusters stay together). Set aside on a paper towel to dry more.
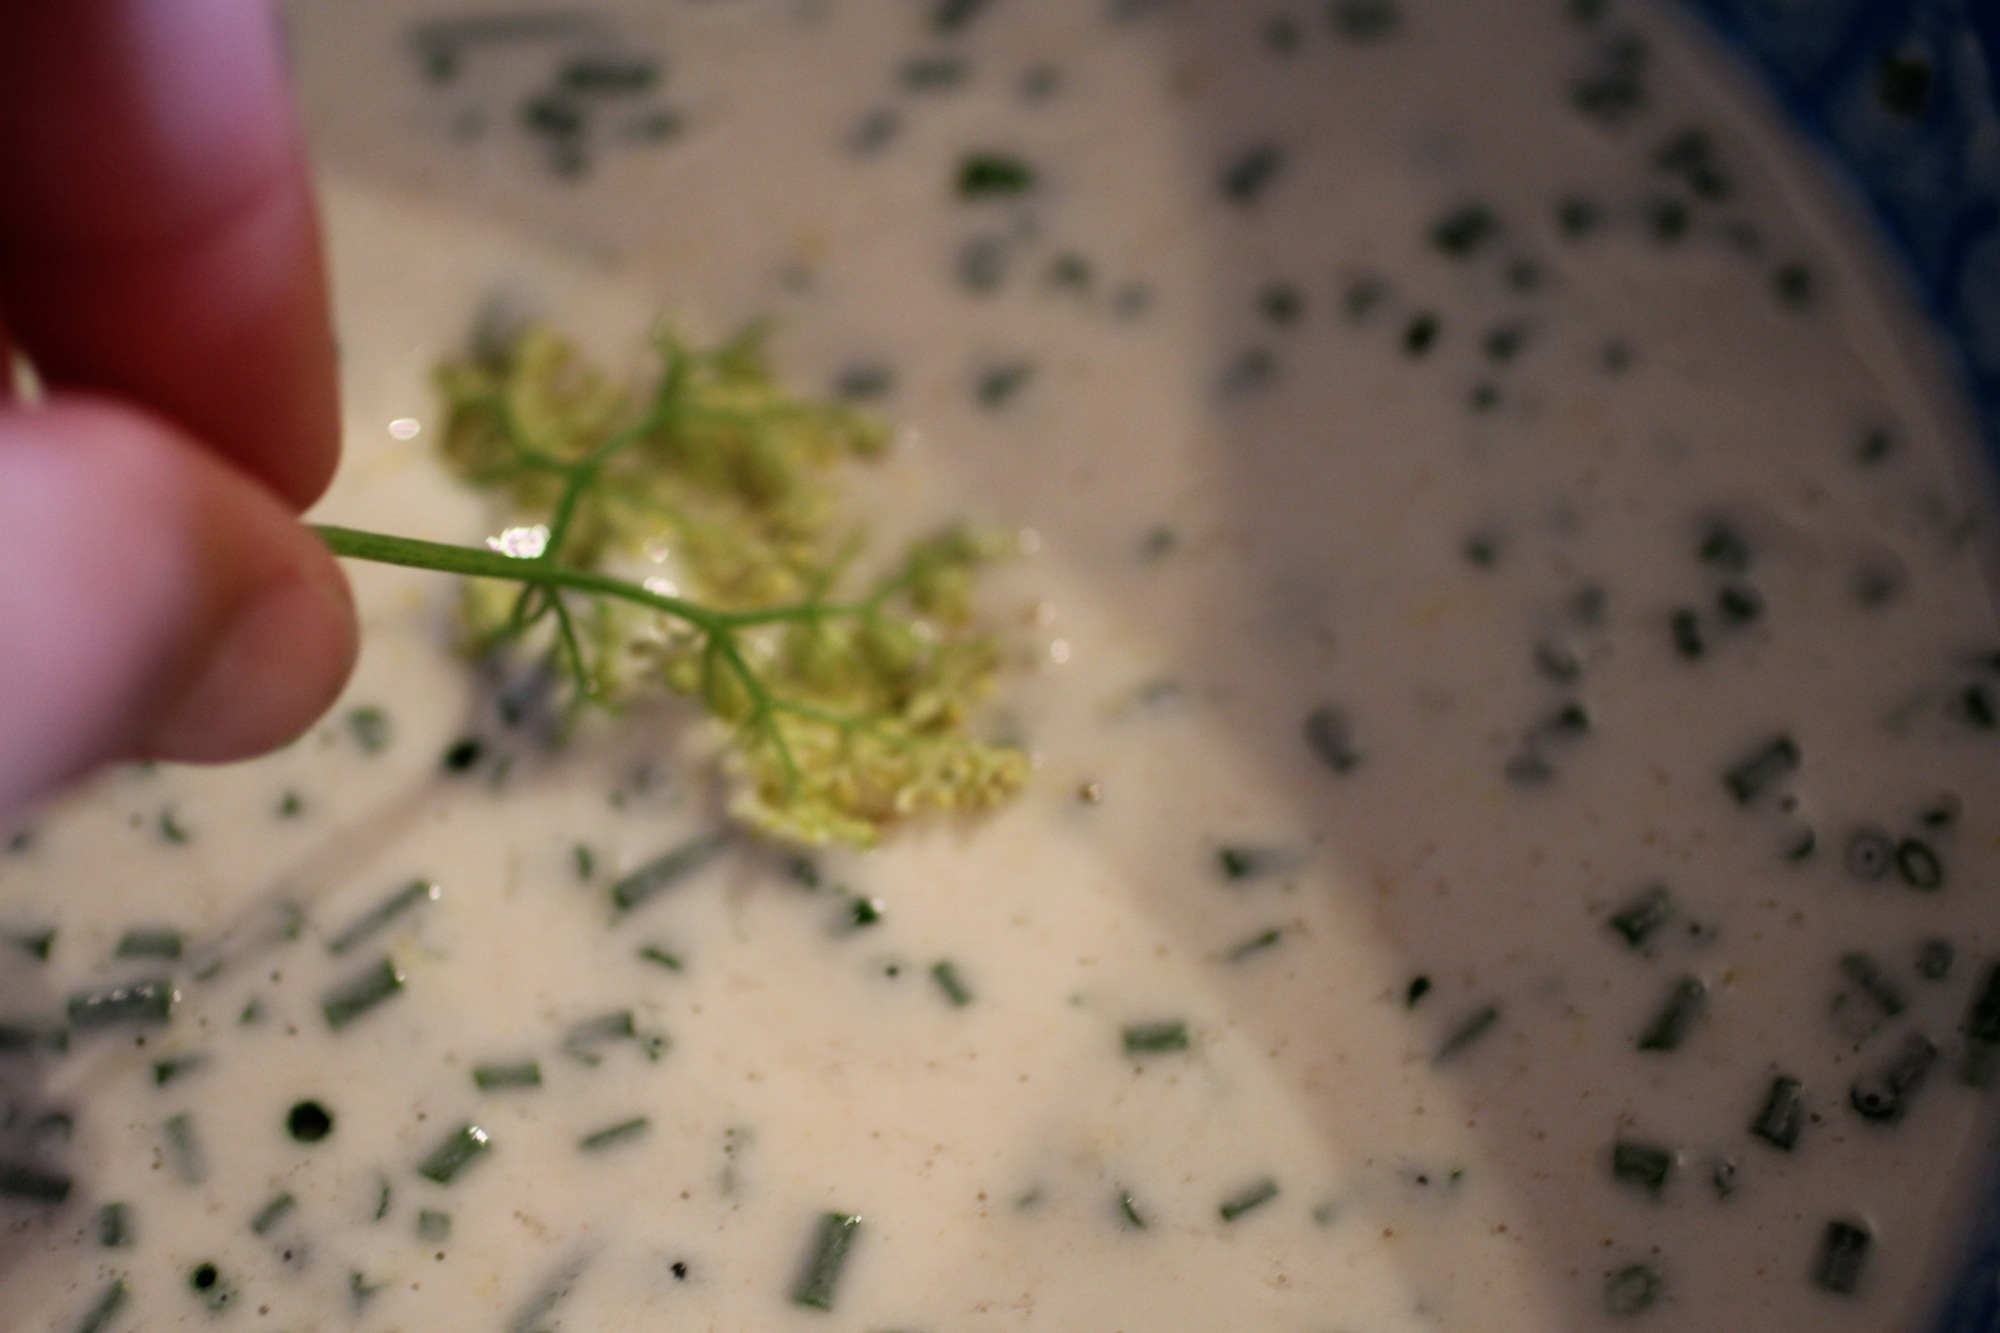
Whisk flour with yeast, 6 ounces cider, lemon zest, and 1/8 teaspoon salt until combined. Batter should be runny like pancake batter and will start to fluff up from the yeast. If batter is not runny enough, add some more cider then gently whisk in 1-1/2 tablespoon chives.
Pour enough grapeseed oil into a frying pan so that oil is 1/2-inch up the sides of the pan and heat to high.
Once oil is hot, dip florets (one at a time) into batter, shake off any large clumps, and fry in oil until golden brown, about 1-2 minutes on the side opposite the stem, then flip and fry another 30 seconds on the stem side.
Remove fritters and place on paper towel, then repeat with florets in batches until all are fried.
Top fritters with dusting of remaining salt and remaining chives. Serve with ponzu or aioli if desired.
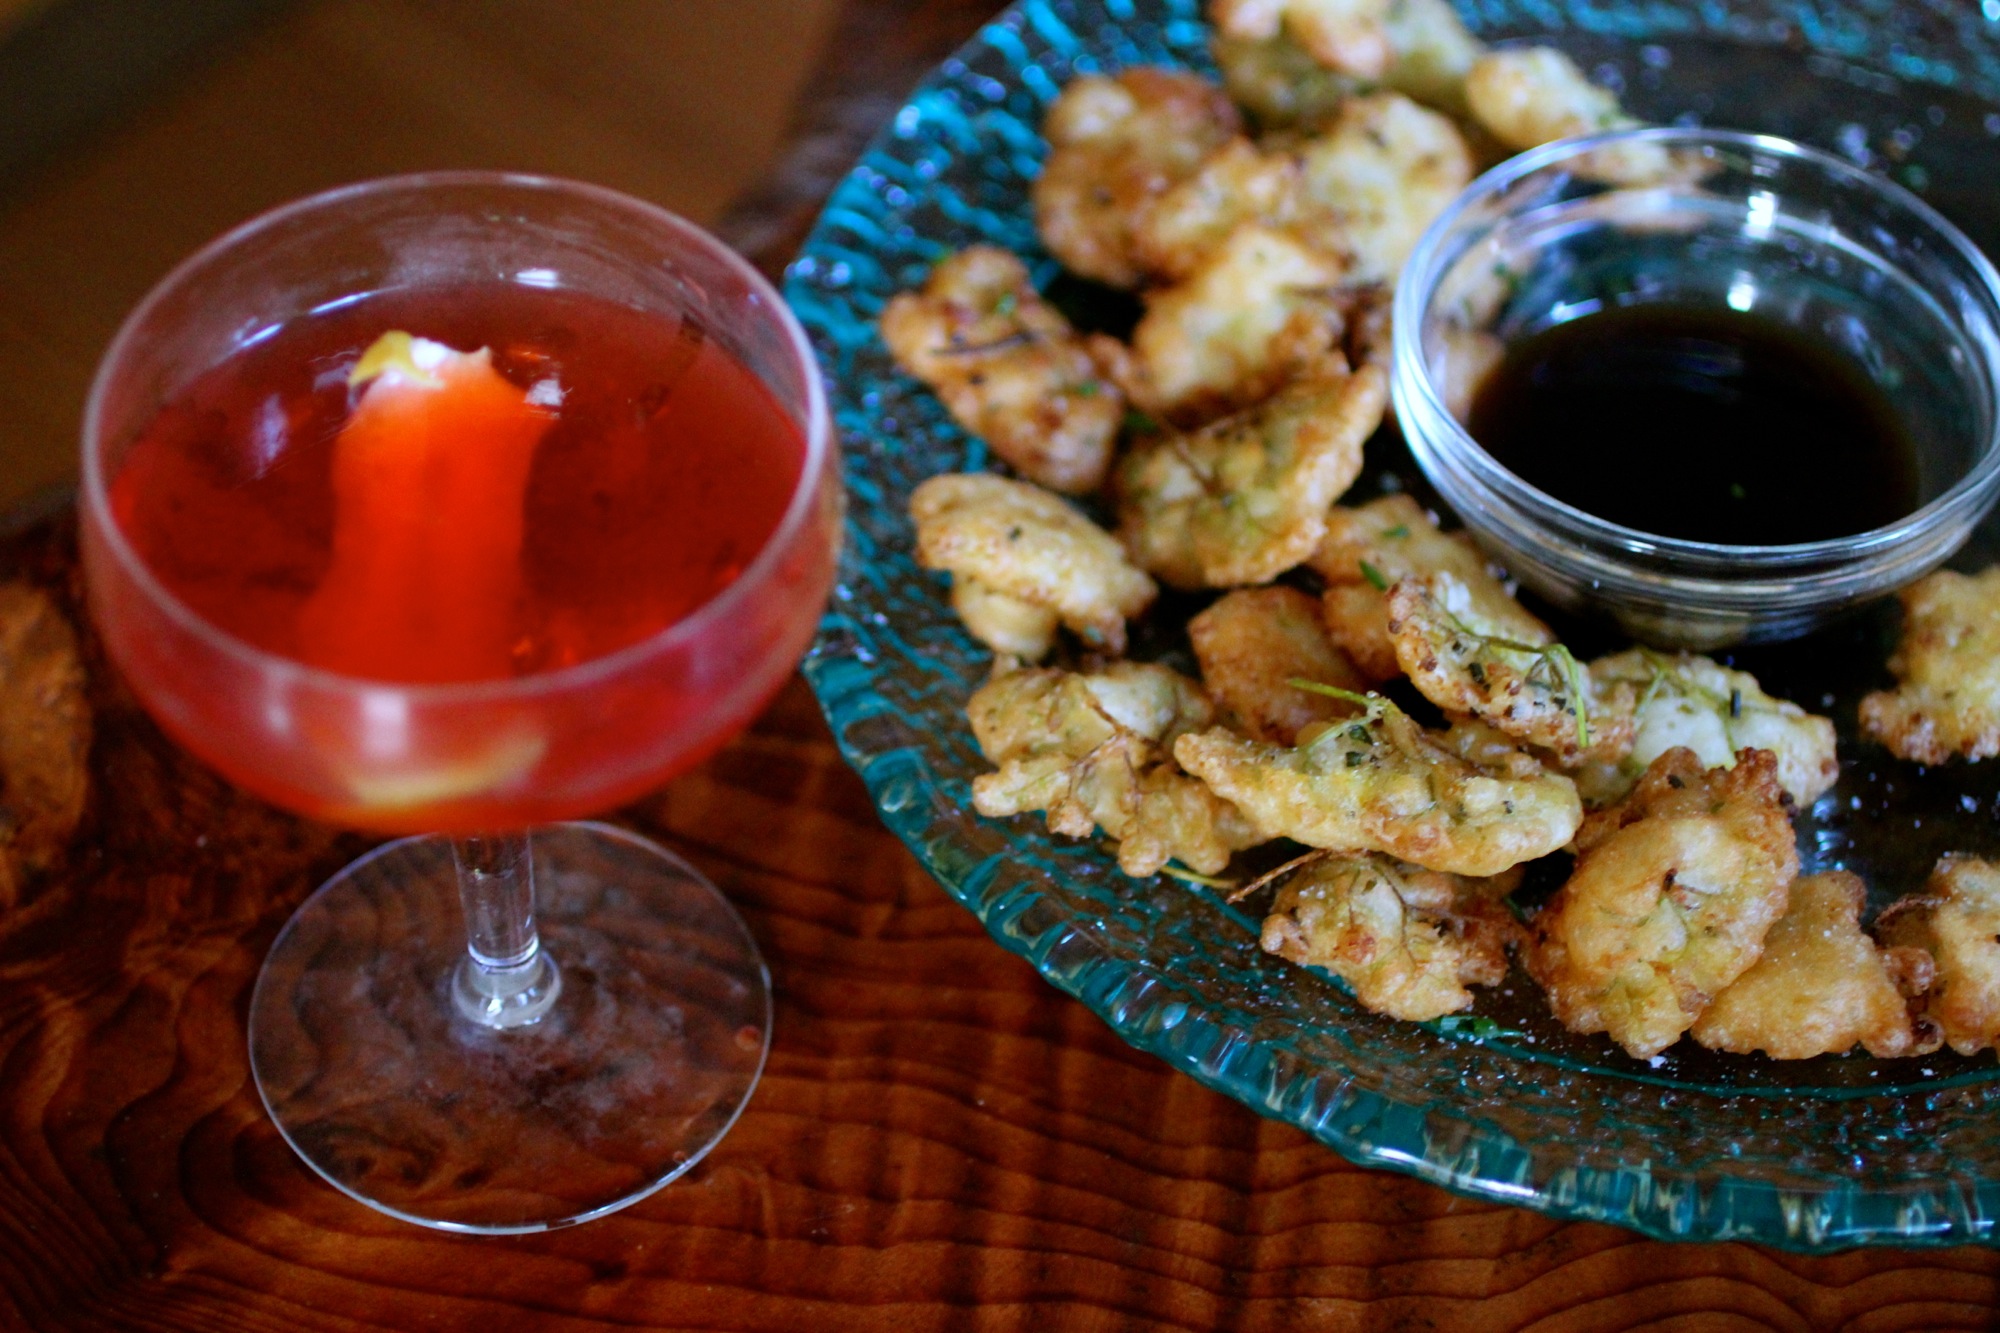
Ponzu not needed, but a cocktail is!

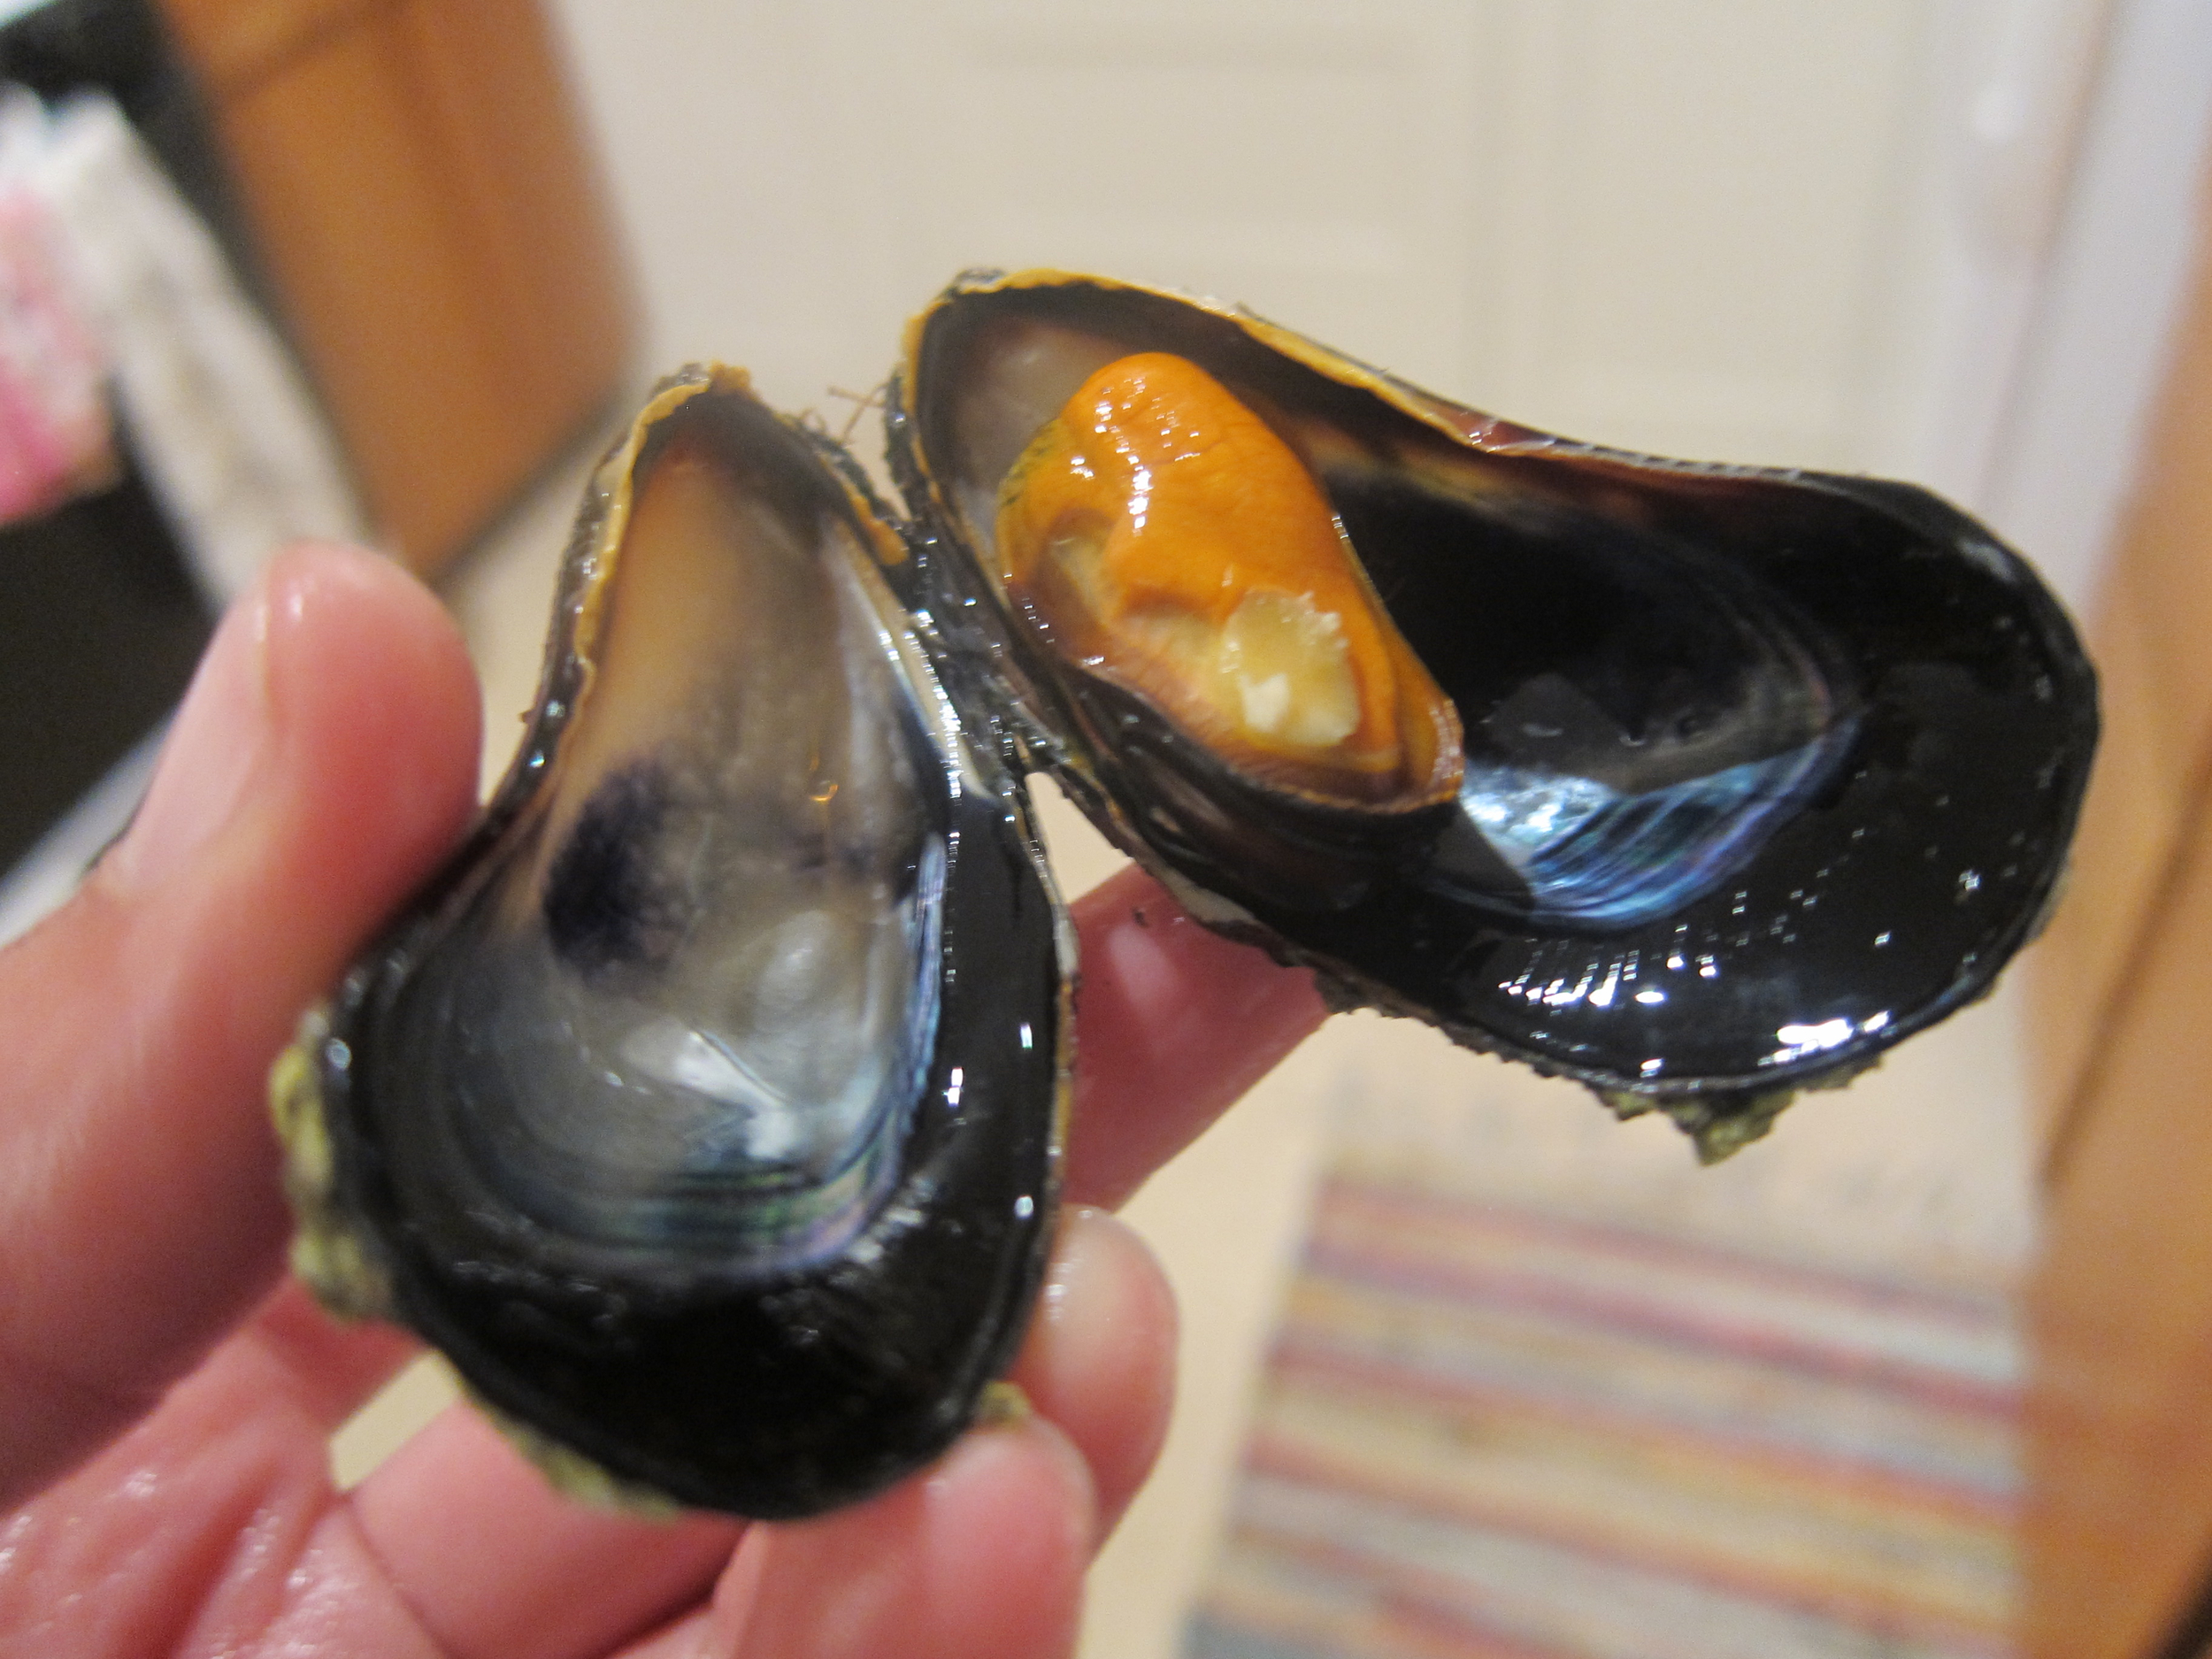
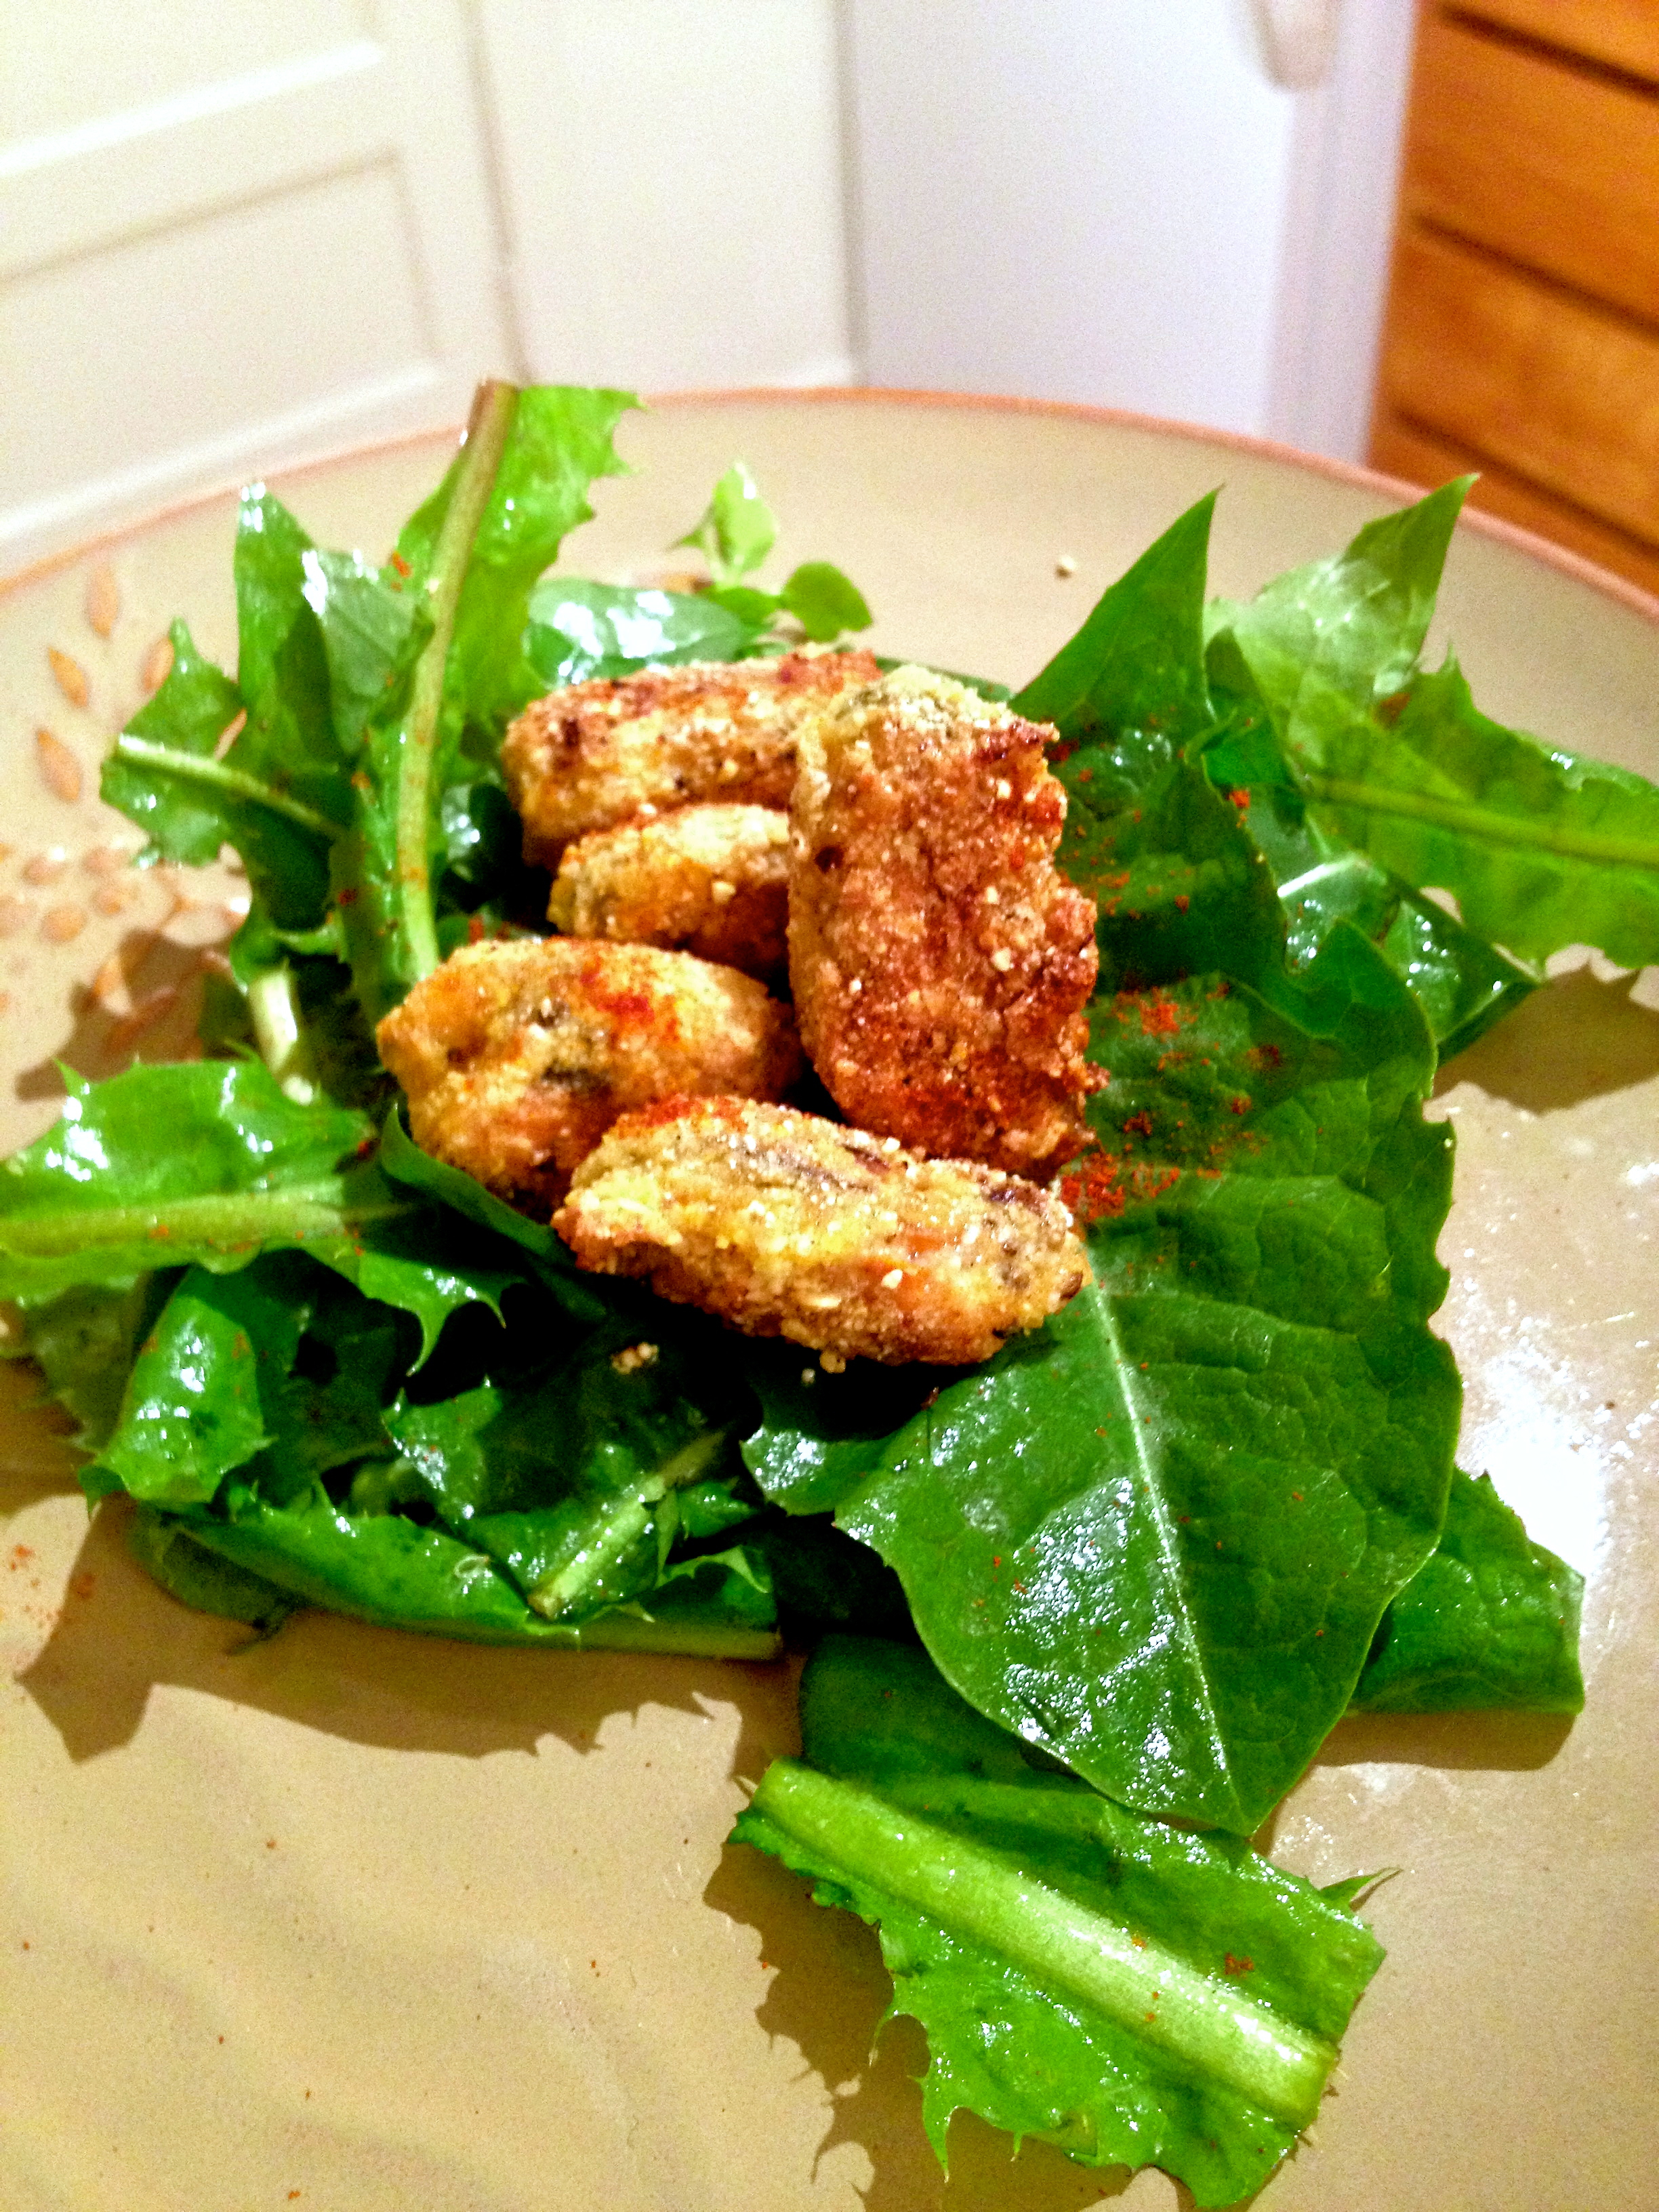
Fried Mussels with Wild Greens
Armageddon shmarmageddon - I've got my mussels.
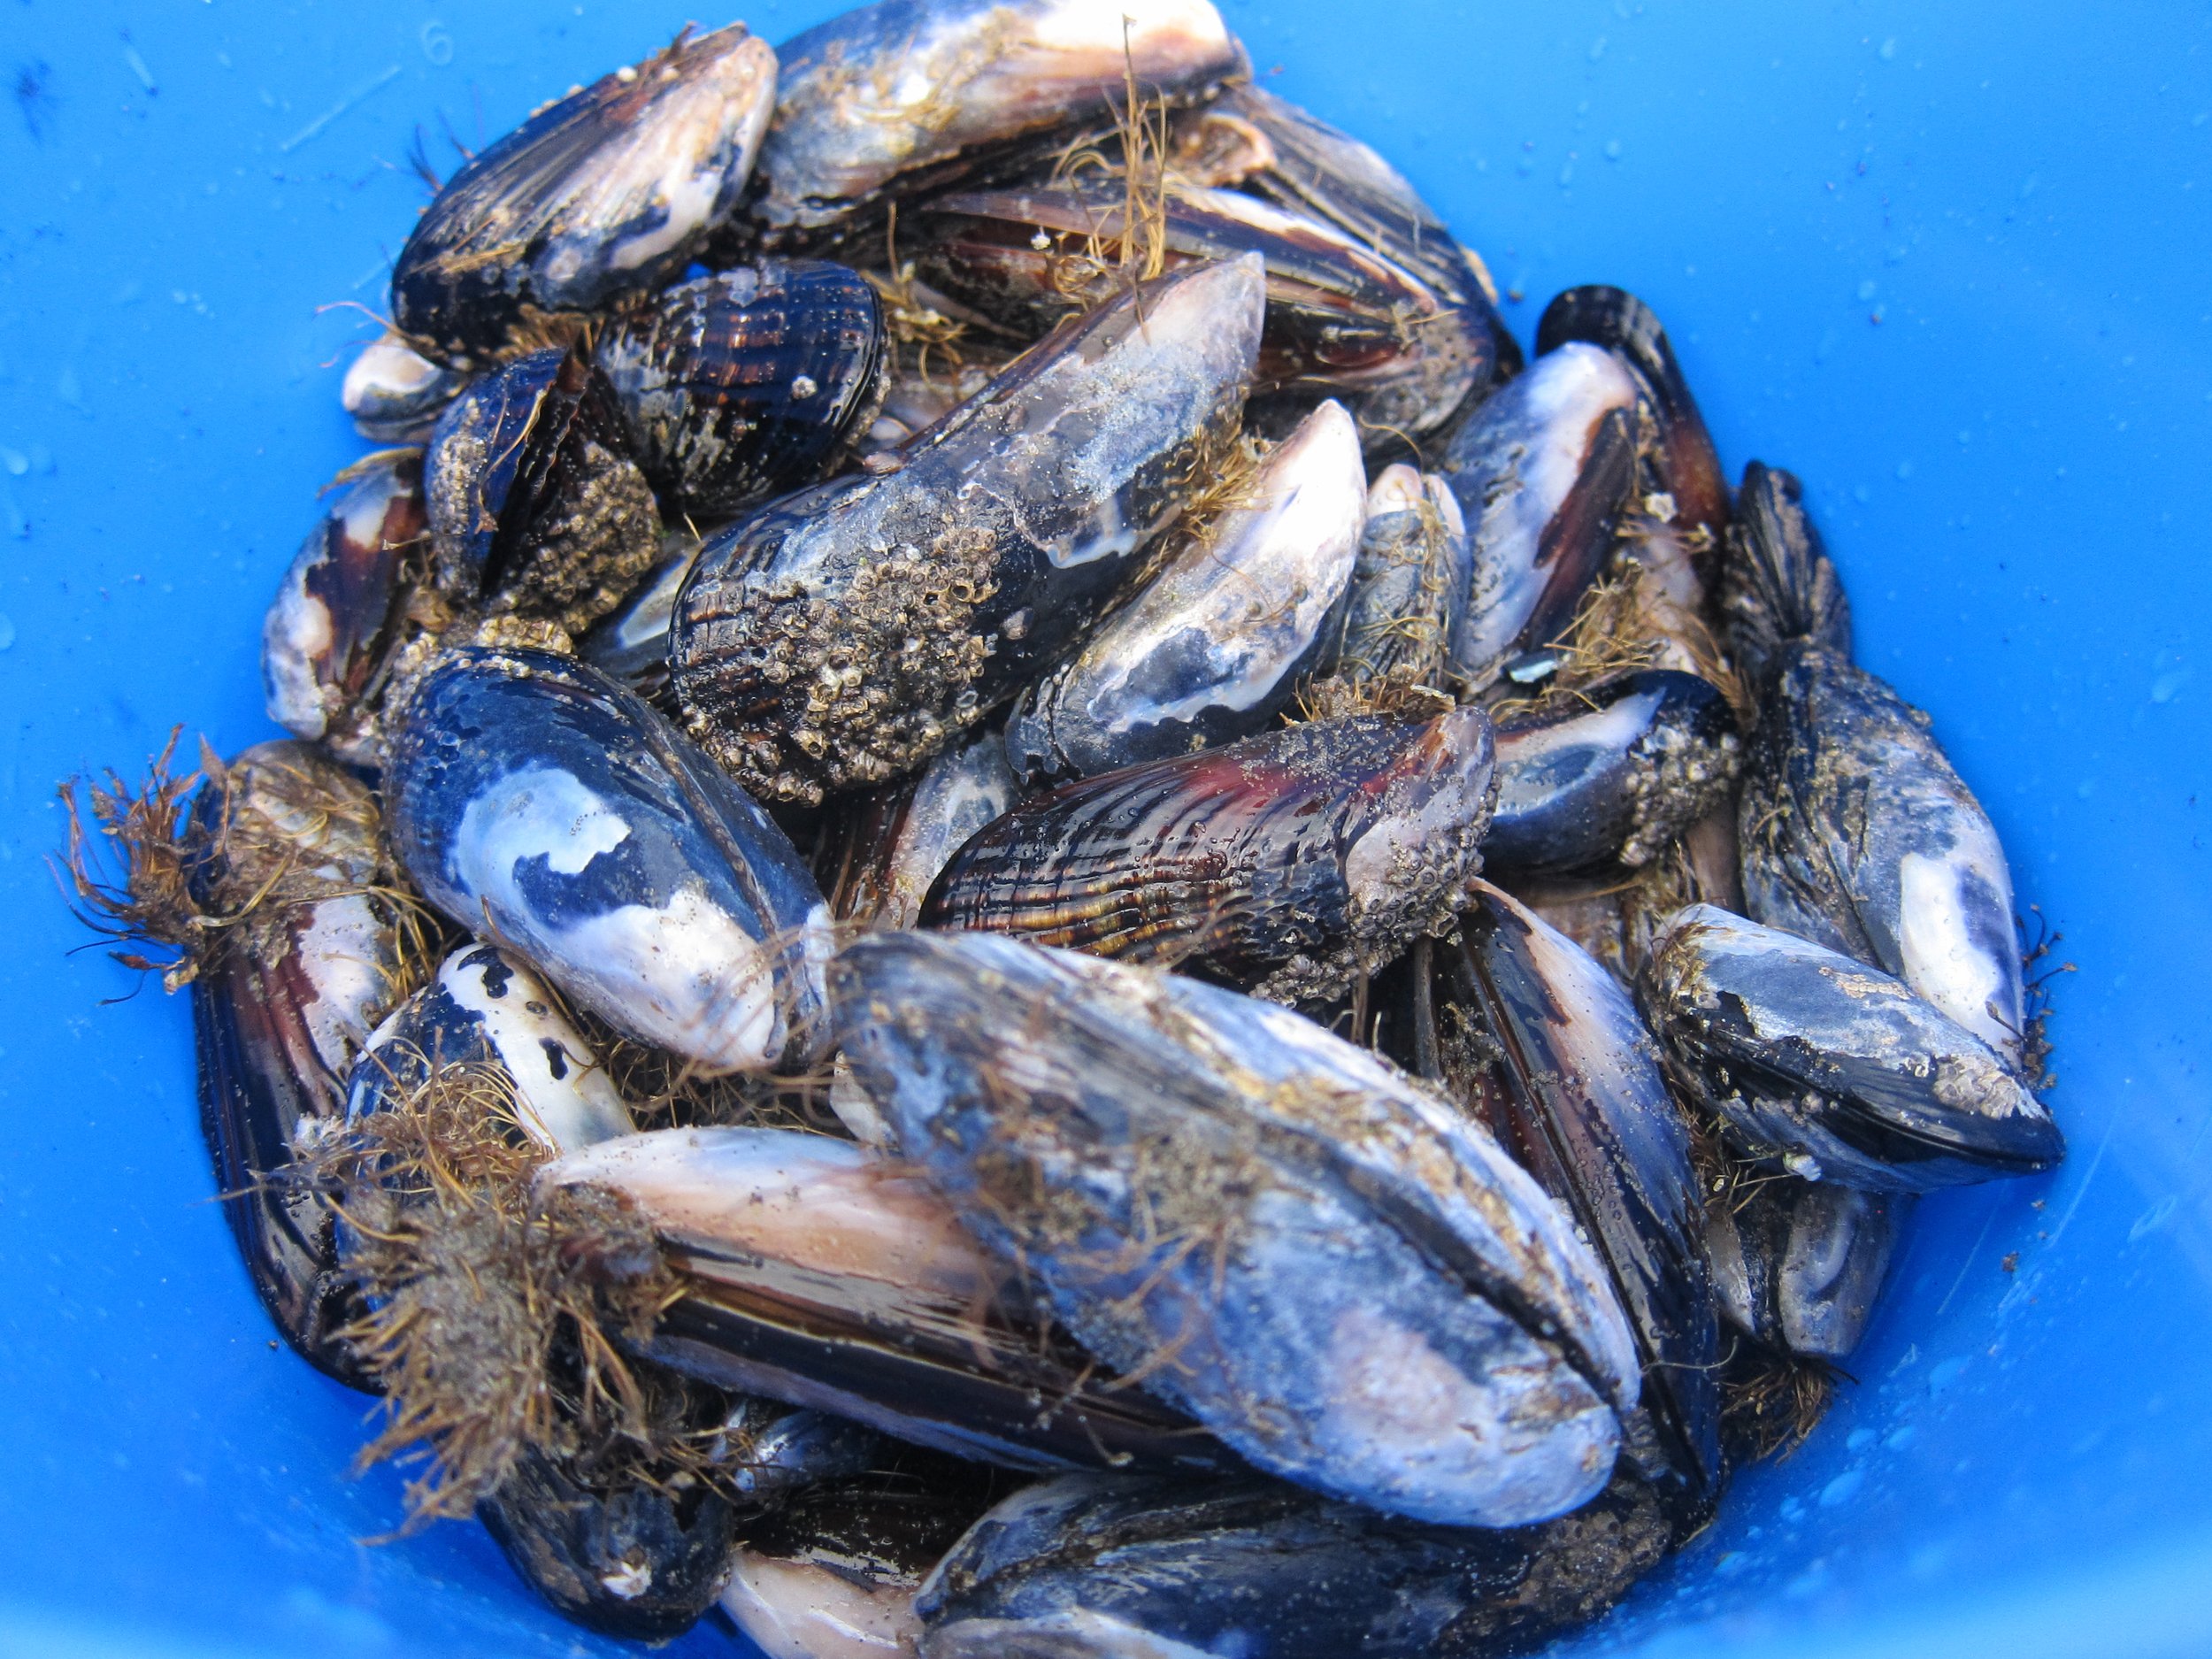
The primary ingredients to this dish are foraged (Baker Beach for mussels and Temescal for greens), so as long as I can rustle up the other ingredients and a burner, I’ll be sitting pretty post-apocalypse. The wild mussels were foragedand thus, quite “rustic” making it virtually impossible to clean them thoroughly and necessitating cooking and taking them out of the shell before consuming, so I decided to fry them. The below recipe serves 3-4 as an appetizer.
1 pound fresh mussels, rinsed and scrubbed as best you can
1 cup cornmeal, medium grind
1/2 teaspoon paprika
1 egg, beaten
1/2 teaspoon salt
2 tablespoons high heat oil, such as grapeseed or coconut
1 lemon wedge (can use a slice from dressing, below)
Foraged greens, such as dandelion and sow thistle tossed with lemon-olive oil dressing (Combination of juice from 1/2 lemon, 1 tablespoon olive oil, and 1/2 teaspoon of mustard for 1 cup greens) - I like a lot of greens, but whatever is best for your preference of fried mussel:green ratio
Boil mussels in a large pot of water (rolling boil) for about 7 minutes, or until mussels open. remove mussels from shell, drain any excess water, and set aside. Discard any mussels that do not open.
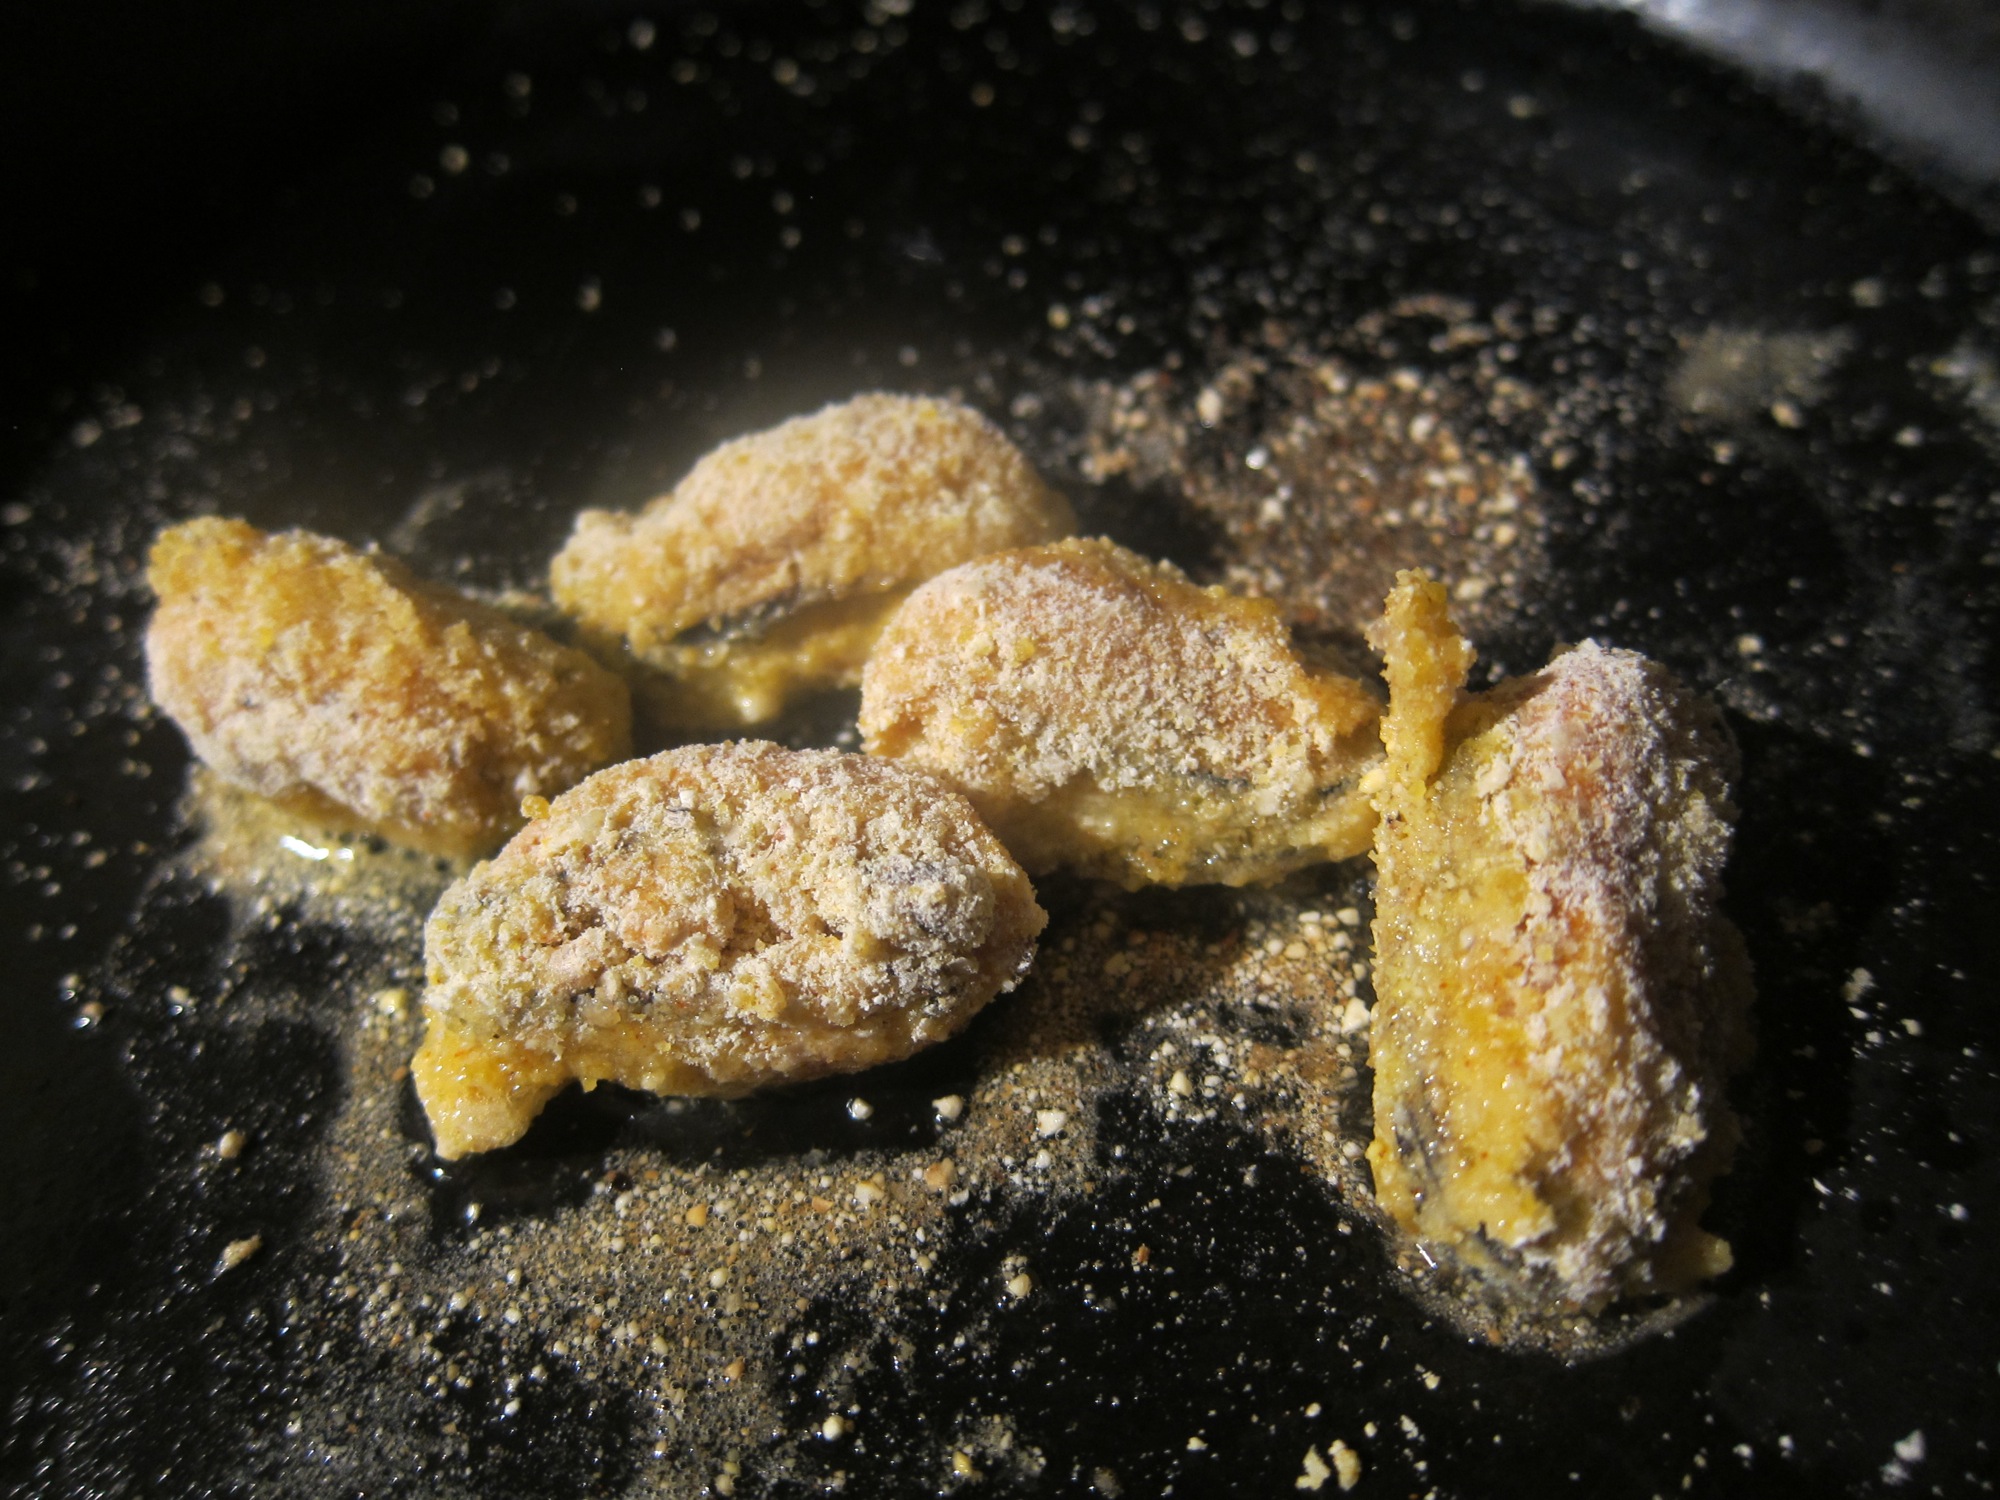
Meanwhile, mix cornmeal with paprika and salt on a plate. Dip mussels in beaten egg a few at a time, then toss in cornmeal mixture to coat.
Heat oil on medium-high. Once oil is hot, add mussels and brown on each side, about 3-5 minutes total. Remove from oil, place atop wild greens tossed with dressing, drizzle with squeeze of lemon, and sprinkle with paprika.
Serve with aioli, if desired.
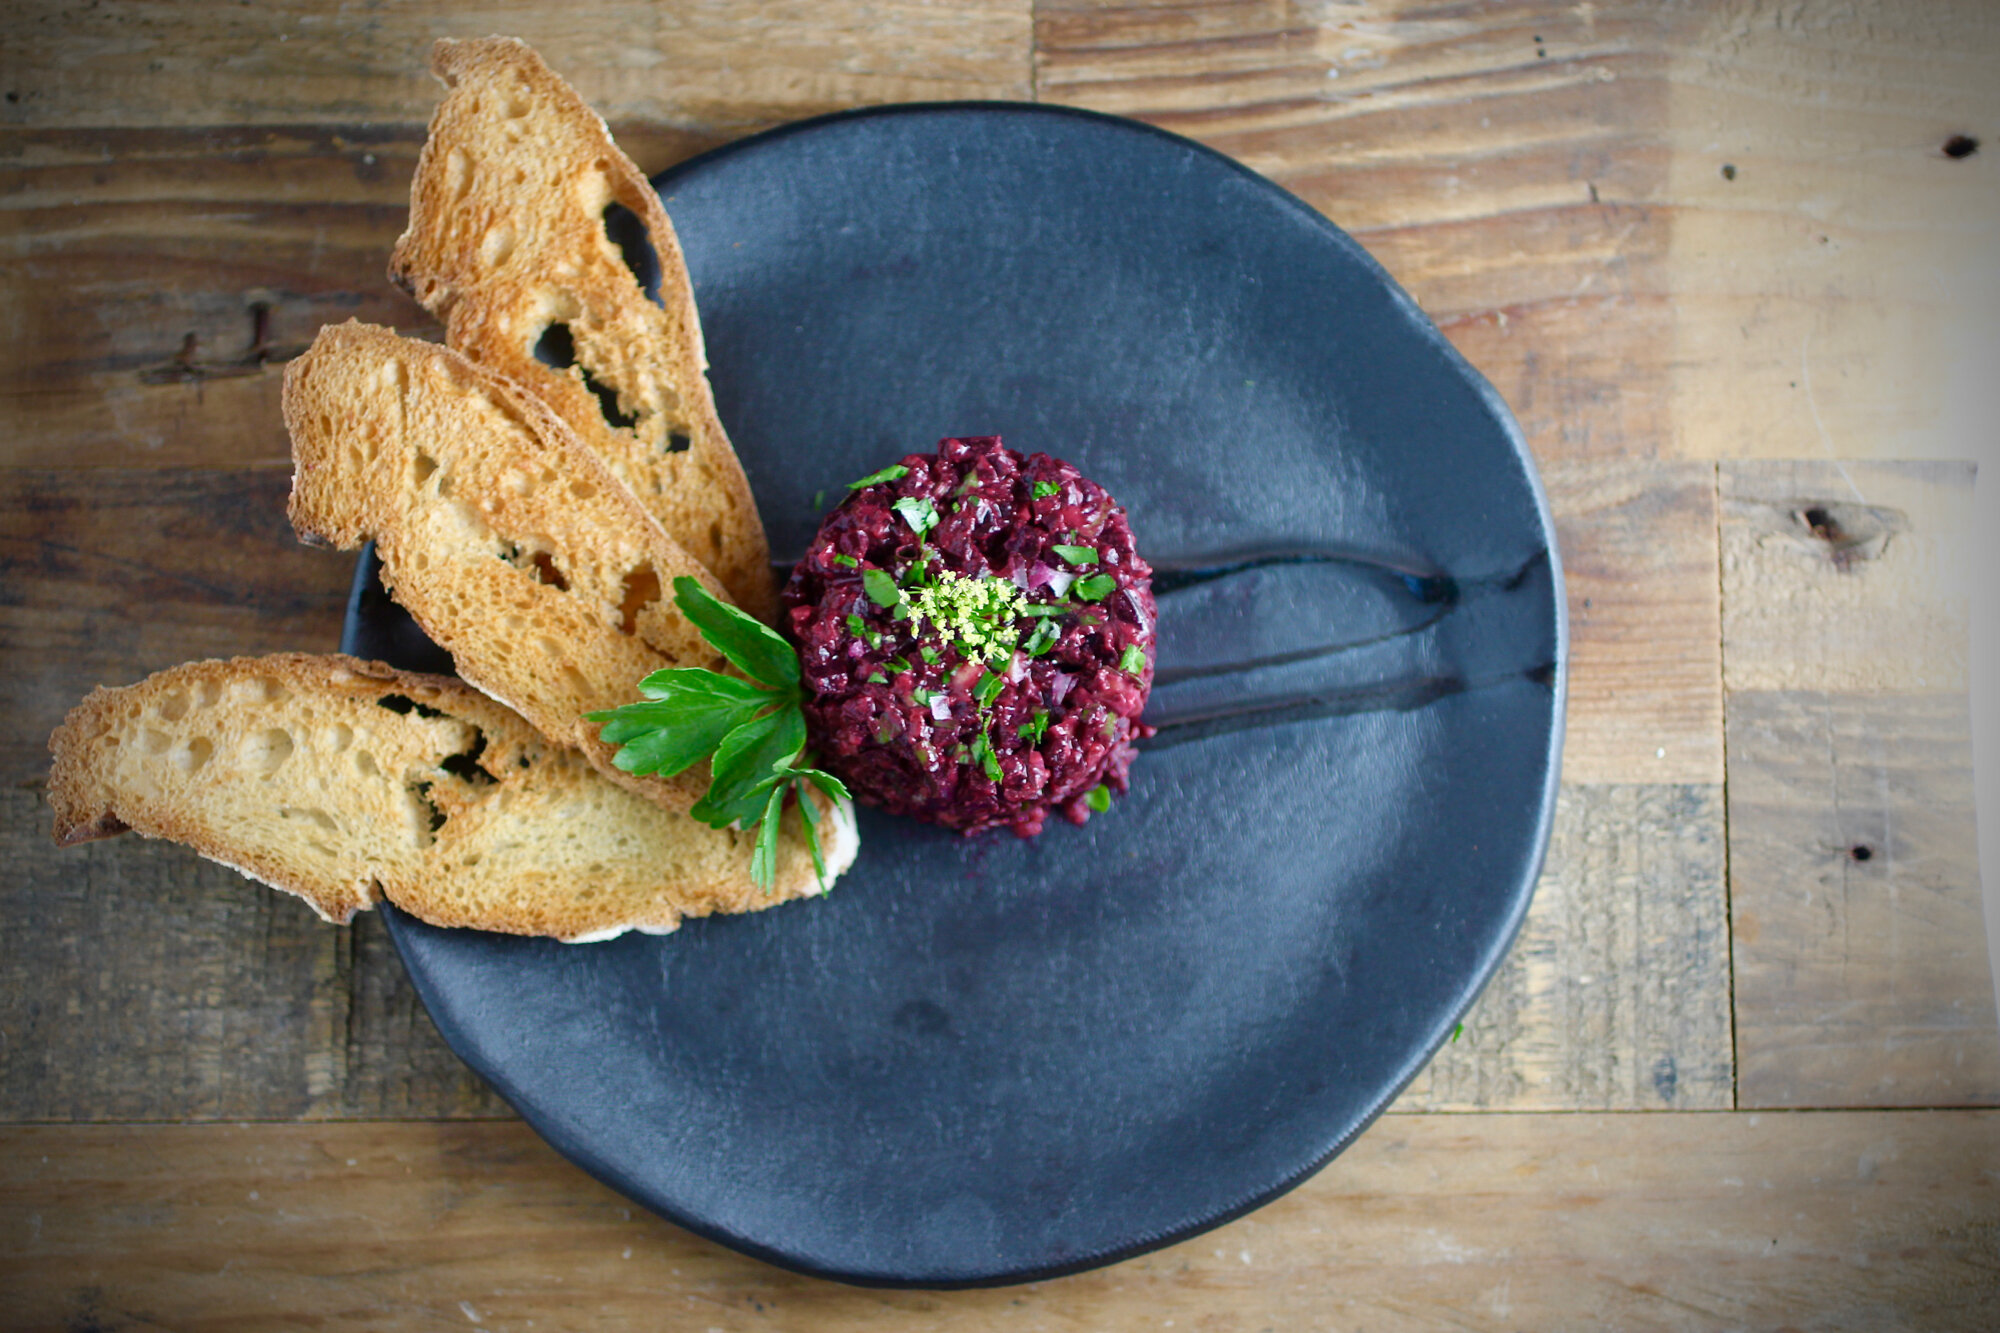
Beet tartare with shallot, capers, and dijon mustard
Plant-based spin on a classic with or without faux egg.

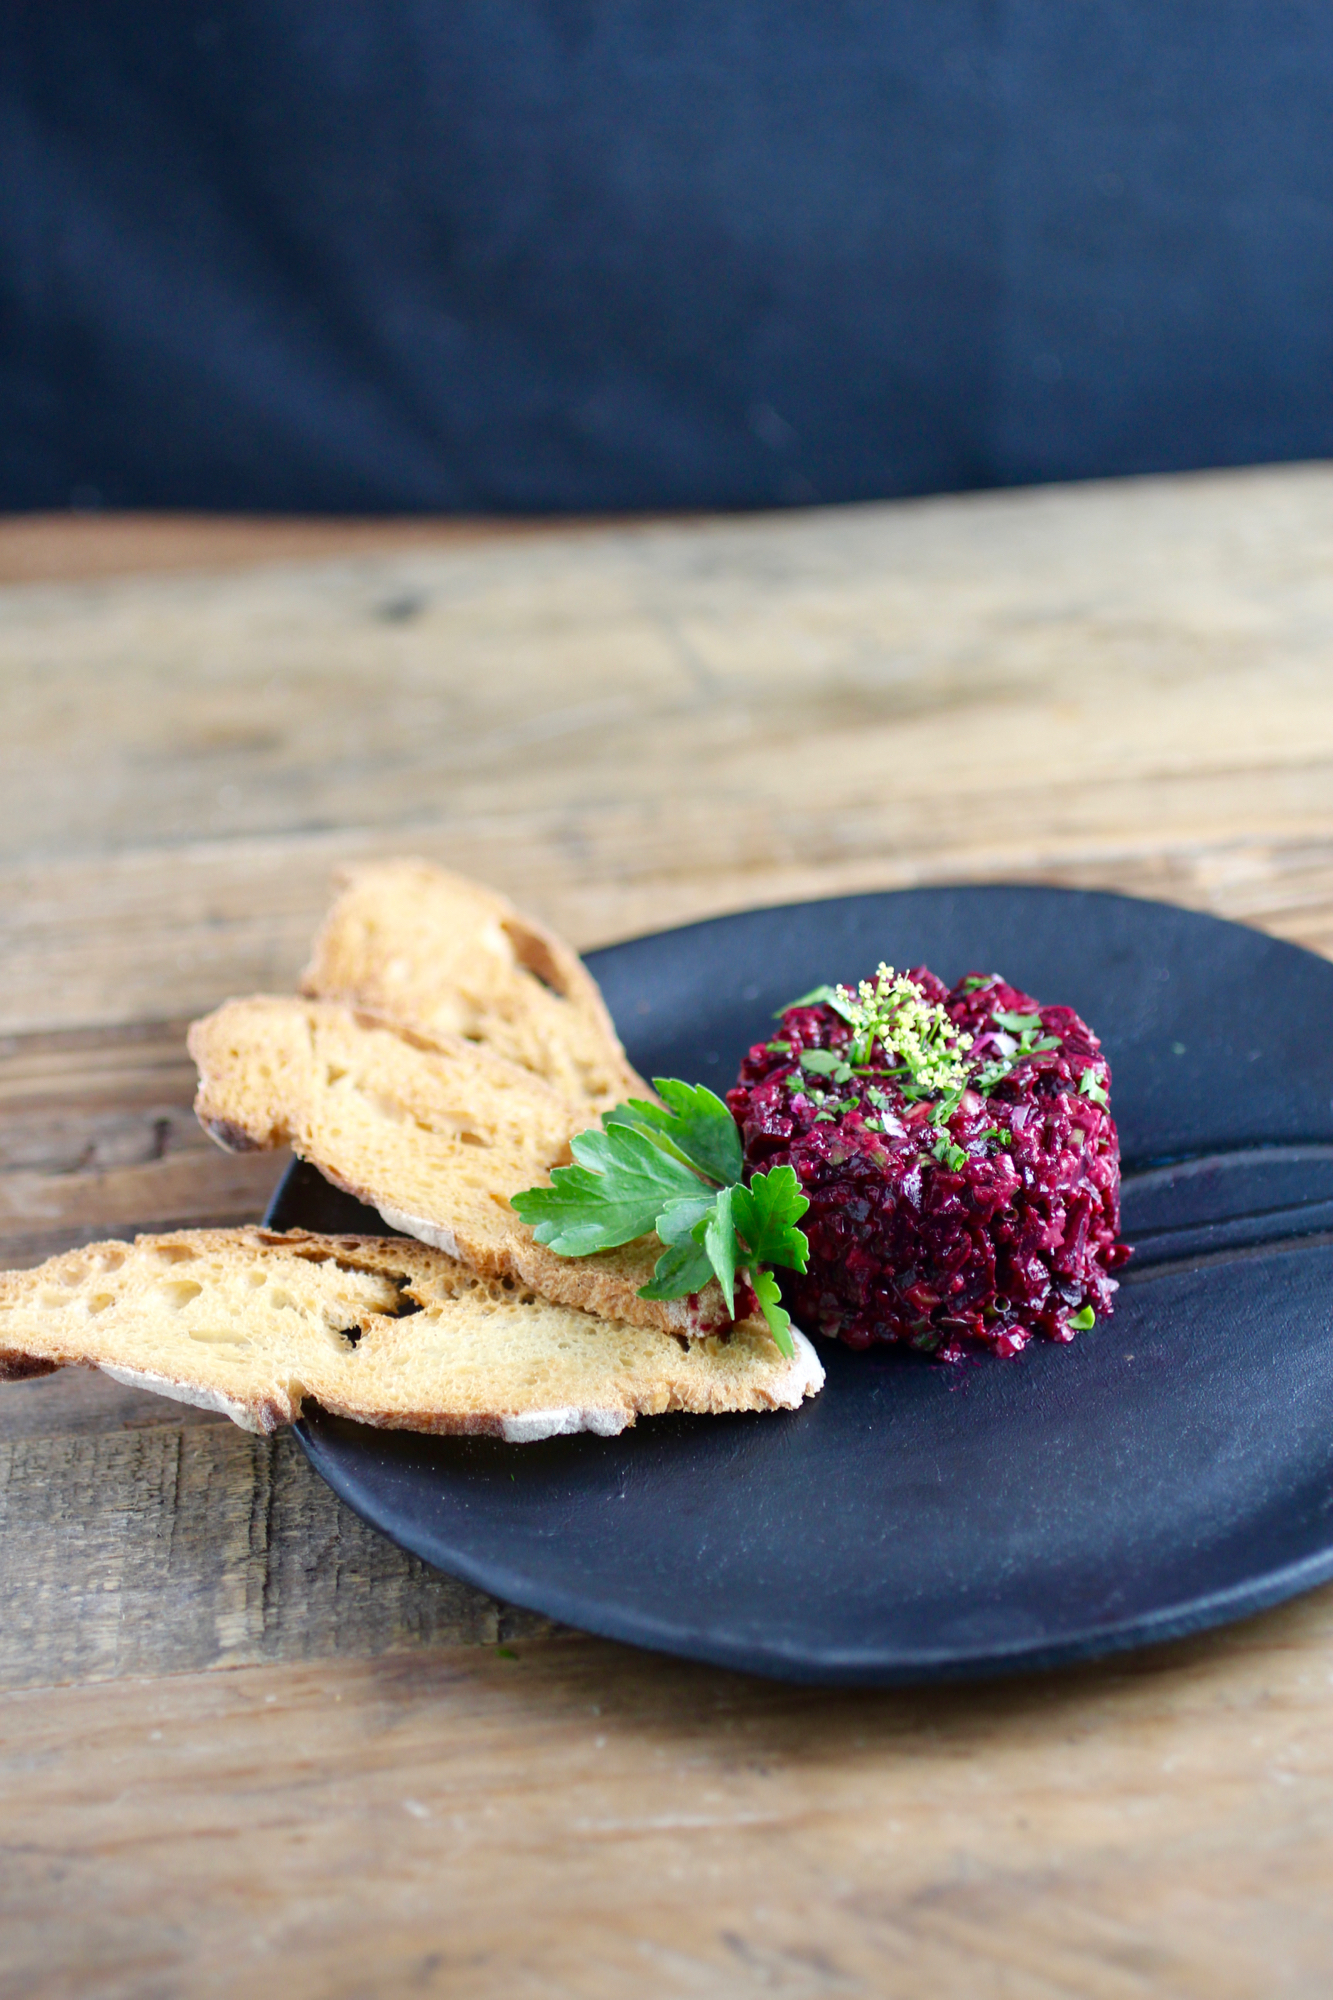
Beet tartare served with baguette crisps, but you can use any edible vehicle for the tartare of your choosing.
There's something special about classic beef tartare done right. I'm kind of a sucker for tartare when I'm at a restaurant that I know has good meat and will prepare it properly. Usually, I'm with someone else and we'll share it in addition to a few salads or other things to help balance out the meal. BUT, in the interest of plant-forward innovation, I thought I'd try to replicate tartare using beets instead of beef and making the whole dish entirely from plant-based ingredients. Crazy? Maybe.
There were some challenges with mimicking the luscious quality of the raw beef, but the combination of miso and olive oil comes pretty close and the miso has the additional bonus of providing umami flavor that you get from meat in the beef version (double score!) If you do eat meat, another great option is to make a tartare with both beef and beet (I've done a 1:1 ratio and it was very successful) to keep some of the beef flavor and texture, but still make your tartare more plant-forward. Other classic ingredients are added to this recipe such as shallots, capers, parsley, and Dijon mustard, but you can play around with these as you like!
Traditionally, beef tartare is served with a runny egg yolk on top that is mixed in to the cubed steak before eating. You could top this with a real egg yolk and it would be delicious, but I was in an experimental mood and decided to try out making a faux egg from chickpea flour, flax, miso, water, and tumeric. The flax, chickpea, and water provide texture while the miso flavor, and the turmeric color. It's pretty fun, but, you know, not a real egg yolk. In my opinion, nothing you can make in a home kitchen comes close to an egg if you want all of the egg-like properties. Using flax and other substitutions works great for many baking or binding applications, but if you're looking for a runny egg yolk there's nothing like the real thing...eggs are just magical. However, you can serve this with or without an egg/faux egg and it's still delicious. Great appetizer for your vegan friends (or self) and can easily be gluten-free if served with GF crackers, endive, or the like. Recipe below serves 6 and can be stored in the refrigerator for a few days without diminishing (too much) in quality.
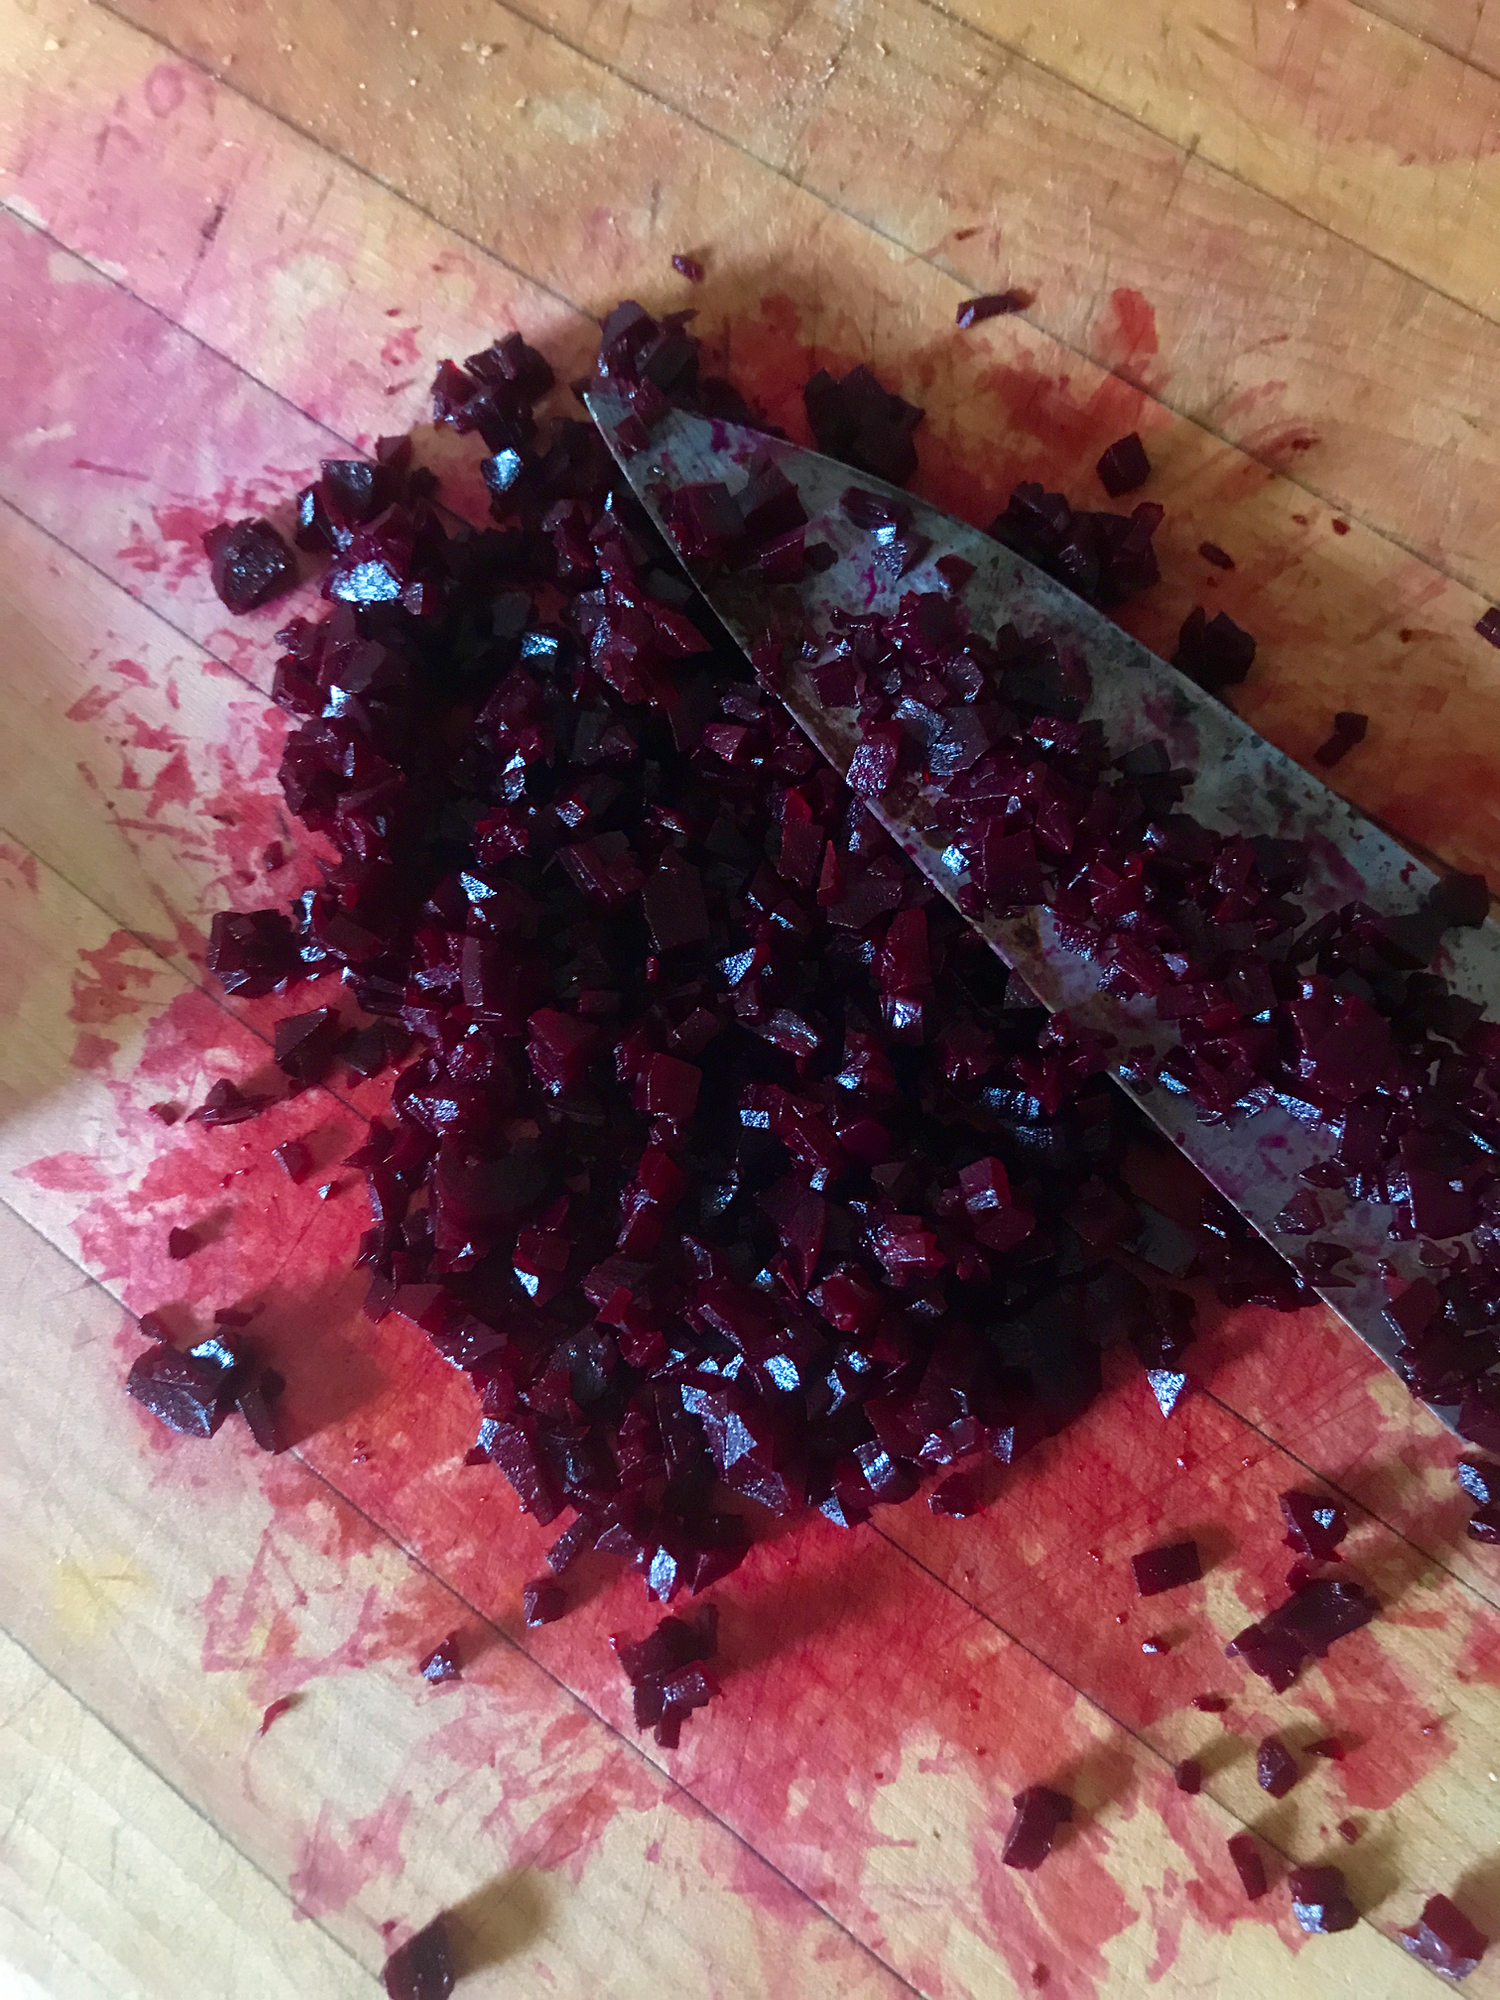
Finely mincing beets - it's not blood, it's beet juice! Be careful, it stains.
- 2 medium beets, about 6 ounces
- 2-3 teaspoons olive oil
- 2-3 teaspoons white miso
- 1 tablespoon minced capers (I used California capers)
- 2 teaspoons minced shallot
- 2 tablespoons minced parsley
- 1 tablespoon minced chives (optional)
- 2 teaspoons Dijon mustard
- Squeeze of lemon juice or dash of red wine vinegar
- Salt and cracked black pepper, to taste
- 1 egg yolk or faux egg, for serving - recipe below (optional)
- Baguette crisps (I used this recipe), crackers, cucumber, or endive, for serving
To Prepare
- Mince beet into fine cubes using knife and add to medium bowl.
- Mix in 2 teaspoons olive oil, 2 teaspoons miso, capers, shallot, 1.5 tablespoons parsley, chives (optional), mustard, and squeeze of lemon. Stir in salt/pepper to taste and more olive oil and/or miso to desired flavor and texture.
- Mound onto serving plate and top with egg yolk/faux egg yolk (optional). Sprinkle with salt and reserved parsley and serve with baguette crisps or crackers.

Beet tartare with faux egg. Not perfect, but kinda works!
Faux egg yolk - makes 1 faux egg yolk (if using for above recipe, you may want to double the below to allow for creation of a larger "yolk" if needed)
- ½ tablespoon chickpea flour
- ½ tablespoon ground flaxseed
- 1 teaspoon white miso
- 1 tablespoon water
- ¼-½ teaspoon turmeric
- To prepare: Whisk all ingredients except turmeric then whisk in turmeric to create desired color.

Spreading beet tartare on baguette crisps. The above is 1/2 of the recipe.

Beet and lemon zest hummus
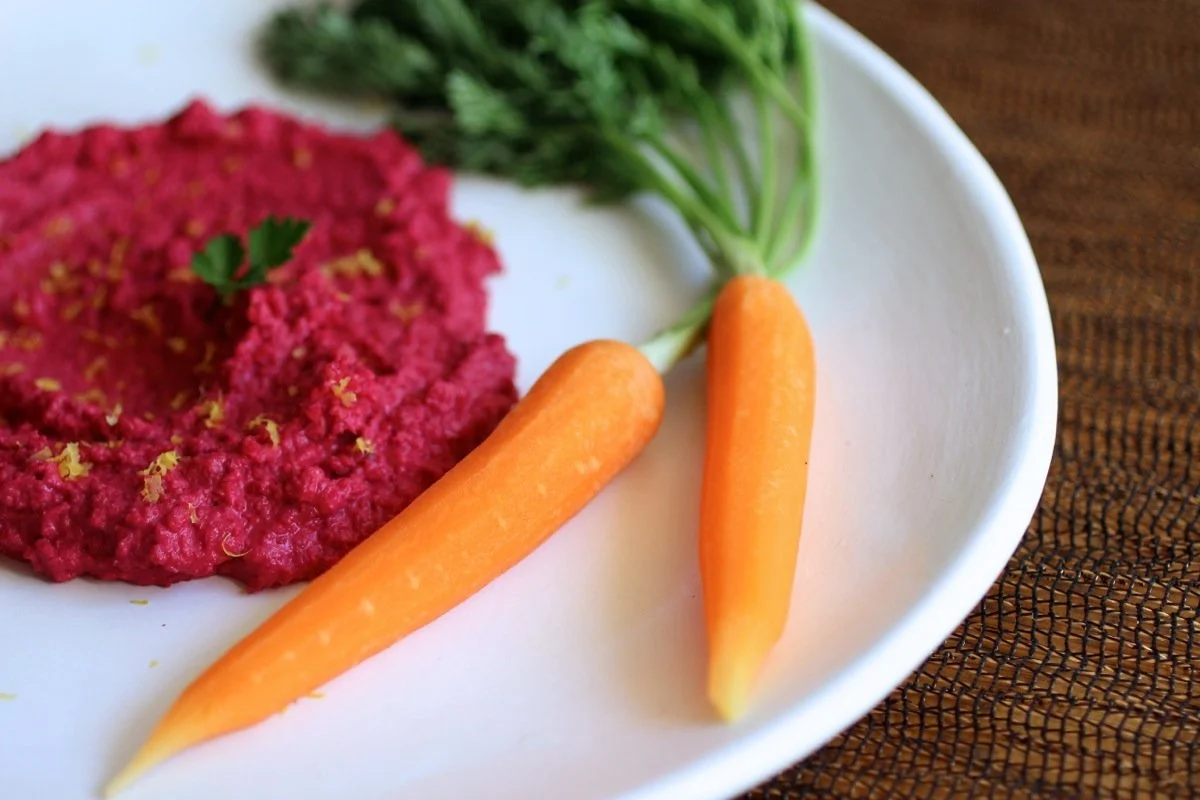
Let's face it - hummus is an easy crowd pleaser. It's vegan, gluten-free, nut-free and dip-able, so ever since it's widespread usage in the U.S. you'll be hard pressed to find a party table absent of the chickpea-tahini spread. Variations on hummus, while not as common, are similarly appreciated and, with its bright eye-catching presence, this variation brings the party (my kind of party). The flavor is similar to classic hummus, but lighter and brighter with the beet and lemon zest. A more classic Middle Eastern take on this spread, lebna bil schwendr, includes yogurt and beet instead of chickpeas and tahini. Serve with crudités, crackers, toasted pita, or as a sandwich spread. Makes 2 cups.
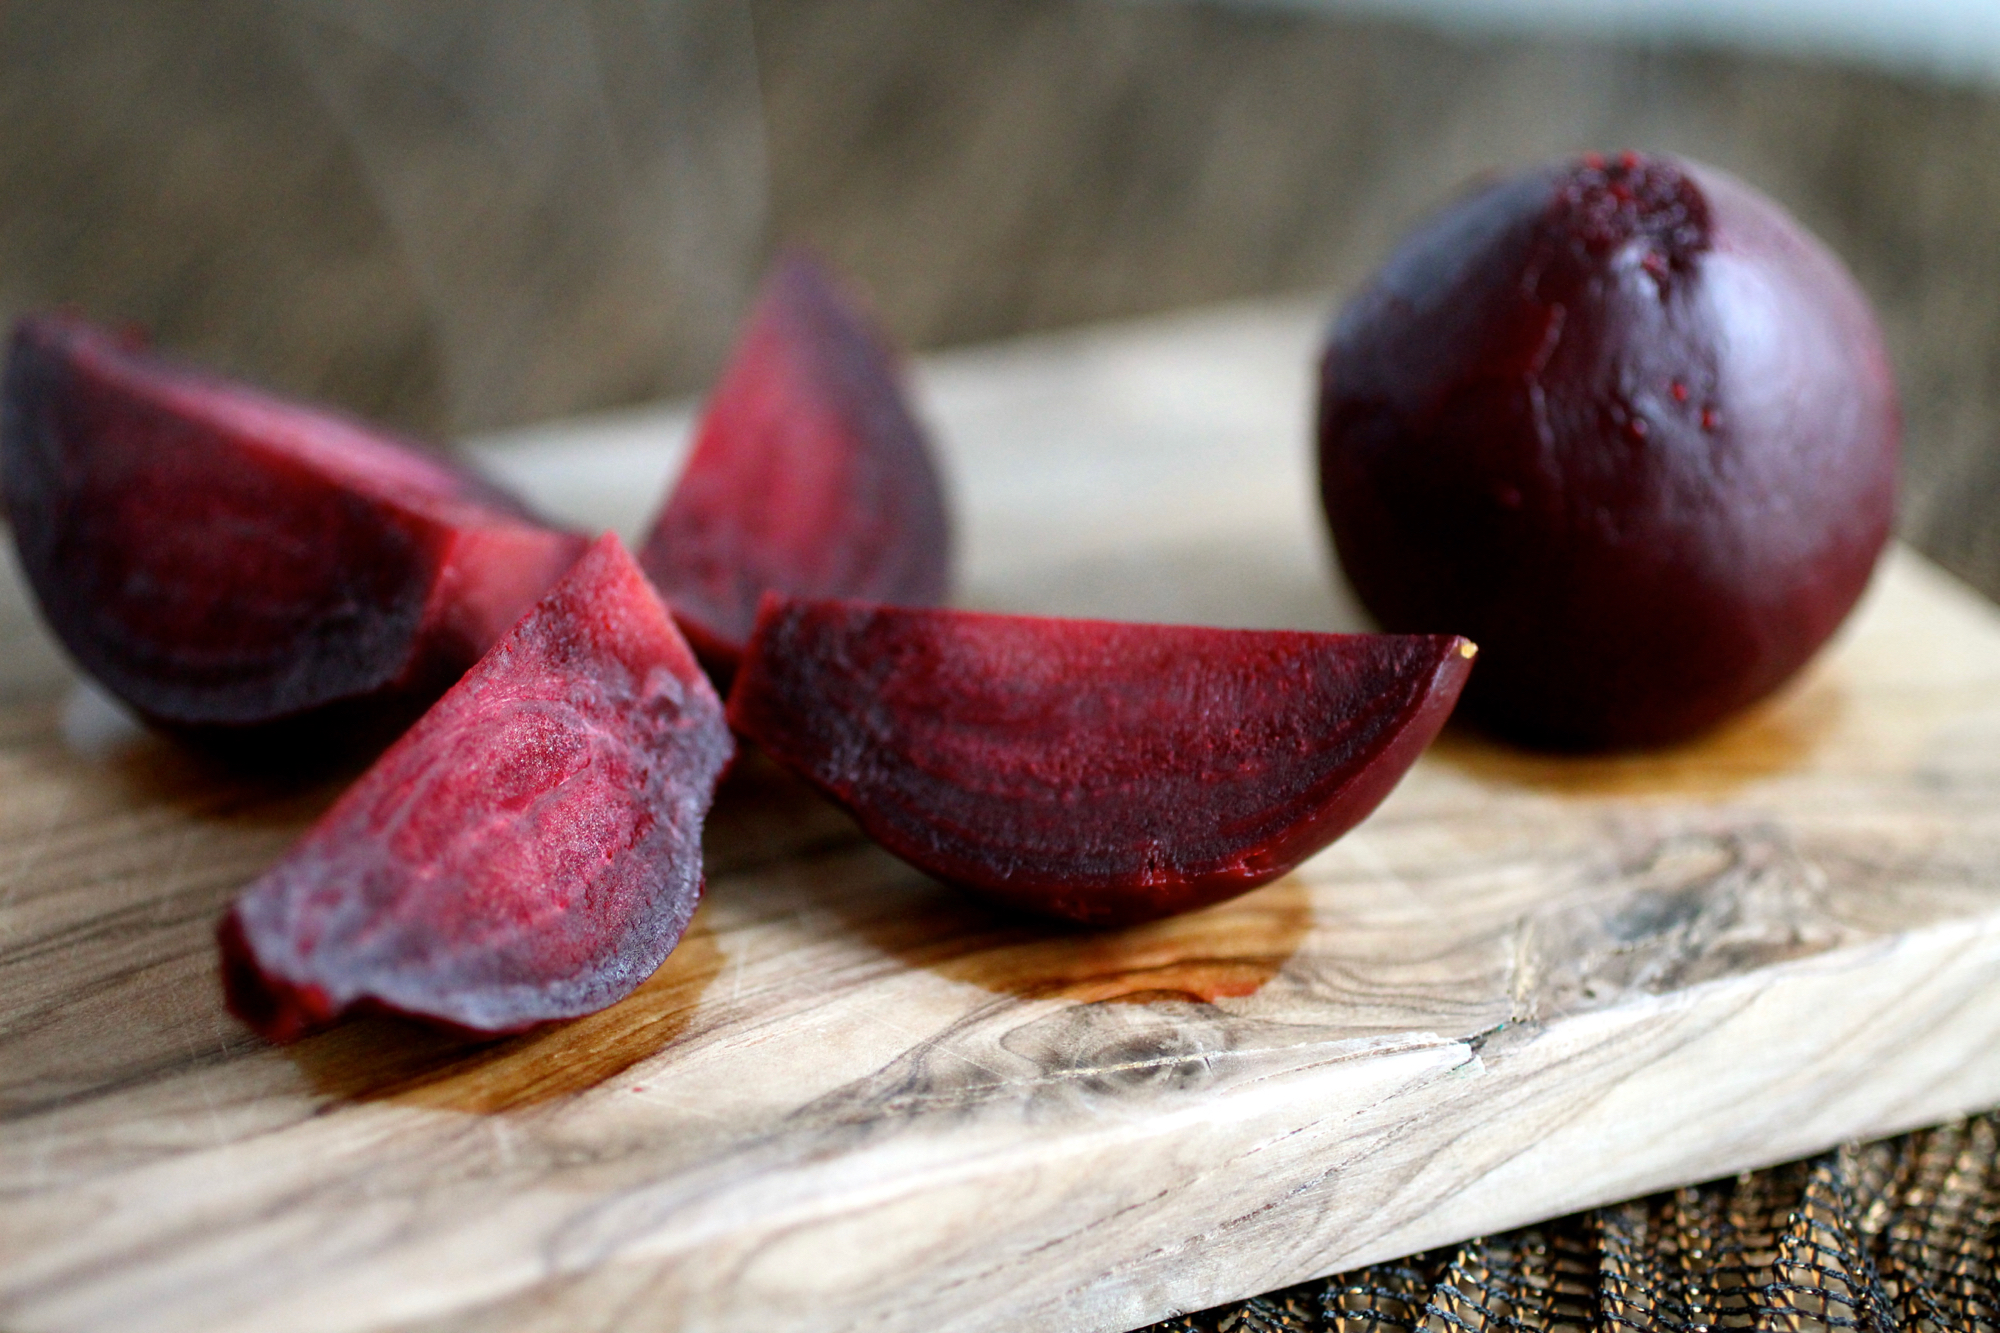
1 large or 2 small beets, about 4 ounces, scrubbed clean
1 cup cooked chickpeas
Zest of one lemon, about 1 tablespoon
Juice of one lemons, 2-3 tablespoons
2 tablespoons tahini
1/8 teaspoon salt
Up to 1/4 cup extra virgin olive oil
1-3 tablespoon(s) water
Fresh ground black pepper to taste (optional)
Cut tops off beets and place into a small saucepan. Cover with water, bring to a boil, and cook until tender, about 15 minutes. Slide skin off of beets while cooling under cold running water. Chop and add to food processor.
Add chickpeas, lemon zest, lemon juice, tahini, salt, and 2 tablespoons olive oil. Blend until smooth. Drizzle in more olive oil and water until desired consistency is reached. Incorporate black pepper to taste. Hummus will keep in the refrigerator for up to one week.
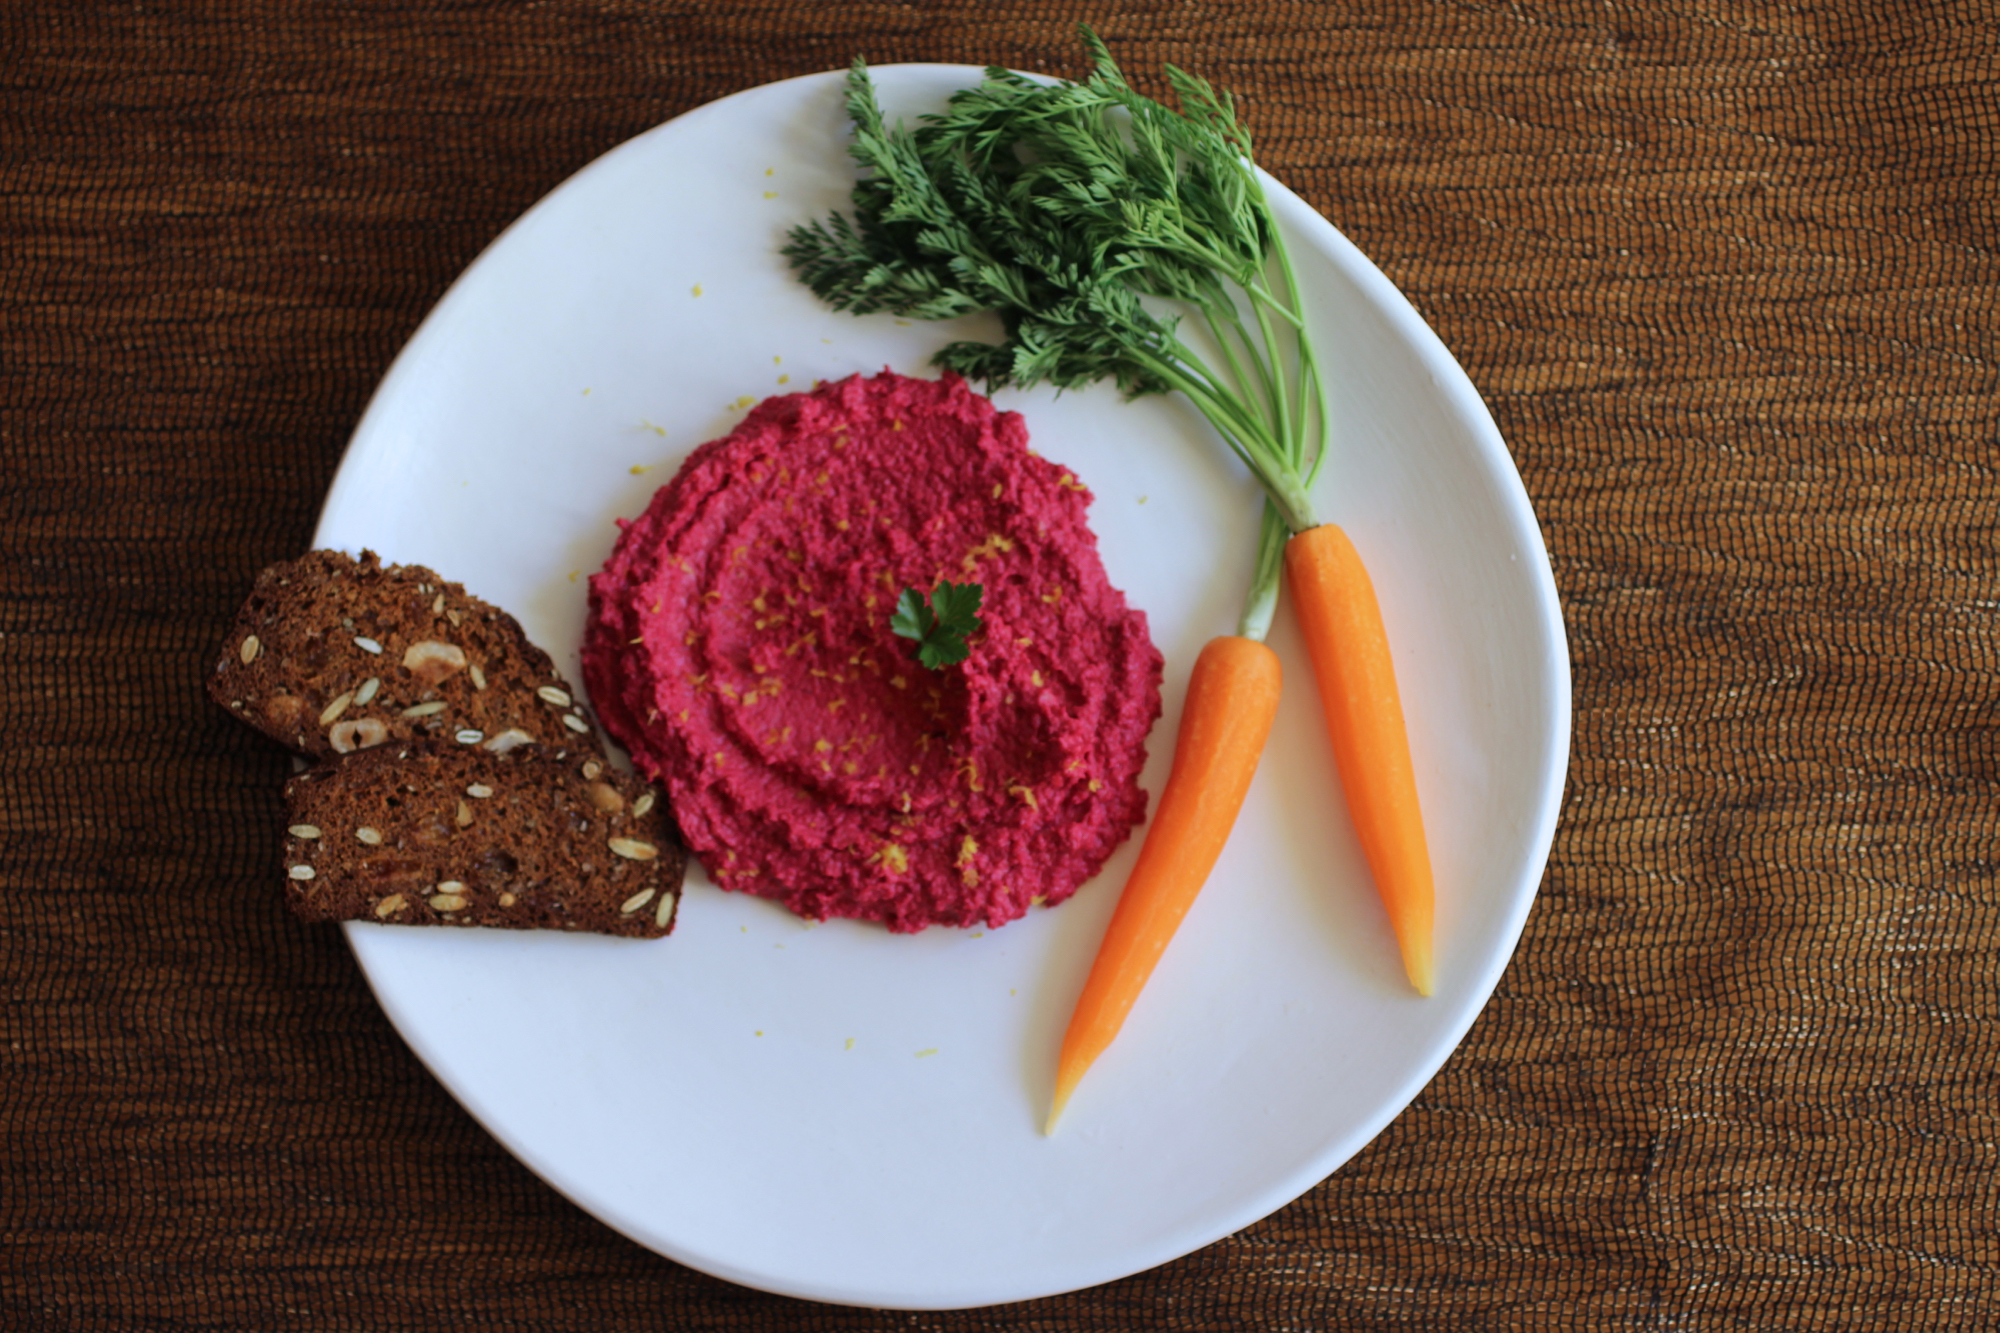
There are many ways to eat this hummus!
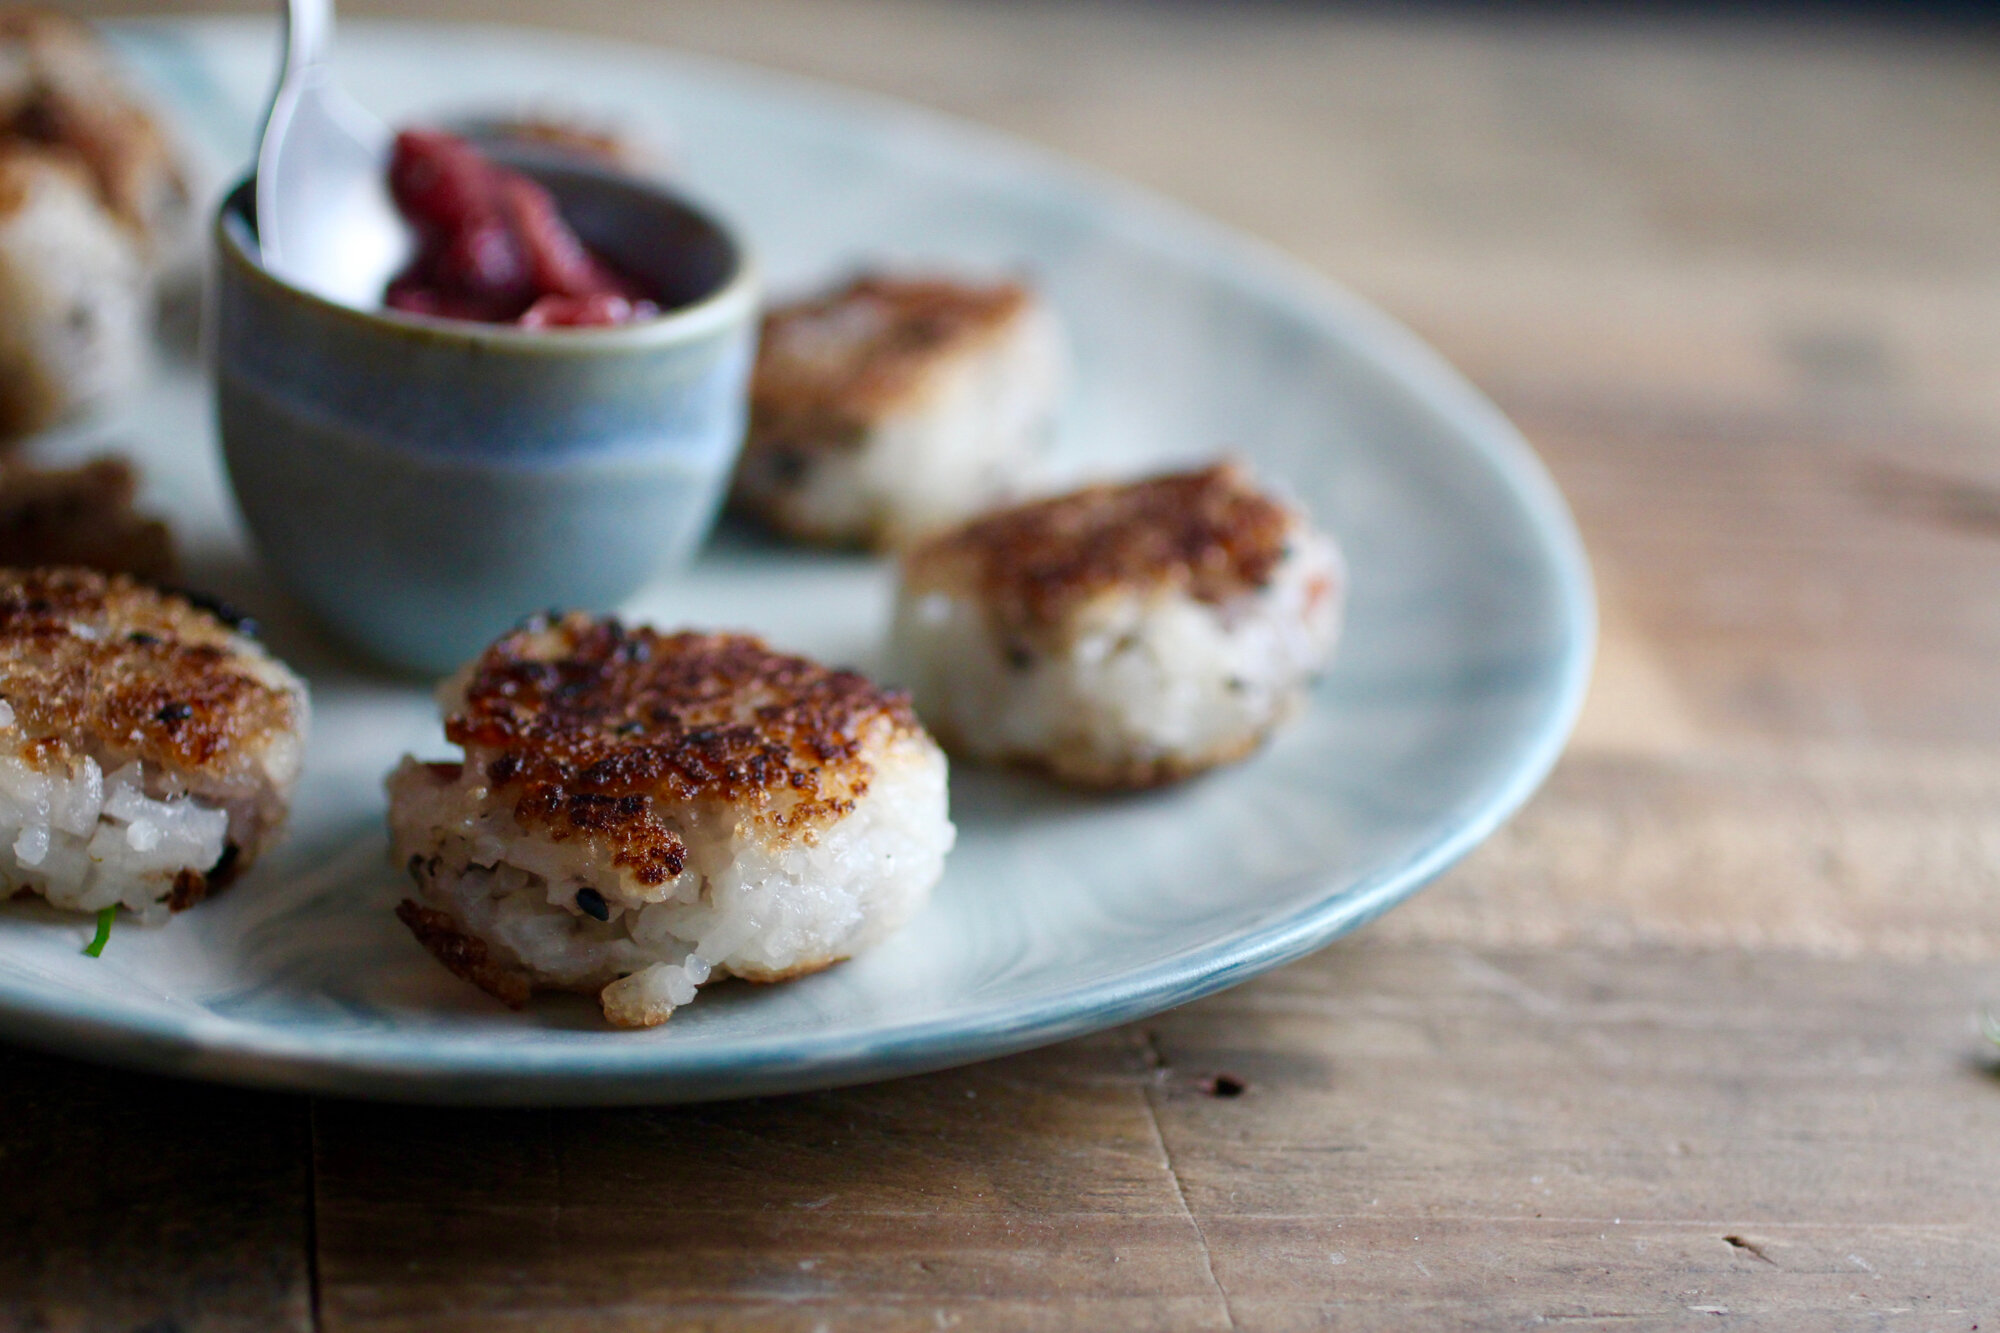
Seared onigiri (Japanese rice balls) with pickled plum

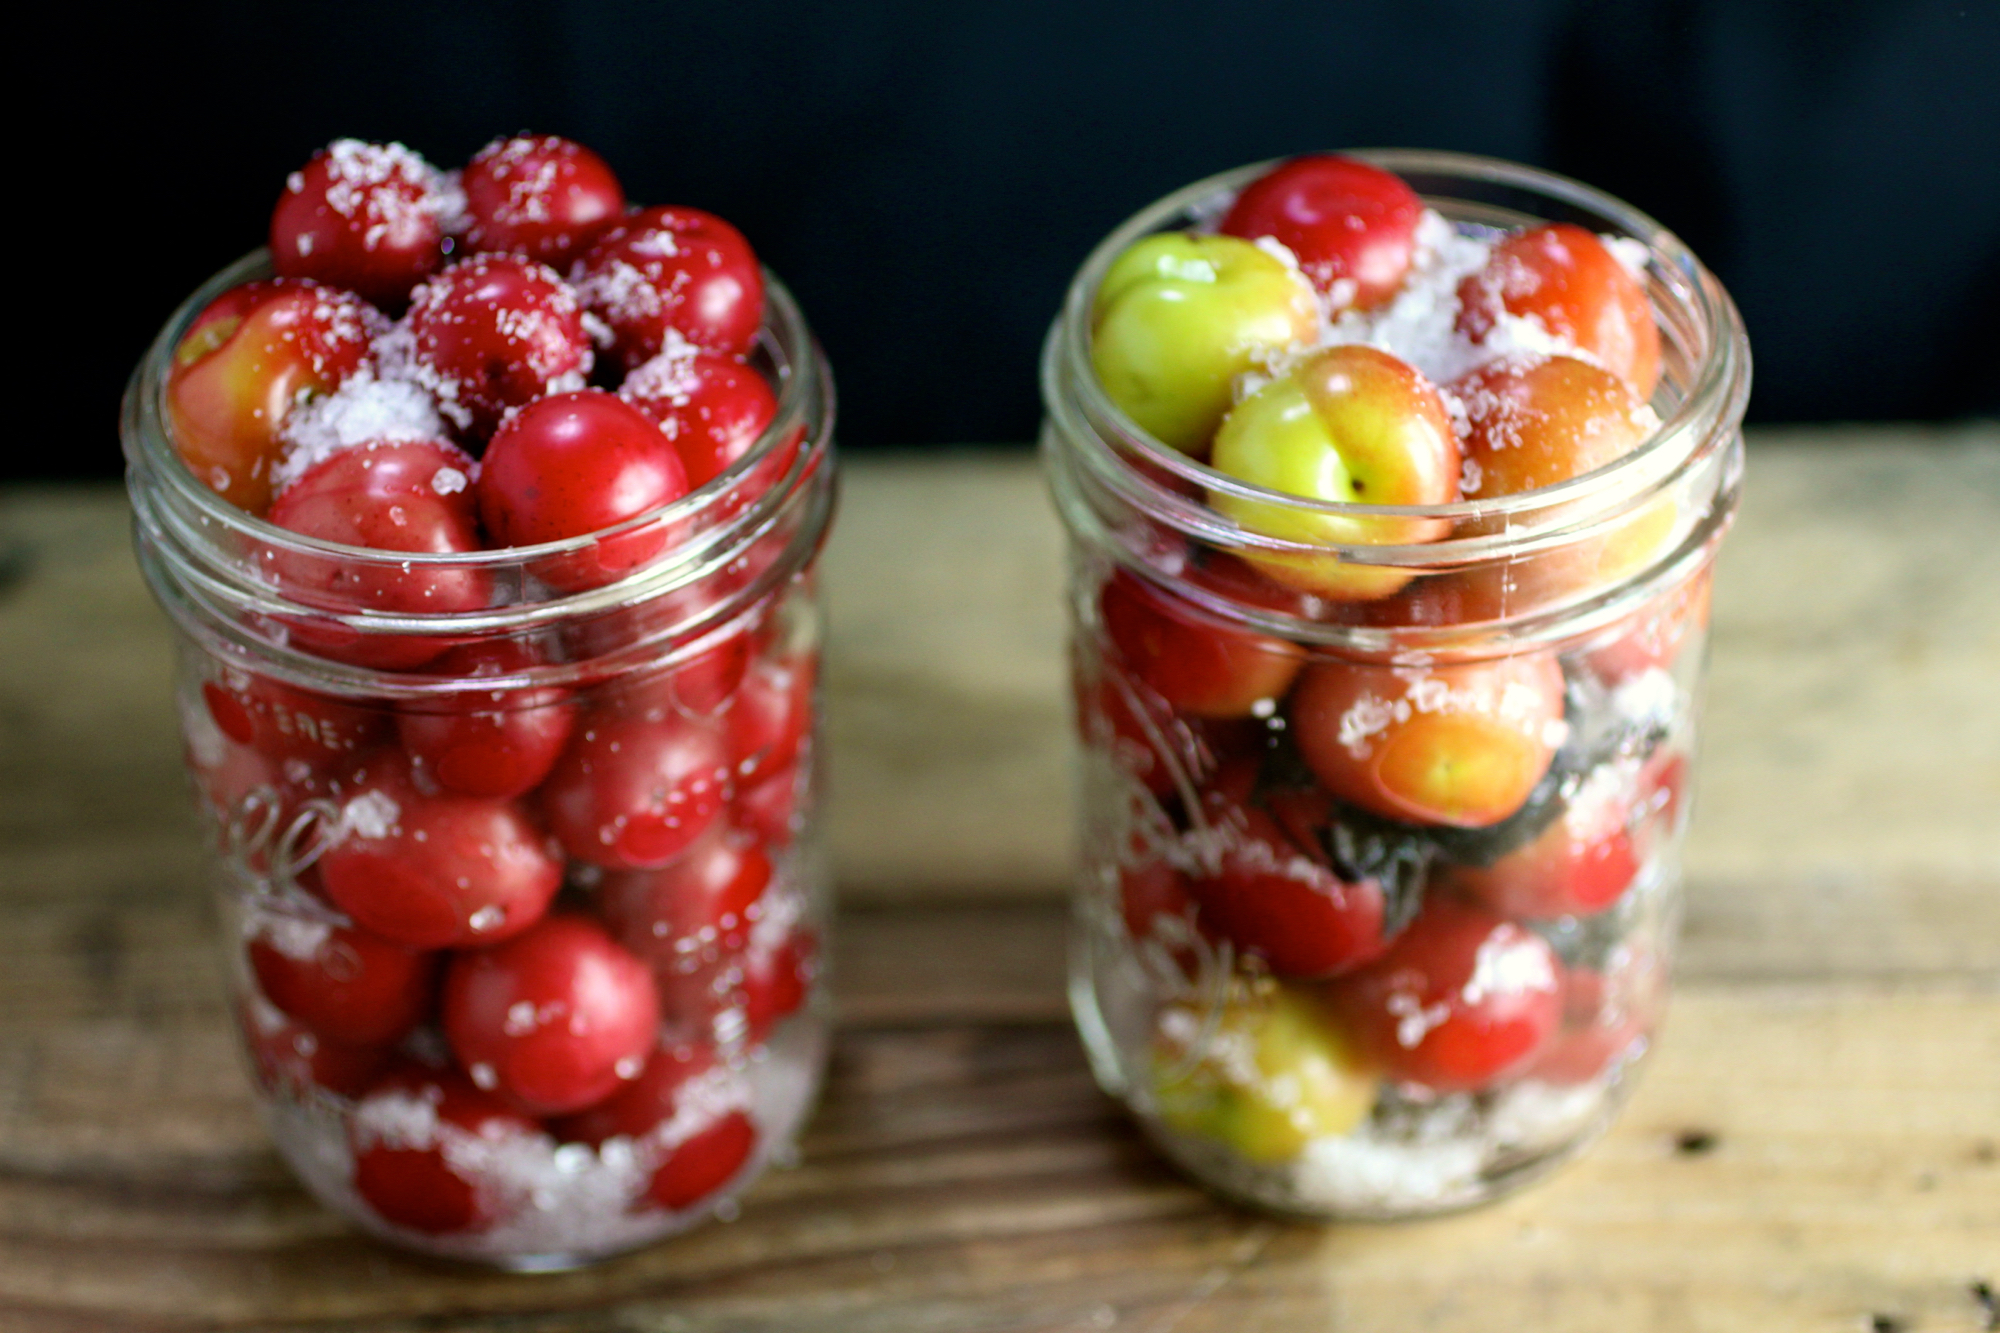
The beginnings of umeboshi made from wild California plums.
Last year I was diligent enough to get my hands on some wild plums and turn them into a California-inspired version of umeboshi, the umami-rich pickled plum condiment from Japan. You can find more about umeboshi and how I made it here, but the most important piece of information in this blog post is that as a result of my making umeboshi, I might be invited on an - I kid you not - Japanese game show. "Who Wants to Come to Japan" is a show that essentially, sends people who are interested in a particular aspect of Japanese culture and have never been to Japan and films their experience. They came across my umeboshi post and reached out to me about being a contestant. Naturally, I jumped at this opportunity. I have never been to Japan and have always wanted to go to explore Japanese foodways and the culture in general. Given it's a Japanese game show, there's definitely a high probability of ridiculousness and, although I may be the brunt of the ridicule, YOLO amiright?
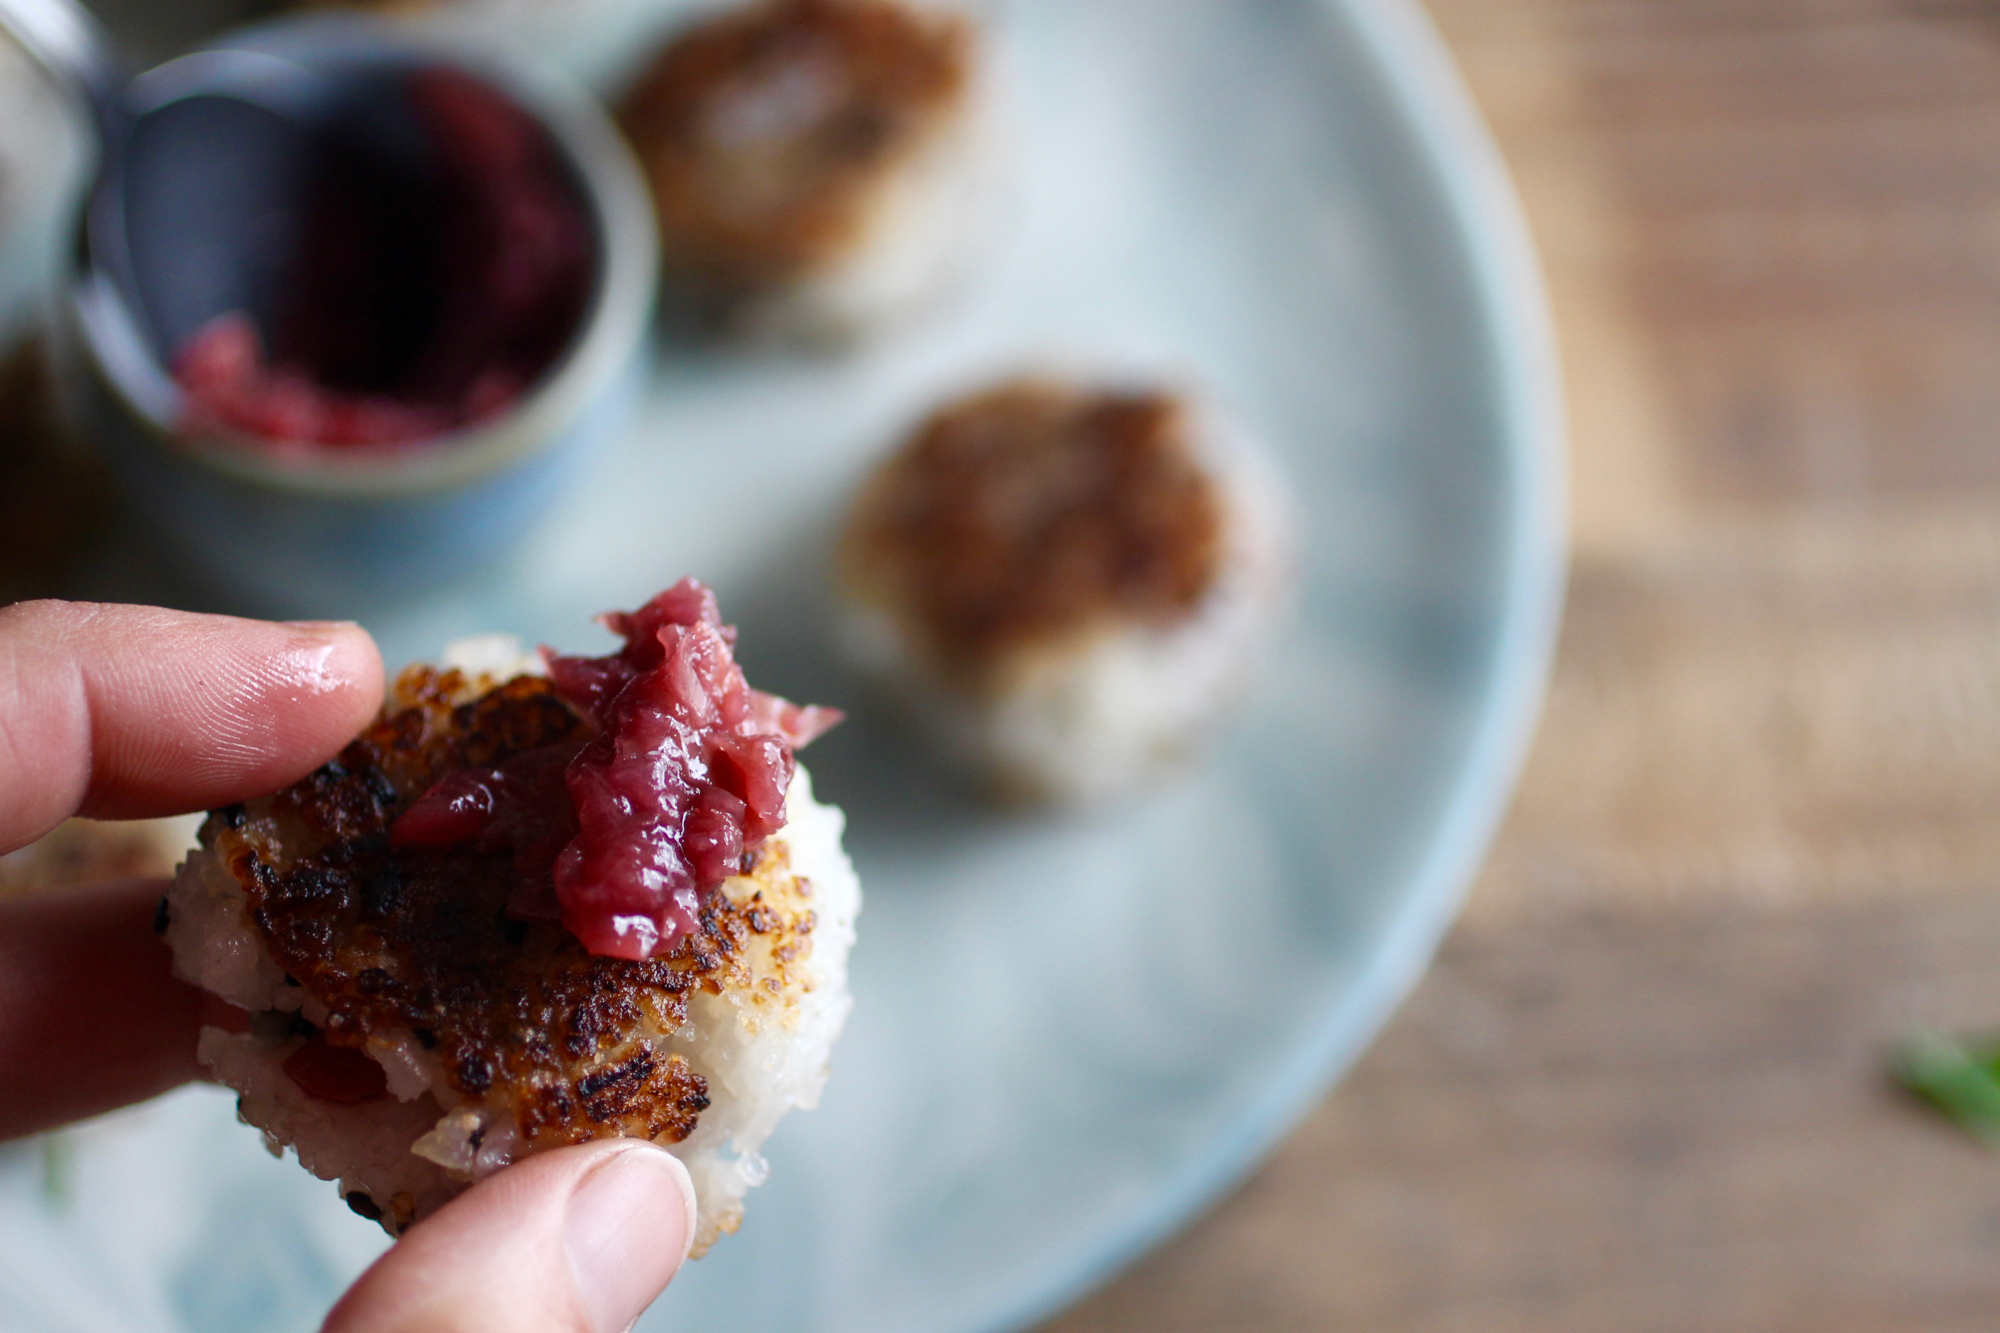
Sometimes you need a little extra umeboshi paste.
So - to honor this momentous occasion (they're visiting tomorrow!) I decided to finally get around to posting my method for umeboshi onigiri, or rice balls stuffed with umeboshi paste - a delicious way to use up leftover rice! I like to sear my onigiri (technically yaki-onigiri), kind in the same vein as aracini, if you've ever had the Italian fried rice ball appetizer, but pan-seared instead of fried.
This recipe, in combination with other umeboshi dishes including asparagus with wild onion and umami and simply a corn-butter-umeboshi sauté, are so good that I am almost out of my umeboshi supply and sadly, didn't get around to pickling any this year. I guess I'll just have to savor what I have left!
The below recipe makes about 8 small onigiri and can be expanded as needed.
2 cups cooked short-grained rice (preferably sticky rice), cooled* - great way to use up your leftovers! Especially delicious is using leftover coconut rice either from a restaurant or made at home (cook rice with half water/half coconut milk).
1-2 teaspoons sesame seeds or furikake flakes (Japanese seasoning mix)
Sea salt
4 pickled plums (umeboshi), pitted and diced or smashed into a paste
Grapeseed oil, for searing
Soy or tamari sauce, optional (above photo was plain onigiri with umeboshi paste on the side)
In medium bowl, stir sesame seeds or furikake flakes into sticky rice to combine.
Wet hands lightly with water then spread a pinch of salt across your palms. Scoop 2 tablespoons of rice mixture from bowl and gently squeeze into ball. Flatten ball then form a well in the center. Add about 1/2 teaspoon umeboshi paste to well, then fold edges of rice over paste to cover.
Gently squeeze into ball then flatten again. Continue process with more rice and umeboshi until rice is gone.
Lightly oil a cast iron pan and heat on medium-high. Once oil is hot, add onigiri and sear until lightly brown, about 1-2 minutes on each side.
Serve with optional soy or tamari sauce (though you probably won't need it!)
*If rice isn't originally sticky and/or not sticky enough, you can make it "stickier" (technically, to be sticky rice, it must be a certain variety of rice that's high in a certain time of pasty starch) by heating pre-cooked rice on medium-low with 1-2 tablespoons water for about 5 minutes or until sticky, stirring occasionally. Here's a recipe for sticky rice, but I just cook rice as I always do then make it stickier after with this method.
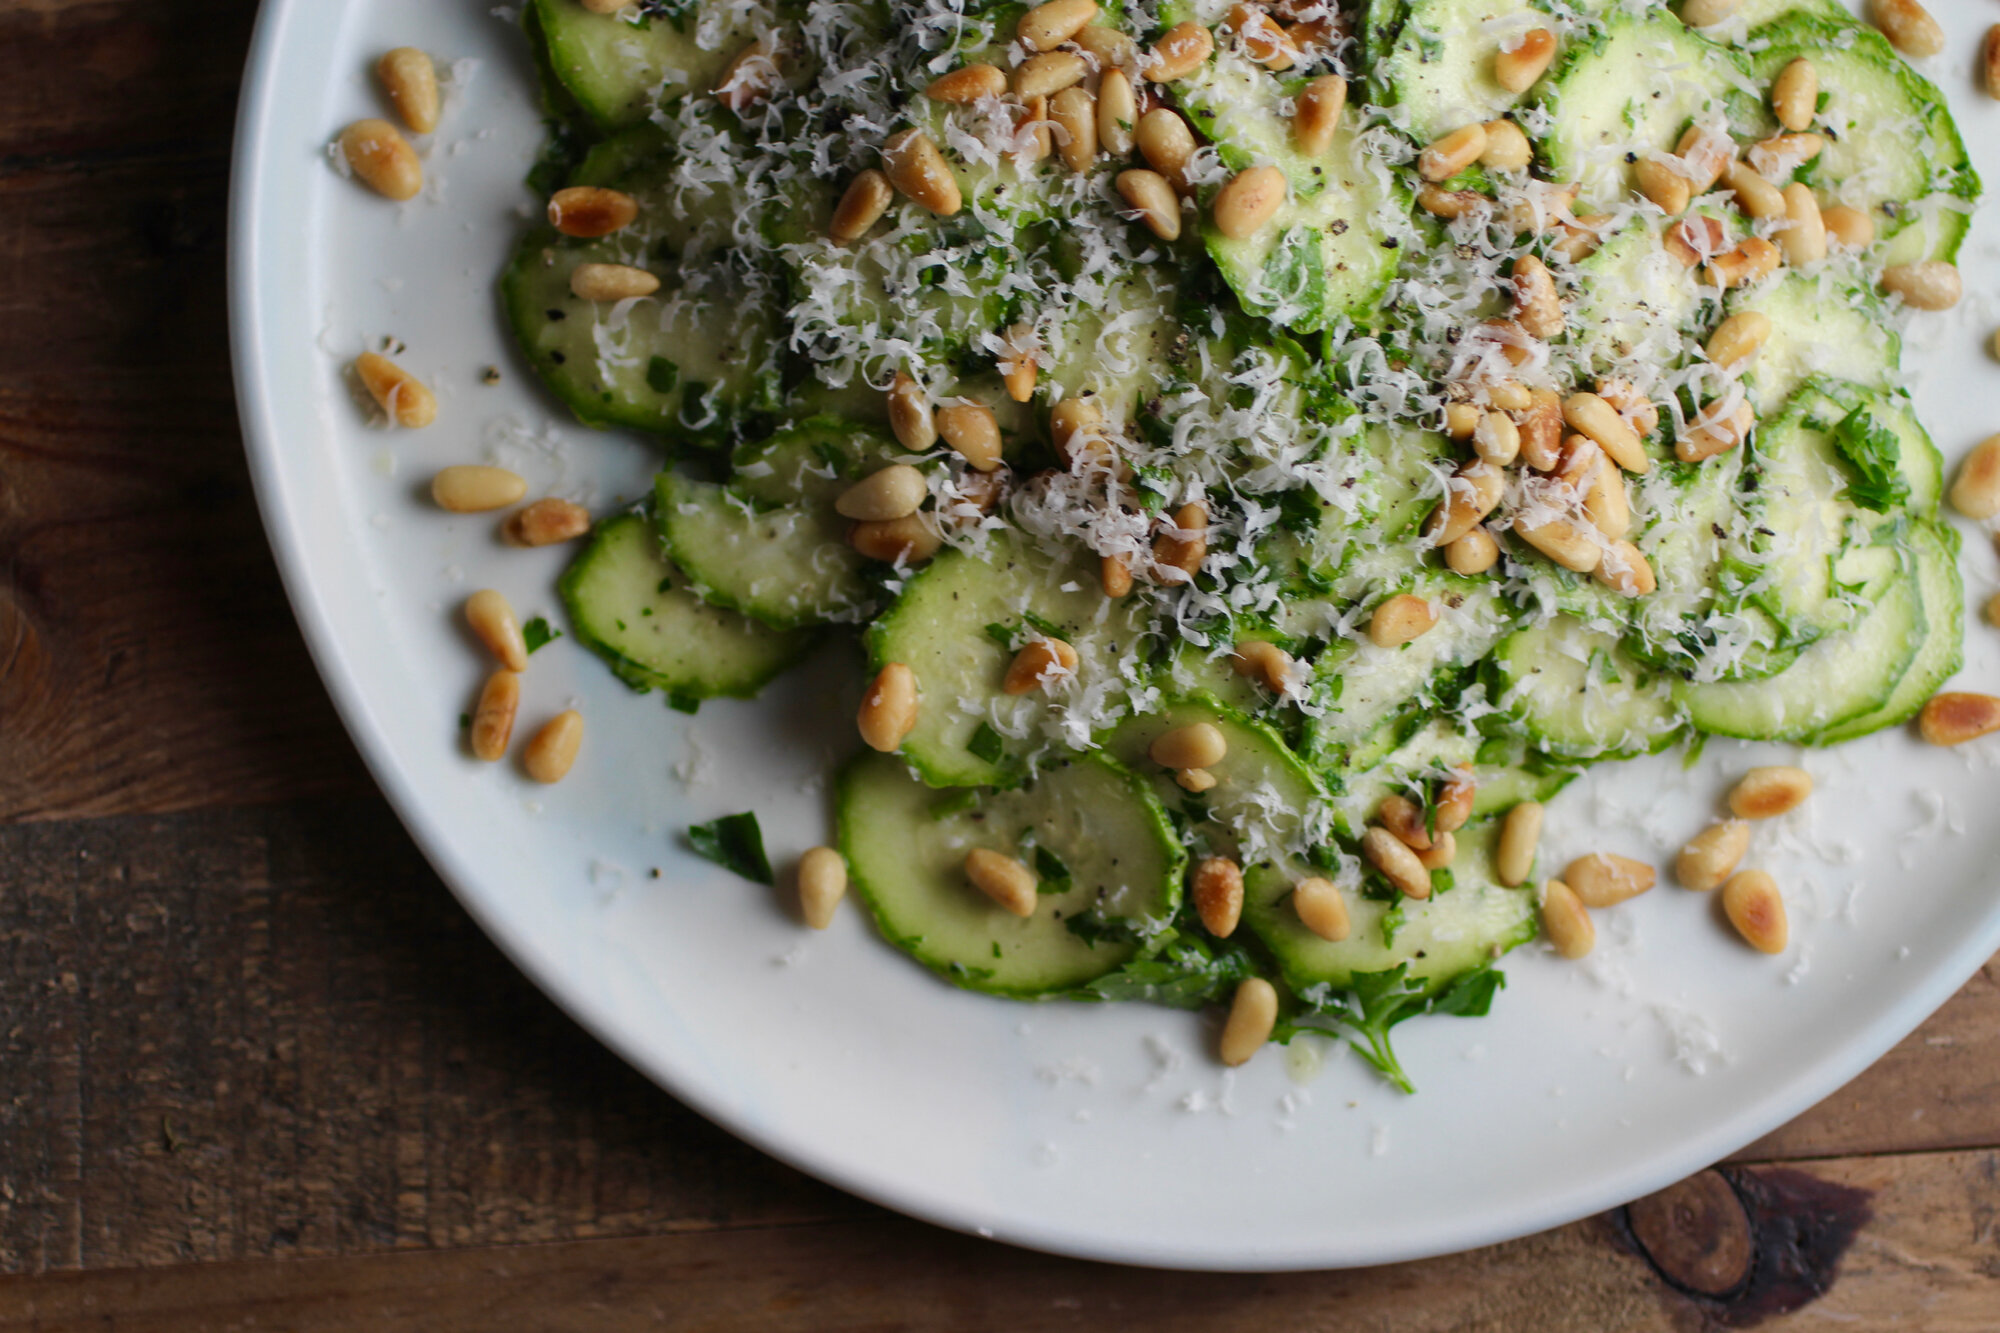
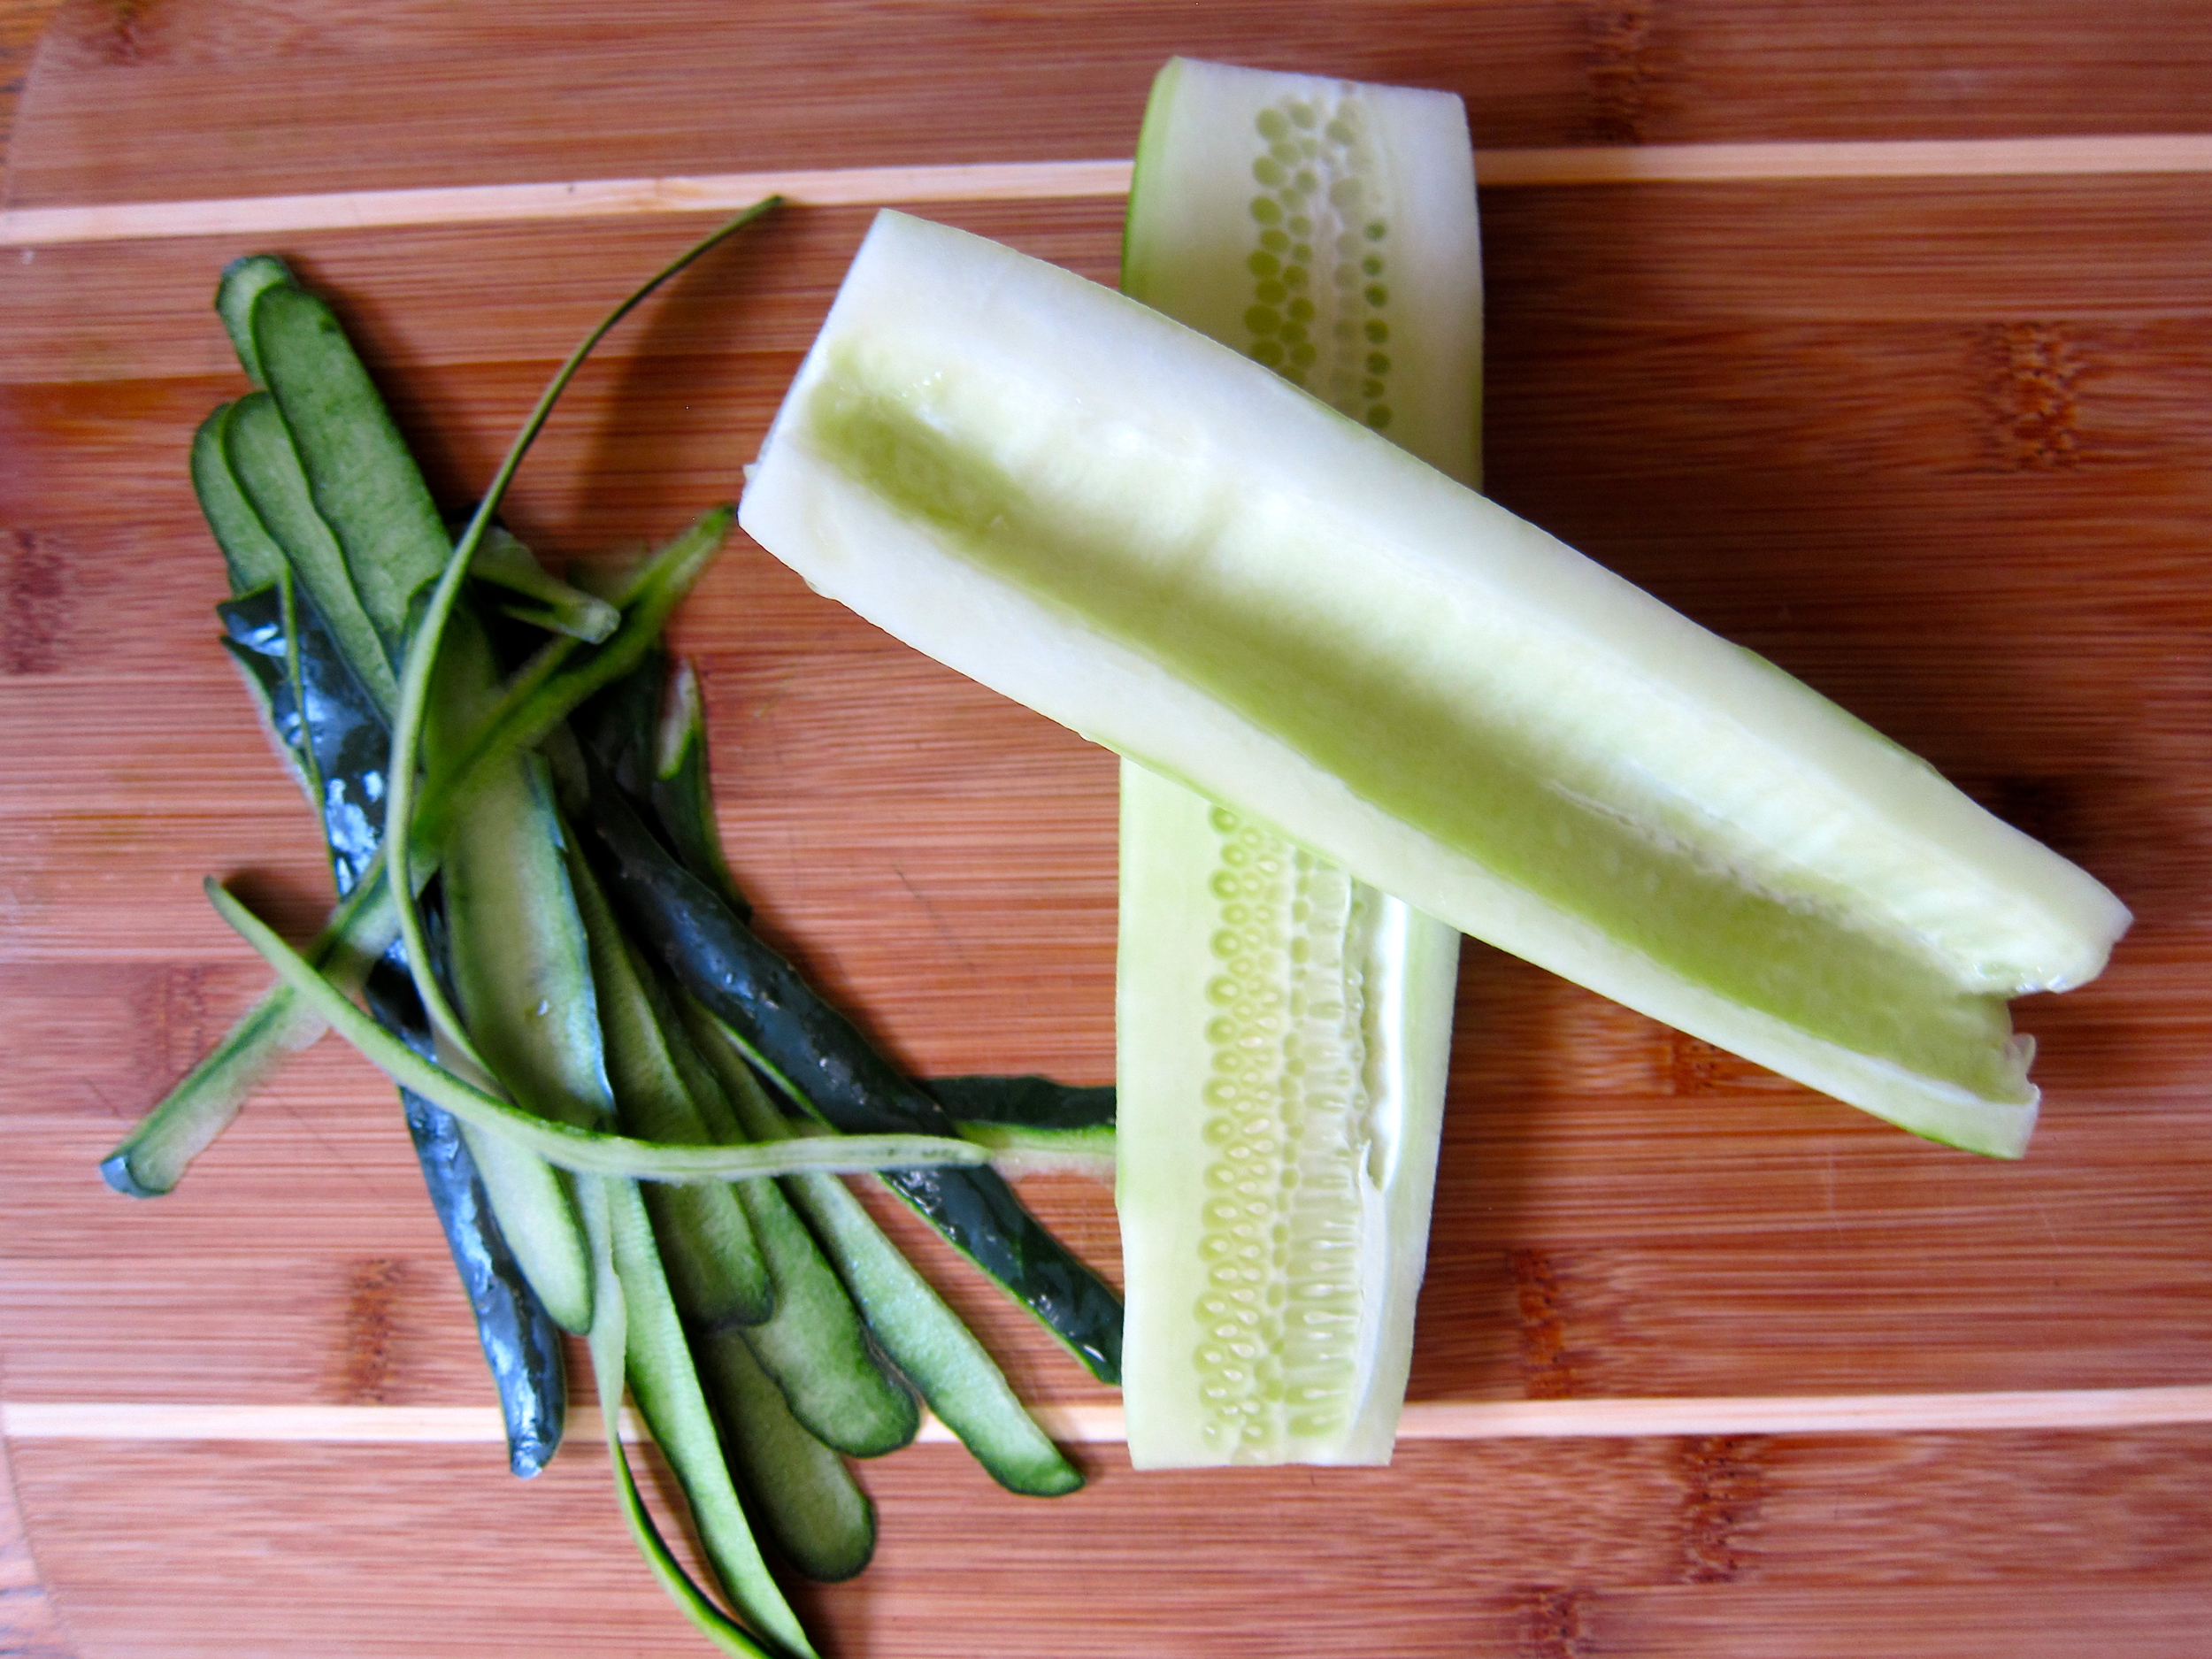
Shaved Zucchini Salad With Parmesan and Toasted Pine Nuts

I never appreciated raw zucchini until I tried this salad. It was 2008 in Italy at the Terra Madre conference where I was fortunate enough to attend as a delegate. Before that fortuitous encounter, I believe undercooked zucchini to be a missed opportunity relegated to steam tables at low-budget buffets alongside poorly done chicken parmesan. However, slicing zucchini squash into delicate slivers, tossing with a fresh lemon-olive oil dressing, and pairing with toasted pine nuts and parmesan (as is done in this salad) totally transforms the texture and flavor to be something purely delightful. The other great thing about this salad? It's incredibly quick to make, requires ingredients you are likely to already have around, and is the perfect addition to a summer dinner washed down with rose. Below recipe serves 4, but can easily be adapted to more or less people.
2 large zucchini (or summer squash)
Juice from 1/2 lemon
2 tablespoons olive oil
Salt and black pepper to taste
1 ounce pine nuts
1 ounce parmesan
2 tablespoons chopped fresh parsley
Using a mandolin, shave zucchini into thin rounds or thing long slices*.
Whisk lemon juice, olive oil, and a few pinches of salt and pepper. Toss zucchini in dressing and add more salt/pepper to taste.
Toast pine nuts in a cast iron pan on medium high for about 2 minutes, tossing frequently, until golden brown.
Top zucchini with pine nuts, grated parmesan, and parsley.
Serve at room temperature.
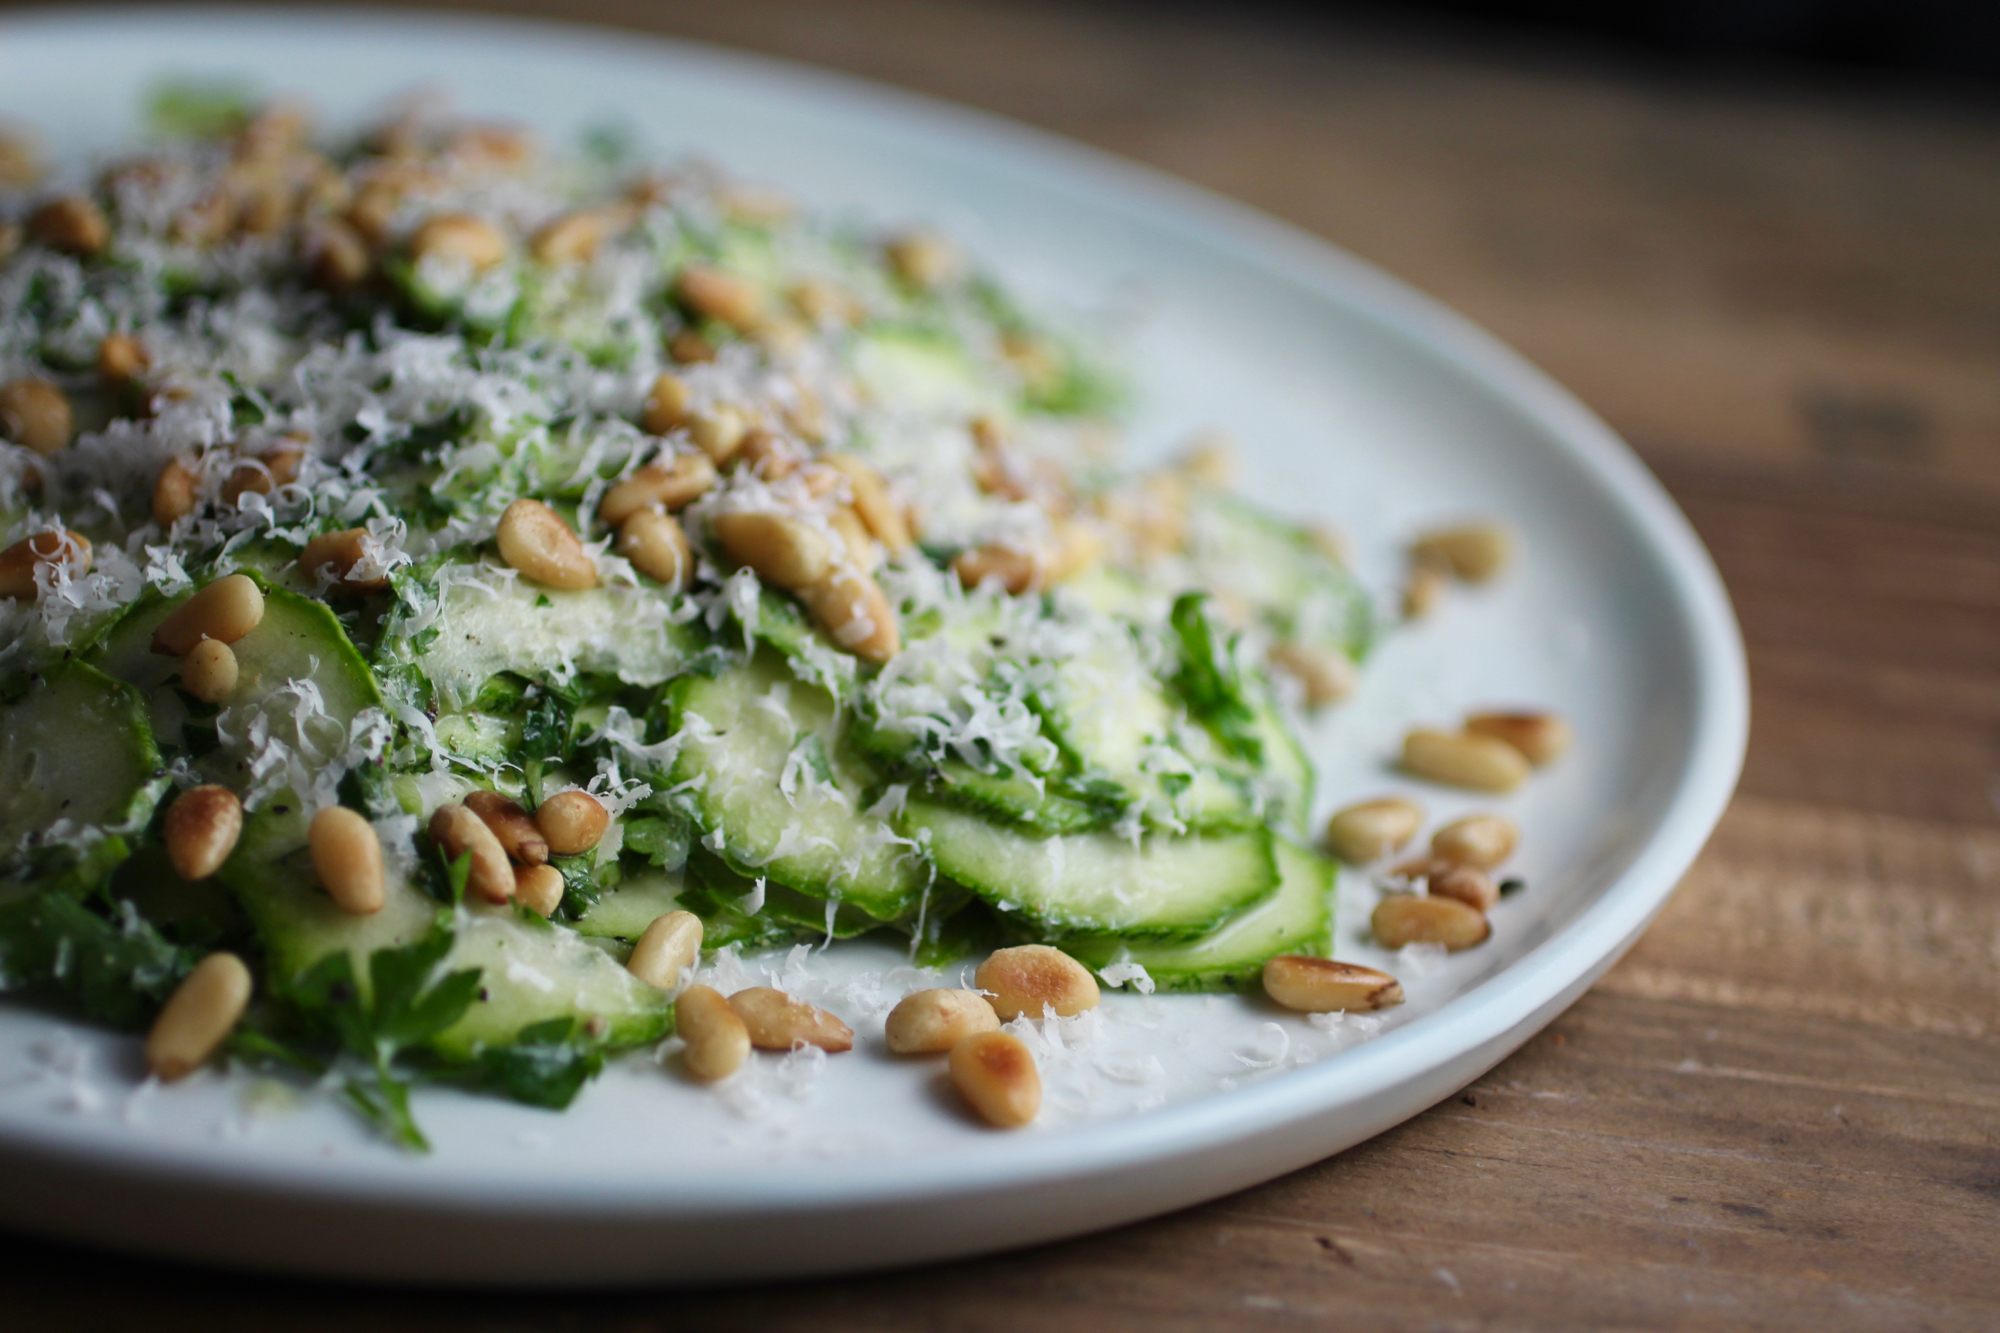
Delicate rings of raw zucchini to eat by the forkful.

Radish Greens Chimichurri
Don't toss those greens, transform them into a flavorful sauce that works with pretty much anything!

Do you have "radish greens remorse" every time you toss out delicious looking radish tops? Good news - it doesn't have to be this way! The green leafy tops of radishes and many other vegetables such as turnips, beets, and daikon are perfectly edible and delicious. You can use them as you would other green leafy vegetables, though radish greens in particular can be a little fuzzy and benefit from a bit of processing such as chopping, blending, sautéing, or the addition of an acid.
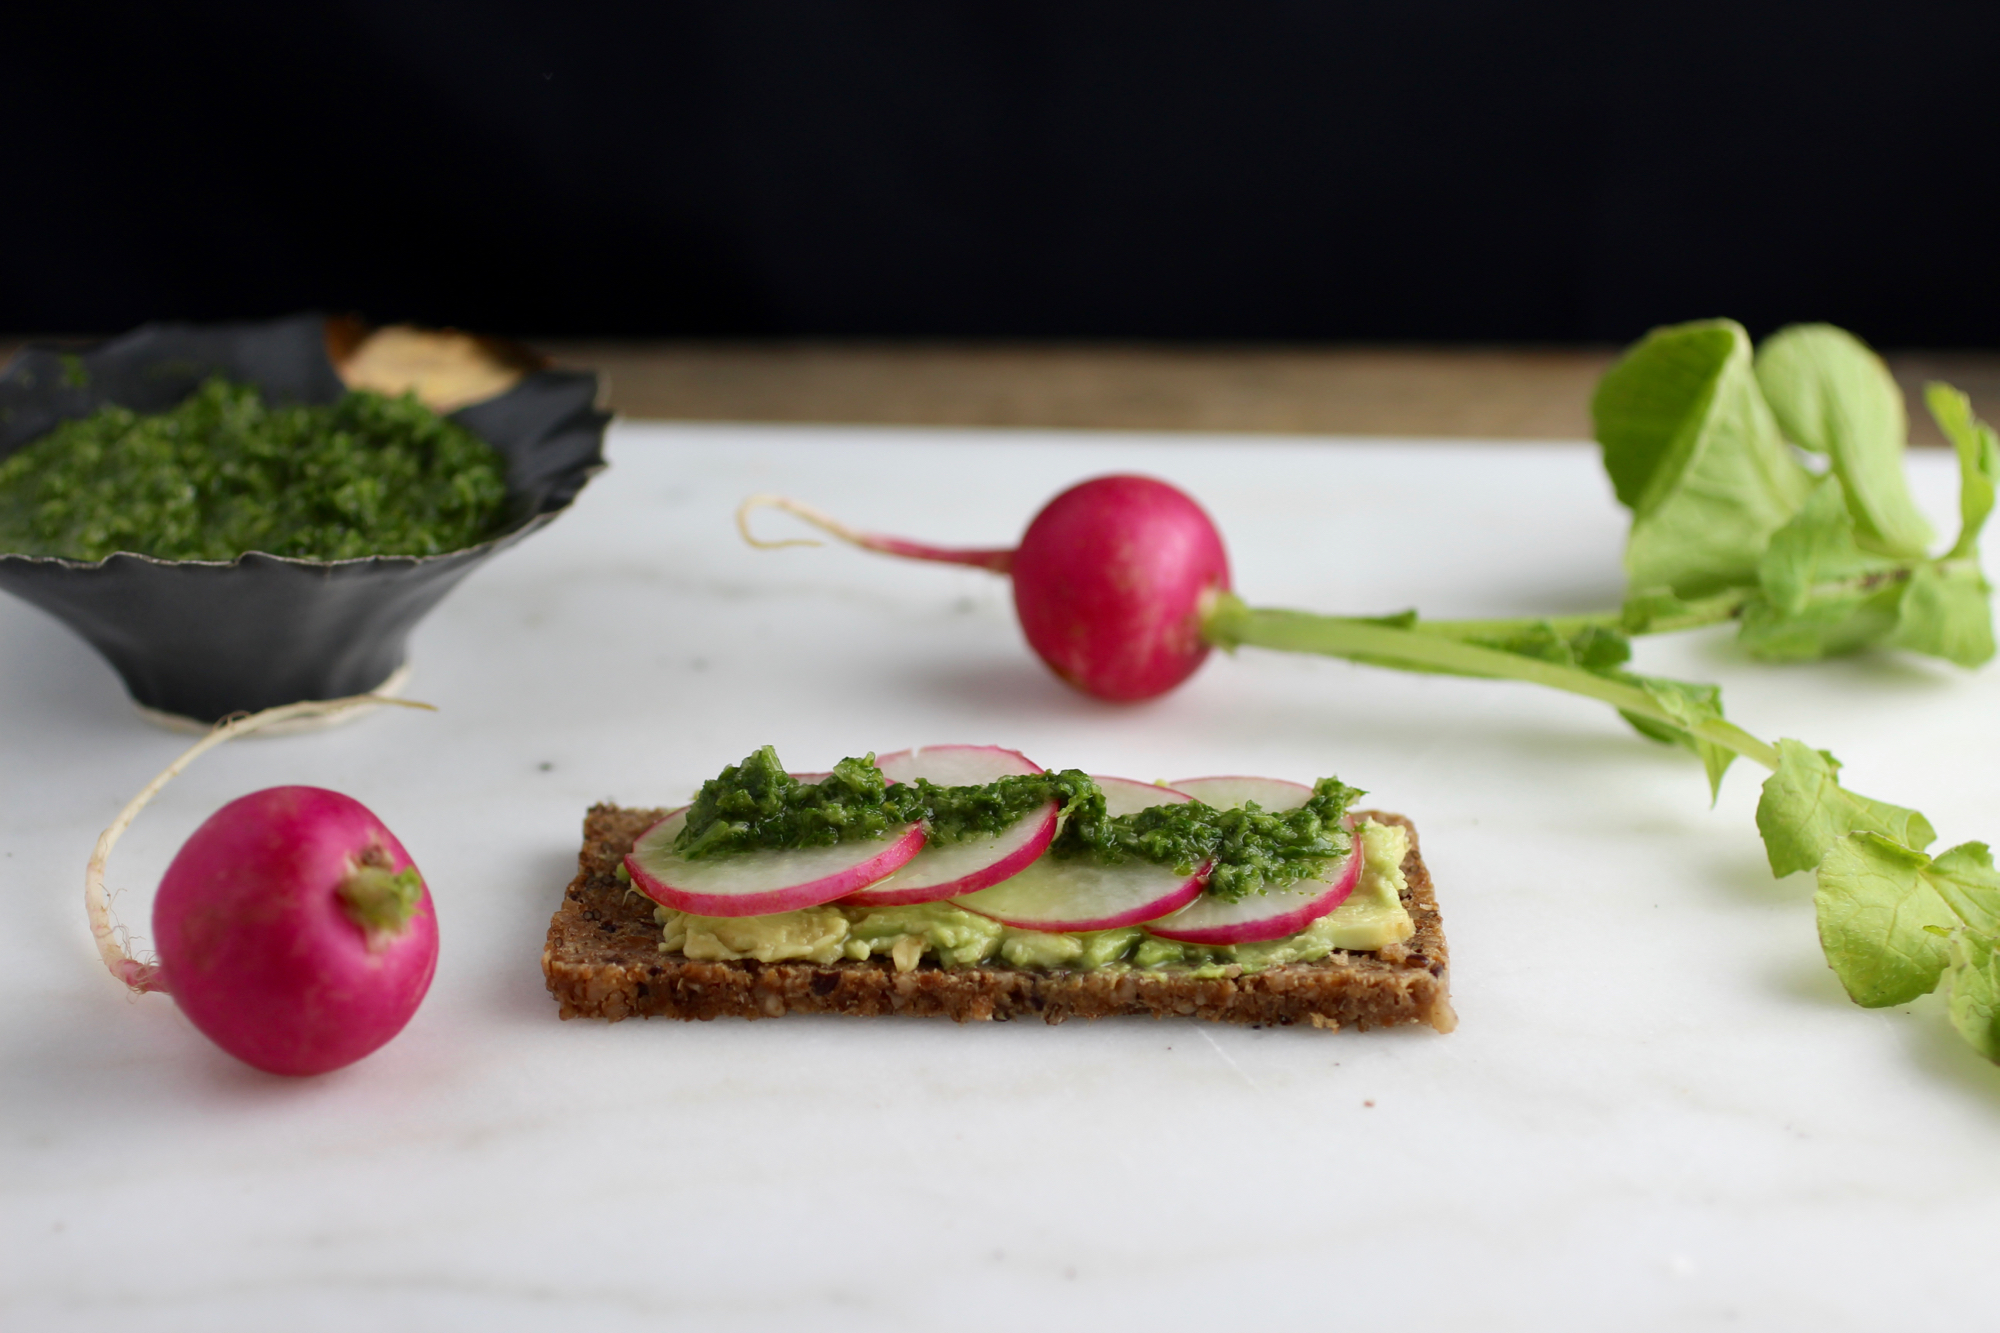
Eating "root to leaves" with sliced radish, avocado, and radish greens chimichurri rye toast.
There are a lot of different words for somewhat similar green sauces: chimichurri, salsa verde, gremolata, chermoula... and at first I deliberated over what to call this particular green sauce. I settled on "chimichurri", as it has a similar combination of vinegar, garlic, and green that you find in traditional chimichurri, just with radish tops in place of parsley and oregano. This sauce can be made with pretty much any edible green that would otherwise be discarded, even wild greens such as dandelion or plantain! It can also be adapted in numerous ways - try adding cilantro or tarragon for more bright herbaceous notes or increase the garlic if that's your jam. The sauce works great on almost anything from grilled vegetables and meat to white beans or breakfast tacos. Really, every time I make it, I end up adding it to all my meals for a few days. You can also eat "root to leaves" by topping a sliced radish and avocado rye toast with a drizzle! Recipe makes 2/3 cup.
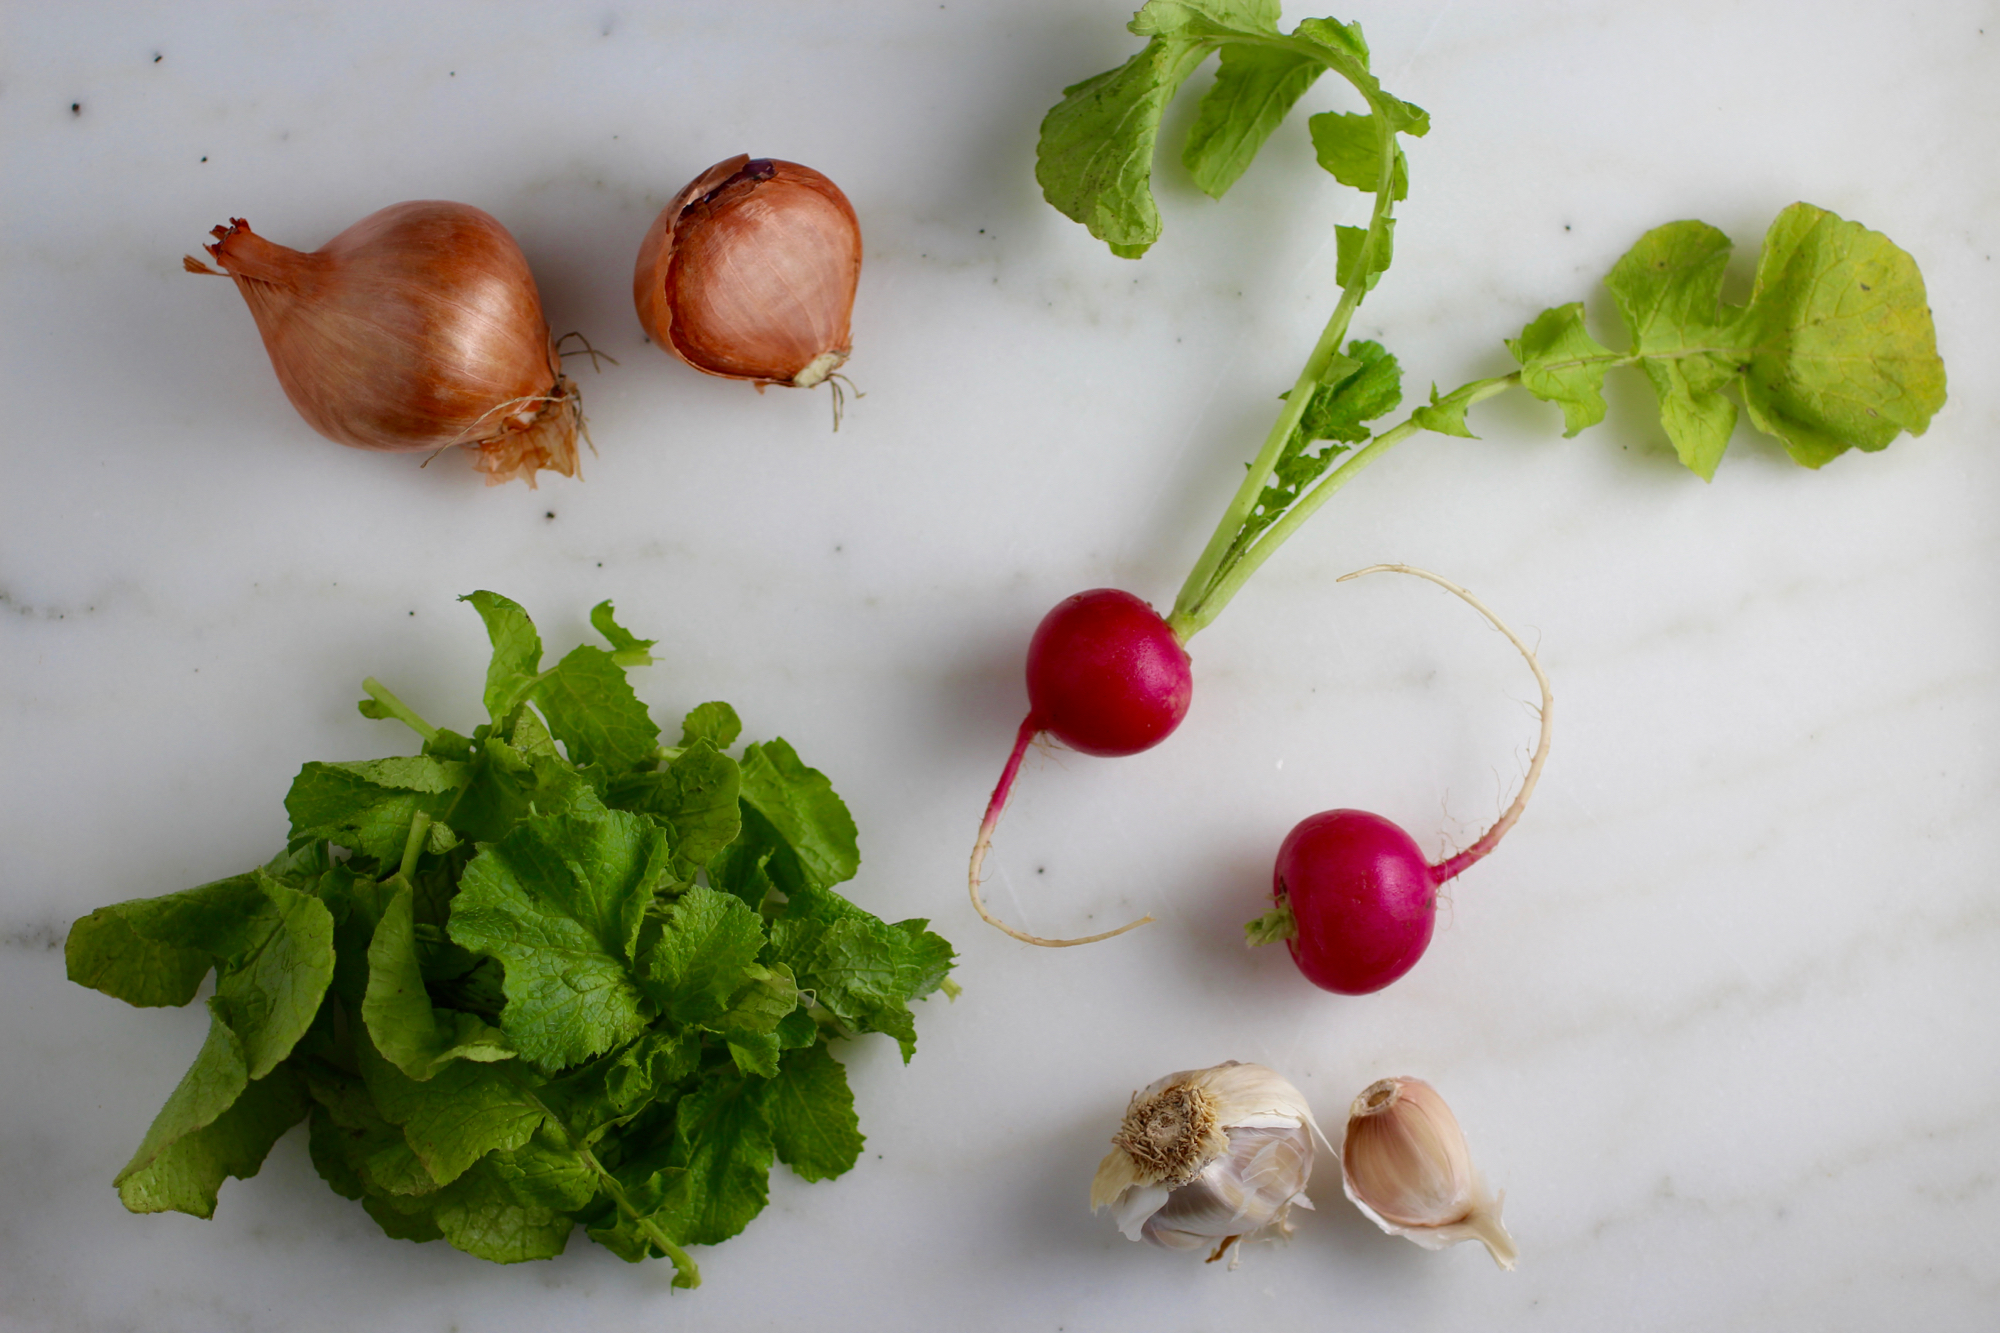
Don't toss those beautiful radish greens!
2-3 (loosely packed) cups chopped radish greens, washed
1 medium shallot bulb, chopped
1 clove garlic, chopped
3 tablespoons rice vinegar
Pinch salt
2 teaspoons olive oil
Heat about 1/2 cup water in small saucepan until simmering. Add radish greens, toss to coat, and cook until softened and dark green (about 30 seconds).
Remove greens and squeeze out excess water. Using an immersion blender or food processor, blend greens with shallots, garlic, rice vinegar, salt, and olive oil until combined, but still coarse. Drain excess liquid if needed and keep chilled up to 4 days until use.

Roasted Delicata Rings with Tahini
Rich tahini sauce perfectly complements loops of winter squash.

This is the dish - the dish that you can bring to any gathering and it will be well received. Being vegan, gluten-free, allergen-friendly, and pseudo-paleo (to all but the very strict of paleos), you'll get "oohs" and "awes" from all people present. Beyond that, it's delicious, provides healthy fats, and requires no utensils! Serves 4 as a side.

2 medium delicata squash (about 1.5 pounds)
1/4 cup olive oil, divided
About 1/2 teaspoon sea salt
3 cloves garlic, diced
1/4 cup tahini (sesame seed paste)
Juice from 1 lemon
2-3 tablespoons water
Pomegranate seeds and fresh herbs for garnish (optional)
Preheat oven to 425 degrees F.
“Delicata seeds are can be roasted along with the squash if desired. Simply rinse, pat dry, drizzle with olive oil, salt, and other seasonings of choice, and roast for 7-8 minutes, tossing halfway through.”
Clean the delicata squash well. Slice into rings 1/2-inch thick and remove seeds and pulp from squash rings using a spoon or a knife. It is okay if some pulp strands are left, as they will not be noticeable once roasted.
Place delicata rings on a baking sheet and using your fingers, toss with just enough olive oil to coat (about 1-tablespoon). Be careful with the oil - too much will make the squash soggy. Spread rings out in a single layer.
Sprinkle with one pinch of salt per pan and roast about 12-15 minutes on each side until soft and browned on edges.
While squash is roasting, blend garlic with tahini, lemon juice, and 1/4 teaspoon salt using a food processor or immersion blender. Blend in remaining olive oil and enough water to create a thick, fluffy sauce.
Remove squash from oven, allow to cool to room temperature, and serve with tahini sauce for dipping. Garnish with pomegranate seeds and fresh herbs (optional).
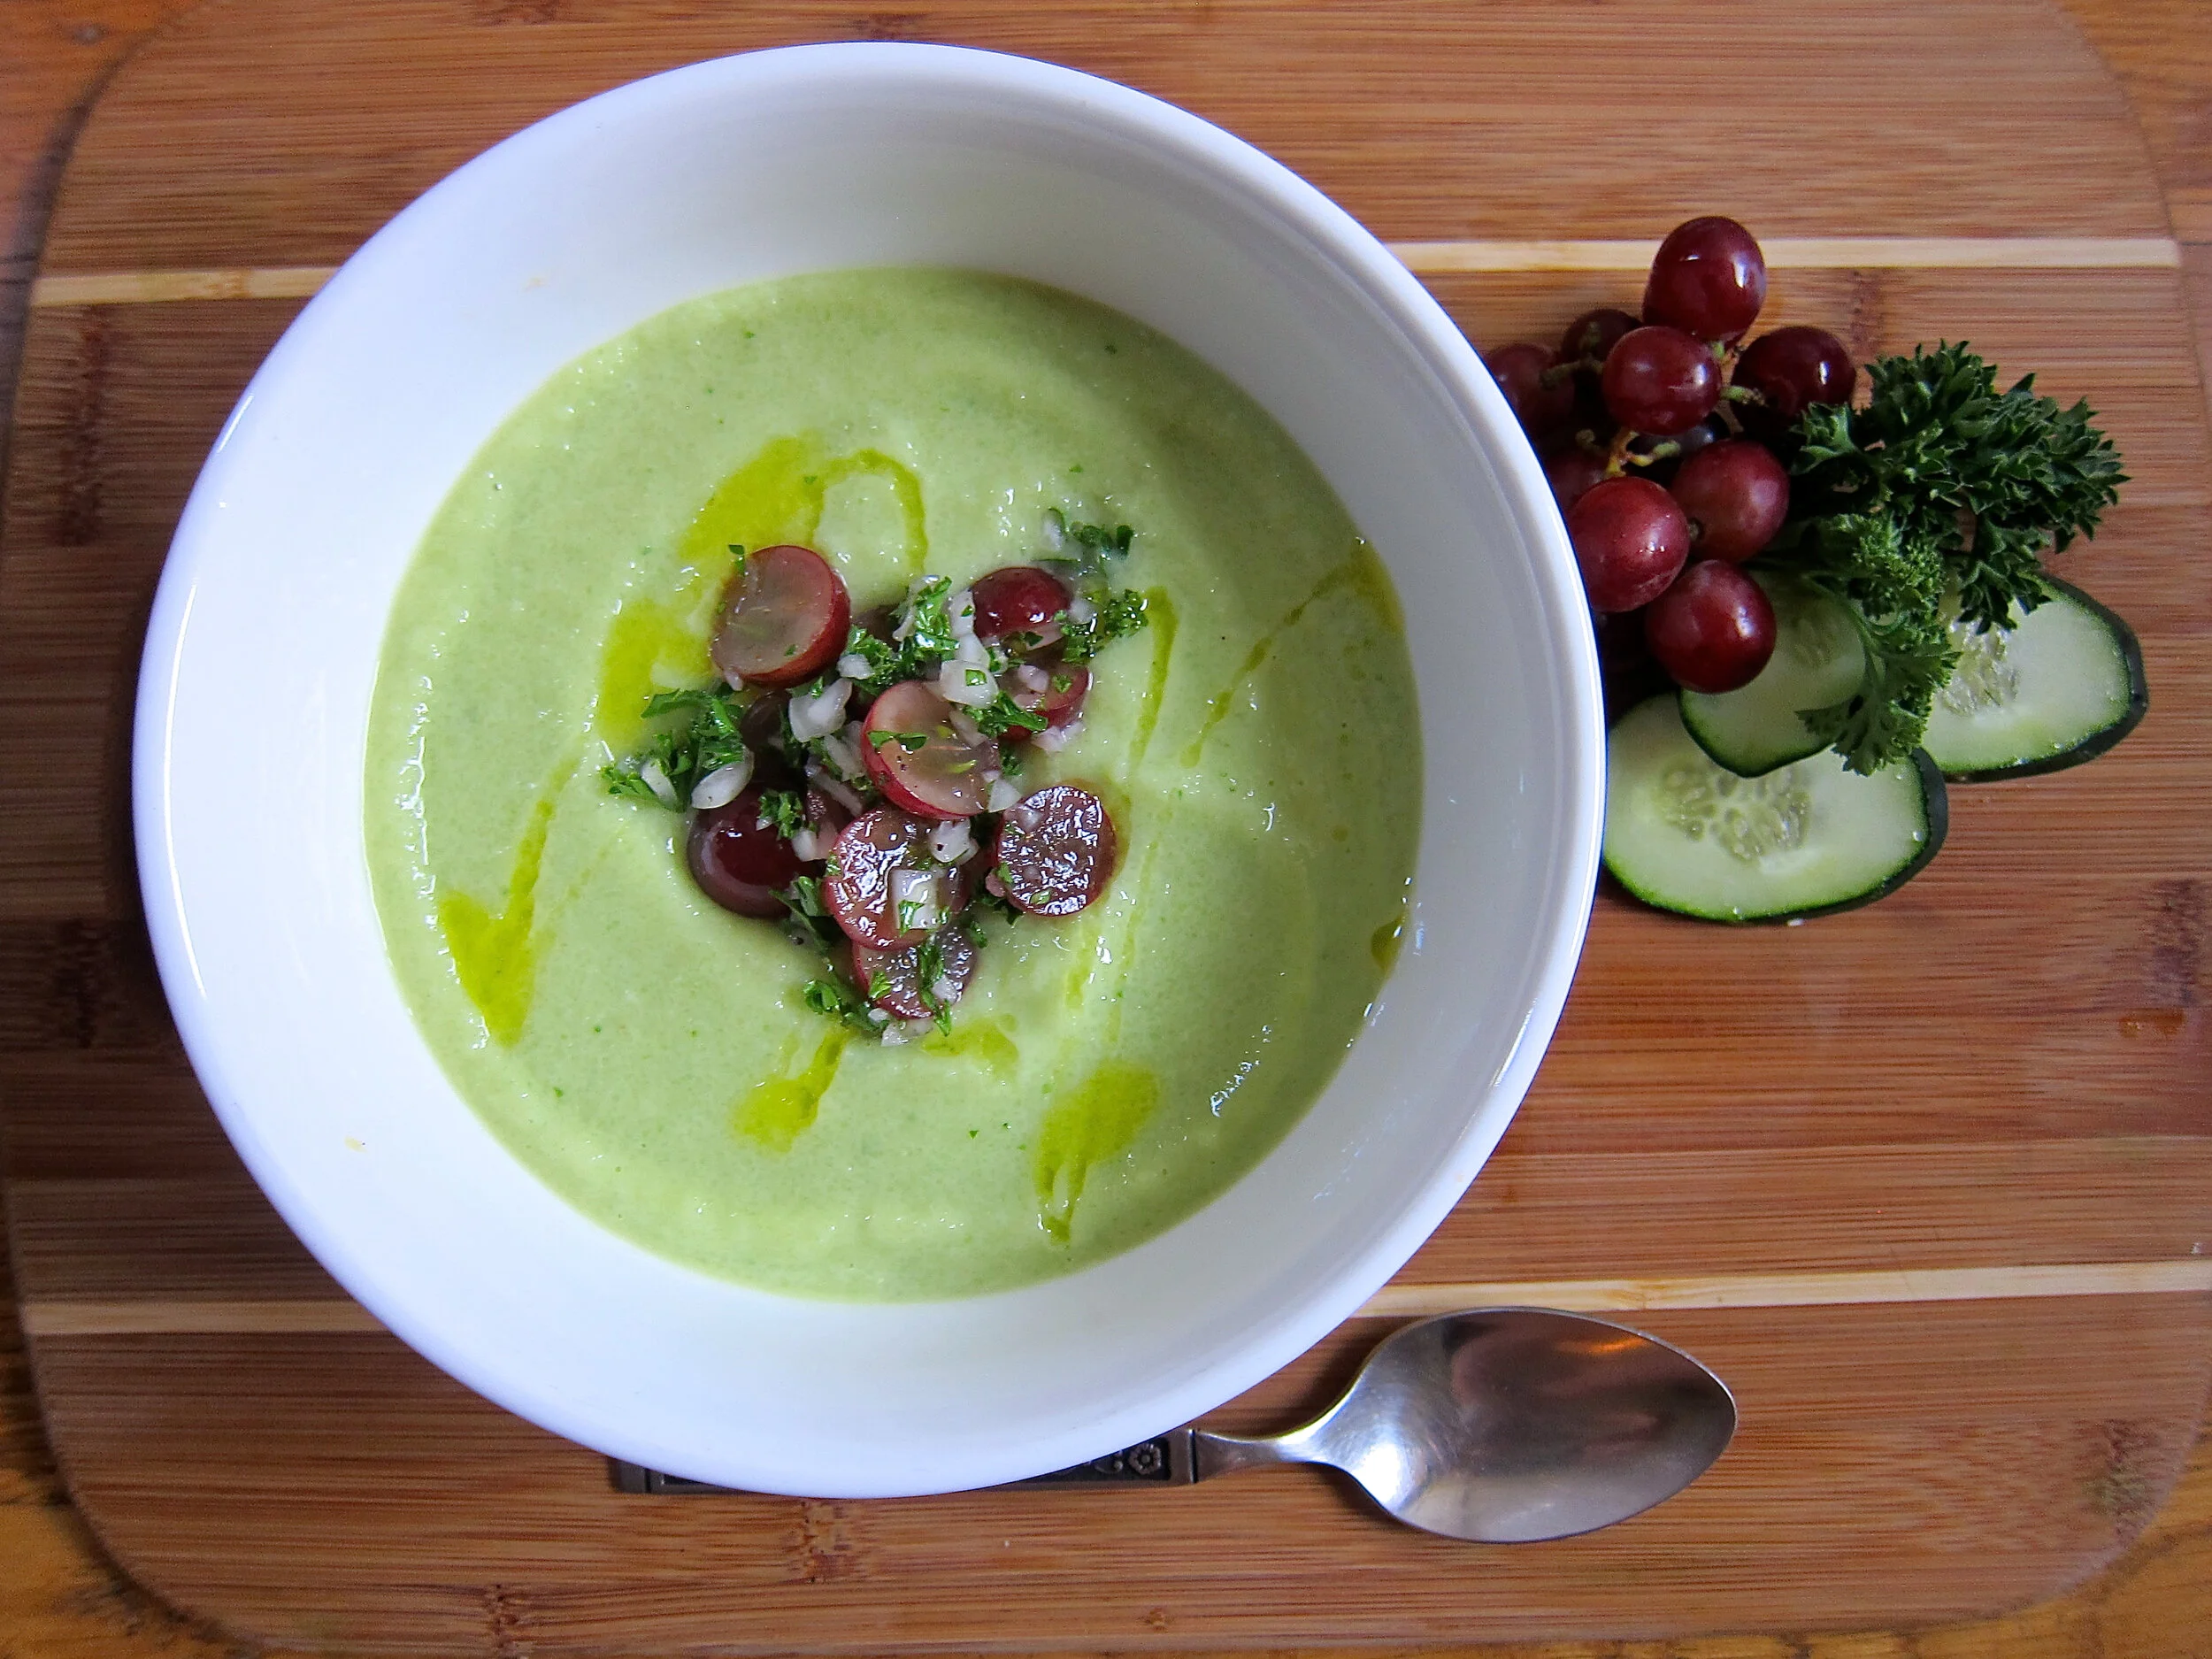
Chilled Cucumber and Avocado Soup with Grape Salsa
Richly refreshing.

If you're not familiar with cold soups, this recipe is a great place to get started, as it's incredibly easy and contains crowd-pleasing ingredients. Also, most of us are used to eating cucumber and avocado cold, so it's not too out there to have them in soup form (as opposed to say, vichyssoise, a cold potato soup). The avocado brings a delicious silkiness that's balanced by the cucumber and grape salsa, leaving you satisfied and refreshed on a hot day. Serves 4.
“Soup can be made up to 24 hours in advance - a great way to compliment a dinner party without having to prepare everything last minute. ”
3 medium cucumbers, peeled
1 cup seedless grapes, halved
1 small yellow onion, finely diced
1/4 cup diced parsley
1/4 teaspoon black pepper
2 tablespoons white wine vinegar
1 medium avocado, diced
2 cloves garlic, minced
1/2 cup plain yogurt
1 jalapeño chili, seeded and diced
3/4 teaspoon salt
2 teaspoons olive oil
Remove seeds and pulp from one cucumber. Dice all three cucumbers and set aside.
Toss grapes with onion, parsley, black pepper, and vinegar and refrigerate.
Blend cucumbers, avocado, garlic, yogurt, jalapeño, and salt in food processor or blender until smooth. Chill for at least 20 minutes before serving in chilled bowls topped with a spoonful of grape mixture and drizzle of olive oil. Serve cold.
Suggested pairings: Lamb meatballs and polenta squares, panzanella and grilled salmon
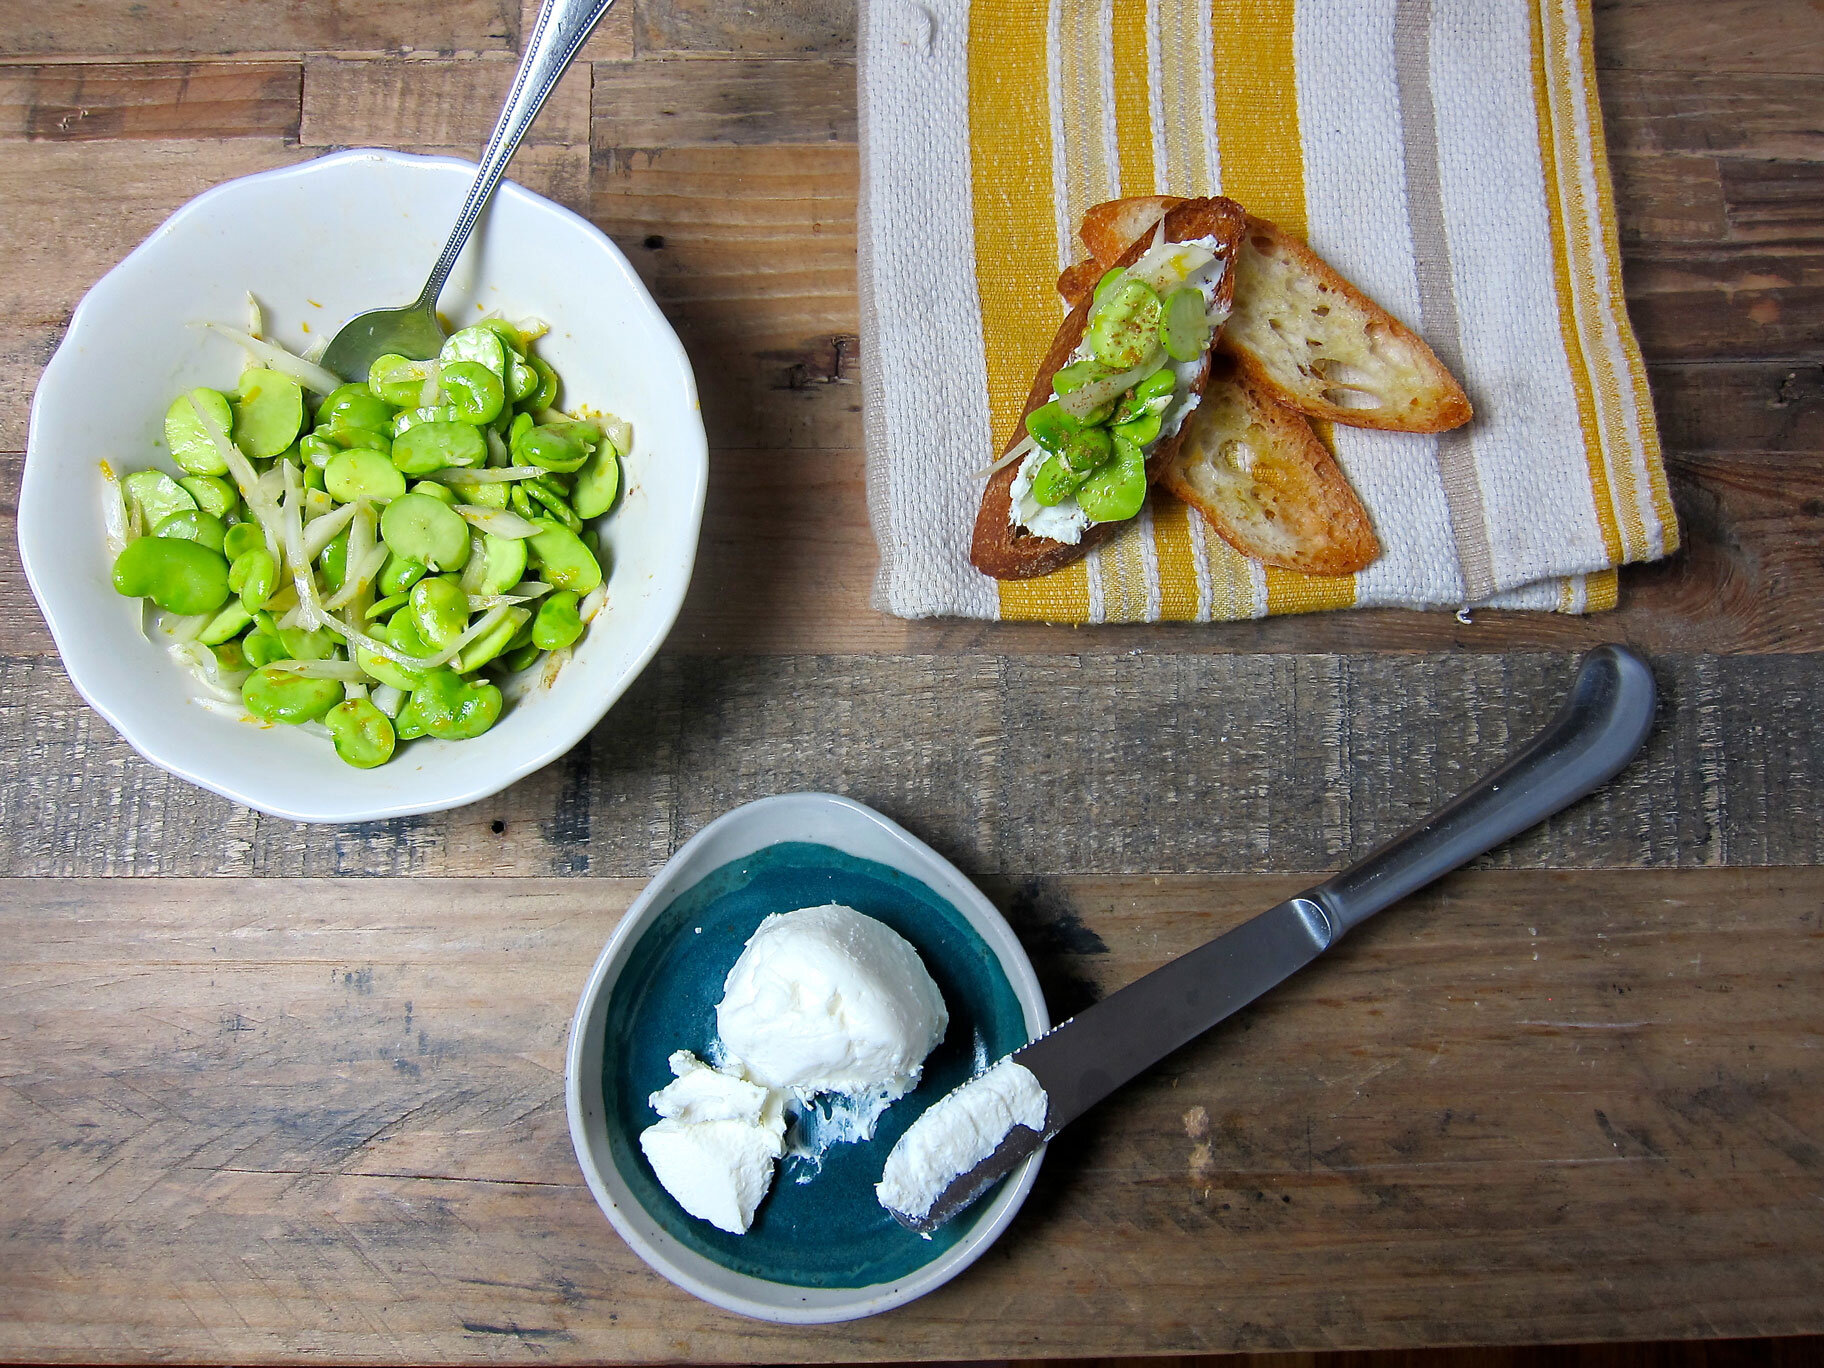
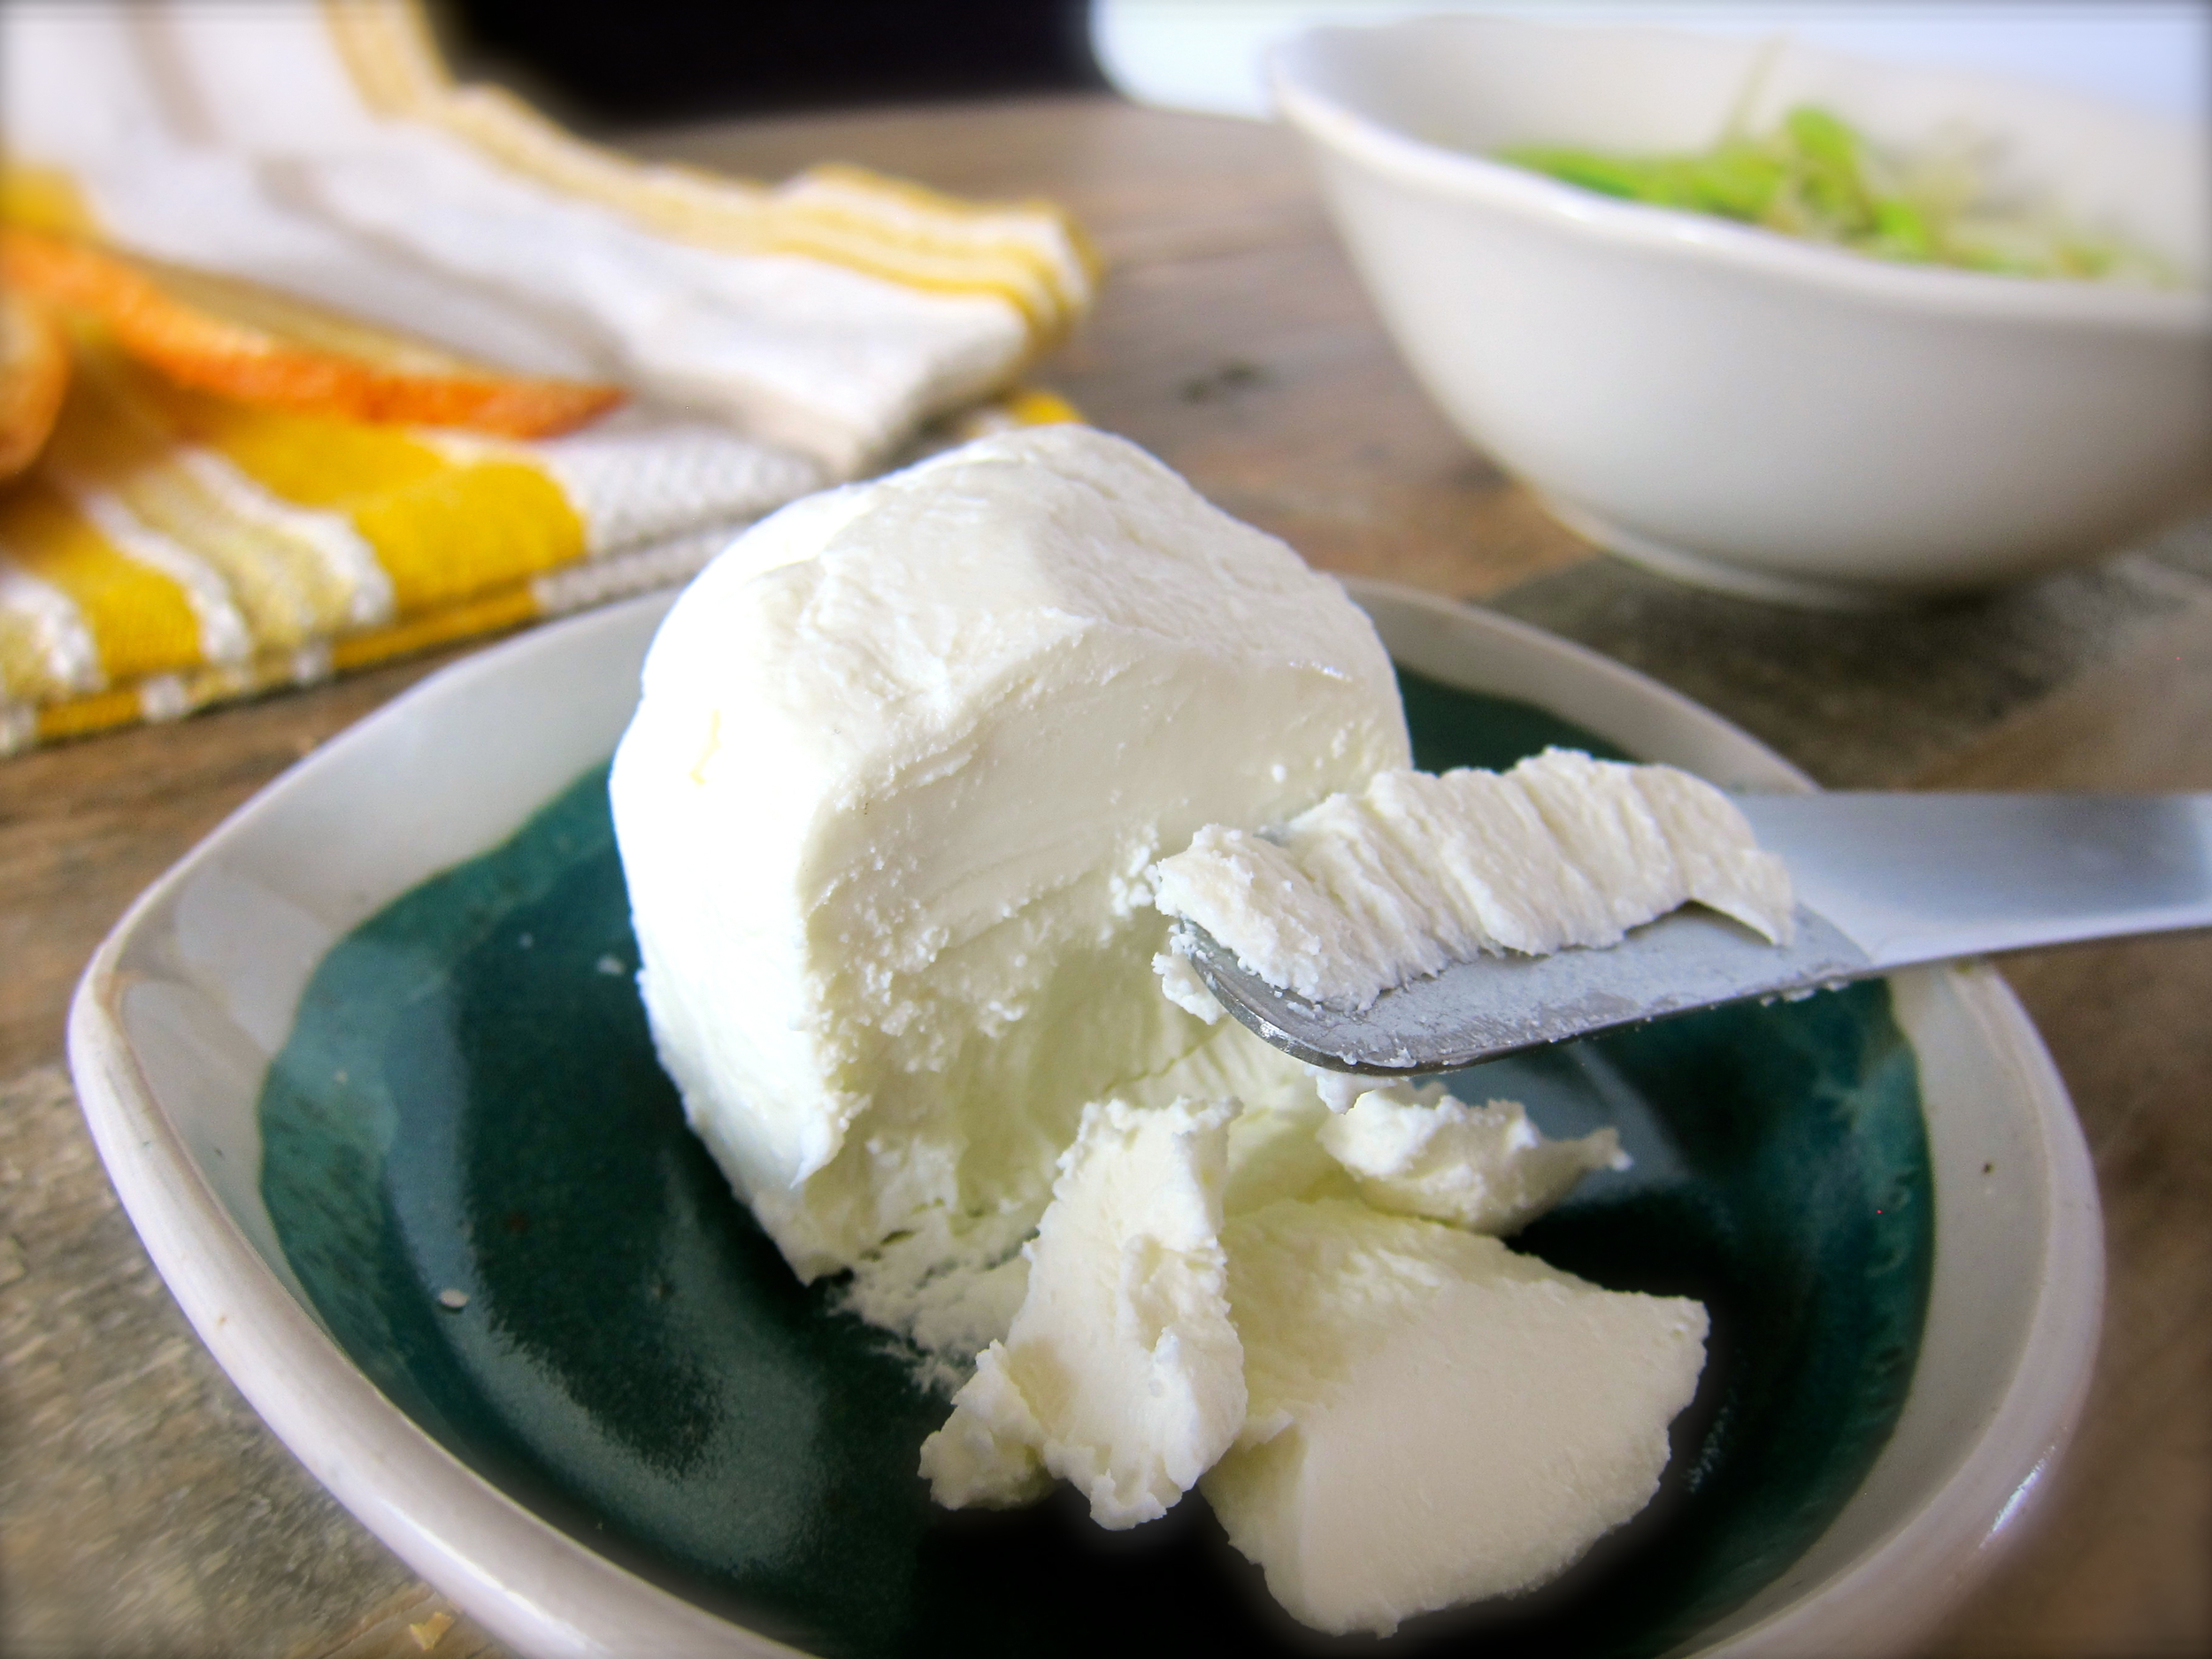
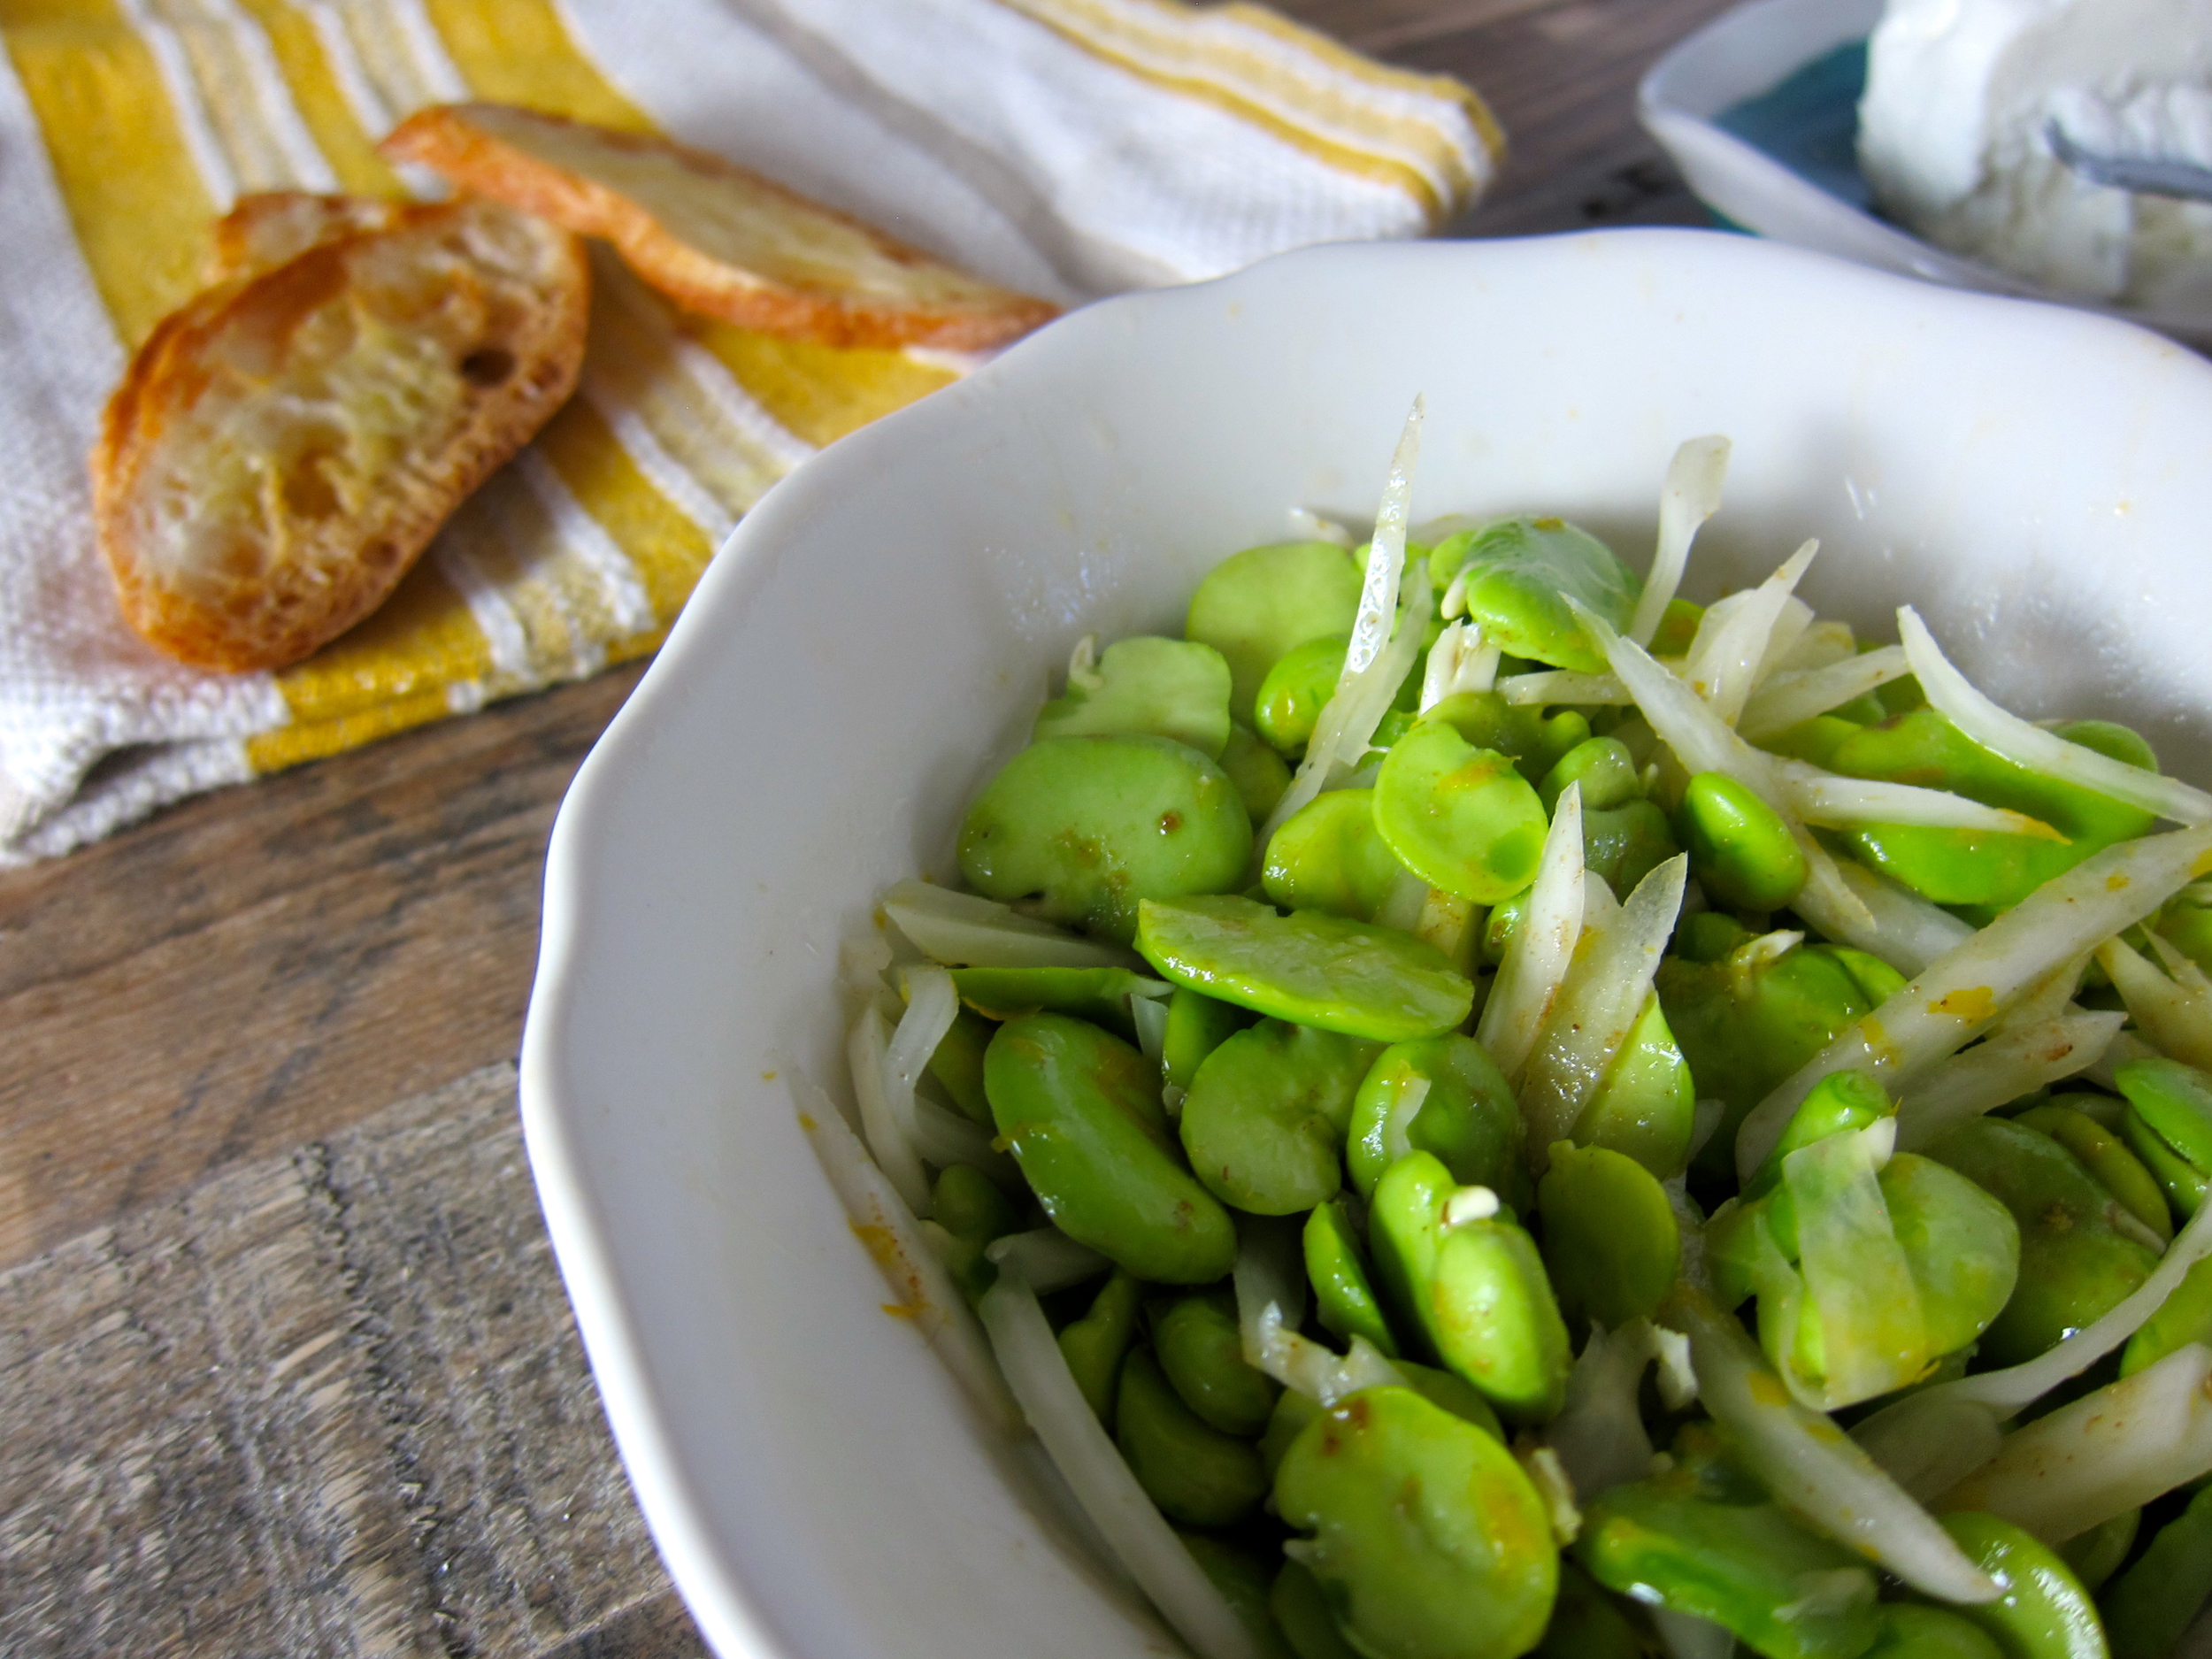
Fava bean, pickled fennel bulb, and goat cheese crostini
Fresh, silky representations of springtime

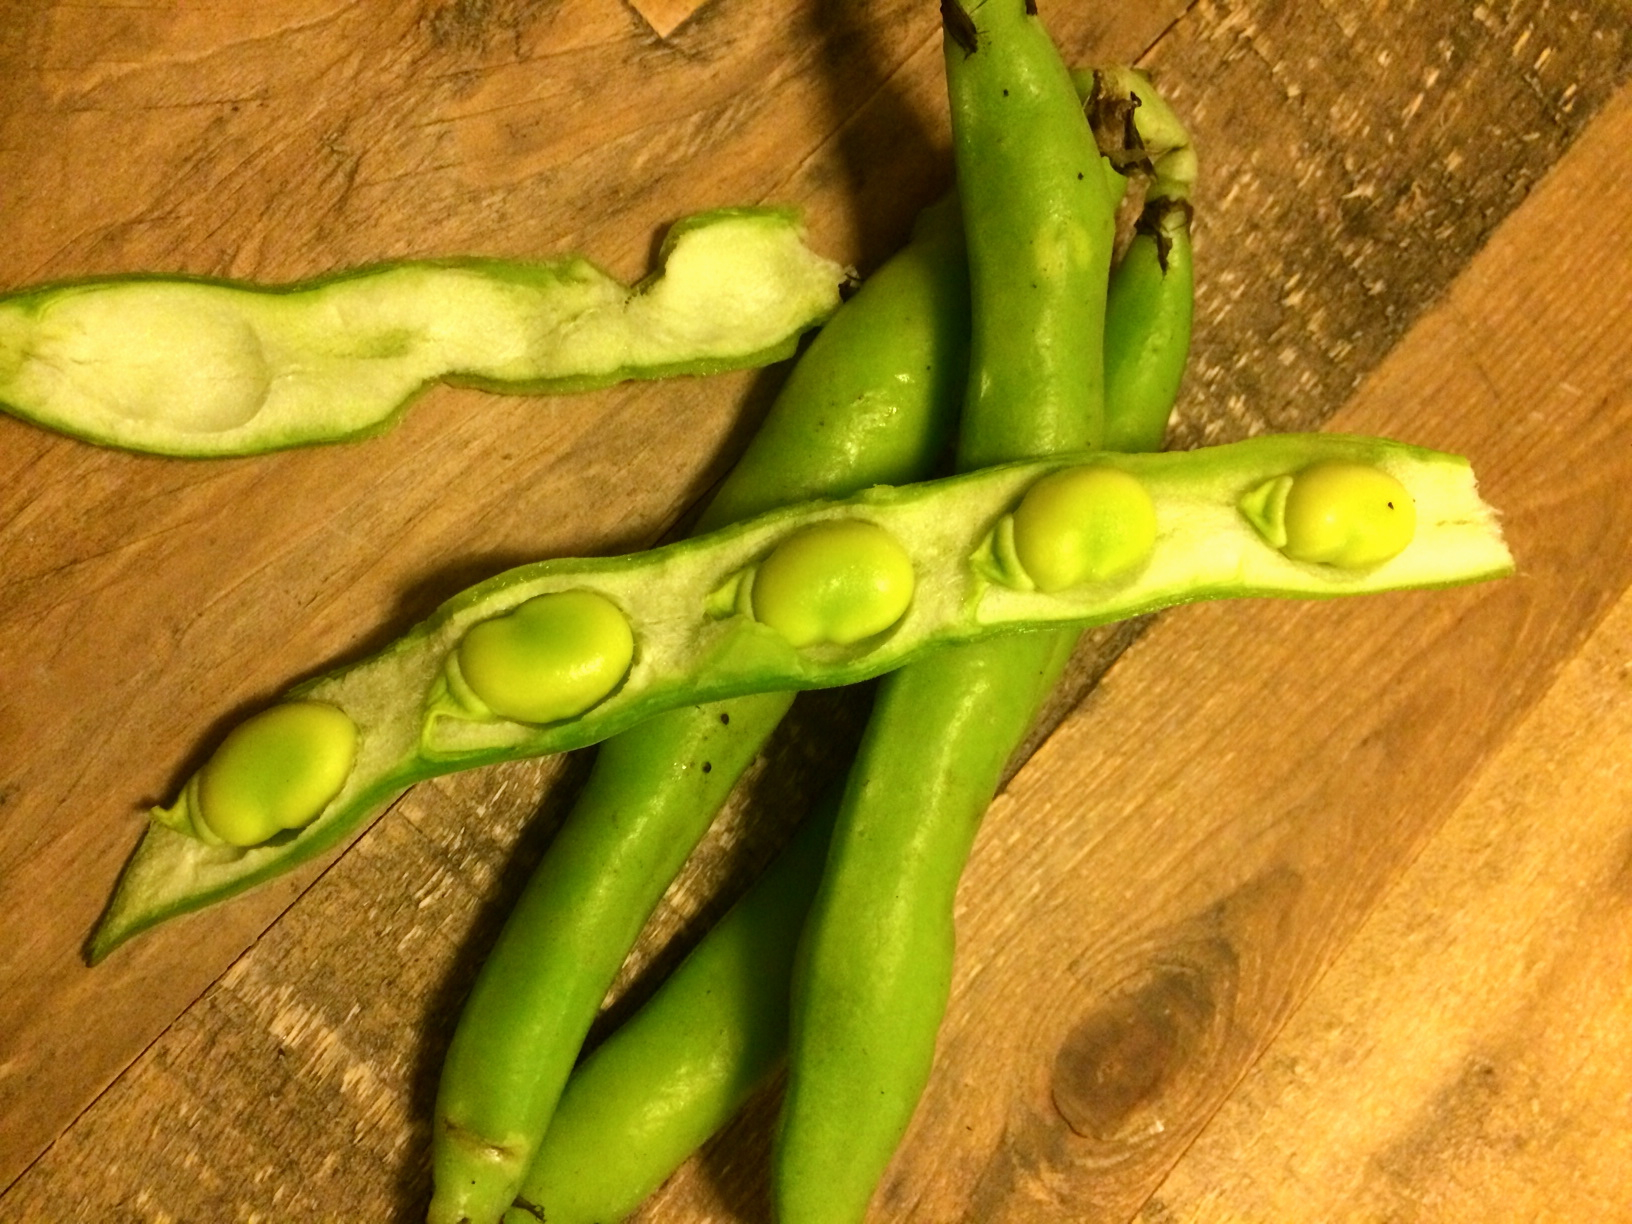
I am always pleasantly surprised when fava beans pop up at the farmers’ market each spring - not only because they’re even more delicious at the beginning of the season, but because it proves that California actually has seasons (go us!)
“Alternatively, you can actually skip the entire process of shelling by roasting the whole pod with some olive oil and sea salt, and eat every bit of the beans and surrounding pod. This is also quite delicious, but a different, richer flavor with less of the springtime freshness in just the beans. ”
Fava beans are fresh, silky representations of springtime, but they can be a pain to process. Not only do most recipes call for removing the beans from the larger pod, but also for removing the beans from their thin surrounding shell. One of those tasks that’s fun at first, but increasingly painful as time moves on and pod after pod is processed.
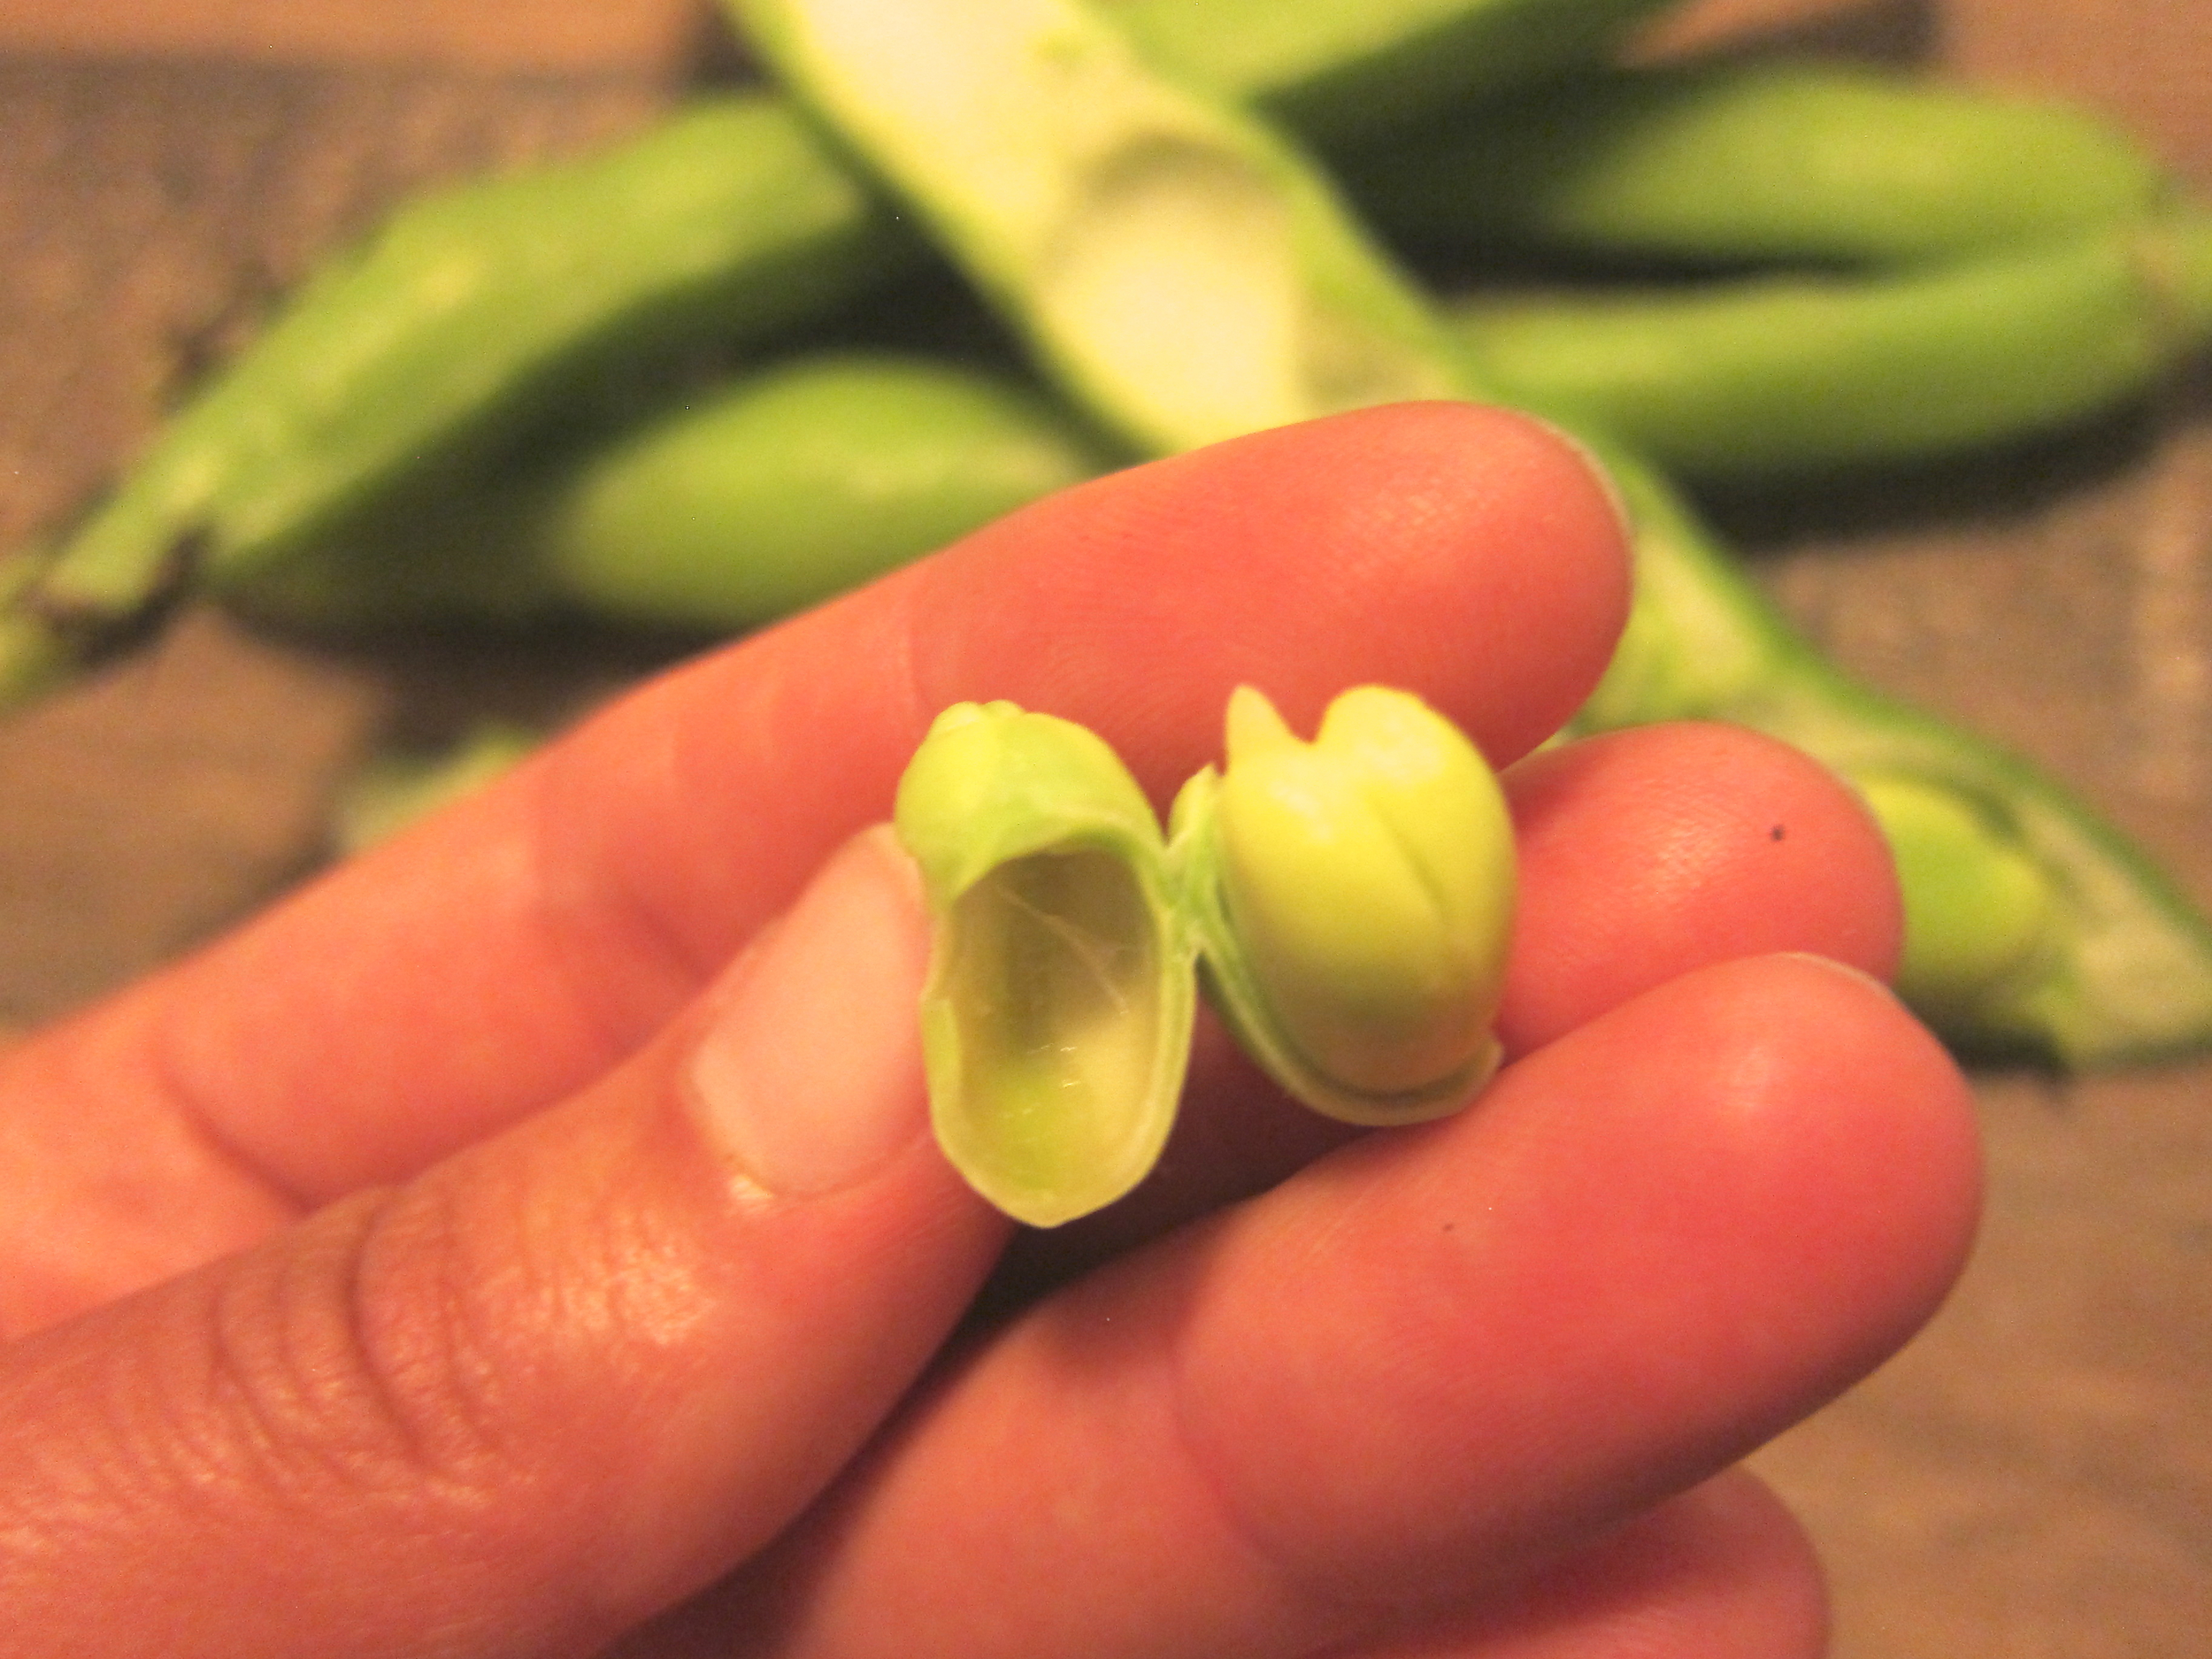
“You don’t know fava - or maybe you do?”
Fortunately, the favas at the beginning of the season are so tender that you don’t have to cook the beans after removing them from the shell and they’re still oh-so-tender, which is what is called for in this recipe.
Fava beans, removed from pod and surrounding shells peeled away
Pickled* or fresh, thinly sliced fennel bulb
Lemon zest
Cumin powder
Olive oil
Toasted, thinly sliced baguette
Chèvre
Good quality sea salt
Toss 2 parts fava beans with 1 part fennel and lemon zest, and cumin to taste. Drizzle in enough olive oil to make glossy, but not too oily.
Spread chèvre on baguette slices, top with fava mixture, and sprinkle with sea salt.
* To Pickle Fennel:
Slice 1 fennel bulb into thin slivers and pack tightly into a pint jar.
Heat 1 cup white wine vinegar with 1/2 cup water, 2 tablespoons sugar, 1 teaspoon of sea salt, and herbs or spices of choosing (such as caraway and orange zest) and bring to a boil.
Allow brine to cool for 2 minutes, then pour into jar with fennel to cover completely. Cool to room temperature, seal with lid, and store in the refrigerator. Fennel can be eaten immediately and will keep well for up to 2 weeks.